

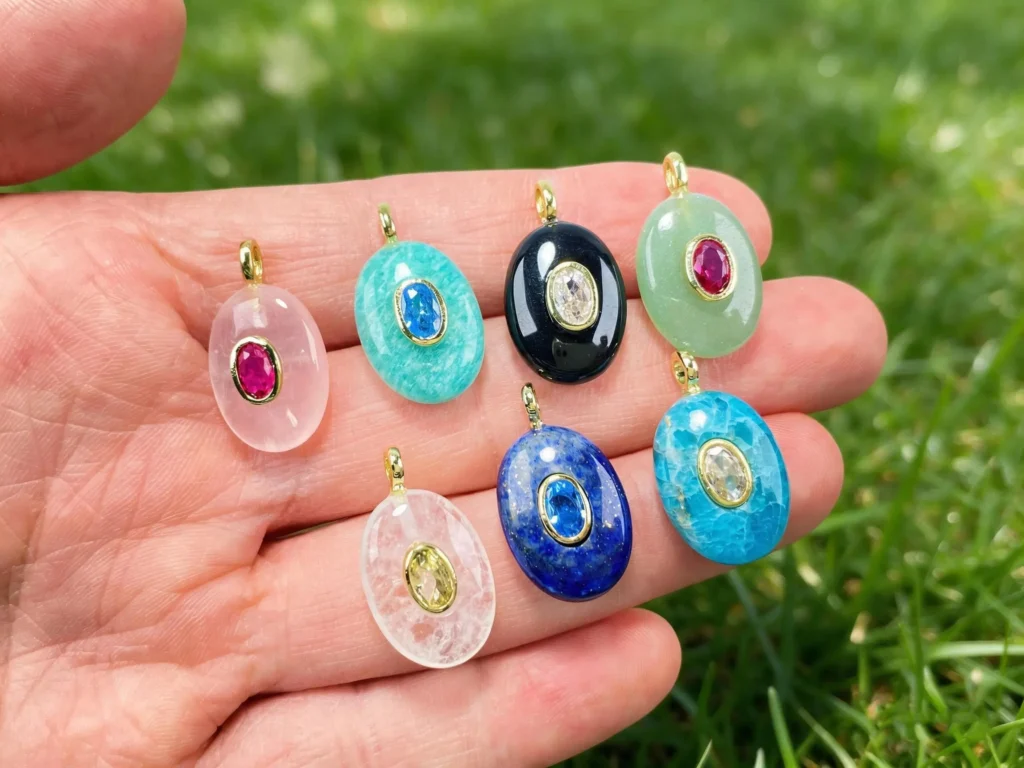
How to Make an Inlaid Gemstone Pendant (DIY Lapidary Guide)
An inlaid gemstone pendant is a handcrafted lapidary jewelry piece featuring a polished natural stone base with a carved recessed cavity that houses an integrated bezel-set faceted accent gemstone, finished with a top-mounted precious metal peg bail. Combining a smooth cabochon or tumble-polished mineral body with a sparkling, flush-set faceted gem creates a high-contrast luxury aesthetic that elevates raw mineral rough into fine artisan jewelry.
A stone-in-stone inlay refers to the precision lapidary technique of recessing one finished gem or metal-framed setting directly into a carved pocket within a mineral host. A bezel cup is a shallow metal finding engineered to encase and secure a stone. A peg bail features a grooved mounting post designed to anchor directly into a blind hole drilled into the stone’s top edge.
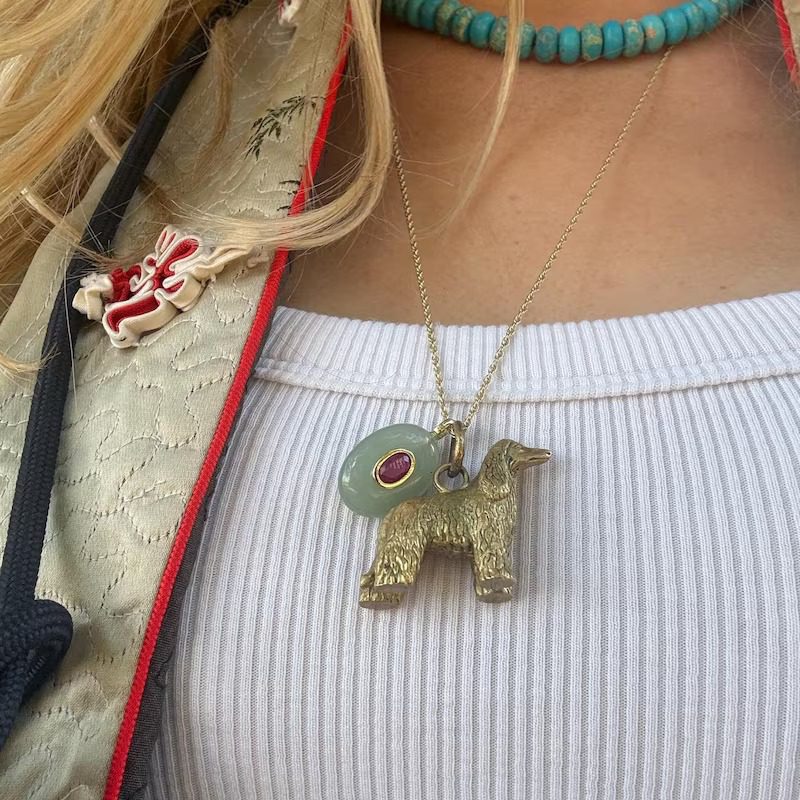
In our lapidary workshop at Rock Tumble Lab, our team tested rotary tool configurations across multiple mineral varieties to establish a reliable fabrication method for this exact pendant style. This guide provides proven workbench measurements, diamond burr selections, water coolant delivery protocols, and adhesive curing benchmarks. For workshop inquiries, visit our about us page or contact our lapidary staff.
Key Takeaways
- Design Dimensions: A 25 mm by 18 mm, 5.0–6.5 mm thick polished oval base stone featuring a centered 1.8–2.0 mm deep recessed oval pocket, a 6 mm by 4 mm gold-plated bezel cup, and a 1.0 mm top peg bail.
- Rotary Equipment Setup: Flexible shaft rotary machine running at 6,500–8,500 RPM equipped with 180-grit cylindrical diamond burrs, 2.0 mm ball burrs, and a flat-end cylinder diamond end mill.
- Continuous Water Irrigation: Always carve and drill under running water or in a shallow coolant bath to prevent airborne silica inhalation and eliminate thermal shock fractures in the mineral.
- Structural Adhesive: Slow-curing, two-part jeweler’s epoxy (Hughes 330 or Devcon 2-Ton) provides high tensile bond strength without yellowing or shrinkage.
- Compatible Mineral Varieties: Rose Quartz, Lapis Lazuli, Green Aventurine, Black Onyx, Amazonite, Blue Apatite, and Clear Quartz offer balanced hardness and excellent polish retention.
Essential Materials for Making an Inlaid Gemstone Pendant
Fabricating an inlaid gemstone pendant requires coordinating lapidary rock carving tools with bench jewelry setting supplies. Selecting solid, fracture-free mineral slabs or tumble-polished stones ensures clean cavity edges and prevents chipping during rotary milling.
Selecting Base Stones for Your Inlaid Gemstone Pendant
The base stone forms the canvas for the entire pendant. You can shape an oval preform from a flat mineral slab or select a pre-tumbled, smooth oval stone measuring roughly 25 mm long by 18 mm wide and 5.0 mm to 6.5 mm thick. Blanks under 4.5 mm risk puncturing through during pocket milling, while blanks over 7.5 mm feel heavy on delicate chains.
| Mineral Variety | Mohs Hardness | Fracture / Cleavage | Practical Workbench Carving Guidance |
|---|---|---|---|
| Rose Quartz | 7.0 | Conchoidal | Dense and uniform with crisp edges. Polish with cerium oxide for a wet glass finish. |
| Lapis Lazuli | 5.0 – 5.5 | Granular / Uneven | Carves rapidly. Keep speeds under 6,500 RPM to avoid tearing softer calcite veins. |
| Green Aventurine | 7.0 | Granular / Tough | Tough matrix resists chipping. Mica inclusions add subtle sparkle around the setting. |
| Black Onyx | 6.5 – 7.0 | Conchoidal | Uniform chalcedony structure allows razor-sharp cavity milling without micro-chipping. |
| Amazonite | 6.0 – 6.5 | 2-directional Cleavage | Use gentle tool feed and continuous water coolant to prevent step-fracturing. |
| Blue Apatite | 5.0 | Conchoidal to Uneven | Softer mineral. Maintain steady water irrigation and avoid heavy lateral pressure. |
| Clear Quartz | 7.0 | Conchoidal | Requires fine cavity floor polishing before cementing the metallic bezel cup. |
Examine blanks under focused backlighting. Reject stones with internal fractures crossing the center quadrant. For verified mineral data, review the GIA Gem Encyclopedia and survey records from the USGS Mineral Resources Program. If tumbling your own preform blanks before carving, refer to our guide on rock tumbling media.
If you need rough agates, jasper, or bulk quartz crystals to slab and shape into base pendant blanks, here are top-rated options:




Rotary Tools and Diamond Burrs for Stone Inlay
Milling a recessed setting pocket into hard silicates demands stable rotary equipment and diamond-coated abrasives:
- Flex-Shaft Machine: Rotary machine with foot-pedal control (Foredom SR) providing torque at 4,000–9,000 RPM.
- Diamond Core Drill Bits: 1.0 mm diamond core drills for sinking the top peg bail anchor hole.
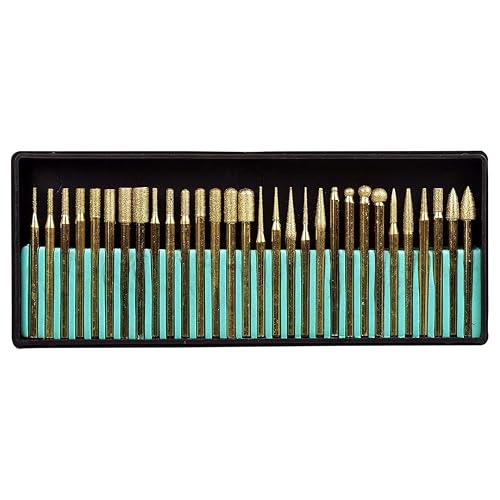
- Profiling Diamond Burrs: 2.35 mm shank burrs: 2.0 mm ball burr for scoring and 3.0 mm flat cylinder burr for floor leveling.
- Miniature End Mill Burr: Flat-end diamond cylinder establishing crisp 90-degree internal junctions.
- Rubberized Smoothing Points: Silicon carbide points (400, 800, 1200 grit) to erase tool chatter marks inside the pocket.
- Water Immersion Basin: Shallow tray where stones remain submerged under 3 mm of water during milling to suppress dust.
Bench Jewelry Settings, Accent Gems, and Adhesives
The central highlight of this pendant is a metal-framed faceted gem nested within the mineral face:
- Oval Bezel Cup: Flat-back stamped bezel cup in 14k gold-plated brass or sterling silver (6 mm by 4 mm, 1.8–2.2 mm wall height).
- Faceted Accent Gemstone: Oval faceted gem matching bezel dimensions (ruby, sapphire, citrine, or cubic zirconia).
- Peg Bail Finding: Contoured jewelry bail featuring an attached 0.8 mm knurled mounting post (3.5 mm length).
- Two-Part Structural Epoxy: Optically clear, slow-curing lapidary epoxy (Hughes 330 or Devcon 2-Ton).
- Stone Setting Tools: Brass bezel rocker, polished burnisher, dop stick with dop wax, digital calipers, and a 10x loupe.
Step-by-Step Lapidary Process: How to Make an Inlaid Gemstone Pendant
Creating this pendant requires systematic execution. Drilling and milling stone must occur in a specific order to prevent fracturing delicate edge margins.
Workshop Benchmarks for Crafting an Inlaid Gemstone Pendant
Our workshop team recorded operational parameters across 12 test pendants using quartz, agate, and feldspar stones to establish safe workbench limits:
| Operational Phase | Selected Tooling | Rotary Speed (RPM) | Coolant Protocol | Observed Failure Modes & Fixes |
|---|---|---|---|---|
| Top Bail Hole Drilling | 1.0 mm Diamond Core Bit | 4,000 – 5,500 RPM | Submersion with peck pulses | Bit wander: Dimple entry with a small ball burr. |
| Pocket Perimeter Scribing | 2.0 mm Diamond Ball Burr | 7,000 – 8,000 RPM | Continuous water drip | Burr skitter: Anchor wrists firmly to bench block. |
| Cavity Floor Milling | 3.0 mm Flat Cylinder Burr | 6,500 – 7,500 RPM | Shallow water bath with rinse | Uneven floor: Check depth frequently with calipers. |
| Internal Rim Smoothing | 600-Grit Cratex Point | 5,000 – 6,000 RPM | Submerged light contact | Pocket widening: Keep abrasive point strictly vertical. |
| Bezel Cup Inlay Bonding | Hughes 330 Epoxy | Manual static cure | Room temp (72 deg F / 22 deg C) | Air bubbles: Apply adhesive along perimeter only. |
Following wet carving protocols eliminates airborne particulates in compliance with OSHA Respirable Silica Standards, keeping your workshop safe.
Scribing the Oval Silhouette and Inlay Origin
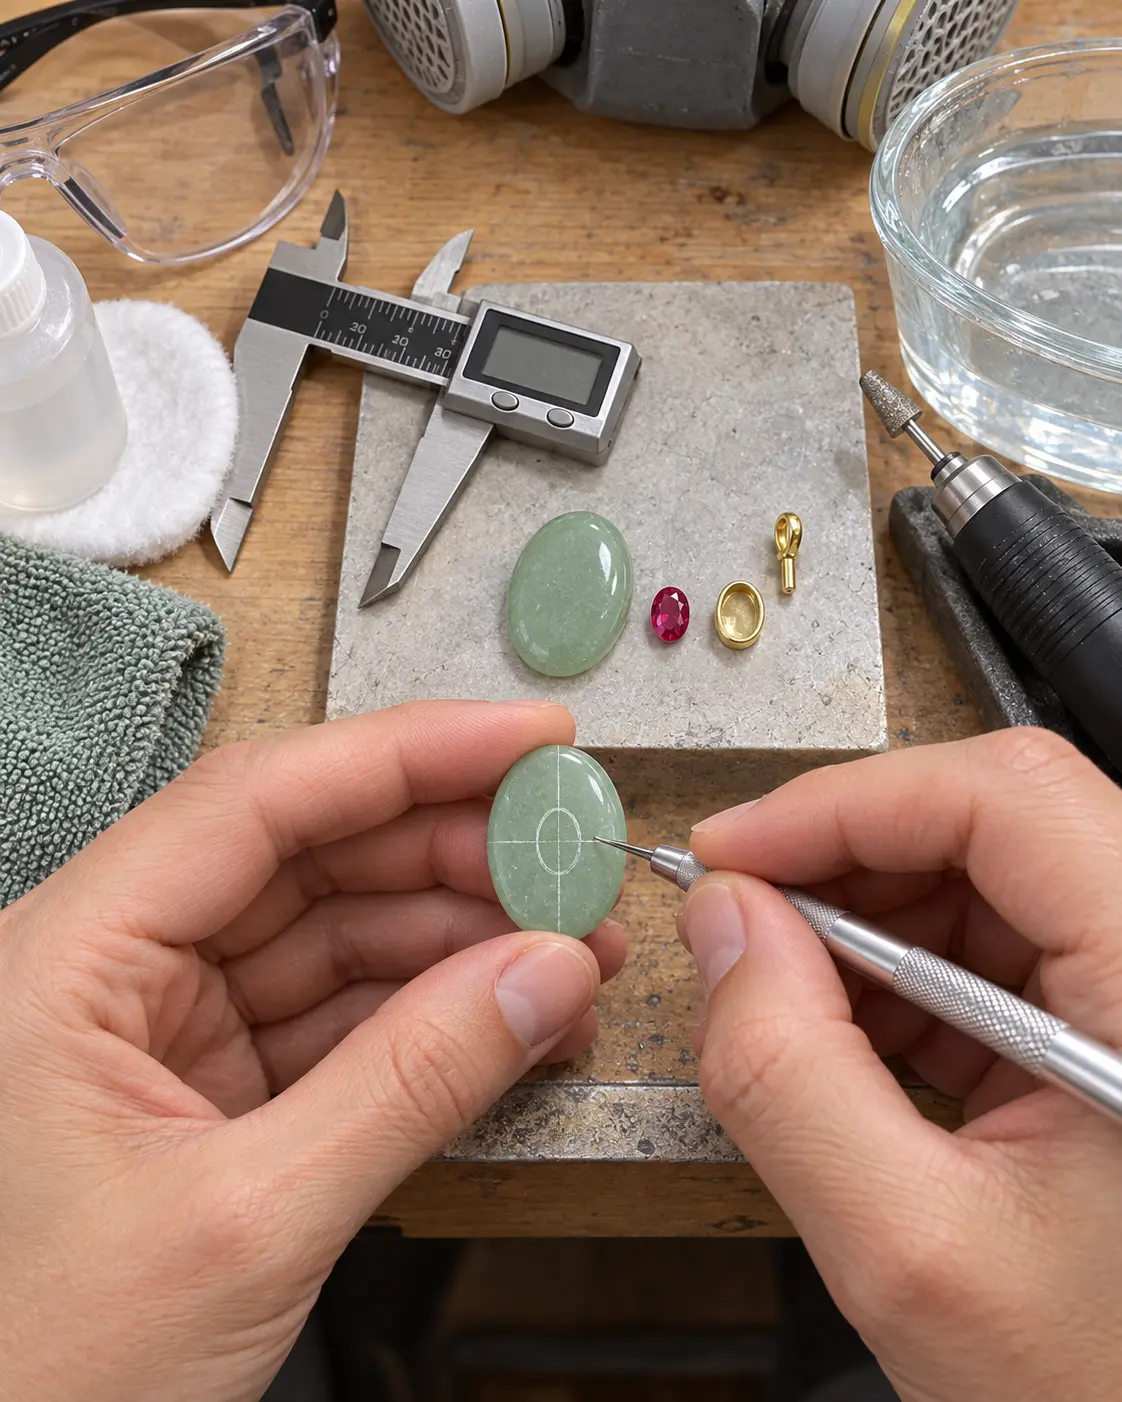
Before carving, prepare your base stone blank:
- Verify Base Dimensions: Measure your polished oval stone with calipers (optimal blank: 25×18 mm, 5.8 mm thick). If shaping from rough slabs, follow our guide on how to make a gemstone heart pendant.
- Degrease the Stone: Wipe the stone face with 99% isopropyl alcohol to clear oils and lapidary wax.
- Establish Center Axes: Draw longitudinal and transverse centerlines across the dome face using an aluminum scribe to locate the inlay origin.
- Trace Bezel Profile: Invert your empty 6×4 mm bezel cup over the crosshair and trace its perimeter with the aluminum scribe. The scribed metal line stays visible underwater.
Drilling the Top Peg Bail Anchor Hole
Always drill the top bail hole before cutting the front cavity to eliminate internal stress concentrations:
- Mark and Dimple the Entry: Mark the top edge on the centerline. Touch for 2 seconds with a 1.0 mm ball burr at 4,500 RPM under water to grind a concave starter dimple.
- Submerge and Clamp: Secure the stone in your water tray between rubber pads with the top edge submerged under 3 mm of water.
- Peck-Drill the Hole: Mount a 1.0 mm diamond core drill bit at 4,500–5,000 RPM. Lower vertically with feather-light pressure in 2-second pulses, raising slightly to clear slurry. Drill 4.0 mm deep and verify with the bail post.
For milling a clean, level recess pocket into hard silicate gemstones and profiling smooth edges, these rotary flex-shaft attachments and diamond burr sets are essential:


Milling the Recessed Bezel Pocket for the Inlaid Gemstone Pendant
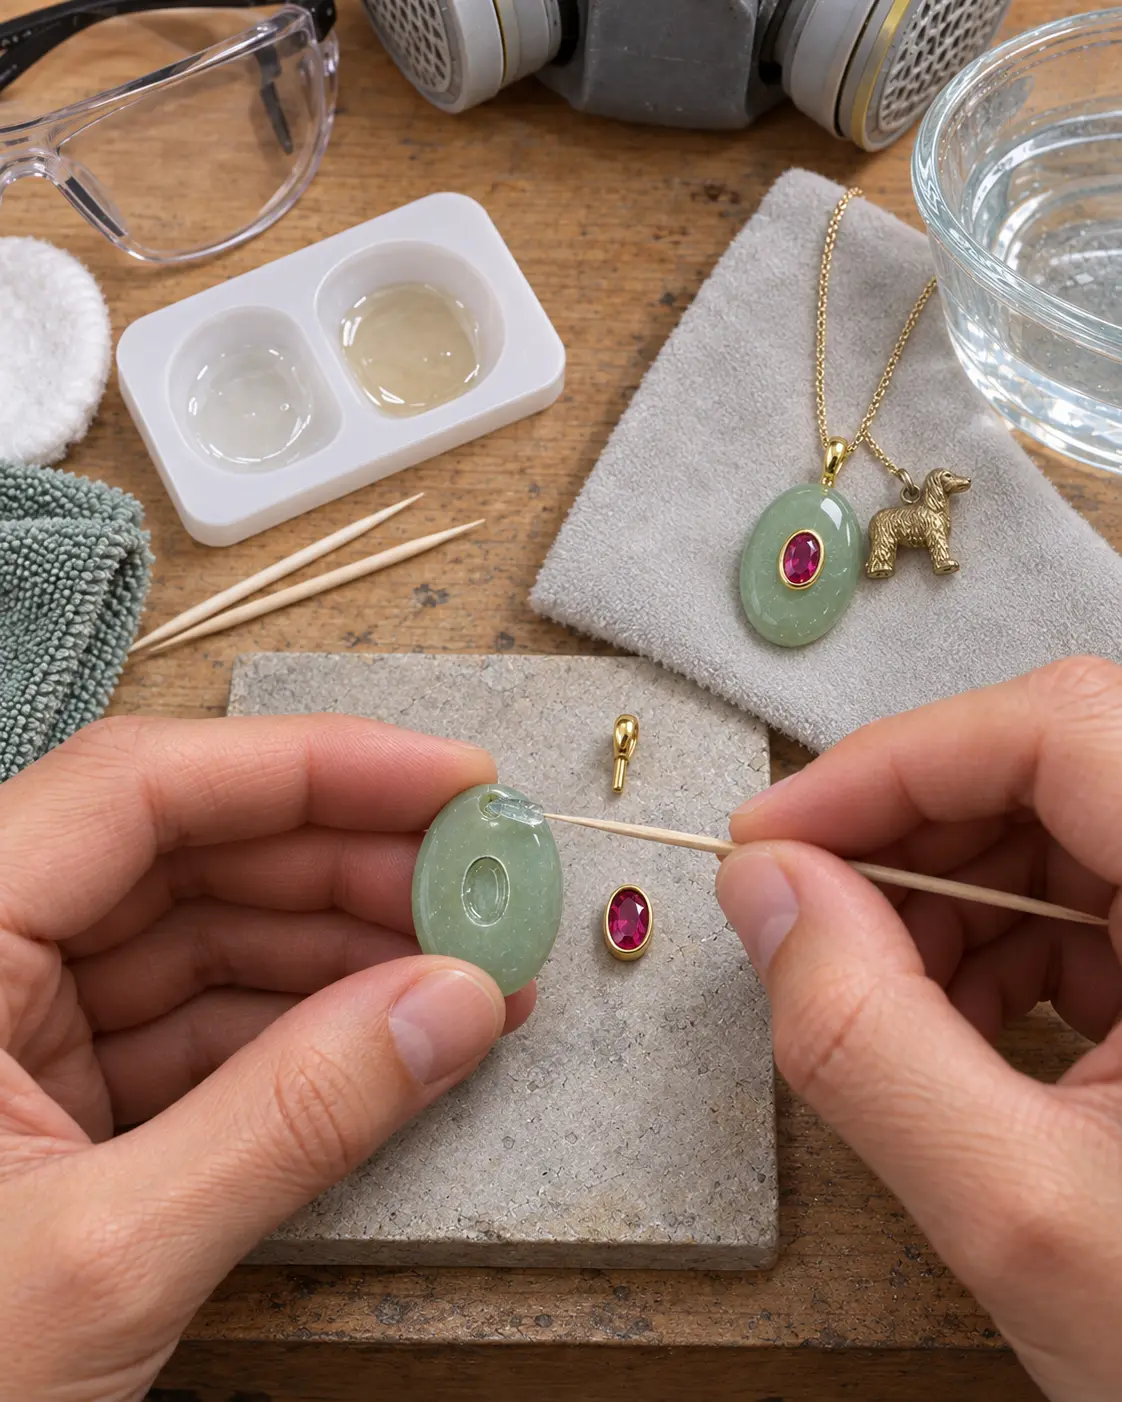
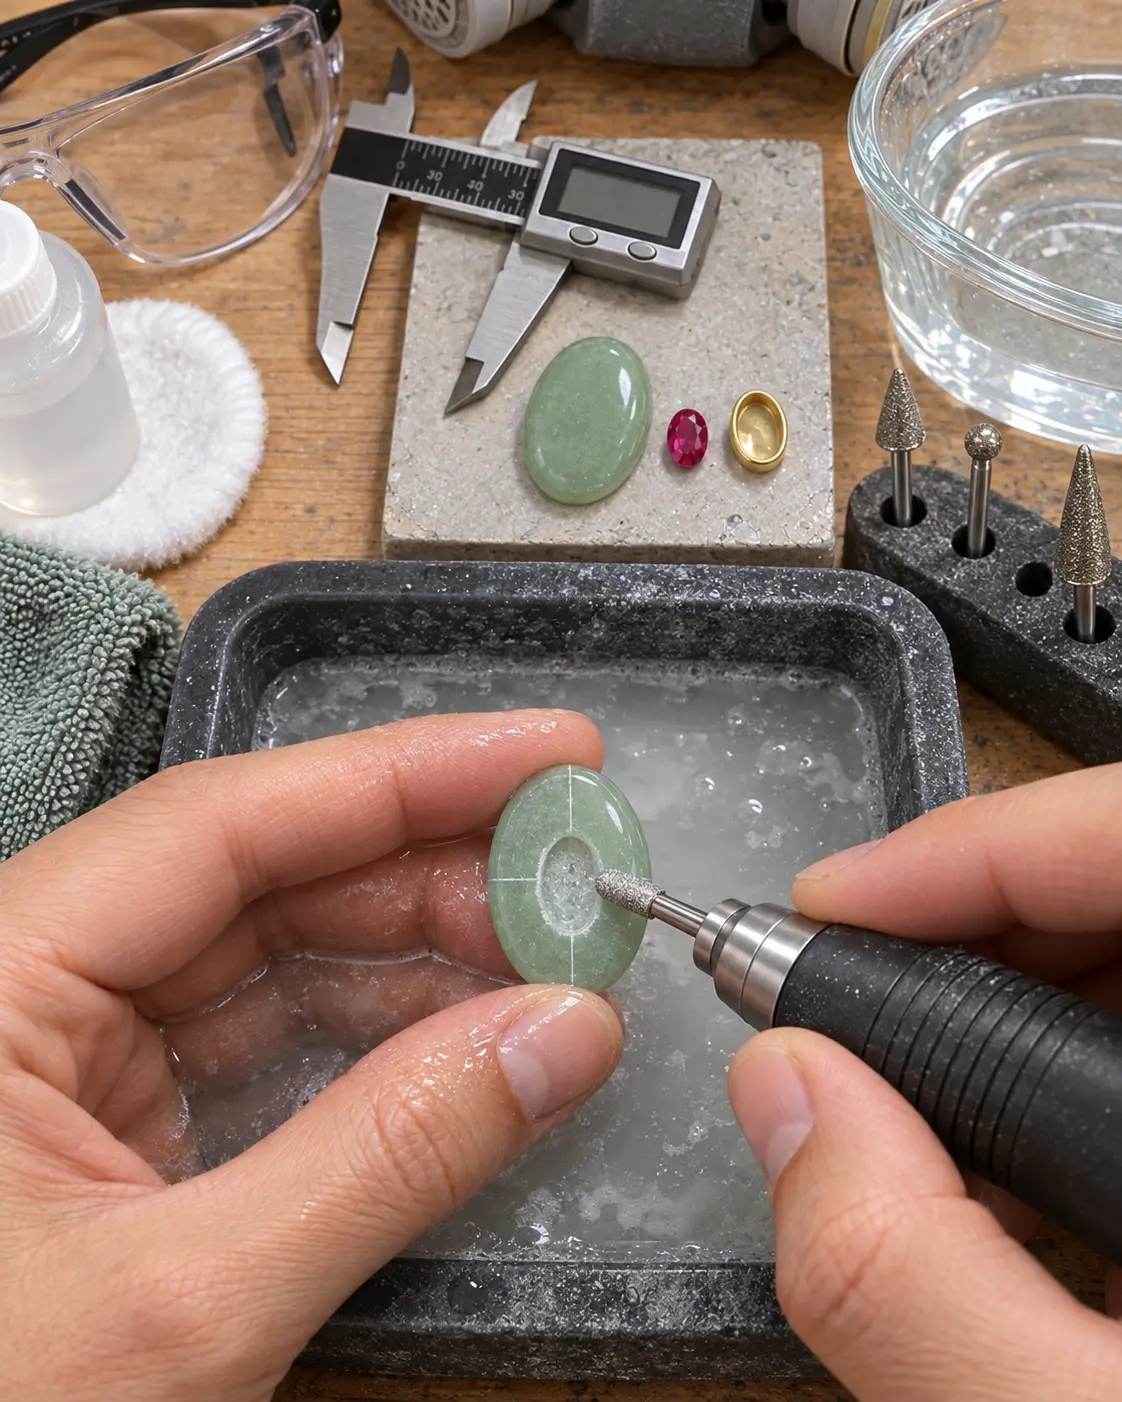
Milling the pocket requires steady, light passes to excavate a flat-bottomed recess matching your bezel cup:
- Score the Internal Boundary: Submerge the stone. Chuck a 1.5 mm diamond ball burr at 7,500 RPM. Trace just inside your scribed line to 0.5 mm depth to prevent oversize expansion.
- Excavate Bulk Mineral: Switch to a 2.5 mm rounded cylinder burr. In small circular motions, mill away stone within the boundary, keeping the handpiece strictly vertical.
- Level the Cavity Floor: Mount a 3.0 mm flat-end cylinder burr at 6,500 RPM. Sweep in a crosshatch pattern until flat and parallel to the stone face. Target a depth of 1.8 mm to 2.0 mm using depth calipers.
- Square Margins and Smooth: Square the floor-to-wall corner with a 1.0 mm cylinder burr. Polish internal walls with a 600-grit rubberized point at 5,000 RPM. For contour smoothing methods, see our guide on DIY gemstone worry stones.
- Dry-Fit the Cup: Clean and dry the stone. The empty bezel cup should slip in with minimal clearance, sitting flush with or protruding less than 0.2 mm above the mineral surface.
Setting the Faceted Accent Stone into the Bezel Cup
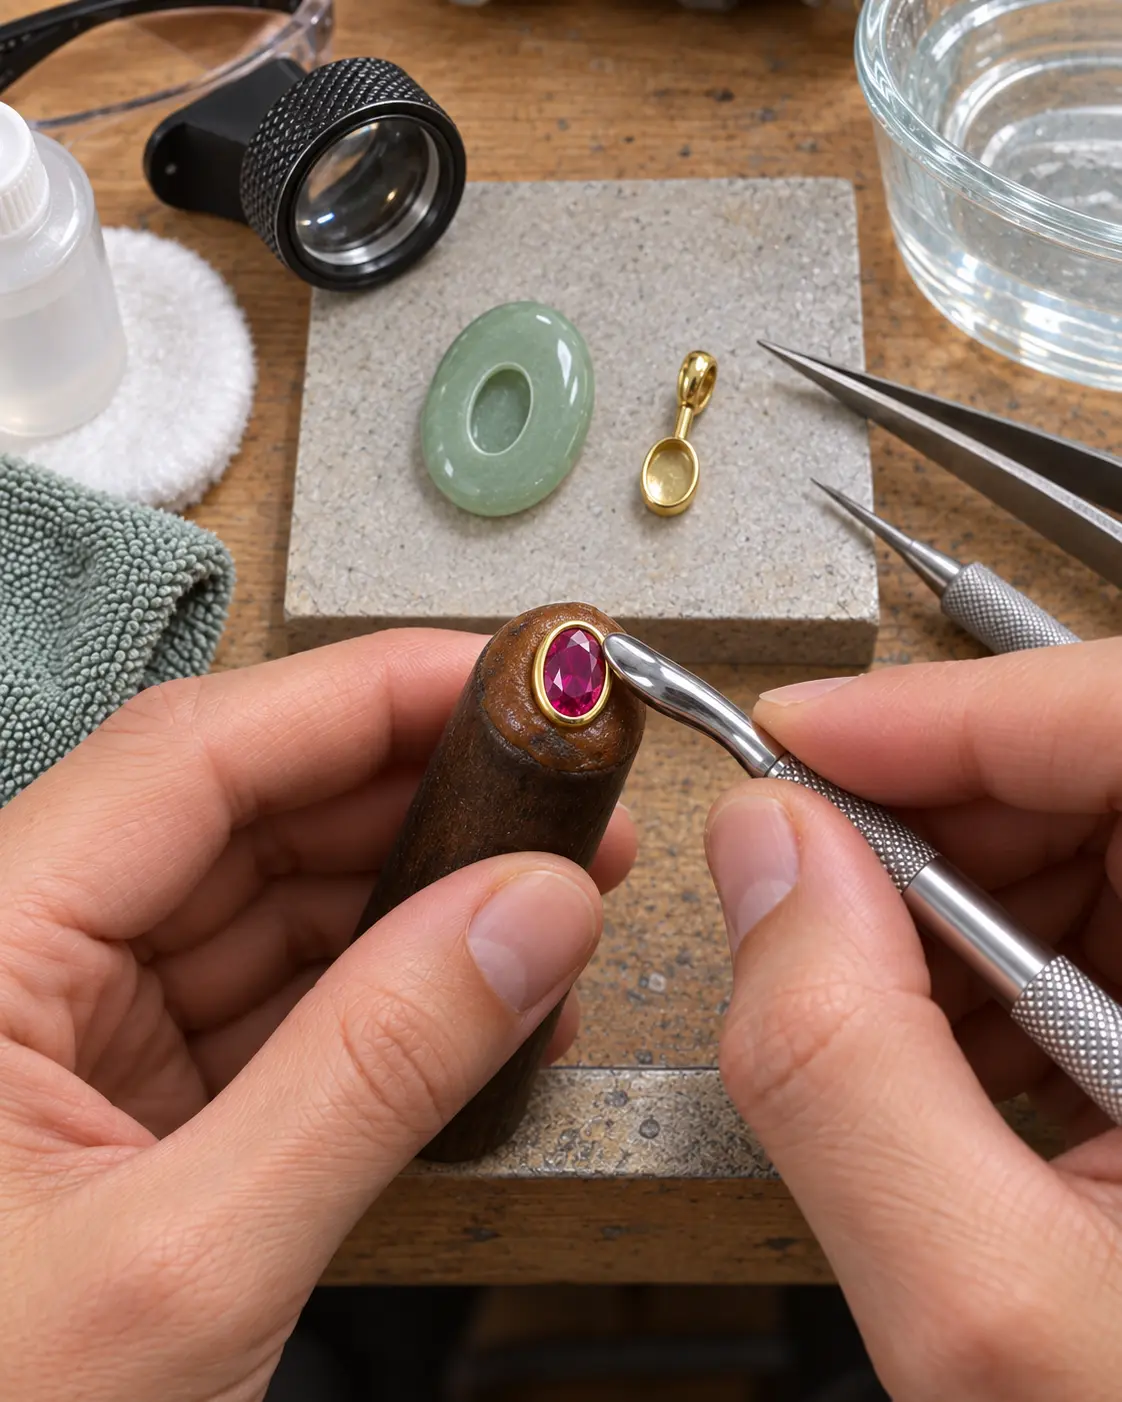
Setting the faceted stone into the bezel cup before gluing avoids placing stress on the mineral host:
- Mount Bezel on Dop Stick: Warm dop wax on a wooden dowel and press the flat bottom of your 6×4 mm bezel cup into the wax. Allow it to cool level.
- Seat the Faceted Gem: Place the faceted oval gem level inside the cup with its girdle resting 0.3 mm below the bezel wall lip.
- Rock the Bezel Rim: Using a polished brass bezel rocker, press the wall inward over the girdle at 12 o’clock, 6 o’clock, 3 o’clock, and 9 o’clock to center the stone.
- Burnish Smooth: Work around the rim with a curved burnisher using light strokes until the metal conforms tightly against the crown facets without gaps.
- Release and Clean: Chill to release the bezel from the dop wax. Clean residual wax with alcohol and inspect tightness under a 10x loupe.
Securing Findings on Your Inlaid Gemstone Pendant with Jeweler’s Epoxy
With the stone carved and the accent gem set, bond the metal findings to complete the assembly:
- Degrease Surfaces: Clean the cavity, top hole, bezel underside, and bail post with 99% isopropyl alcohol. Allow 5 minutes to dry completely.
- Mix Structural Epoxy: Mix equal parts of Hughes 330 or Devcon 2-Ton epoxy on a clean pad for 60 seconds. Let rest 2 minutes to vent micro-bubbles.
- Anchor the Bail: Transfer a drop of epoxy into the top hole with a wire, coat the peg bail post, and insert with a slight twist until the collar rests flush against the stone crest.
- Inlay the Bezel Cup: Spread a thin film of epoxy over the cavity floor. Press the set bezel cup firmly into the pocket with a rubber pusher, rotating slightly to seat evenly.
- Wipe Squeeze-Out: Remove excess adhesive around the bezel rim and bail with an alcohol-dampened swab before it enters the gel phase.
- Cure Undisturbed: Rest the pendant flat on a silicone pad at room temperature for 24 hours. Avoid heat lamps, which induce thermal expansion stresses.
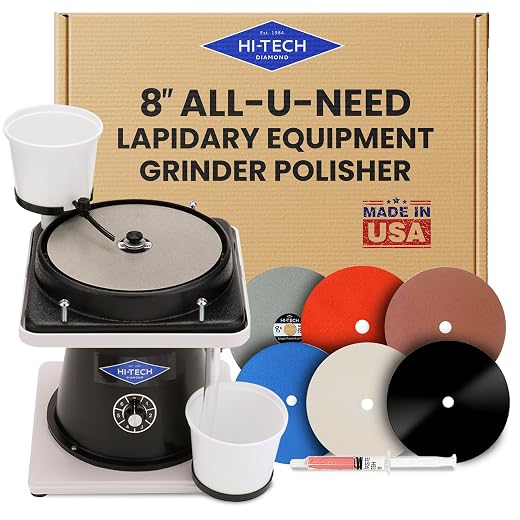
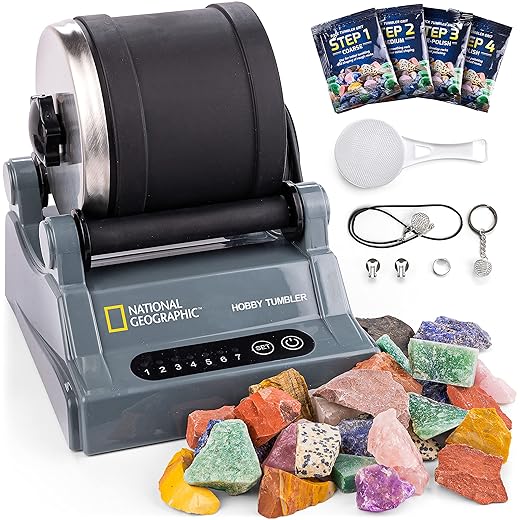
To polish gemstone slabs to a mirror gloss, refine faceted bezels, or tumble lapidary offcuts and cabochon preforms, here are top-performing polishing pastes, flat laps, and tumblers:

Troubleshooting Defects on an Inlaid Gemstone Pendant
Even experienced lapidary artists encounter challenges when working with micro-carved stone settings. Refer to this workshop troubleshooting guide to resolve fabrication issues:
| Defect Encountered | Probable Root Cause | Practical Workbench Correction |
|---|---|---|
| Chipped Pocket Margins | Aggressive feed, coarse burrs, or dry grinding. | Switch to 240-grit burrs near the rim; submerge stone completely in water. |
| Drill Bit Skipping at Top | Polished curve deflects flat drill bit. | Grind a preliminary concave starter dimple with a small ball burr first. |
| Wobbling Bezel Setting | Cylinder burr left high ridges in cavity. | Level the cavity floor using a flat-bottom diamond end mill at 6,500 RPM. |
| Epoxy Haze Around Gem | Fast 5-minute epoxy used or excess uncleaned. | Use only slow-cure lapidary epoxy; clean margins immediately with alcohol swabs. |
| Stone Cracking Across Center | Pocket milled too deep (>65% thickness). | Keep pocket depth under 35% of blank thickness. Support stone on rubber. |
| Bezel Loose After Cure | Residual slurry or oils on surfaces. | Scrub with 99% alcohol; roughen bezel underside with 320-grit paper before gluing. |
For additional stone carving and relief profiling techniques, explore our detailed guides on how to make a fluted gemstone heart pendant and how to carve an amethyst Mexican lace agate heart.
Frequently Asked Questions About How to Make an Inlaid Gemstone Pendant
What rotary speed is best when carving an inlaid gemstone pendant?
The optimal rotary carving speed for quartz and silicate minerals (Mohs 6.0–7.0) ranges between 6,500 and 8,500 RPM. Operating below 5,000 RPM causes the diamond burr to chatter, micro-chipping the crisp rim of your pocket. Running above 10,000 RPM flings liquid coolant off the burr head, generating local friction heat that leads to thermal shock fractures.
Can I tumble polish a finished inlaid gemstone pendant?
No. Never place an assembled inlaid gemstone pendant in a rock tumbler. Tumbling grit and media will abrade the metal bezel, scratch the faceted gem, and dissolve or weaken the epoxy bond. All mineral shaping and polishing must be completed before milling the center pocket and mounting findings. For tumbling preform blanks, see our rock tumbling for beginners guide.
What is the strongest epoxy for an inlaid gemstone pendant?
The most dependable adhesives for lapidary stone-in-stone jewelry are slow-curing, two-part structural epoxies like Hughes 330, Devcon 2-Ton, or Epoxy 220. These formulations cure clear, resist moisture, and provide bond strengths exceeding 2,500 PSI. Rapid 5-minute adhesives should be avoided because they turn amber over time, become brittle, and shrink, eventually allowing settings or bails to detach.
How do I prevent cracking the base stone while milling the cavity?
Prevent stone cracking by maintaining three rules: keep cavity depth under 35% of total stone thickness (leaving at least 3.5 mm of solid stone beneath a 2.0 mm pocket), support the workpiece flat against a dense rubber dampening pad, and submerge the stone in water to dissipate vibrations.
How do I protect against silica dust when carving an inlaid gemstone pendant?
Carving quartz, jasper, and feldspar generates respirable crystalline silica dust, which presents serious respiratory hazards when inhaled dry. You must always mill stones under continuous water immersion or with an active water drip system to trap all mineral particles in a wet slurry. In addition to wet carving, wear a fitted NIOSH-approved N95 or P100 respirator mask and work in a well-ventilated studio to guarantee complete workshop safety.
 Love Rock Tumbling?
Have a question? Use the form above to submit your question or comment.
I love hearing from you and seeing what you made!