

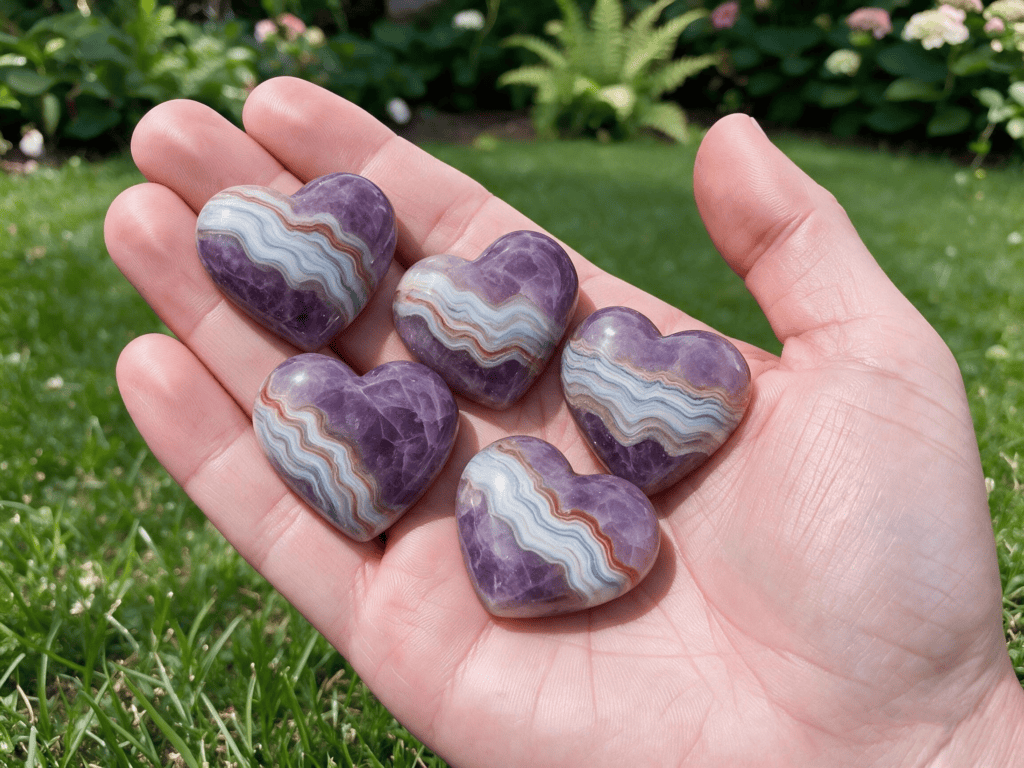
To carve an amethyst Mexican lace agate heart like the undrilled palm stones in the reference listing, select a sound slab or chunk within the seller’s stated 1.5 to 3 inch length range. Trace a symmetrical heart, wet-saw outside the line, grind the cleft and lobes gradually, create matching convex faces, then wet-sand and polish until the curves flow without flats. This tutorial uses a 2 inch practice heart with workshop-chosen proportions because the listing does not disclose width or thickness.
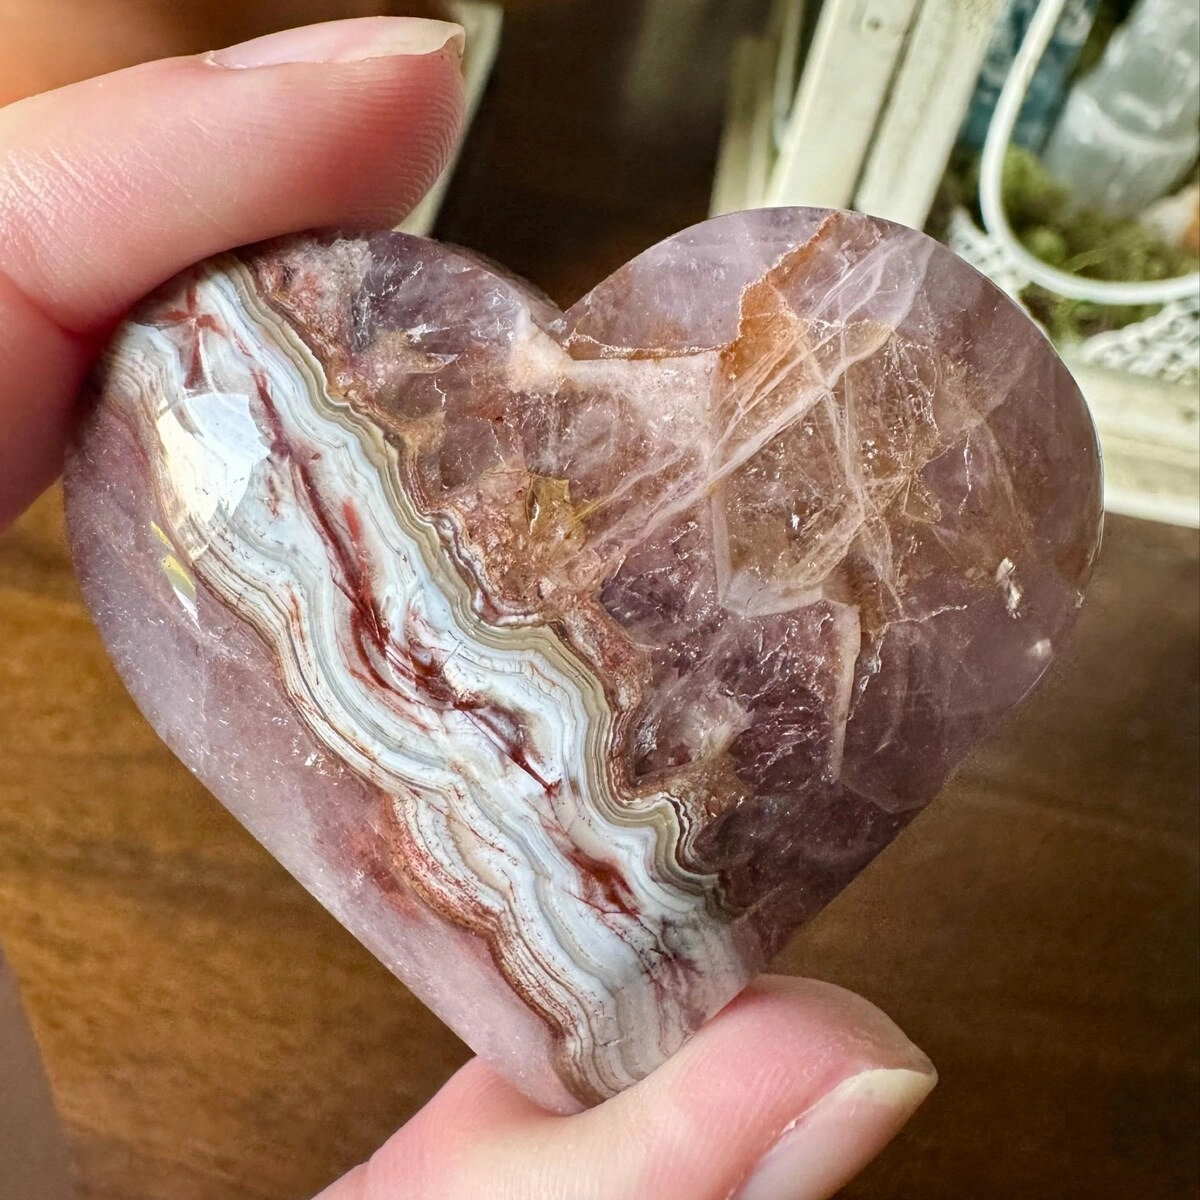
The Etsy listing from LizCreationStudio calls the material both “Crazy lace agate” and “Amethyst Mexican Lace Agate.” Its photos show purple double-domed hearts crossed by white, gray, and rust-colored fortification-like bands, with no hole or bail. The photos and seller description are not a laboratory identification. No treatment report, origin proof, exact tooling, width, thickness, or weight is provided.
You can reproduce the listed size range, heart silhouette, undrilled construction, and polished double dome. You cannot duplicate a natural stone’s exact banding, fractures, or color placement. This guide therefore treats the product name as seller wording and the visible form as the design reference.
Key Takeaways
- Make a 2 inch practice heart, safely inside the listing’s 1.5 to 3 inch length range.
- Treat the proposed 1.8 inch width and 0.55 inch starting thickness as workshop dimensions, not seller specifications.
- Orient the most attractive purple and lace-like banding across the face before cutting.
- Keep every sawing, grinding, sanding, and polishing stage wet.
- Cut the central cleft with relief cuts and small grinding movements instead of forcing a wheel into it.
- Match the two lobes from the front, back, top, and bottom before refining the domes.
- Do not drill the piece or add jewelry hardware. This project is a palm stone or mineral carving.
Amethyst Mexican Lace Agate Heart Design and Material
The target is a full heart with balanced lobes, a softened cleft, tapered sides, a rounded point, two convex faces, and a polished perimeter. It should feel comfortable in the palm without a sharp point or knife-like edge.
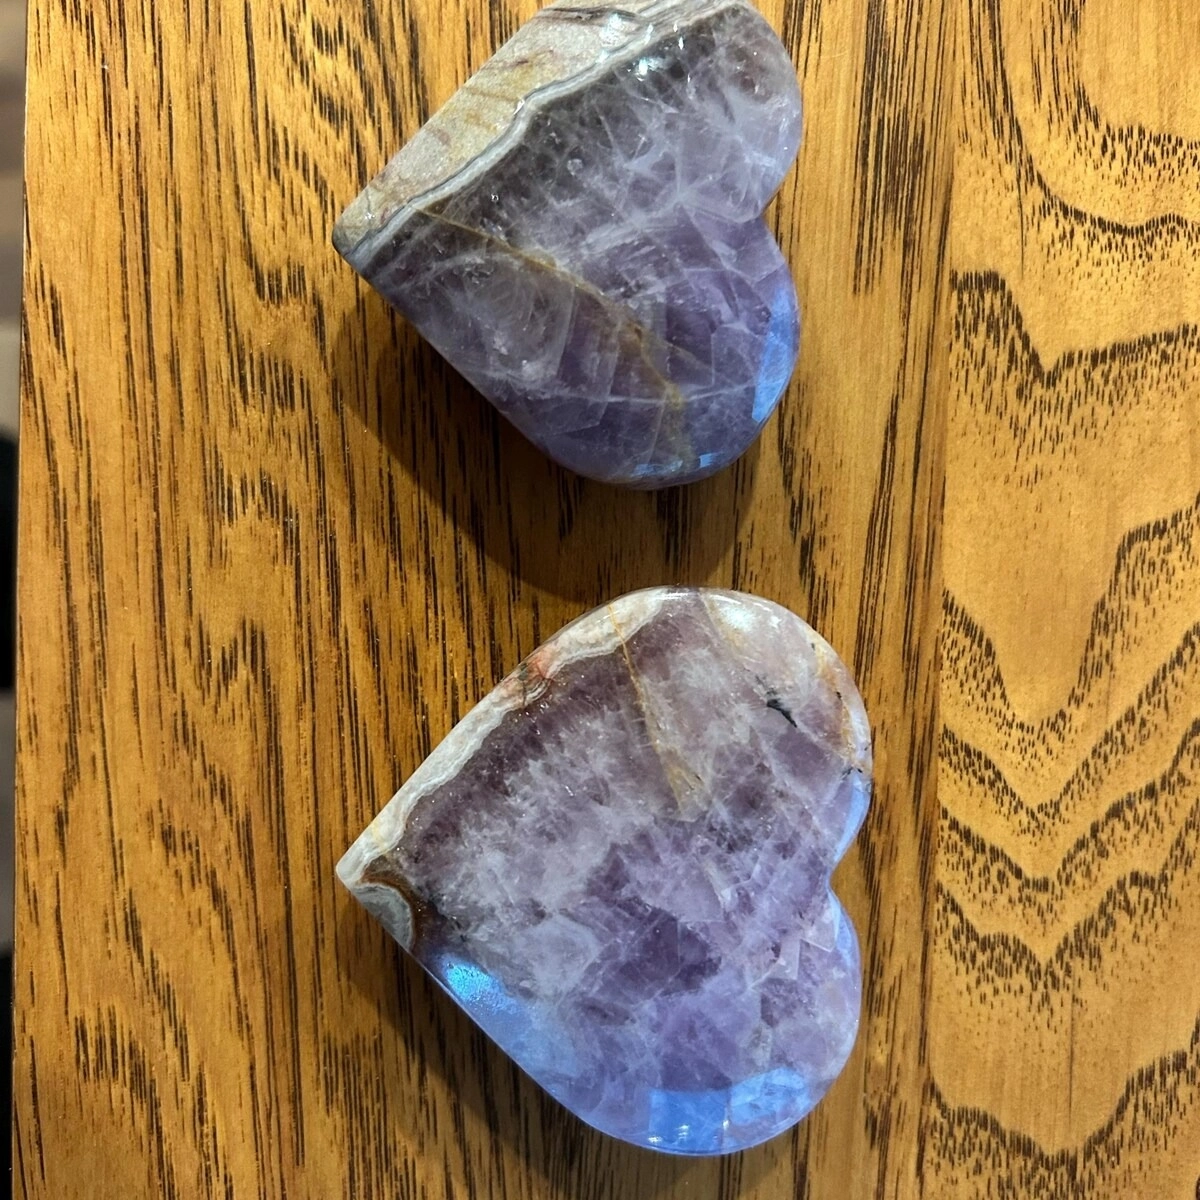
For the 2 inch prototype, draw a template 2 inches long and about 1.8 inches wide. Start with rough approximately 0.55 inch thick so there is room to remove saw marks and build two shallow domes. These are practical shop choices inferred from the visible proportions, not dimensions published by the seller. If your rough is thinner, reduce the dome height instead of chasing the same thickness.
What the Material Name Can and Cannot Tell You
Amethyst is purple quartz. The GIA amethyst reference lists quartz as its mineral species and Mohs 7 as its hardness. Agate is banded chalcedony, a microcrystalline quartz material. GIA’s review of agate structure explains that changes in quartz, moganite, porosity, and inclusions contribute to visible banding. Mindat describes Mexican lace agate as a lacy or wavy agate variety from Mexico.
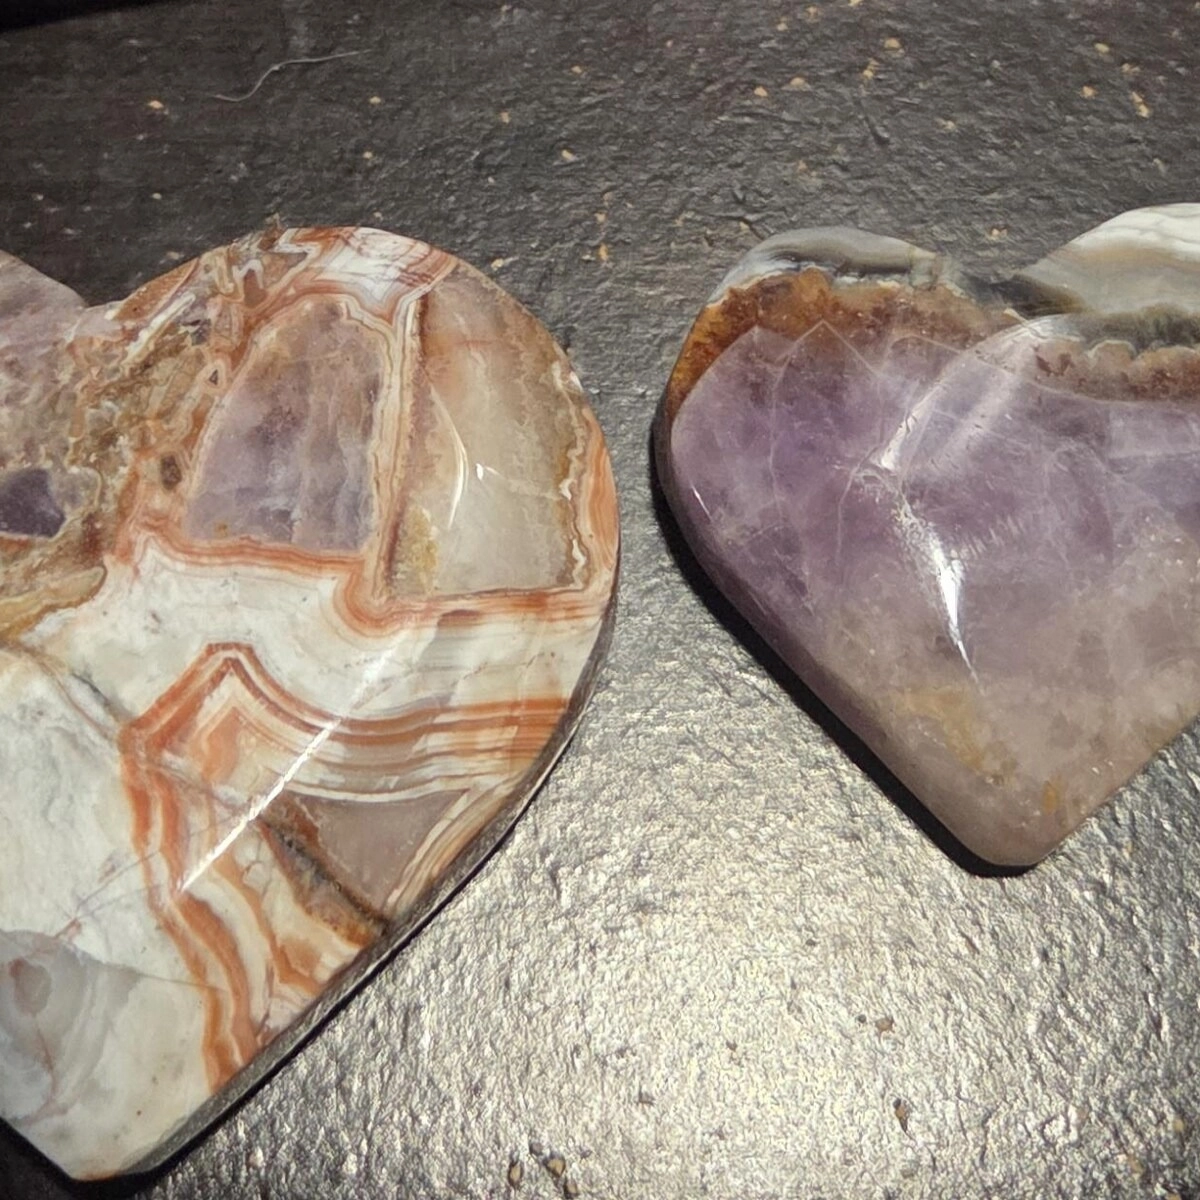
Those references explain the terms, but they do not authenticate the listing’s stones. Purple color alone does not prove amethyst, and lace-like bands do not prove a locality. Buy rough from a supplier who states its identity and whether it is dyed, heated, stabilized, filled, or otherwise treated. GIA’s introduction to gem treatments explains why treatments can be difficult to recognize by sight.
Reject a blank with an open fracture through the planned cleft, a crack at the bottom point, or a soft seam that undercuts at the wheel. Stable inclusions can add character, but the cleft and point need continuous material.
If you need raw agates, quartz, or mixed carving-grade rough stones to select clean blanks with eye-catching banding, here are excellent options:




Tools, Supplies, and Safety Setup
| Item | Recommended setup |
|---|---|
| Rough | Sound slab or chunk at least 2.1 x 1.9 x 0.55 inches |
| Template | Paper or thin plastic heart, fine marker, ruler, calipers |
| Cutting | Water-fed diamond trim saw |
| Shaping | Wet 80 and 220 grit diamond wheels or equivalent |
| Smoothing | Wet 280, 600, 1,200, and 3,000 grit sequence |
| Polishing | Pad and compound appropriate to verified material |
| Inspection | Bright light, magnifier, pencil, straightedge |
| Safety | Eye protection, apron, hearing protection, splash control |
The CabKing 6V3 manufacturer instructions document a wet 80, 220, 280, 600, 1,200, and 3,000 grit cabochon sequence and stress adequate water flow. Use that progression as a reference only; follow the instructions for your own wheels, discs, and polishing system.
Quartz and agate can release respirable crystalline silica when worked dry. The CDC and NIOSH silica guidance recommends wet methods and warns against dry sweeping or compressed-air cleanup. Keep the stone and abrasive contact continuously wet. Clean slurry while damp, use local ventilation where appropriate, and never assume a dust mask makes dry grinding acceptable.
Wear splash-rated eye protection. Keep electrical connections away from water, use appropriate ground-fault protection, tie back hair, and remove loose sleeves and jewelry. Do not wear loose gloves around rotating wheels or blades. Inspect guards, water flow, and wheel condition first.
The beginner’s guide to rock tumbling offers useful background on hardness, fractures, and grit contamination, though a tumbler cannot create this precise form.
Numbered Wet-Lapidary Carving Workflow
1. Build a Symmetrical 2 Inch Template
Draw a vertical centerline 2 inches long. Mark the widest line about 0.8 inch below the top, then extend 0.9 inch to each side. Sketch one lobe, the side curve, and half of the rounded bottom point. Fold the paper on the centerline and cut both halves together. This guarantees matching sides before the stone introduces visual distractions.
Soften the cleft into a narrow U rather than a sharp V, which concentrates stress and is harder to sand. Give the bottom point a tiny radius and confirm the paper outline remains 2 inches long.
2. Orient the Bands and Mark the Blank
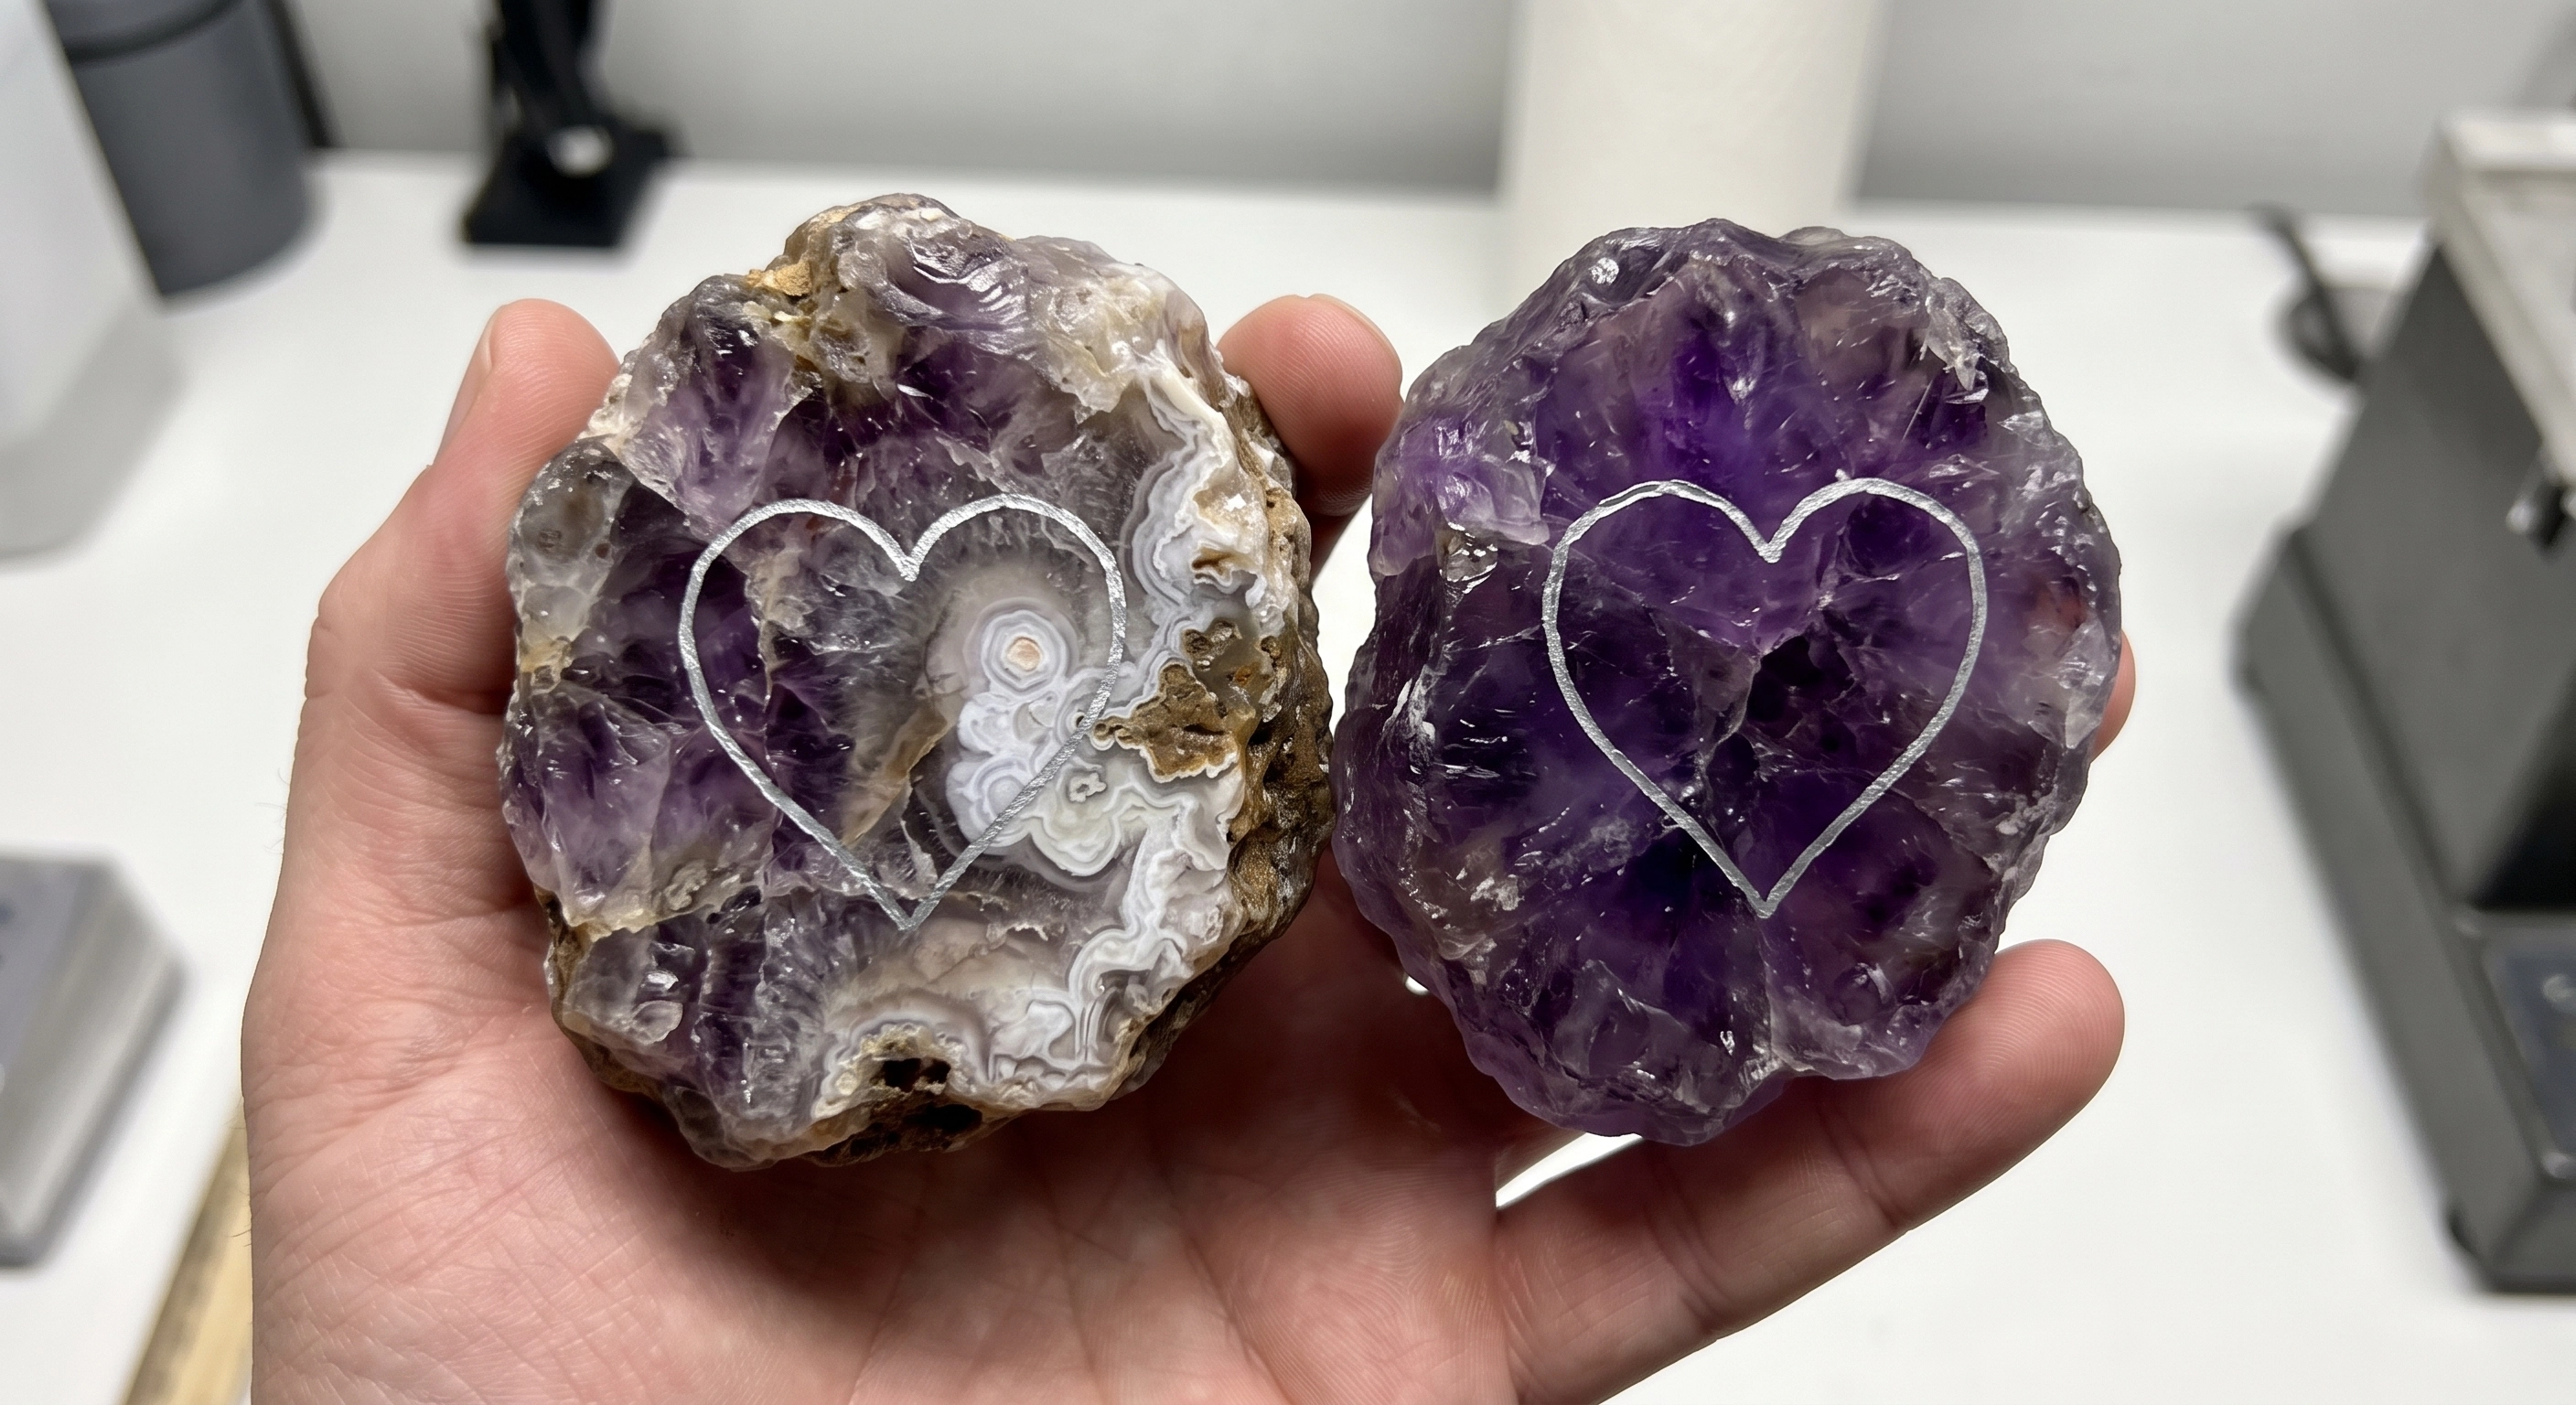
Wet the rough and examine both faces under strong light. Decide whether the purple field or intricate banding should dominate. Move the template to keep fractures away from the cleft and bottom point.
Trace the final line, then add a second saw line about 1/16 inch outside it. Mark the centerline on both faces and across the top edge. Photograph the layout before cutting because coolant may remove the ink. Remember that exact band placement cannot be copied from another natural specimen.
3. Wet-Saw the Heart Preform
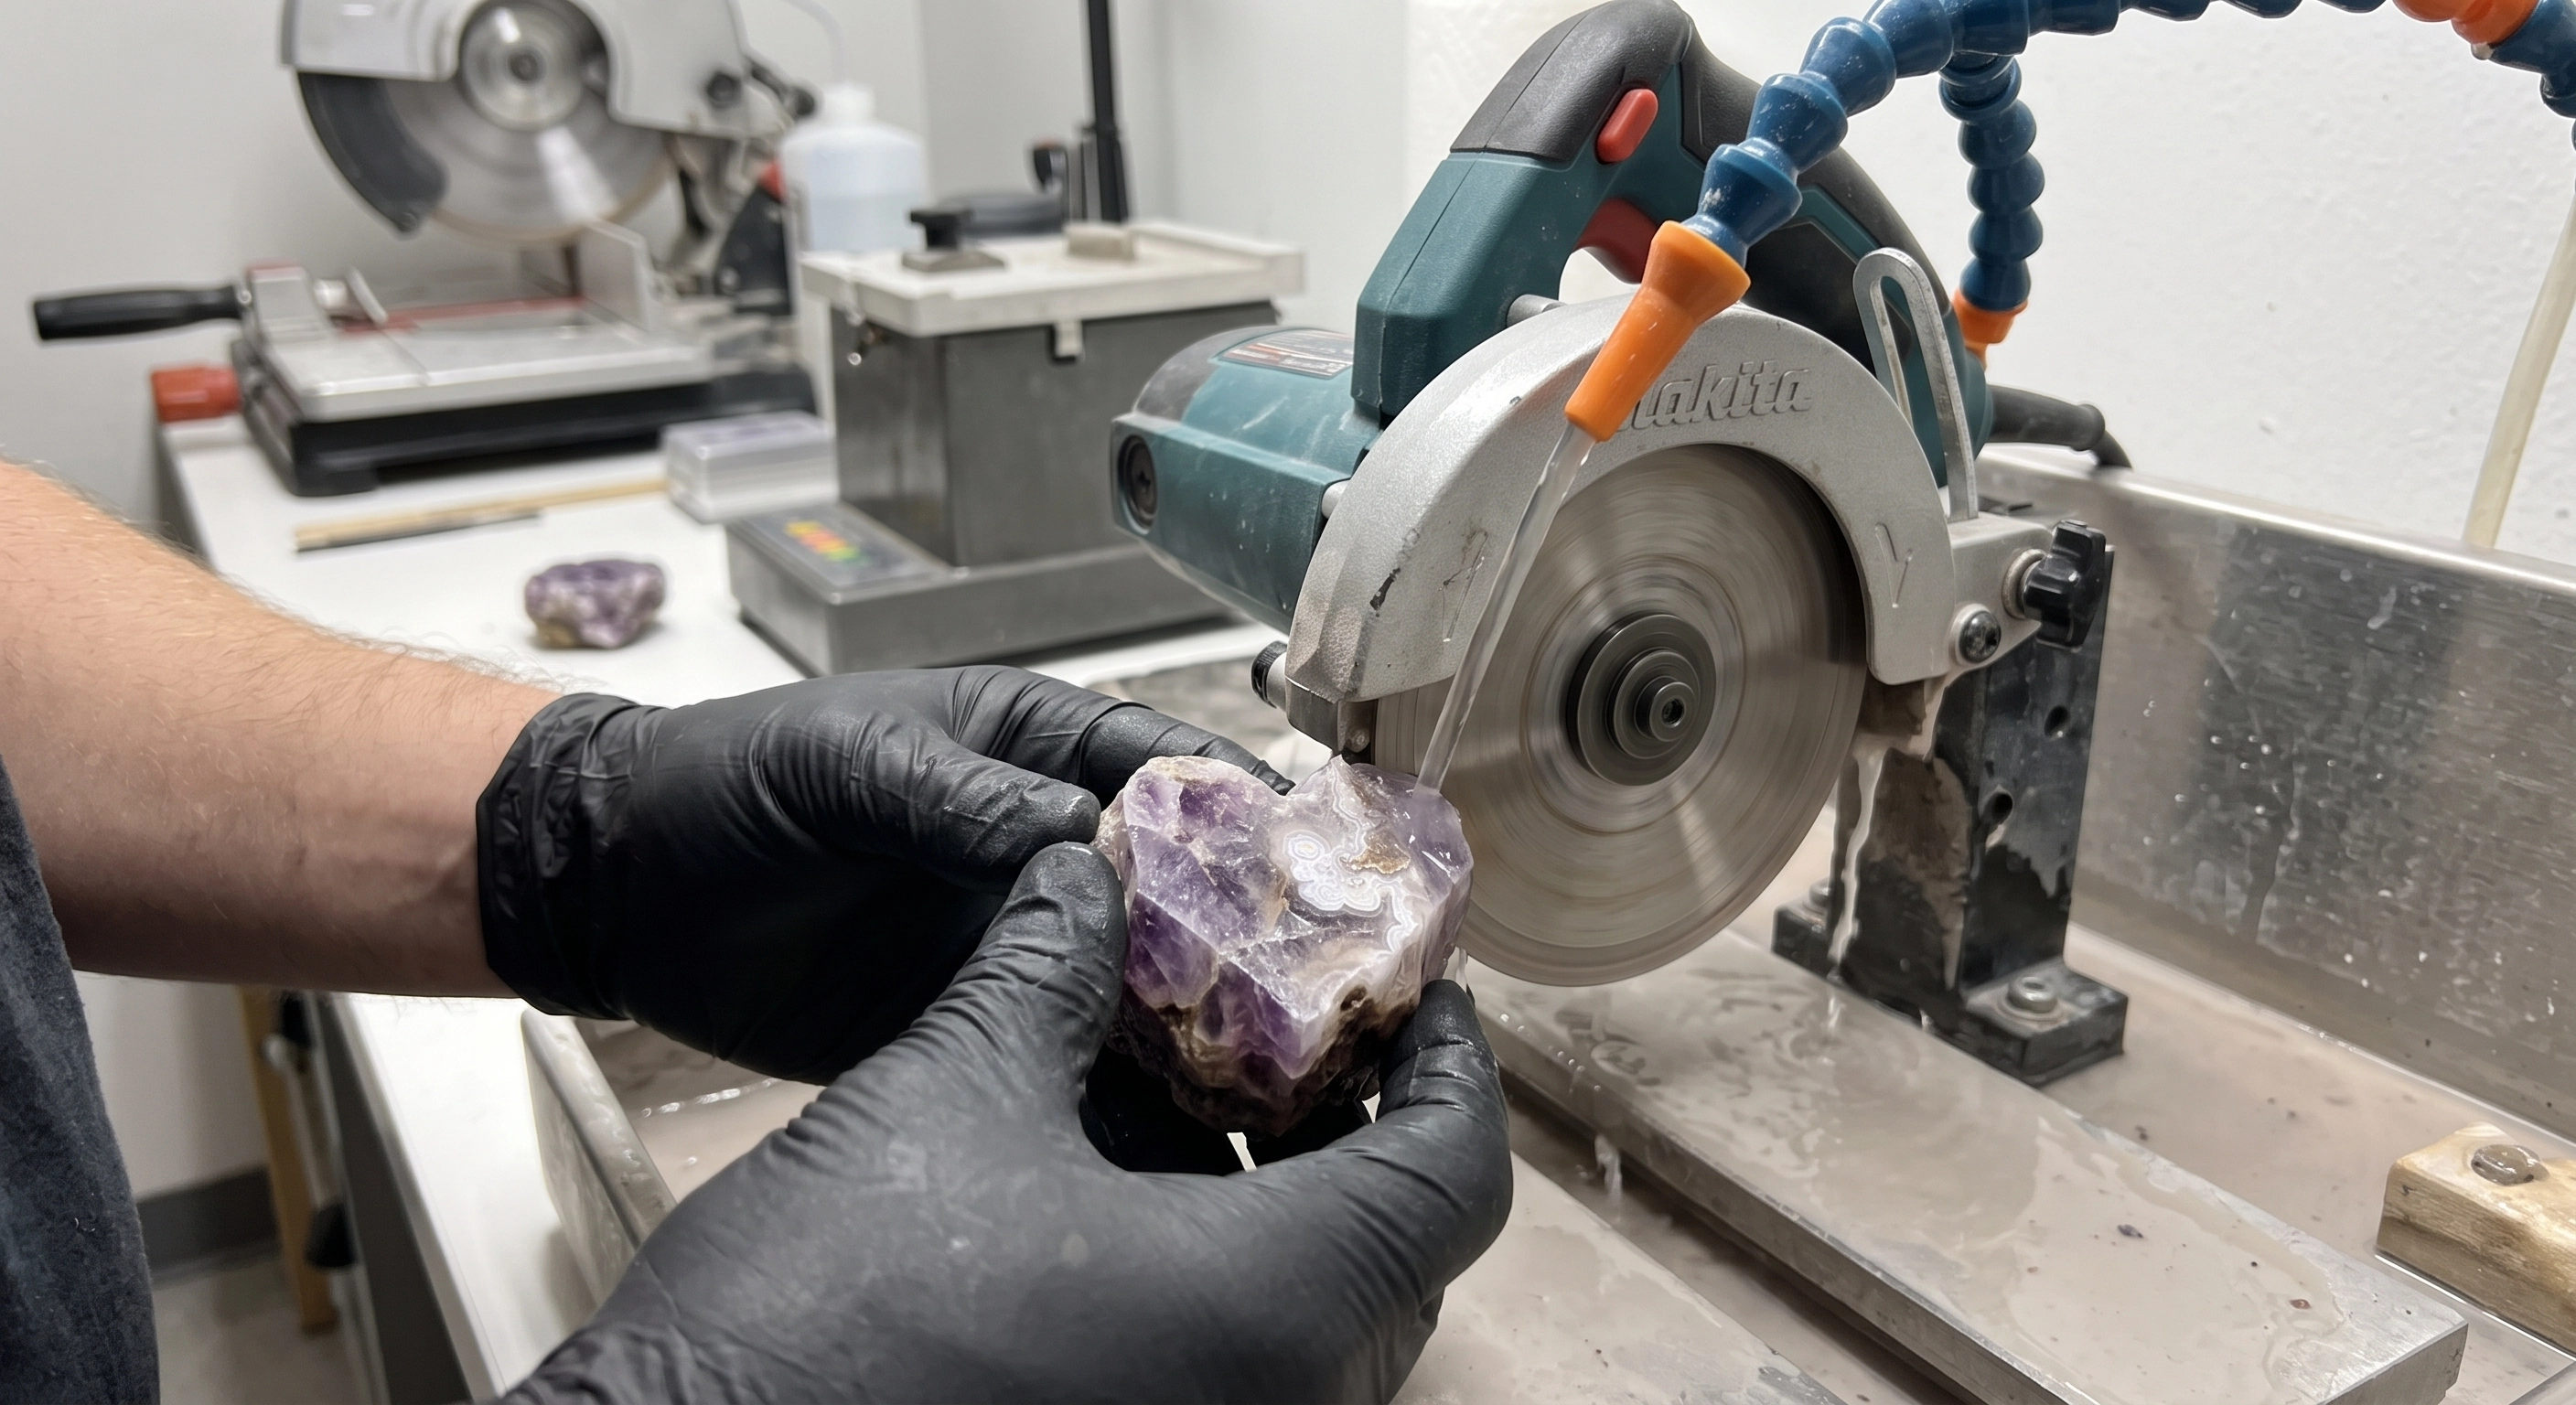
Confirm steady water flow before starting the trim saw. Cut the broad outside curves as a series of short tangential cuts, staying outside the waste line. Never twist the blank against the blade to follow a curve.
Approach the cleft with two relief cuts that stop short of the final U. Remove the center waste in small pieces. Leave the final cleft shaping for the wheel or a water-fed small diamond tool. Inspect the fresh edges for cracks. If a crack enters a lobe or point, resize the template or choose another blank rather than hiding a structural problem under polish.
4. Establish the Outline at 80 and 220 Grit
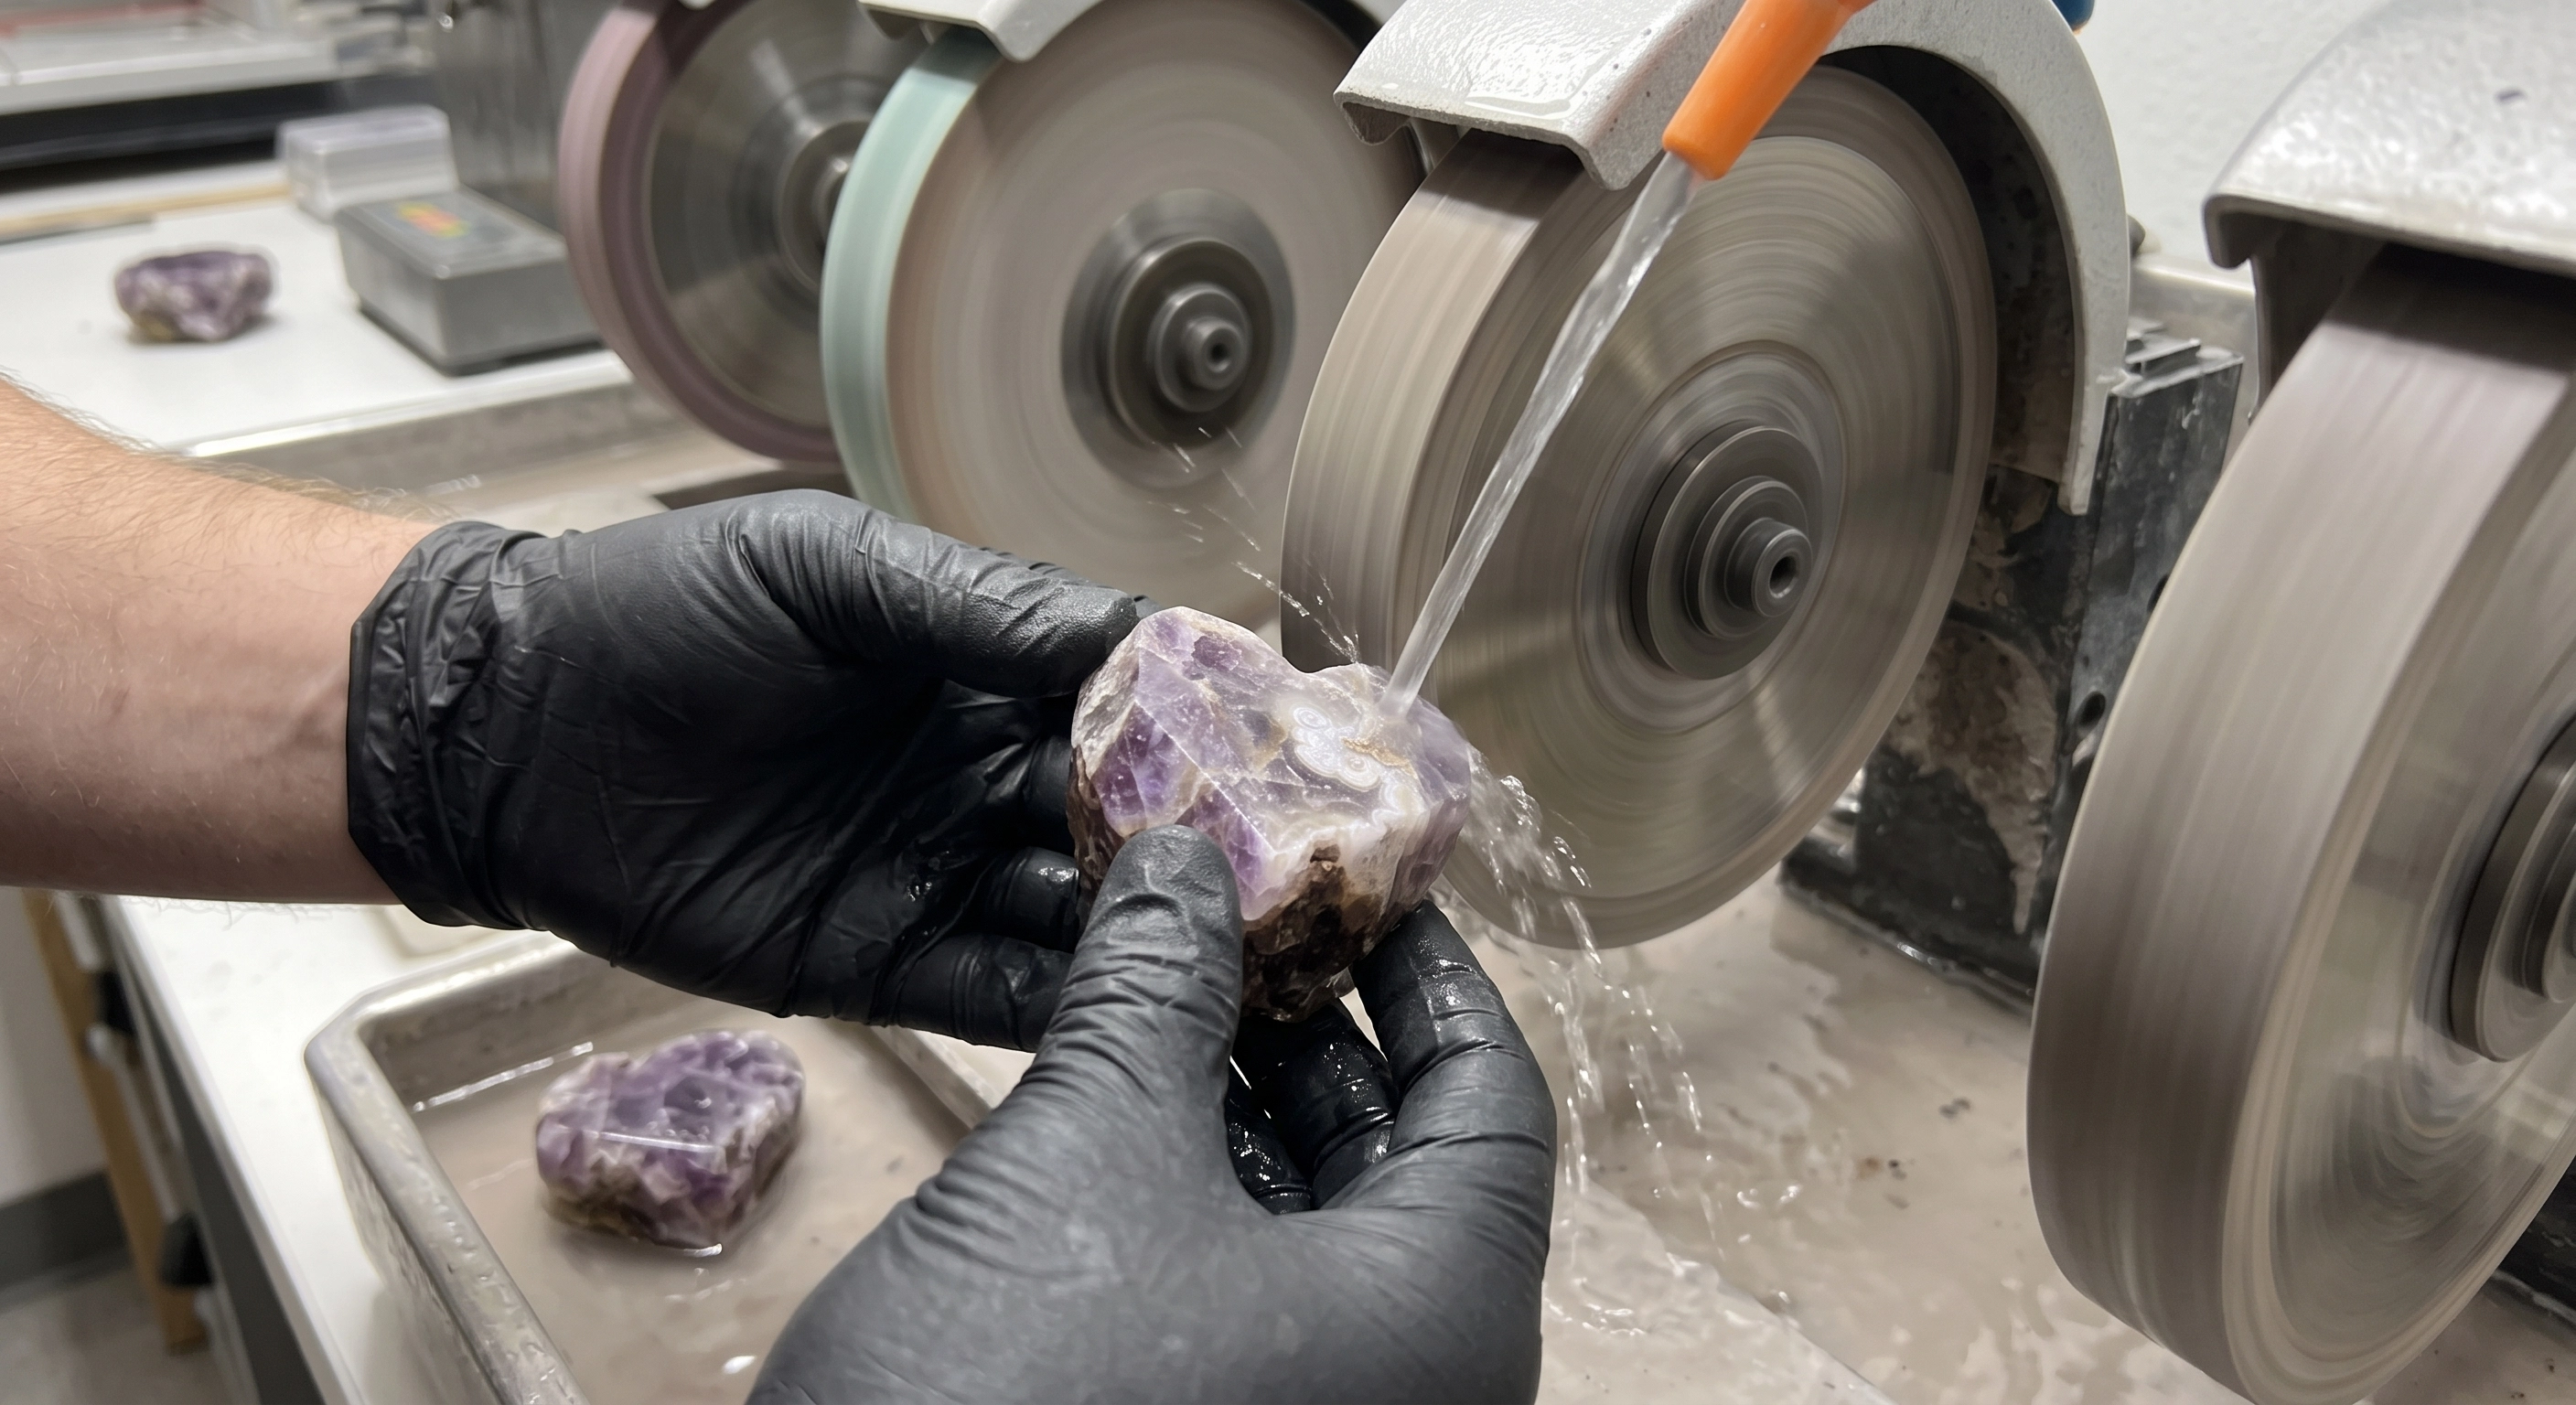
At 80 grit, bring the perimeter close to the template while leaving a narrow marker line. Alternate between left and right sides every few passes. Refine the two lobes as a pair and keep their highest points level. Use the wheel edge cautiously to open the cleft, moving the stone constantly so you do not create a deep notch.
Move to 220 grit for the final outline. Check the heart four ways: face up, face down, point up, and point down. Measure each half from the centerline to its widest point. Correct a heavy lobe now because fine sanding will not fix geometry efficiently.
The centerline method is also used in the gemstone heart pendant tutorial, but that project is designed for jewelry hardware. This carving stays undrilled, has a fuller palm-stone profile, and needs every edge finished for handling.
5. Form the Double Dome
Draw a perimeter midline around the thickness. On each face, draw an inset guide about 1/4 inch inside the outline. At 220 grit, bevel from that guide toward the perimeter midline. Rotate continuously and create many shallow facets. Do not grind one face to completion before starting the other.
Blend the facets into smooth convex faces. Keep slightly more fullness beneath the lobes, then let both domes taper toward the perimeter. Preserve enough material around the cleft to round it safely. Viewed from the side, the high points of the front and back domes should sit near the center and appear balanced.
Run a fingertip around the dry edge with the machine off. The transition should feel continuous, without a ridge between the faces. The rounded ergonomics in the DIY gemstone worry stones guide are a useful comparison, although the heart requires tighter symmetry.
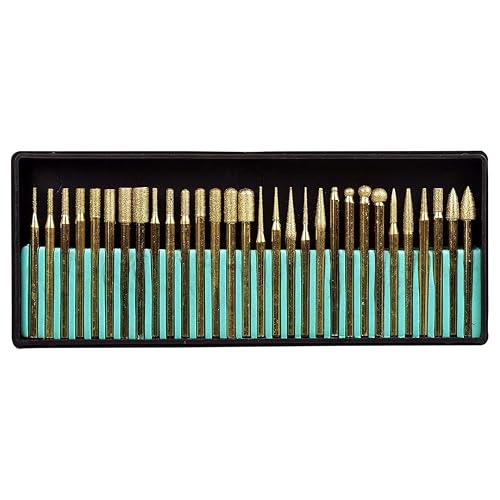
For carving tight cleft contours, shaping symmetrical lobes, and detailing delicate curves without chipping, these rotary attachments and precision diamond burrs provide essential control:


How to Shape an Amethyst Mexican Lace Agate Heart Without Flat Spots
Flat spots form when the stone stays at one wheel angle too long. Use light pressure and sweep the contact point across each curve. Rotate through the lobe, shoulder, side, and point as one flowing path. Work one matching zone on each half before moving to the next zone.
Dry the heart between inspections and use low, raking light. Pencil over flats, pits, and deep scratches. At the next wheel, remove the pencil marks without changing the established silhouette. If a band is softer and begins to undercut, reduce pressure and time in that area. Do not grind the entire face lower merely to remove one deep natural pit unless doing so preserves safe thickness.
6. Sand Through Every Wet Grit
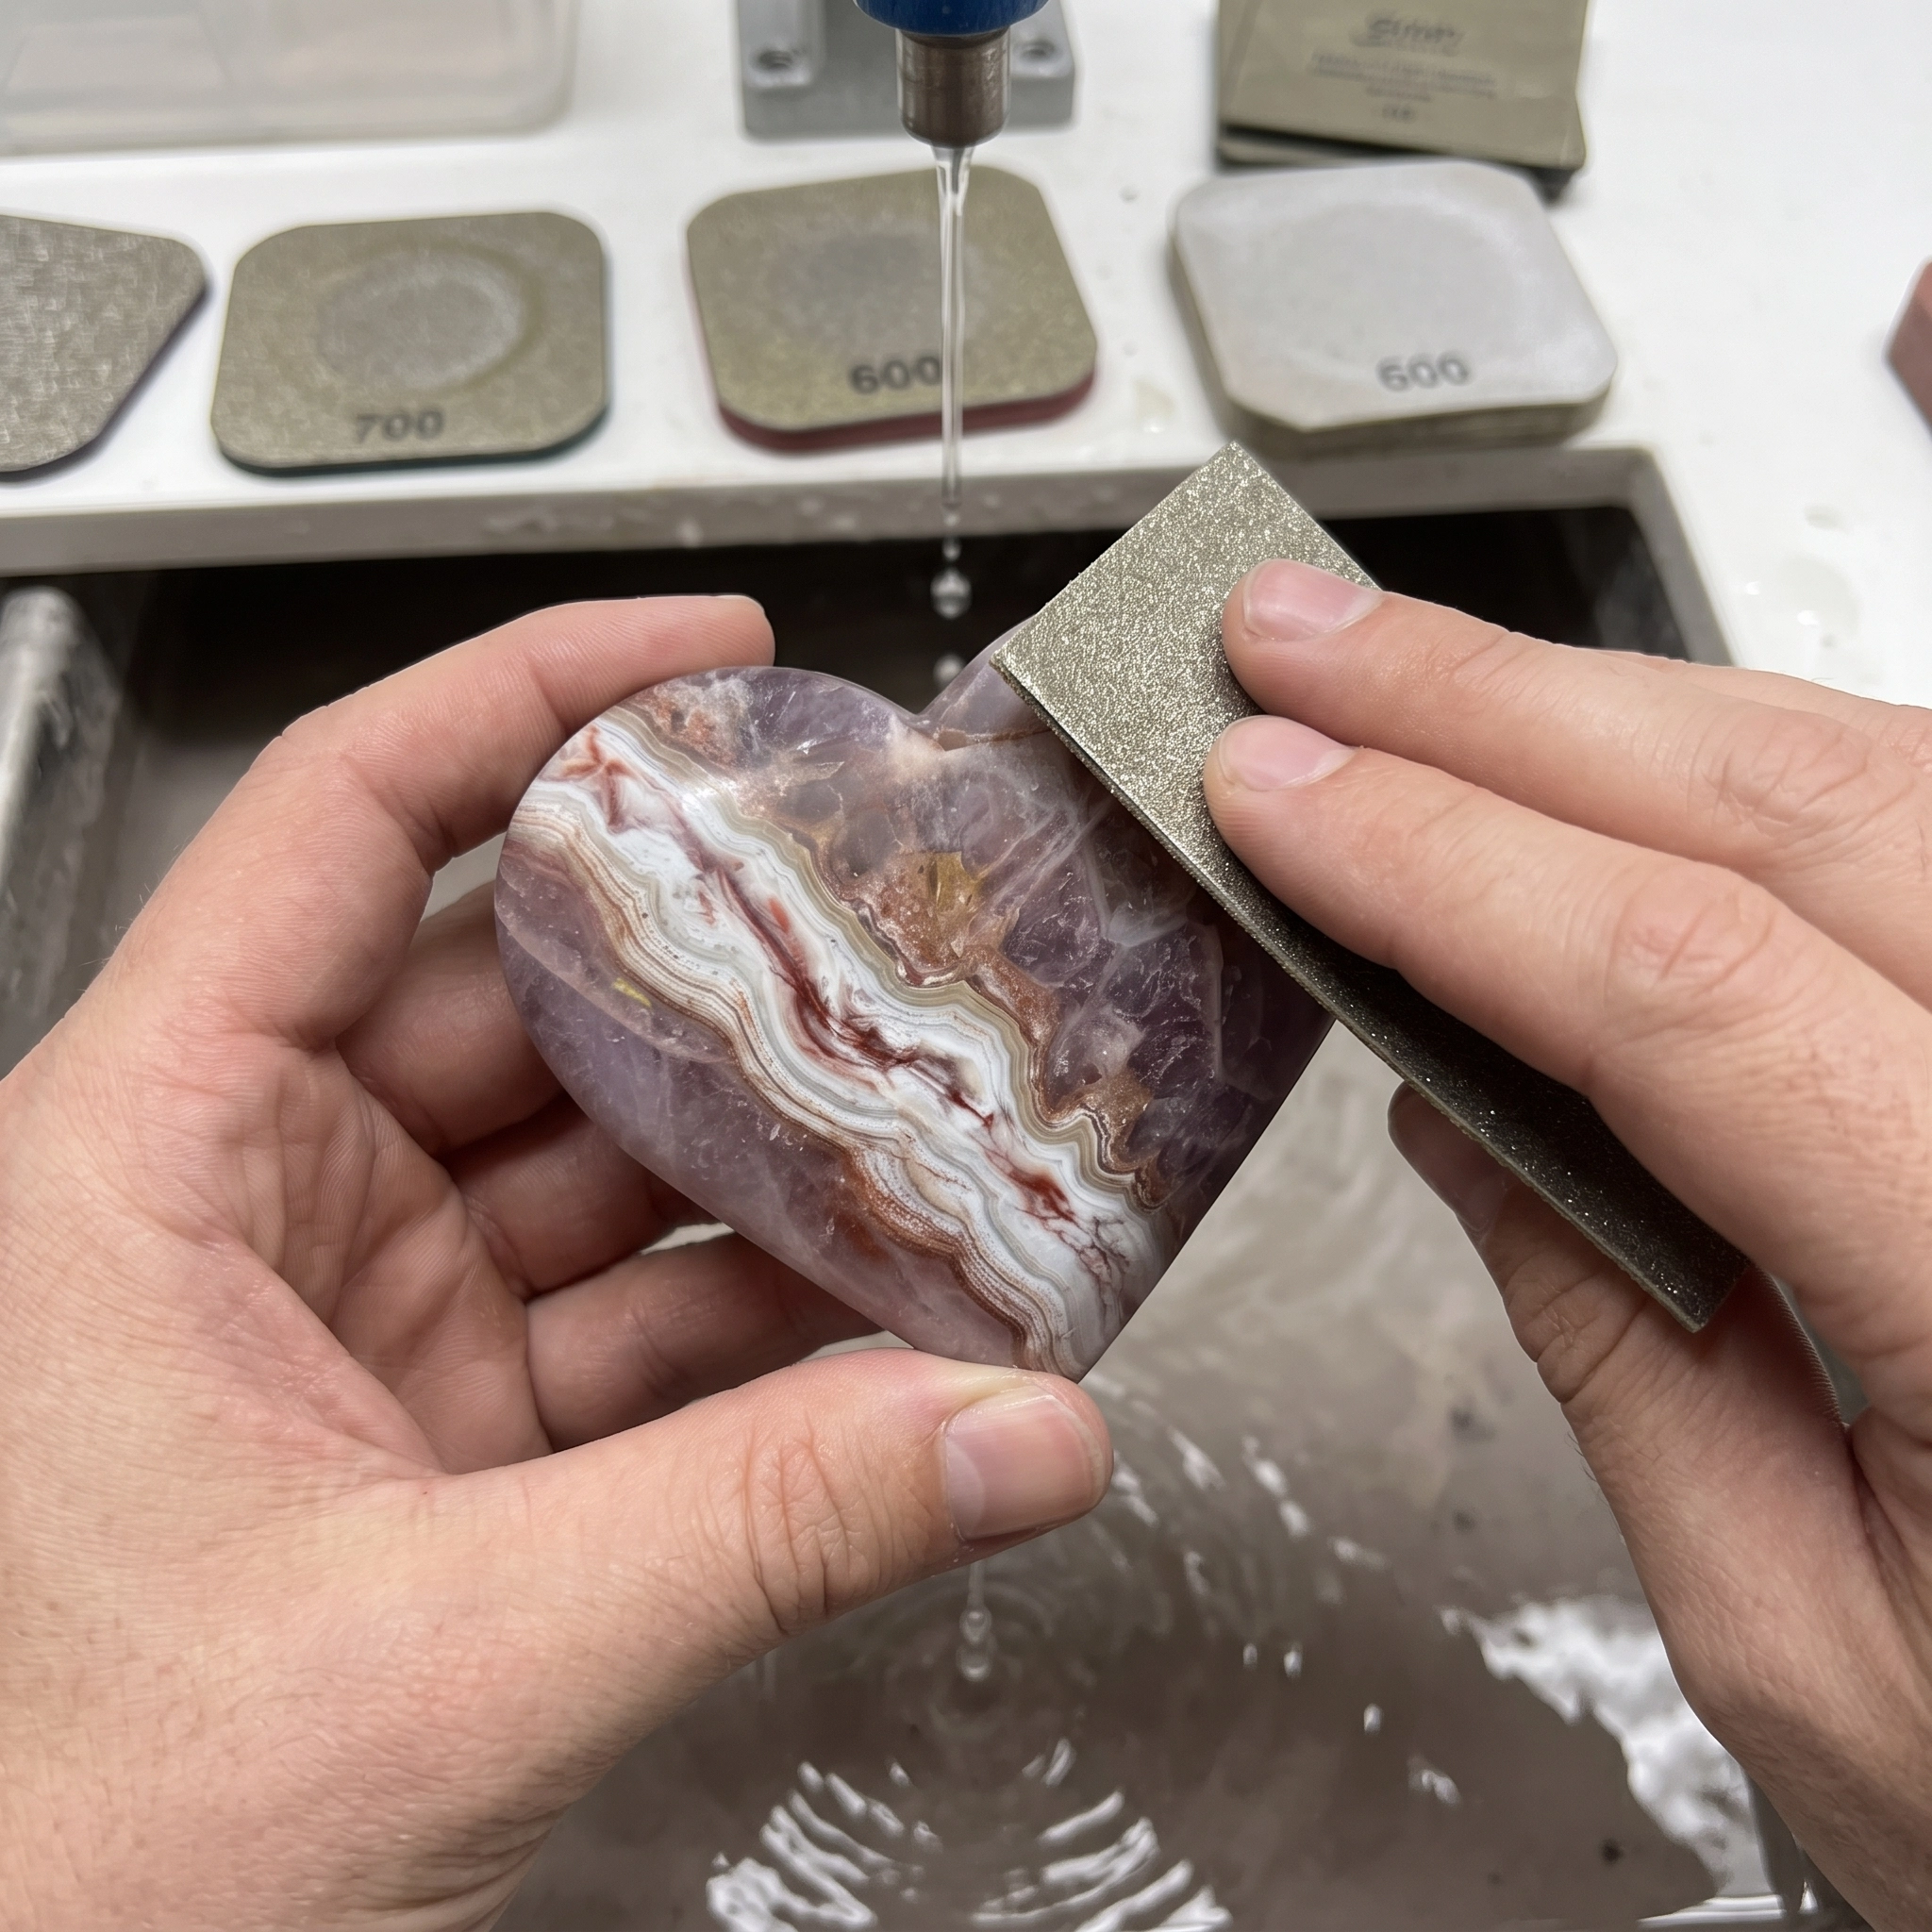
A practical sequence after coarse shaping is 280, 600, 1,200, and 3,000 grit. Follow your machine’s instructions and remove every scratch from the previous stage before advancing.
At each grit, sand both faces, the perimeter, the cleft, and the rounded point. Clean the heart, your hands, splash guards, rests, and work area between stages. One coarse particle carried onto a fine wheel can cut a scratch across the purple face. The systematic approach in how to make tumbled rocks shiny is useful when diagnosing haze or stubborn scratches.
Do not erase every natural feature automatically. A stable band boundary or tiny inclusion can remain if it does not catch a fingernail and does not weaken the carving. Open fractures, crumbling seams, and sharp pits require correction or rejection.
7. Polish and Inspect the Finished Heart
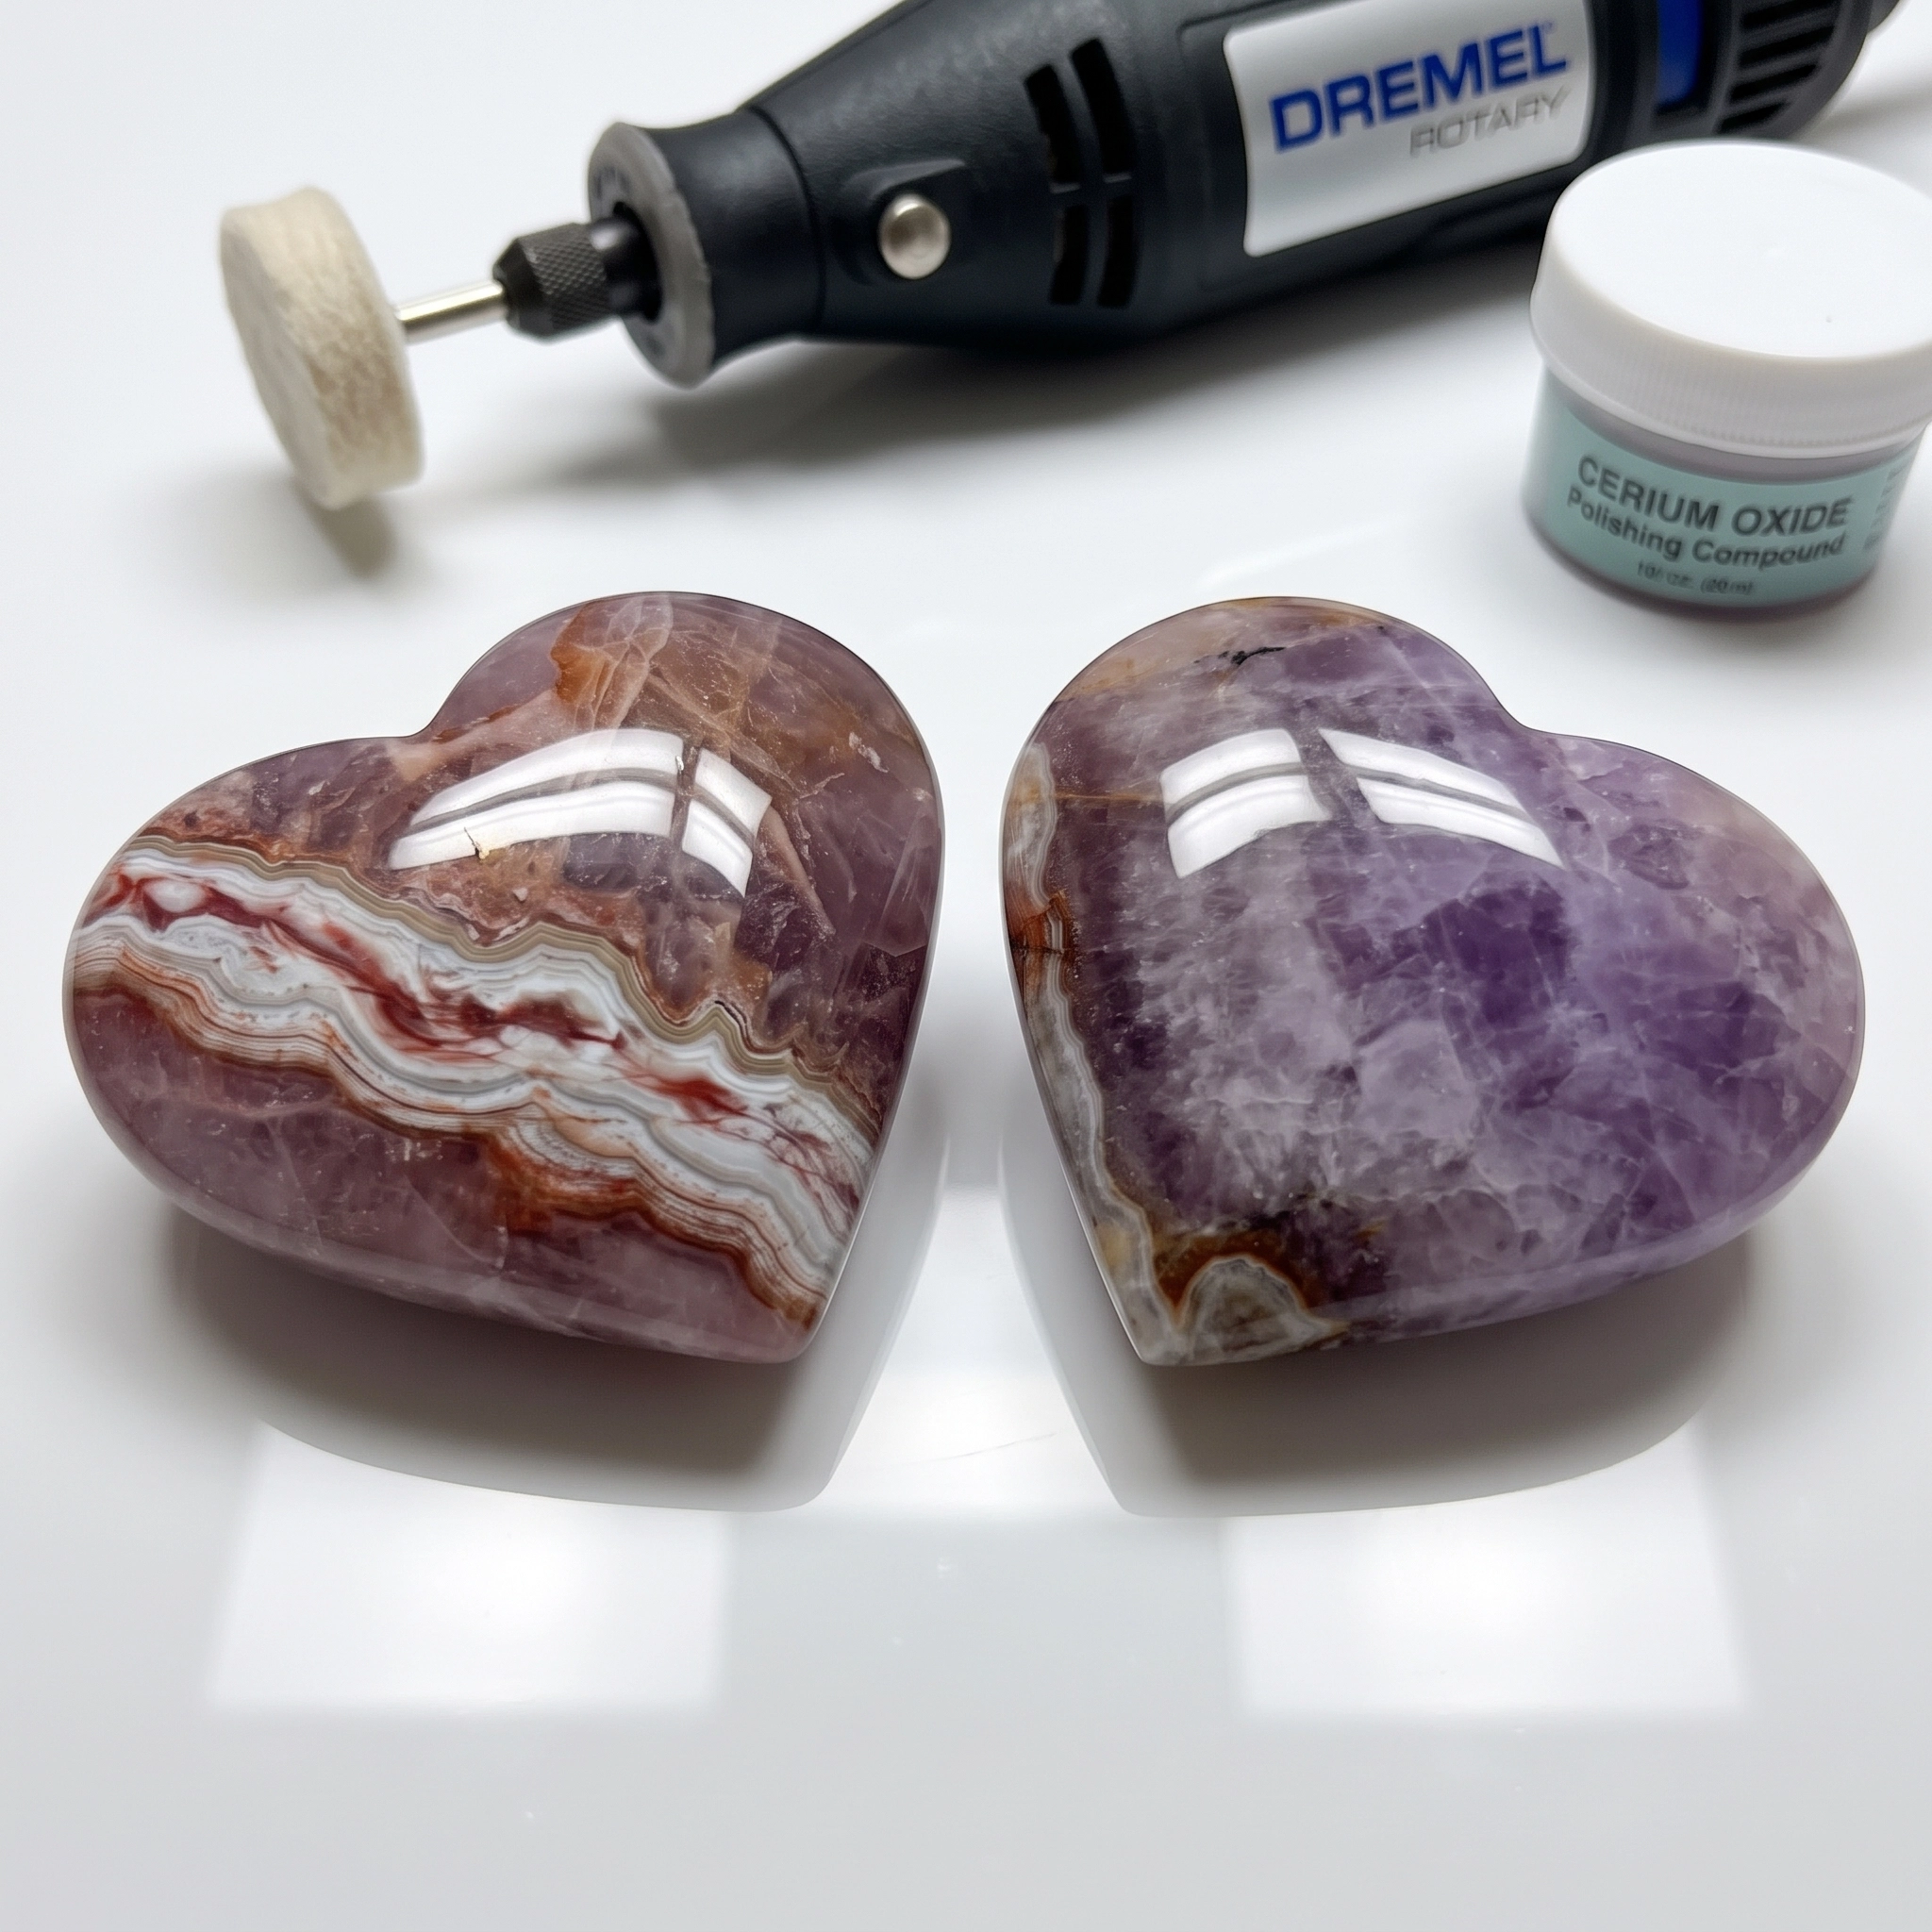
Choose a polishing pad and compound based on the material you have verified, not the marketplace name alone. Quartz-family material is often polished with cerium oxide or another system recommended by the equipment maker. Keep the piece moving, use the correct moisture, and avoid heat buildup.
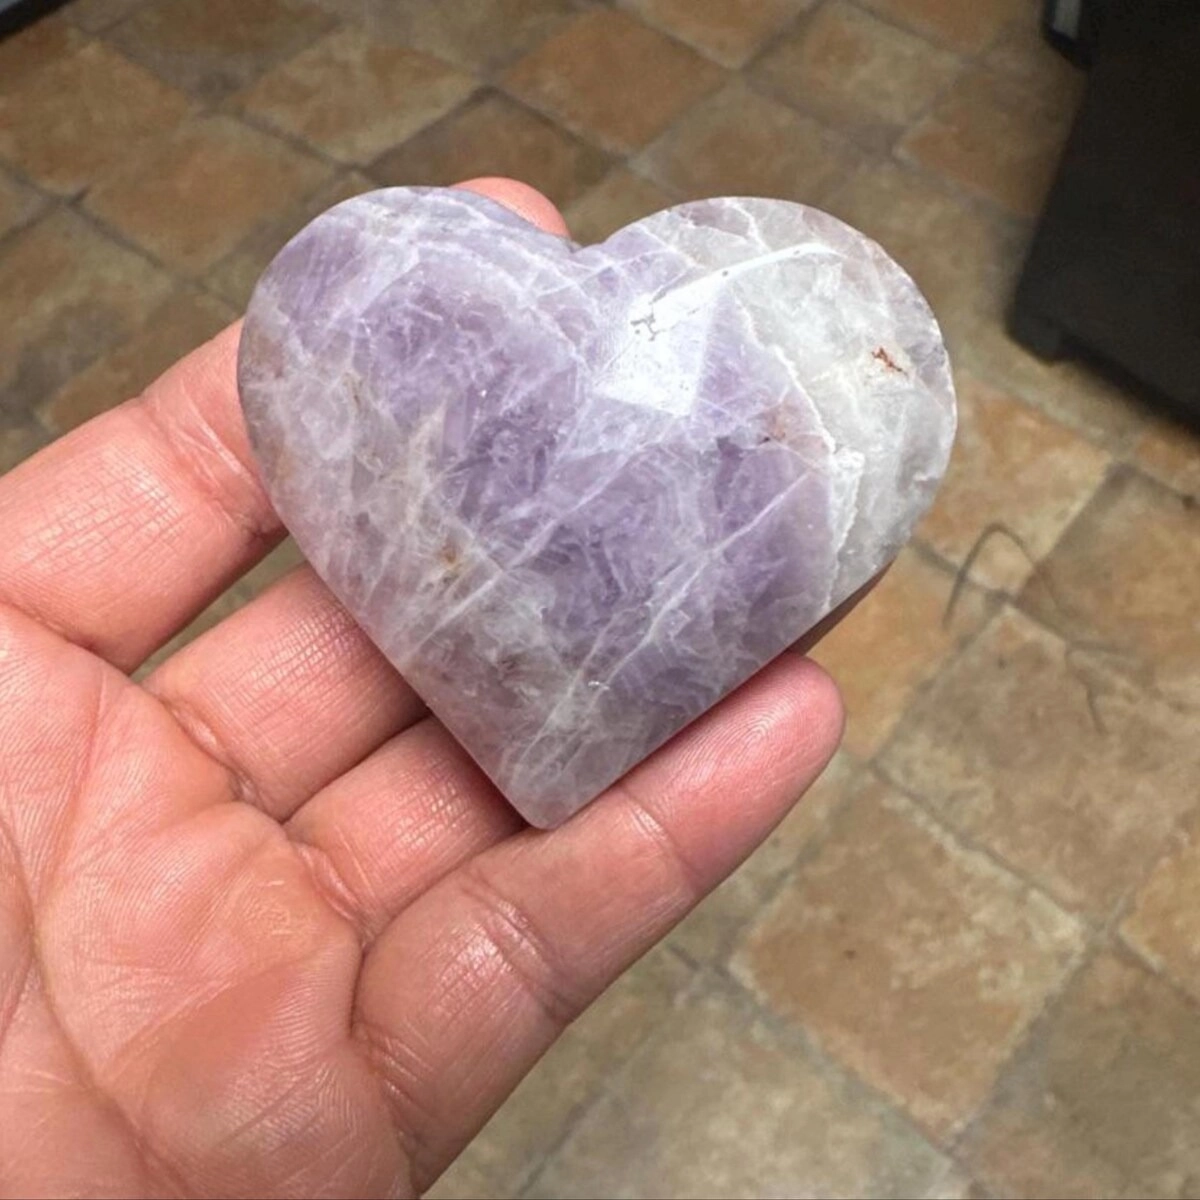
Wash the carving, dry it fully, and inspect under direct and raking light. A finished 2 inch workshop prototype should meet this checklist:
- Length is 2 inches, within the seller’s stated range.
- Lobes are equal in height and visual mass.
- The cleft is centered, rounded, and free of deep wheel marks.
- Both faces have continuous domes without obvious flats.
- The bottom point is centered and comfortable to touch.
- The perimeter is polished with no sharp girdle.
- No dry, chalky band or grit scratch remains.
- The piece has no drill hole, bail, or adhesive.
If the polish remains dull, identify whether the cause is skipped scratches, contamination, undercutting, incorrect compound, or too much heat. The best rocks for tumbling hardness guide can help you think through mixed hardness, even though this piece is wheel-finished.
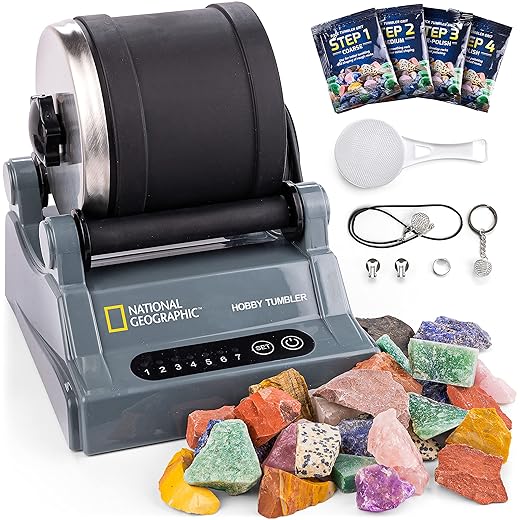
To bring agate and quartz to a glass-like mirror finish, or to process offcuts and preforms, here are top-performing lapidary polishing compounds, flat laps, and tumblers:


Troubleshooting and Care
One lobe is larger. Restore the centerline, measure both half-widths, and reduce the fuller lobe at 220 grit. Blend the neighboring dome afterward.
The cleft has a deep saw mark. Do not force a large wheel into it. Use a small water-fed diamond tool with light, sweeping contact, then repeat the full sanding sequence in that area.
White scratches appear after polishing. Return to the first grit capable of removing them. Clean all equipment before progressing again. Polish cannot fill a scratch.
A band undercuts. Reduce pressure and keep the contact moving. Stop if the seam crumbles or reaches deeply into the heart. Resin filling would be a separate treatment and should be disclosed if used.
The heart becomes hot. Stop immediately. Restore water flow and allow the stone to cool naturally. Do not quench a hot stone, since abrupt temperature change can encourage fracturing.
For routine care, wipe the heart with a soft damp cloth or wash it briefly with mild soap and lukewarm water. Avoid steam, sudden temperature changes, acids, and prolonged intense light. GIA’s amethyst care guide notes that some amethyst color can fade with prolonged intense light. Store the carving separately so harder objects cannot scratch it.
Frequently Asked Questions
Is “amethyst Mexican lace agate” a standard mineral species?
It is best treated here as the seller’s descriptive trade wording. Amethyst is purple crystalline quartz, while Mexican lace agate is a lacy or wavy agate variety. The listing photos and text alone cannot establish the precise identity, treatment status, or origin of an individual heart. Obtain a gemological report if those facts affect value or sale claims.
Can I duplicate the pictured banding exactly?
No. Natural bands, color zones, inclusions, and fractures vary within every piece of rough. You can recreate the overall heart, length range, double dome, undrilled form, and polish, but not another stone’s internal pattern.
Why use a 2 inch template?
Two inches sits comfortably within the disclosed 1.5 to 3 inch length range and is large enough for a beginner to control the cleft and domes. The 1.8 inch width and 0.55 inch blank thickness are workshop decisions, not seller measurements.
Should I drill it for a pendant?
No, not for this reconstruction. The listing photos show undrilled hearts without bails. If you want jewelry, use the separate heart pendant guide and treat it as a different project.
Can a rock tumbler make this shape?
A tumbler can smooth a rough preform, but it cannot reliably preserve a centered cleft, equal lobes, or a measured double dome. Shape this heart with controlled wet lapidary tools, then sand and polish it directly.
Make the First Heart a Measured Prototype
The best way to reproduce an amethyst Mexican lace agate heart is to record what you can control: template length, workshop width and thickness, rough orientation, wheel sequence, time spent at each grit, and final inspection notes. Preserve the centerline until the lobes match, keep every abrasive stage wet, and do not advance while scratches remain.
The result can closely match the listing’s 1.5 to 3 inch undrilled heart style, but its natural pattern will remain unique. That difference is not a failed copy. It is the honest boundary between repeatable lapidary craft and the geology inside the stone.
 Love Rock Tumbling?
Have a question? Use the form above to submit your question or comment.
I love hearing from you and seeing what you made!