
Tumble obsidian in its own gently cushioned batch, then inspect each piece between grit stages to catch damage early. Obsidian is naturally occurring volcanic glass formed when lava cools rapidly with minimal crystal growth. Its Mohs hardness is 5-6, but its brittleness means impacts can create sharp chips.
A conchoidal fracture is a curved, shell-like break pattern formed when glassy material fractures. That break can leave edges sharper than they look, so a careful test matters more than speed. A separate batch gives you more control over how pieces move and strike during tumbling.
This process is an experiment, not a guarantee of a flawless finish. Some rough may chip or show damage beneath the surface, even with gentle handling. Keep the first trial small enough to watch closely, and treat every sharp new edge as a reason to pause and inspect the batch.
Quick answer: tumble fragile obsidian separately with substantial cushioning media
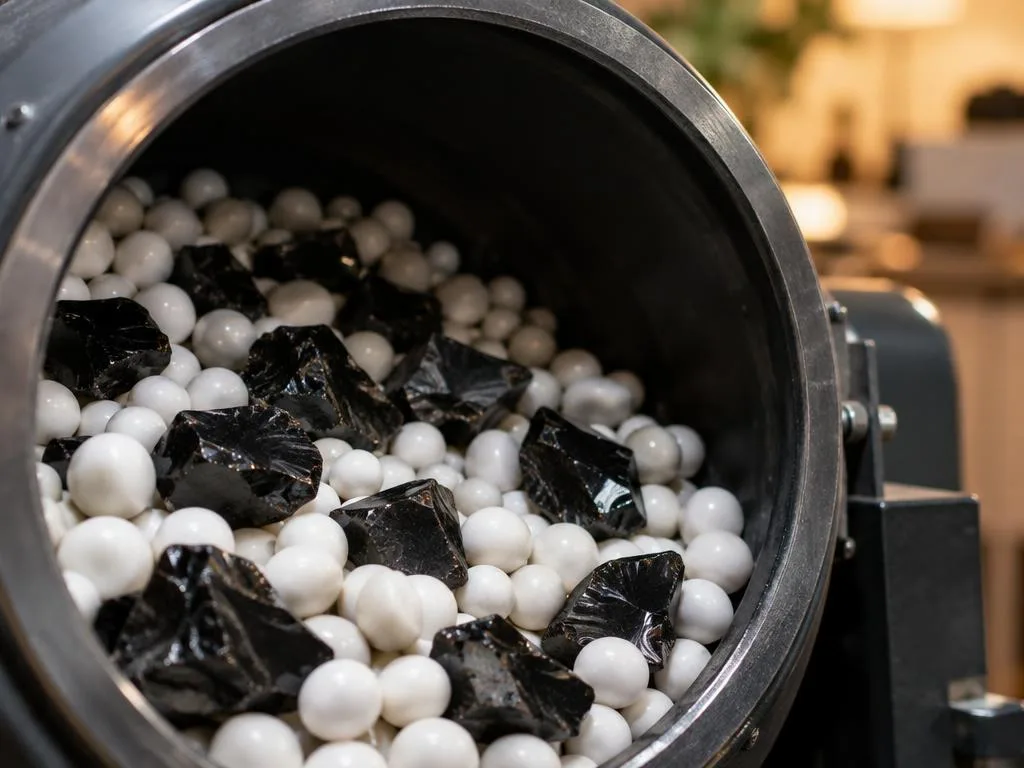
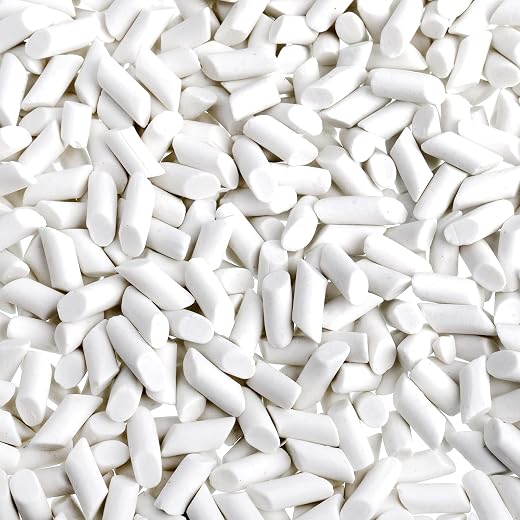
Start with a separate load about 2/3 full, with at least half of its contents serving as cushioning media. Ceramic media helps keep brittle pieces from striking one another directly during each turn.
For a general rotary-tumbler load, the barrel is about 2/3 full overall. Within that filled space, a common starting mix is 50% obsidian and 50% small ceramic media. For especially fragile rough, make sure at least half the barrel load is cushioning media.
Those numbers describe two different things: the total fill level and the share of the load made up of media. A barrel 2/3 full is not a barrel filled with 2/3 media. The media occupies part of the load alongside the stones, rather than replacing the need for a suitable total fill.
Media cushions movement by separating pieces and softening contact as the load rolls. That can reduce direct collisions, but the pieces still move against one another. The mix is a starting point, not a promise that every stone will stay intact.
Use the barrel’s shape and the tumbler’s instructions to keep the load moving. Keep enough material in the barrel for a rolling load rather than a hollow space where pieces can fall.
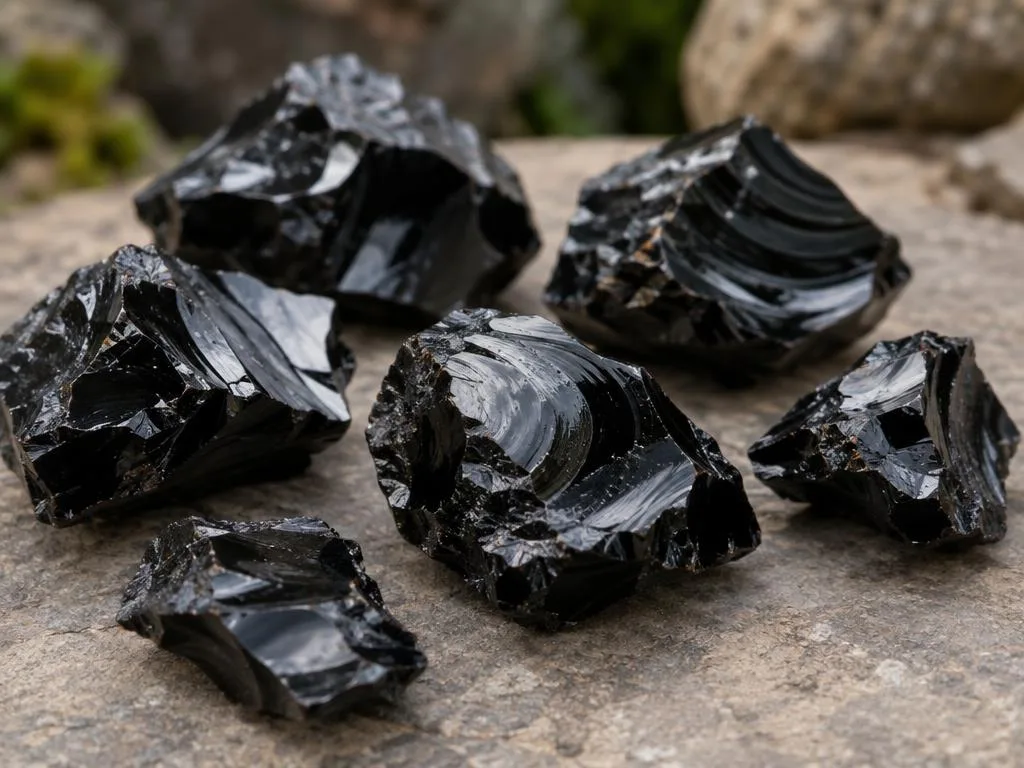
Select small, sound test pieces and record before photos
A small group of intact, similarly sized pieces makes a more useful first test than a mixed pile of rough. To break obsidian stone, use a hammer and chisel with eye protection, then handle fresh flakes carefully.
Rock tumbling works best when the rocks are the same type and about the same hardness. A consistent batch helps you judge whether a change in the process affected the pieces, rather than comparing unrelated rough. Keep your first experiment manageable, and note what each stone looked like before it went into the barrel.
- Choose sound pieces without deep cracks.
- Keep the pieces close in size.
- Sort by obsidian type instead of mixing different rock materials.
- Photograph each piece dry before tumbling.
Rough black obsidian is sold in pieces ranging from .5 to 3 pounds. That range describes the weight of individual rough pieces, not a recommended single tumbler load. A large piece may need careful breaking before it can fit your equipment, and a fresh break can expose a broad, sharp glass surface.
When breaking rough, work with deliberate hammer and chisel strikes, wear eye protection, and keep your hands clear of the impact area. Fresh flakes can cut, even when they are thin or small. Set aside any piece with a deep crack that could open further in the barrel.
Set up a gentle load: ceramic media, barrel capacity and compatible equipment
Ceramic media gives brittle pieces a softer path through the barrel by reducing direct impacts. It separates obsidian, absorbs some impact energy and helps the load move more smoothly. That cushioning can lower the force of collisions, though it cannot prevent every chip.
Most ceramic tumbling pellets have a Mohs hardness of 7 or higher and can be reused. Their hardness does not make them a substitute for careful batch selection. Small media can fit into tighter spaces between pieces; a mix of large and small ceramic media can help separate a range of piece sizes.
Choose media that cushions rather than competes with the stones
Use ceramic media as part of the load, not as an abrasive that shapes the obsidian. Keep the media and stones compatible in size, so pellets can move between pieces instead of leaving large gaps. After a run, ceramic media can be cleaned and reused when it remains in good condition.
For a 2-pound or 3-pound barrel, rough pieces about 1/4 inch to 1 1/2 inches in diameter are a general fit. The exact fit depends on the barrel and its maker’s loading rules. Nominal capacity does not mean you should pack a barrel tightly.
Match piece size and load to the barrel
The Harbor Freight Item 59474 is a 6-pound dual-drum rotary rock tumbler. Its manual warns against overloading and using sand. Those restrictions apply to that model; they are not a reason to assume another tumbler has identical rules.
Leave room for the load to roll as the rotary tumbler runs. Pieces that are too large for the barrel can crowd the load, while an unsuitable mix can move unevenly. Check the exact tumbler manual before loading a barrel, especially when its capacity or restrictions differ.
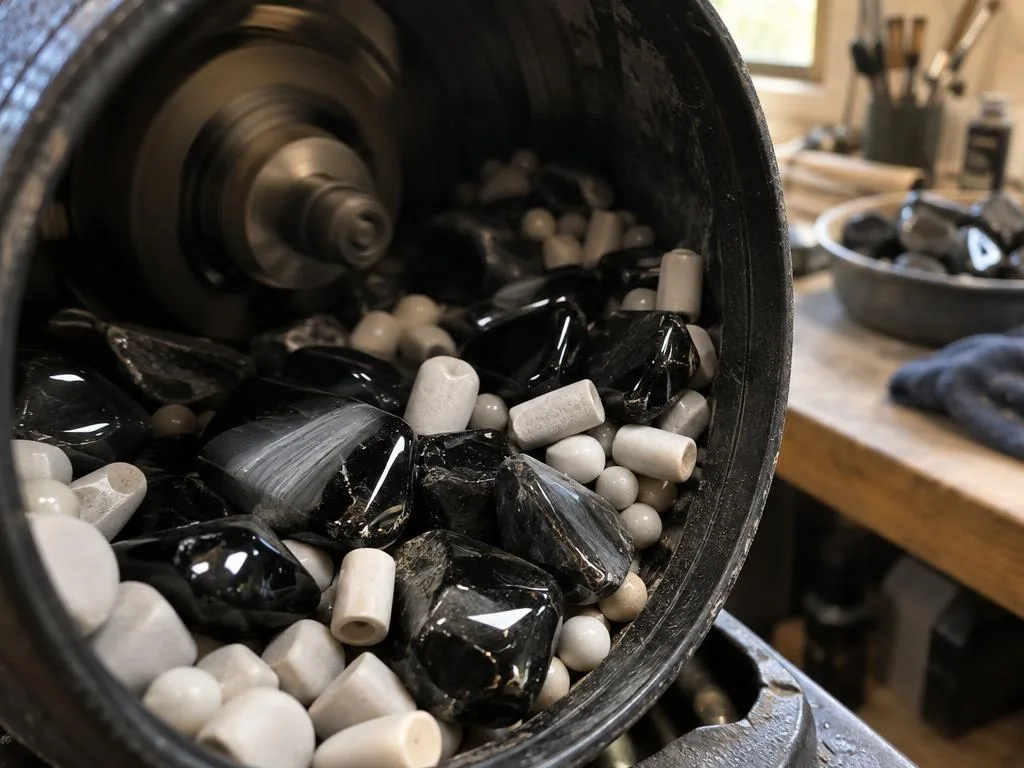
Cushioning media: Choose media sizes that fill gaps around your test pieces while following the fill level specified for your barrel.



How to Tumble Obsidian: prepare the rough and load the barrel
Rounded pieces can bypass coarse grit, while jagged edges may need only a short shaping run. Start gently when the rough already has a rounded outline, including Apache tears.
Jagged rough may need one coarse 60/90 silicon carbide run of up to 7 days. Check it every 2-3 days, and stop once the sharp edges have rounded. Coarse grit shapes the outline; it is not a reason to keep grinding until every piece has a perfect shape.
Add water until it reaches just below the top layer of the load. The water supports the rotary stage as the rocks and grit move together. Add enough to suit the barrel’s instructions, but do not fill the barrel with water to the brim.
Keep rough obsidian separate from harder stones, even when those stones seem close in size. A rotary tumbler can shape rough by rolling it against grit and other load material. Later finishing stages refine the surface after the sharpest edges have been addressed.
Some pieces begin rounded enough to go straight to medium grit. A jagged piece may need the optional coarse shaping stage first, but extra grinding can remove more material than you want. Stop shaping once sharp edges are rounded instead of extending coarse grinding just to perfect the outline.
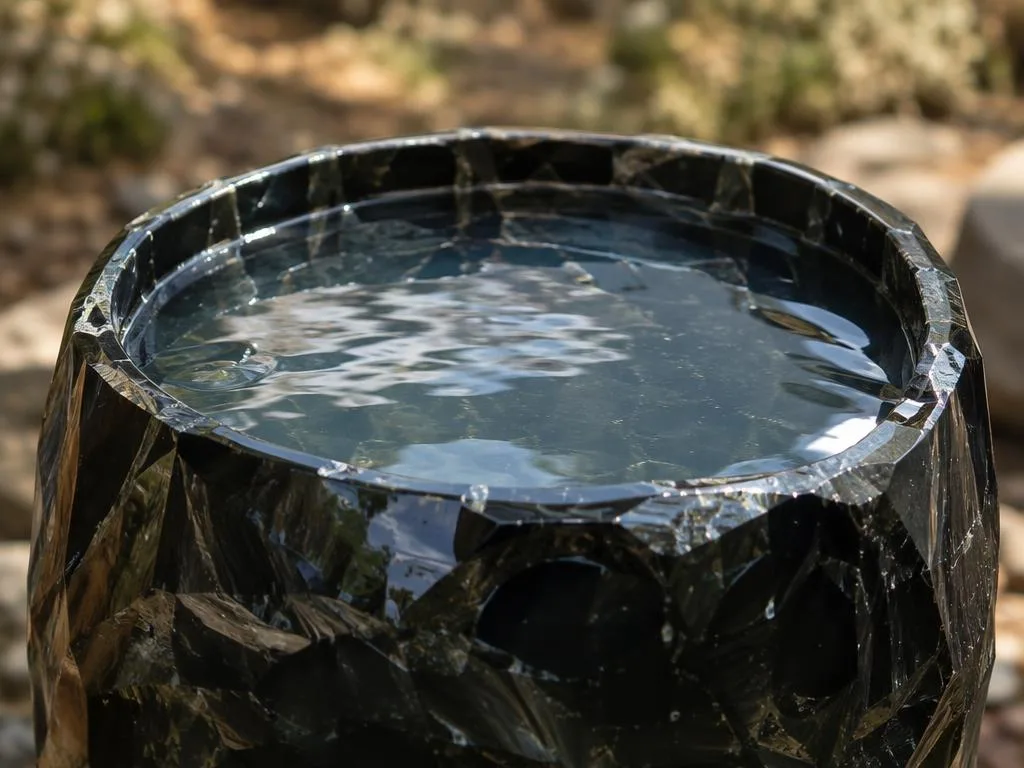
A published three-stage approach: medium grit, fine grit and polish
For a rounded test batch, skip coarse grit and use medium, fine and polish in sequence. Follow your tumbler’s instructions if its water or loading requirements differ. The stage order matters because each abrasive removes marks left by the step before it.
Use enough water to cover the load as appropriate for the rotary stage. The table gives the abrasive amounts per pound of rock and ceramic, with times for the stated obsidian types. Coarse grit is optional, rather than required for every batch.
| Stage | Abrasive | Amount per pound of rock and ceramic | Run time |
|---|---|---|---|
| Coarse | 60/90 silicon carbide grit | Follow tumbler instructions | Skip for rounded pieces; optional for jagged rough, up to 7 days |
| Medium | 150/220 grit | 2 tablespoons | 4-5 days for whole Apache tears; 7 days for broken obsidian |
| Fine | 500 or 600 grit | 2 tablespoons | 4-5 days |
| Polish | TXP or #61 Rapid Polish | 2 tablespoons | 7 days |
Medium grit smooths the shaped surface. Whole Apache tears use a shorter medium stage than broken obsidian in this recipe. If your batch contains another type or condition of rough, inspect the surface rather than assuming the same calendar time will fit every piece.
Medium grit smooths the shaped surface
The medium stage removes marks from shaping and prepares the stone for finer work. Broken edges may need more attention than naturally rounded surfaces. Use the scheduled run time as a point to check progress, not as proof that the surface is ready.
Fine grit removes the preceding stage’s scratches
Fine grit works on the scratches left by medium grit. A stone needs to be smooth before it can develop a clean gloss. If obvious marks remain, another stage cannot reliably hide them.
Polish develops the final gloss
TXP or #61 Rapid Polish is used for the final stage in this sequence. The listed durations are practical inspection points, not a reason to advance a visibly unfinished surface.
Abrasives and polish: The grit kits cover progressive stages, while the aluminum-oxide product is a final-polish option; use one compatible sequence and clean between stages.


Inspect between stages for chips, bruising and scratches; decide whether to repeat or stop
A dry piece under a bright light reveals flaws that water can hide. Rinse and dry a few stones before judging their finish, and inspect more than the best-looking piece. Dry surfaces make it easier to see whether the stage has done its job.
Rotary medium and fine stages can be checked around day 3 or 4. Polish can be checked on day 3 and day 5. Use those checks to decide whether the whole batch is ready to advance, needs more time, or should stop for a closer look.
| Stage | Dry appearance to check | Decision |
|---|---|---|
| Medium | Shaped surface without sharp edges or coarse shaping marks | Repeat or reassess if coarse marks remain |
| Fine | Even surface without visible medium-stage scratches | Advance only when scratches are gone |
| Polish | Clean gloss without chips, pits or bruises | Stop if damage remains; do not polish over it |
Wet stones can look deceptively glossy because a film of water fills tiny surface marks. Let the test pieces dry completely before comparing them under a bright light. Turn each stone so the light moves across its surface, revealing scratches and pits that can disappear from one angle.
Chips, bruises, pits and coarse scratches are reasons to stop and reassess. More polishing will not repair a fracture beneath the surface. Look for a finish that meets the current stage across the batch, rather than relying on one clear, glossy stone.
Advance only when the whole batch, not just its best-looking piece, meets the stage’s finish check. If the pieces show mixed results, keep the unfinished ones from moving forward with the ready stones.
Clean thoroughly between abrasives and assess the final stones dry
A single coarse particle carried forward can undo a careful fine-grit stage. Clean everything when changing grit sizes, because a grain trapped on a stone or tool can scratch a finer-stage surface.
Rinse the stones and ceramic media, then clean the barrel, lid and tools before adding a new abrasive. Pay attention to pits and crevices where grit can hide. A clean barrel is part of the stage change, not just a tidier way to work.
Remove grit from the load and equipment
Keep different abrasives from mixing, especially when you move from coarse or medium grit to a finer step. Clean the lid and tools as well as the barrel itself. Any residue left on an item can travel back into the next stage.
An optional soapy-water burnish takes 30 minutes. Use it as a cleaning step, not as a way to repair chips, bruises or scratches. It can help remove residue from the load after a stage, but it cannot change damage inside the glass.
Judge the finish only after rinsing and drying
Rinse the finished pieces and let them dry before judging their surface. Water can make a dull stone look glossy, which may lead you to misread the polish. Check the dry pieces in bright light and compare them with your before photos.
Set aside the final stones once they are clean. Keep the finished load separate from any tools or media that still carry abrasive residue.
Watch for barrel gas buildup and follow equipment-specific venting guidance
A swollen or bulging barrel is a sign to stop and treat pressure as a safety issue. Sealed barrels may build gas pressure as obsidian wears during a run.
Look over the barrel during routine checks. If its body begins to bulge, stop the tumbler and follow the maker’s specific instructions for handling pressure. Different barrels may require different steps, so one venting method cannot safely cover every design.
Do not improvise a universal additive or venting schedule. Pressure management depends on the equipment and its instructions, not on a general rule you can apply to every rotary tumbler.
- Look for visible bulging during routine checks.
- Stop the tumbler if the barrel appears swollen.
- Follow the maker’s instructions for handling pressure.
Give the barrel your full attention if you notice a change in its shape. Do not force the lid or try an unfamiliar release method. Never open a pressurized barrel toward your face or body.
Document outcomes honestly: batch log, dry photos and what changed
A brief batch log makes it easier to tell whether a change in cushioning or timing helped. Record the details while you can still connect each stone’s final appearance to its run.
Track the rough type and starting condition, plus the share of media in the batch. Add the abrasive and duration for each stage. Note any chips or bruises, and save photographs of the final dry surface.
- Rough type and starting condition.
- Media share in the load.
- Abrasive and run time for each stage.
- Chips or bruises noticed during the experiment.
- Dry photographs of the finished pieces.
Use the same background and light for before-and-after photos. Keep the camera angle and distance as consistent as you can, so the images show changes to the stone rather than changes in the setup.
One successful batch shows what worked for those pieces under those conditions. It does not guarantee the same result for every type of obsidian or every tumbler. Label each photo with the stage and whether the stone was wet or dry.
Choose a rotary or vibratory tumbler for each stage
A rotary tumbler is useful for shaping, while a vibratory tumbler can handle later finishing. They do different jobs: rotary action rolls rough pieces through a barrel, while vibratory action is a finishing option.
A vibratory tumbler does not shape jagged rough the way rotary tumbling can. The bowl-maker’s loading and grit instructions take precedence over example timings, since equipment requirements differ.
| Task | Rotary tumbler | Vibratory tumbler |
|---|---|---|
| Rough shaping | Useful for rounding jagged rough | Does not shape jagged rough |
| Medium/fine work | Uses rolling action in a barrel | Example: 1/2 tablespoon medium grit per pound for 2 days |
| Polish | Can polish after earlier grit stages | Example: 1/2 tablespoon fine grit and polish per pound, 2 days each |
Use rotary action when rough needs shaping
Choose rotary action when rough pieces need their jagged outlines softened. The movement allows grit to work against the stones as the barrel turns. Keep the stages suited to the surface, rather than expecting a polishing step to remove rough shaping marks.
Consider vibratory action for later finishing
One vibratory recipe uses half a tablespoon of medium grit per pound for 2 days. It then uses half a tablespoon of fine grit and polish per pound for 2 days each. Treat those figures as one example, and load the bowl to the manufacturer’s suggested level.
A Lot-O is one example of a vibratory tumbler, not a recommendation for a particular model. Check the equipment maker’s loading and grit guidance when changing tumbler types.
Match grit and polish to obsidian’s glassy surface
A final polish cannot compensate for scratches left by an unfinished grinding stage. To polish obsidian, prepare a smooth surface through progressively finer abrasives before applying polish.
Silicon carbide is used for grinding stages in this process, not as the final polish. Aluminum oxide polish and cerium oxide are both used to polish obsidian. The grinding and polishing steps have different roles: one removes surface marks, while the other develops gloss.
How to polish obsidian by hand: wet-sand a small piece through progressively finer abrasives, then use suitable lapidary materials for polishing. Keep the surface wet while sanding and control the piece so you can work evenly. There is no single hand method that suits every piece and tool.
Hand polishing can suit one unusually fragile piece that should not take barrel impacts. It also gives you direct control over how much material you remove. A hand method still needs a smooth surface before polish; gloss cannot hide deep scratches or a rough outline.
Choose a polish made for lapidary work, and keep it distinct from silicon carbide grit. Match the method to the piece: a small delicate stone may be easier to control by hand, while a suitable batch can use a tumbler. Choose the polish only after the surface is smooth and free of visible stage marks.
Handle, break, and store sharp obsidian safely
A newly fractured edge can cut even when the piece looks small and manageable. Fresh breaks can leave extremely sharp surfaces, so take care before moving or sorting the pieces.
Wear eye protection when breaking rough with a hammer and chisel. Work deliberately, keep a steady grip on your tools, and stay clear of the strike path. Hand protection can help reduce cuts, but it does not replace eye protection.
Protect yourself when breaking rough
Keep your face away from the point of impact and avoid striking toward your hands. Do not treat a small piece as harmless simply because it fits in your palm. Obsidian can fracture suddenly into flakes with edges that are hard to see.
Keep fresh flakes contained
Contain fresh flakes as soon as you make them. Store sharp pieces where they cannot be handled accidentally, especially if other people may use the work area. Do not leave fragments loose in a drawer, box or open container.
- Keep flakes together in a sturdy container.
- Label the container so its contents are clear.
- Store it where loose pieces cannot spill or be handled by accident.
Use care when moving sharp pieces from the work surface into storage. Put loose flakes in a sturdy, labeled container rather than leaving them on a work surface.
Protection and cleanup: Eye protection, cut-resistant gloves and a small cleaning brush are useful when handling sharp rough and removing grit.


Obsidian varieties, snowflake obsidian, and how it differs from onyx
Obsidian can look different from piece to piece, but its glassy fracture still calls for gentle handling. Snowflake obsidian has pale, snowflake-like inclusions that stand out against its darker glass.
Apache tears are semi-rounded and can look transparent when thin. Mahogany obsidian shows brown flow bands. These appearances can help you sort rough, but appearance alone does not tell you whether a piece is sound enough for a test.
| Material or variety | Identifying appearance | Tumbling consideration |
|---|---|---|
| Black obsidian | Dark volcanic glass | Keep in a separate, cushioned batch |
| Snowflake obsidian | Pale snowflake-like inclusions | Keep with compatible obsidian pieces |
| Mahogany obsidian | Brown flow bands | Group with similar-sized pieces |
| Apache tears | Semi-rounded; thin areas can be transparent | May start without coarse shaping |
Recognize familiar obsidian varieties
Snowflake, mahogany and black obsidian are varieties with different visible patterns. Apache tears have a rounded form that may make them look unlike a freshly broken piece. Visual variety does not remove the need for a separate, cushioned batch.
Separate obsidian from onyx before tumbling
Tumbled obsidian vs onyx: obsidian is volcanic glass, while onyx is a banded form of chalcedony. They are different materials, even when dark colors make them look similar. Sort by material first, then group pieces with similar size and condition.
What to do when a stone chips, bruises, or refuses to shine
A white mark that remains after rinsing may be damage below the surface, not polish residue. Bruising means tiny fractures inside the glass; it can look white or gray even after the stone is clean.
A surface film may rinse away, while a bruise remains within the material. Extra polish time cannot remove a subsurface fracture. Deeper marks may call for returning a repairable surface to medium grit before polishing again.
- Isolate badly damaged pieces so they do not continue tumbling with the batch.
- Return a repairable surface to the appropriate earlier abrasive stage.
- Increase cushioning or improve size matching in the next batch.
Not every piece is worth putting through another run. Repeated tumbling can expose more damage or wear away a shape you wanted to keep. A stone with a deep bruise may be better removed than repeatedly sent through polish.
When a piece looks dull, check whether the remaining mark is a surface scratch or a fracture inside the glass. Do not use more polish as a fix for missing material or a sharp edge. If a chip has created a sharp edge, remove that piece from the running batch before continuing.
Conclusion
A careful test batch is a better start than risking every piece of rough at once. Cushioning helps limit impacts, while dry surfaces give you a clearer way to judge each stage.
Choose a few sound test pieces and record their starting condition before you begin. A simple batch log helps you see what changed without treating one result as a guarantee for every piece.
Pick a few sound pieces, record their condition, and begin only when the barrel and workspace are ready.


 Love Rock Tumbling?

Have a question? Use the form above to submit your question or comment.
I love hearing from you and seeing what you made!