


Rock tumbling for beginners is easier when you start with compatible stones, load the barrel correctly, and clean everything between grit stages. Those three habits matter more than expensive equipment.
This guide explains the essential tools, suitable rocks, grit sequence, barrel setup, and four tumbling stages you need to turn rough agate or jasper into smooth, polished stones.
Expect a first batch to take about four to six weeks. Most stages run for roughly seven days, while the coarse grind may need to be repeated until pits and sharp edges are gone.
Rock Tumbling for Beginners: Essential Tools
You do not need a large workshop. A dependable rotary tumbler, suitable rough, four abrasive grades, and a few cleaning tools are enough for your first batch.
Beginner Rock Tumbling Checklist
- Rotary rock tumbler with a rubber barrel and secure lid
- Rough rocks of similar hardness
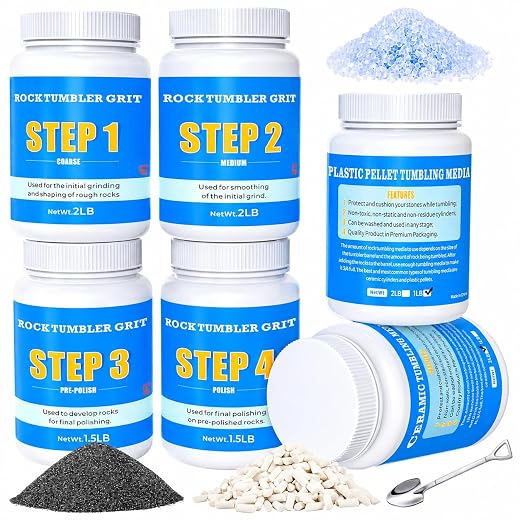
- Coarse grit, medium grit, pre-polish, and polish
- Ceramic media or stage-specific plastic pellets
- Clean water and a measuring spoon
- Plastic strainer or bucket, small brush, and inspection tray
Keep these tools separate from kitchen equipment. Collect used slurry in a disposable container and follow local disposal rules. Never pour rock-tumbling slurry into a sink, toilet, or household drain because it can settle and harden in the plumbing.
Choosing the Right Rock Tumbler
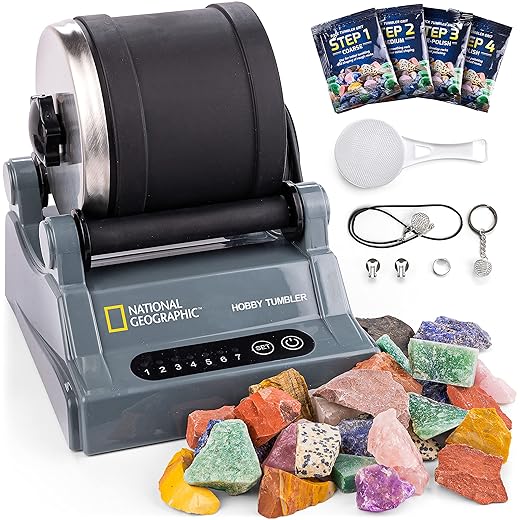
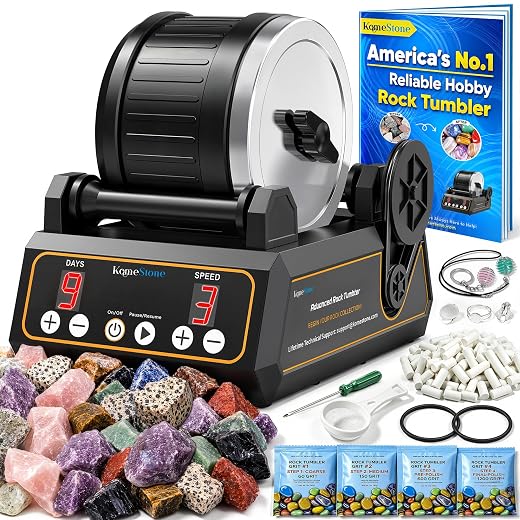
A rotary tumbler is usually the easiest machine for a beginner. It slowly turns a rubber barrel so the rocks, grit, and water rub against one another. A three-pound barrel is manageable for small first batches.
- Barrel capacity: Choose a size you can fill consistently without exceeding the motor’s weight limit.
- Noise: Rubber barrels are usually quieter than plastic barrels.
- Reliability: The motor may run continuously for weeks, so build quality matters.
- Parts: Check that replacement belts, lids, and barrels are available.
- Warranty: Useful coverage protects against an early motor or mechanical failure.
Vibratory tumblers work faster and preserve more of a stone’s original shape, but they are less forgiving. Learn the process with a rotary tumbler before deciding whether you need a vibratory model.


Grit, Polish, and Tumbling Media
Silicon carbide grit is an abrasive powder that shapes the rocks and removes scratches. Use fresh abrasive at each grinding stage.
- Coarse grit rounds sharp edges and removes weathered surfaces.
- Medium grit removes scratches left by the coarse stage.
- Pre-polish removes very fine scratches and prepares the surface.
- Polish produces the final reflective finish.
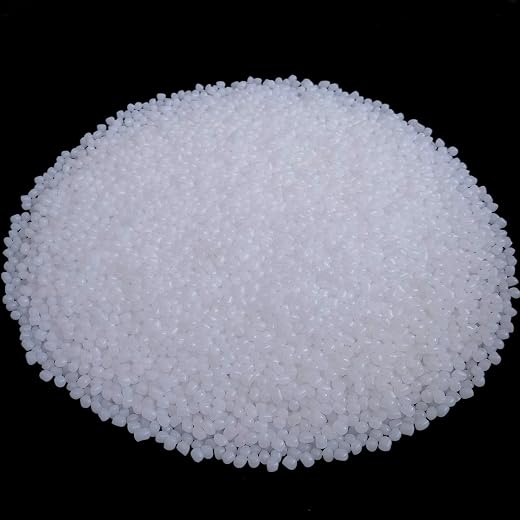
Ceramic or plastic media fills gaps in the barrel, cushions the stones, and increases contact between surfaces. Clean ceramic media can move through several stages. Keep plastic pellets assigned to one stage because abrasive can become embedded in them.
How to Choose the Best Rocks for Tumbling
Good results begin before the tumbler is switched on. Select dense stones with similar hardness and a consistent texture. Soft, porous, or badly cracked material rarely develops an even polish.
Match Rocks by Hardness
Only tumble rocks of similar hardness together. Harder pieces can scratch or destroy softer ones during the cycle. Agate, jasper, chalcedony, and many forms of quartz sit near 7 on the Mohs scale and usually work well together.
The U.S. Geological Survey’s Mohs hardness scale explains how minerals are ranked by scratch resistance. Hardness is not the same as toughness, so you must still remove brittle stones with thin projections or fractures.
Reject Cracked, Porous, or Fragile Stones
- Deep cracks or open fractures
- Large holes, deep pits, or porous surfaces
- Crumbly edges or signs of severe weathering
- Thin projections that can snap off
- Soft mineral pockets or mixed textures
A cracked rock can break apart and scratch the entire batch. Porous material can also trap coarse grit and release it during pre-polish or polish. Set questionable pieces aside until you have more experience.
Best Beginner Rocks
Agate and jasper are dependable first choices because they are durable and can take a bright polish. Chalcedony, quartz, amethyst, aventurine, and suitable petrified wood can also work when their hardness and condition match the rest of the load.
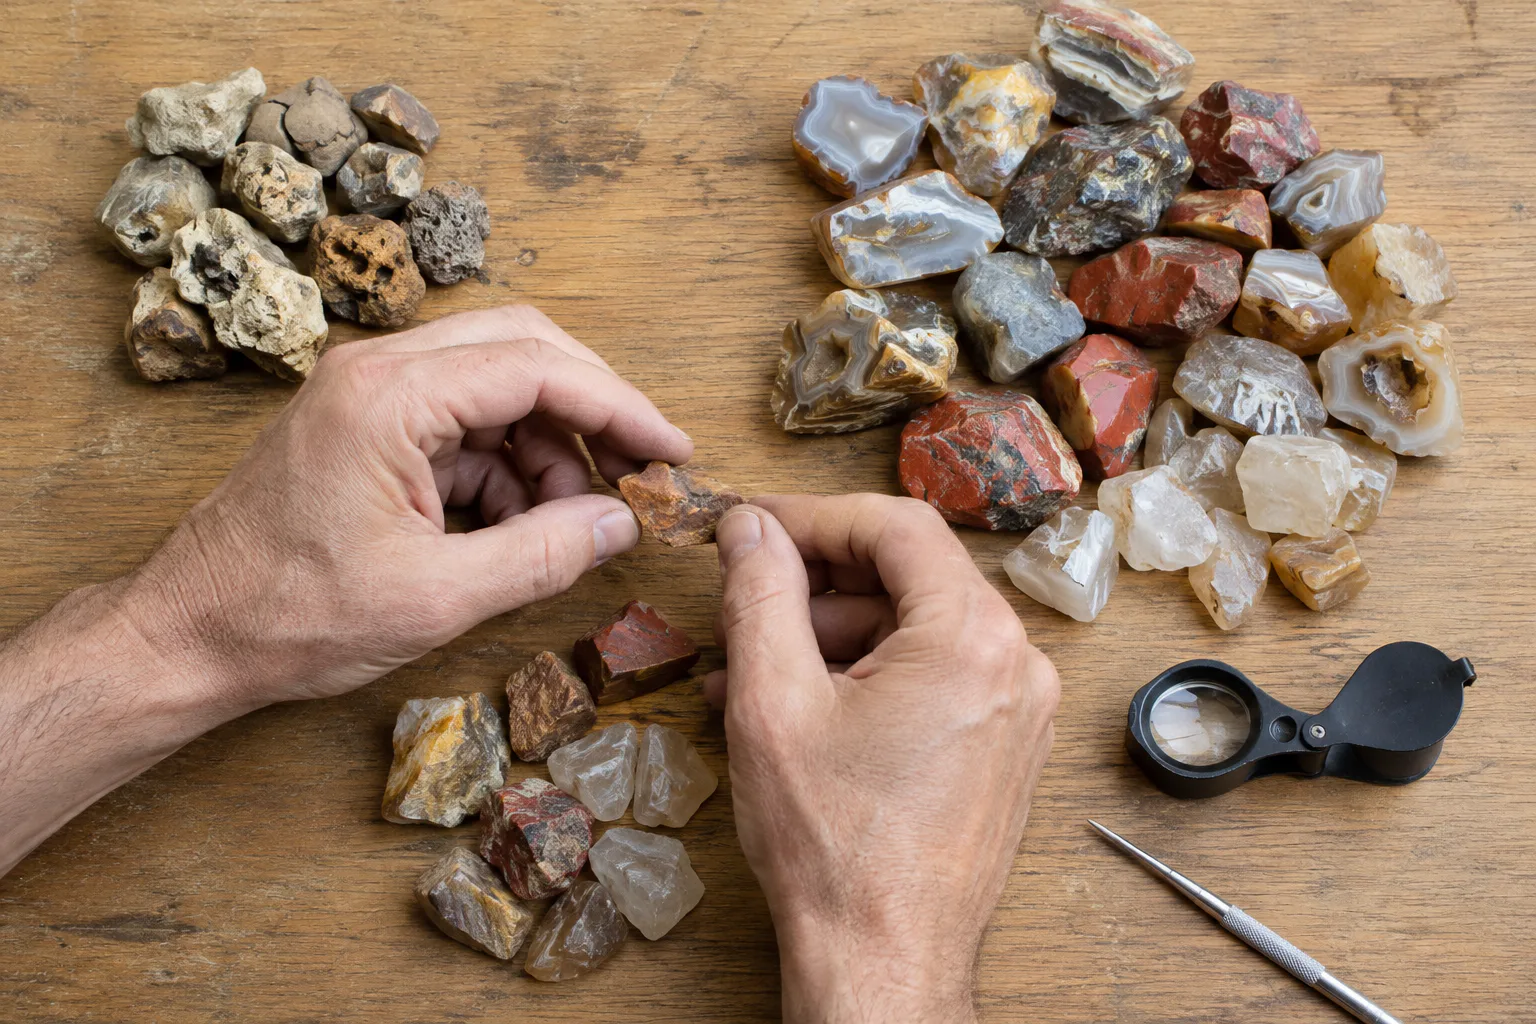
Include a mix of sizes. Smaller stones and media fill the spaces between larger pieces and help the barrel roll smoothly.
How to Load a Rock Tumbler Correctly
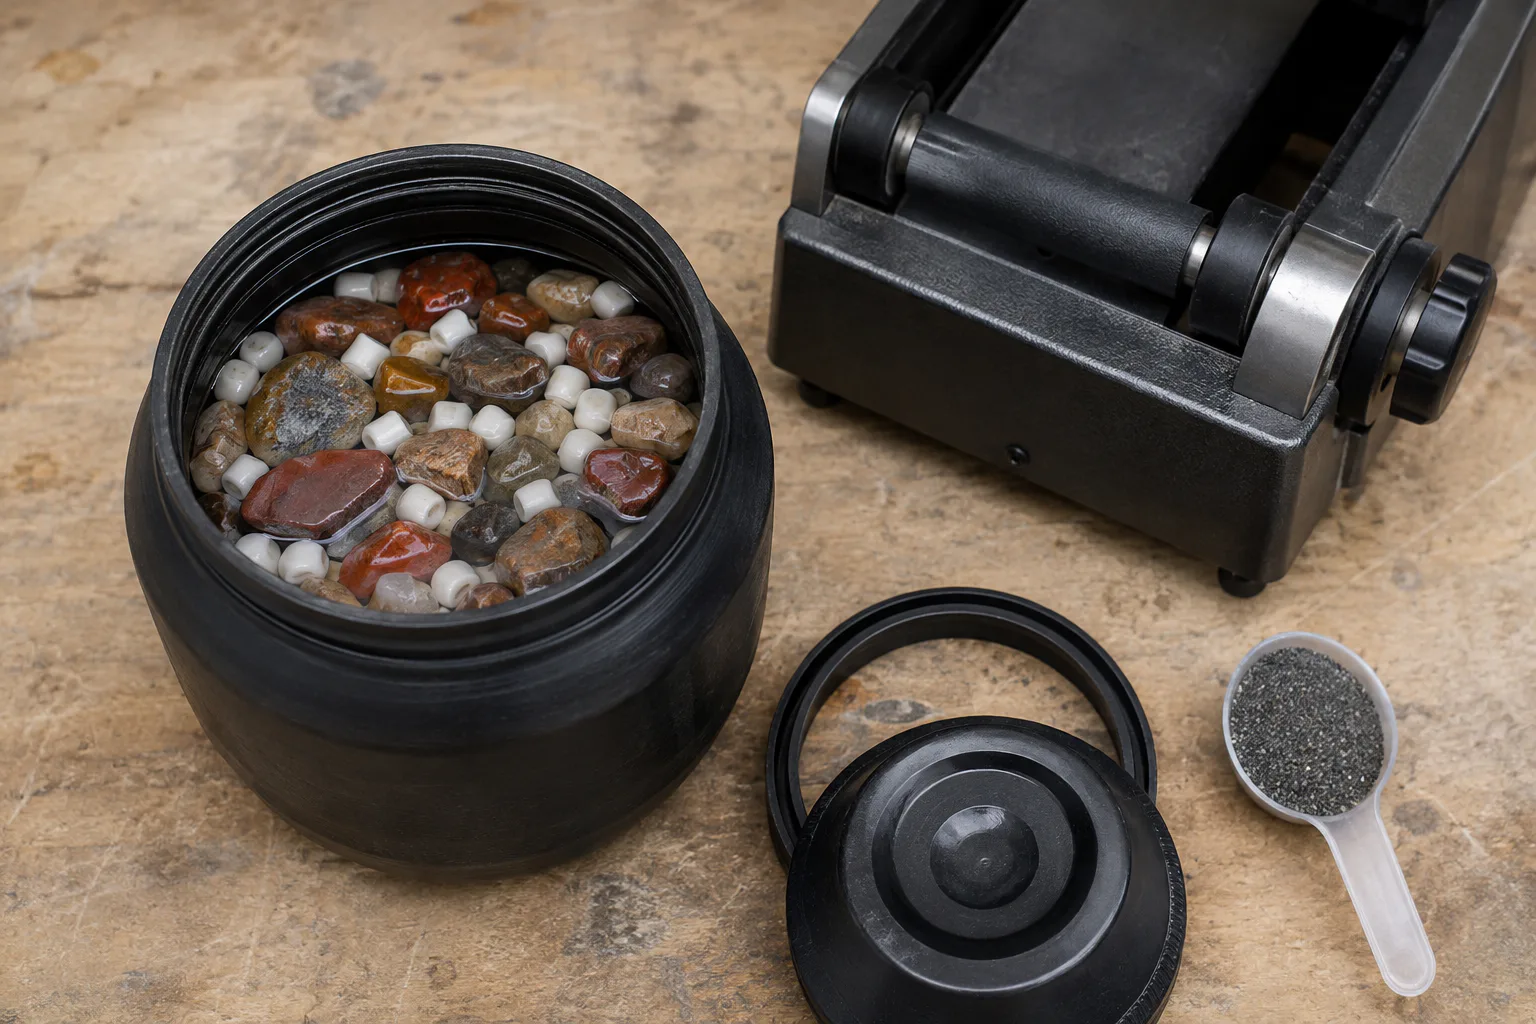
The barrel load controls how the stones move. A balanced load creates a steady rolling action. Too much empty space lets rocks crash into one another, while an overfilled barrel prevents useful movement.
How Full Should the Barrel Be?
Most rotary barrels should be about two-thirds to three-quarters full. If you do not have enough rocks, add ceramic or plastic media until the load reaches the recommended level. Always stay within the tumbler manufacturer’s weight limit.
An underfilled barrel causes rocks to fall too far, which can create chips, bruises, and excess noise. An overfilled barrel may barely turn the stones and can slow the grind.
How Much Grit and Water to Add
Grit quantities vary by barrel size and abrasive product. Use the measurements supplied with your tumbler or grit kit. After adding the grit, pour in enough water to reach just below the top layer of stones. The rocks should be wet, not floating.
Too much water reduces grinding action. Too little water can make the slurry excessively thick and strain the machine. Before sealing the barrel, wipe the rim and lid clean so stray grit cannot cause a leak.
When to Add Ceramic or Plastic Media
Add media when the barrel is not full enough, the batch contains mostly large rocks, or delicate edges need protection. Ceramic media adds contact and grinding action. Plastic pellets provide more cushioning but must stay with one grit stage.

The 4 Rock Tumbling Stages
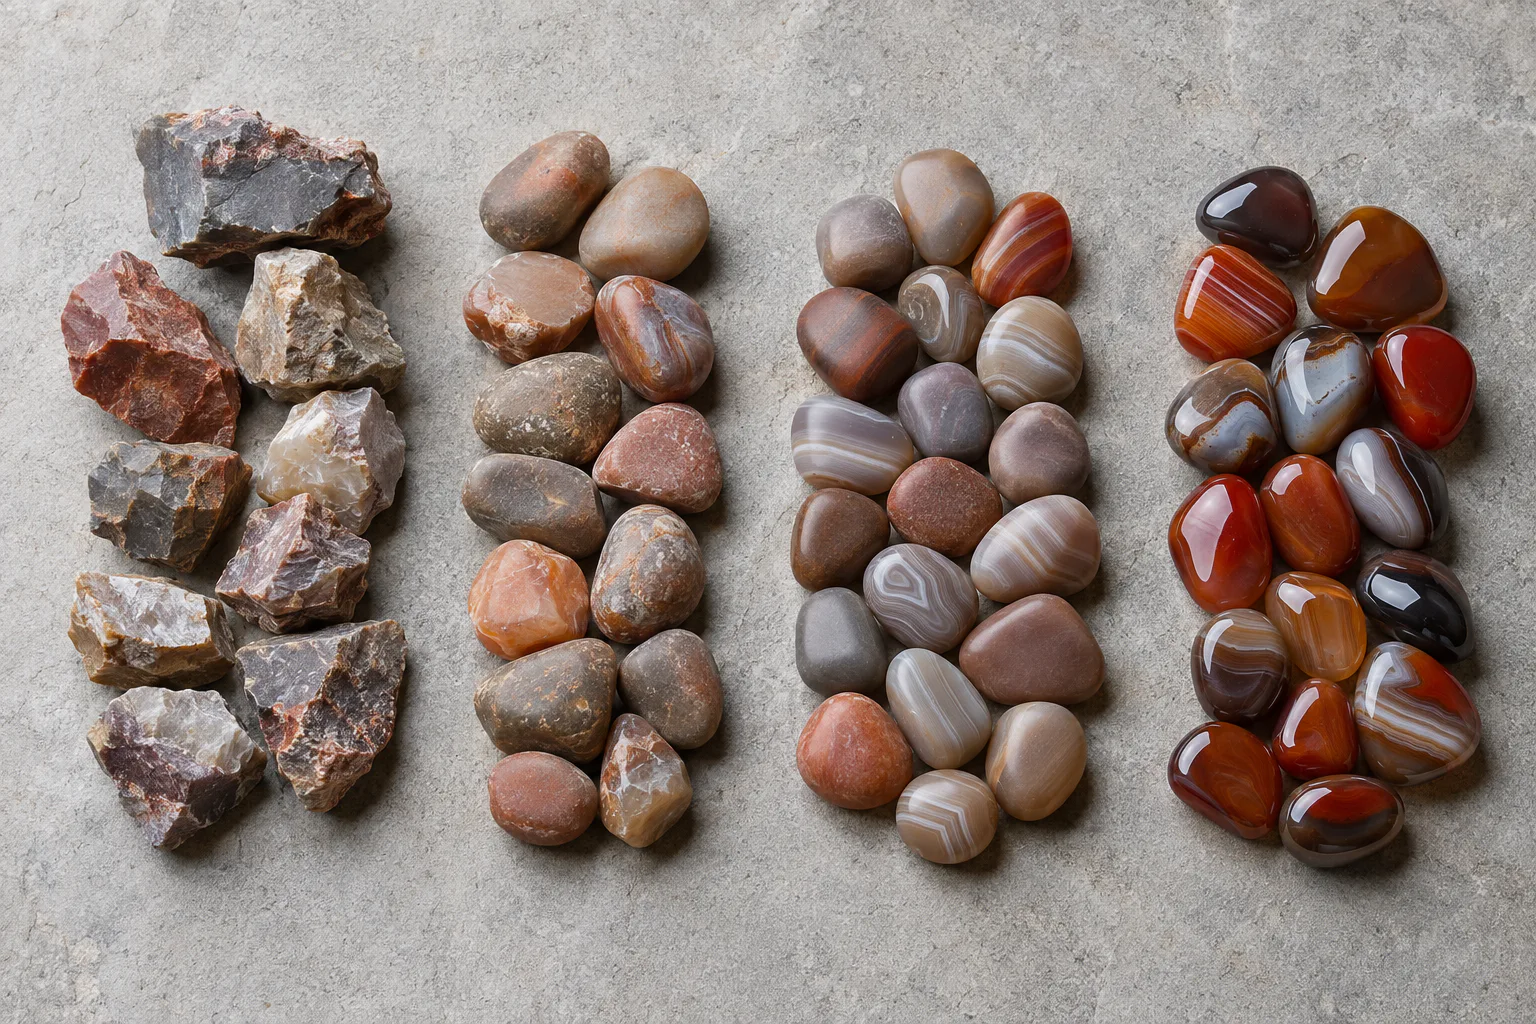
Every stage has a different job. Clean the rocks, barrel, lid, tools, and reusable media thoroughly before moving to a finer abrasive. A few grains of coarse grit can scratch a batch during polish.
1. Coarse Grind
The coarse grind does most of the shaping. Load the barrel with rocks, coarse grit, and water, then let it run for about seven days before inspection. Wash and dry the stones so cracks, pits, and sharp edges are easy to see.
Keep any stone with unwanted defects in the coarse stage. Some batches need several coarse cycles. Do not rush: later stages smooth the surface, but they cannot reliably remove deep pits or reshape sharp edges.
2. Medium Grind
Medium grit removes the scratches created by coarse grinding. After a complete cleaning, run the batch for about seven days. The stones should feel smooth with rounded edges, although they will normally look dull when dry.
3. Pre-Polish
Pre-polish uses a much finer abrasive to remove tiny scratches. Run the clean rocks with pre-polish, water, and suitable media for roughly seven days. A dry test stone should feel extremely smooth and may show a slight sheen.
4. Polish
Place completely clean rocks in the barrel with rock polish, water, and suitable media. Run the batch for about seven days, then rinse and dry one stone. A successful polish stays glossy when the rock is dry.
If stones look shiny only while wet, they may need more polish or better preparation in an earlier stage. A short burnishing cycle with clean water, media, and an appropriate mild soap can remove residue, but burnishing cannot replace polishing.
For a compact version of the full process, see our four-step guide to polishing rocks.
How Long Does Rock Tumbling Take?
A basic batch usually takes four to six weeks. Medium grind, pre-polish, and polish commonly last about seven days each. Coarse grinding is less predictable and may take several weeks if the rough starts with deep pits or sharp edges.
How to Know When Rocks Are Ready
Do not advance a batch just because seven days have passed. Inspect every stone at the end of each cycle. Rocks leaving the coarse stage should have a rounded shape, no unwanted sharp edges, no cracks likely to open, and no deep pits you expect later stages to remove.
During later stages, look for new chips and scratches. Remove damaged pieces immediately. If the batch does not meet the standard for a stage, clean it and repeat that stage with fresh grit.
Common Rock Tumbling Mistakes
Most disappointing batches come from unsuitable rocks, a poorly filled barrel, incomplete cleaning, or advancing before the stones are ready.
Why Rocks Do Not Get Shiny
- The material is too soft, porous, or uneven in texture
- Rocks with different hardness levels were mixed
- Deep scratches remained after an earlier stage
- Coarse grit contaminated the polishing load
- The barrel was underfilled, overfilled, or incorrectly watered
- A broken stone scratched the rest of the batch
- The polish or cycle time was unsuitable
Inspect dry stones under bright light. Visible scratches usually point to an earlier-stage problem. Returning the batch to the correct stage is more effective than extending polish indefinitely.
Prevent Grit Contamination
- Clean under the lid and around the barrel rim
- Use separate brushes and strainers when possible
- Never mix used grit with fresh grit
- Keep plastic media assigned to one stage
- Inspect grooves and seals for trapped abrasive
Rock Tumbling Tips for Beginners
Rock tumbling for beginners rewards careful habits more than complicated tricks. Label stage-specific tools, take a photo of each batch after cleaning, and make brief notes about the rock type, load level, grit, water, and run time.
Be patient with the coarse grind. It determines the final shape and surface quality. You can remove stones that are ready and keep the remaining pieces in coarse grit for another cycle.
Clean the barrel after every stage, especially before pre-polish and polish. Wash every stone, the inside of the barrel, the rim, lid, sealing surfaces, reusable ceramic media, measuring spoon, and rinsing tools.
Rock Tumbling for Beginners FAQ
Can You Put Any Rock in a Rock Tumbler?
No. Soft, porous, fragile, or mixed-texture rocks often crumble or remain dull. Dense material with consistent texture and a Mohs hardness near 7 is usually easiest for a beginner.
Can You Tumble Different Rocks Together?
Yes, when the rocks have similar hardness and durability. Agate, jasper, chalcedony, and many quartz varieties can often share a batch after cracked or fragile pieces are removed.
Can You Reuse Rock Tumbling Grit?
No. Grit breaks into smaller, less effective particles during tumbling, and the slurry fills with powdered rock. Start every grinding stage with fresh grit.
Do You Need Ceramic Media?
Not for every load, but ceramic media is extremely useful. It fills empty space, improves surface contact, and protects stones from hard impacts, especially when a batch contains mostly large pieces.
Start Your First Batch
Rock tumbling for beginners comes down to three decisions: choose compatible stones, give the coarse grind enough time, and prevent grit contamination between stages. Load the barrel carefully, inspect the rocks when dry, and let their condition decide when to move forward.
Your first batch does not need to be perfect. Keep simple notes, change one variable at a time, and each cycle will make your next set of polished stones better.


 Love Rock Tumbling?
Have a question? Use the form above to submit your question or comment.
I love hearing from you and seeing what you made!