

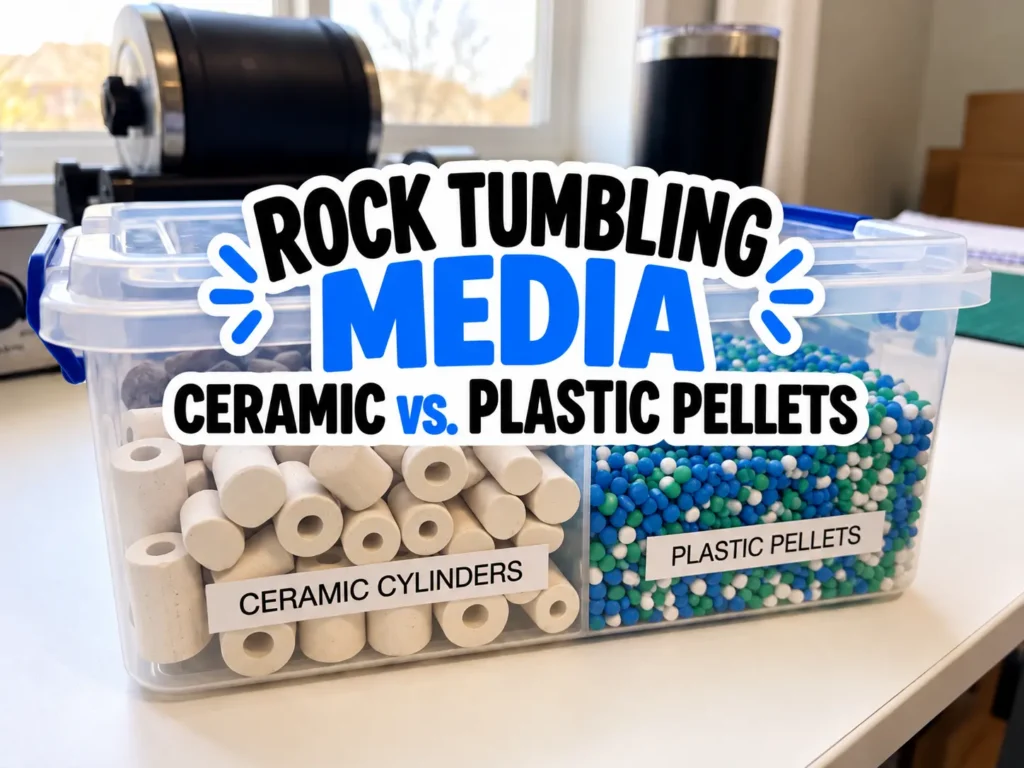
Choosing rock tumbling media is easier once you separate two jobs: hard media improves contact and grinding, while soft media mainly cushions the stones. For most ordinary rotary loads after coarse shaping, seasoned, non-abrasive ceramic is the practical default. Plastic pellets make more sense when fragile material needs extra cushioning, but they must be kept separate for each grit stage. Small, compatible rocks are often the best Stage 1 filler. If your barrel is already correctly filled with a useful mix of rock sizes, you may not need added media at all.
If you are new to the full sequence, start with our complete rock tumbling process, then use this guide to choose the filler for each stage.
What Rock Tumbling Media Actually Does
Tumbling media is not a substitute for abrasive grit or polish. It occupies space between the rocks and changes how the load moves inside the barrel.
Good media brings grit-bearing slurry into gaps, increases contact points, replaces volume lost as rocks shrink, smooths the tumbling action, and reduces impacts that cause chips or bruises.
Those jobs are related, but they are not identical. Ceramic, plastic, and small rocks do not produce the same result.
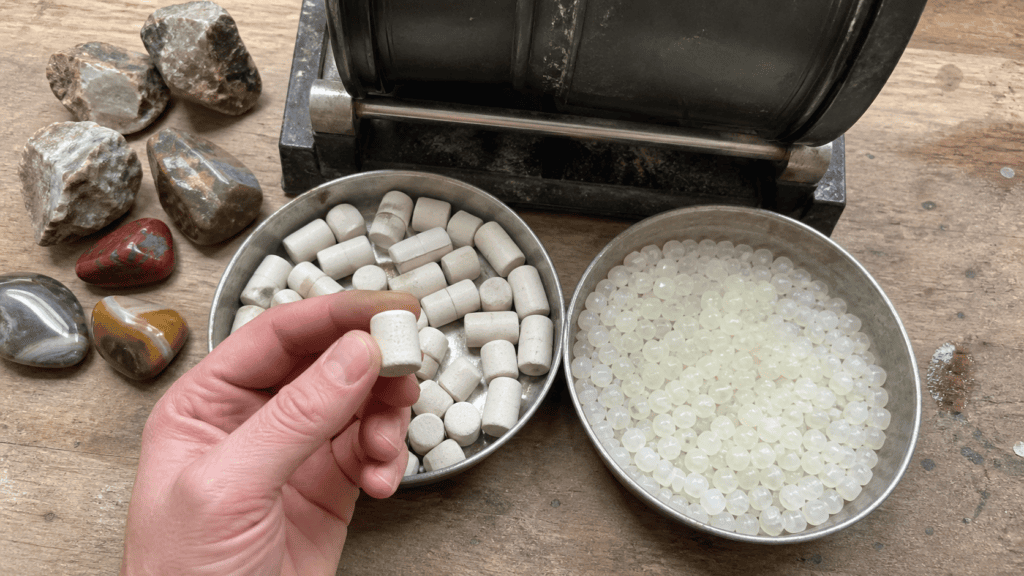
Hard ceramic cylinders and suitable small rocks take part in the rubbing and grinding action. Soft plastic pellets mostly create separation and absorb impacts. That is the central difference when choosing ceramic media vs. plastic pellets.
Media is also not automatically necessary. A rotary barrel that is filled to its manufacturer’s recommended level with a balanced mix of large, medium, and small stones already has many contact points. Adding more material could overfill it and weaken the rolling action.
Ceramic Media for Rock Tumbling
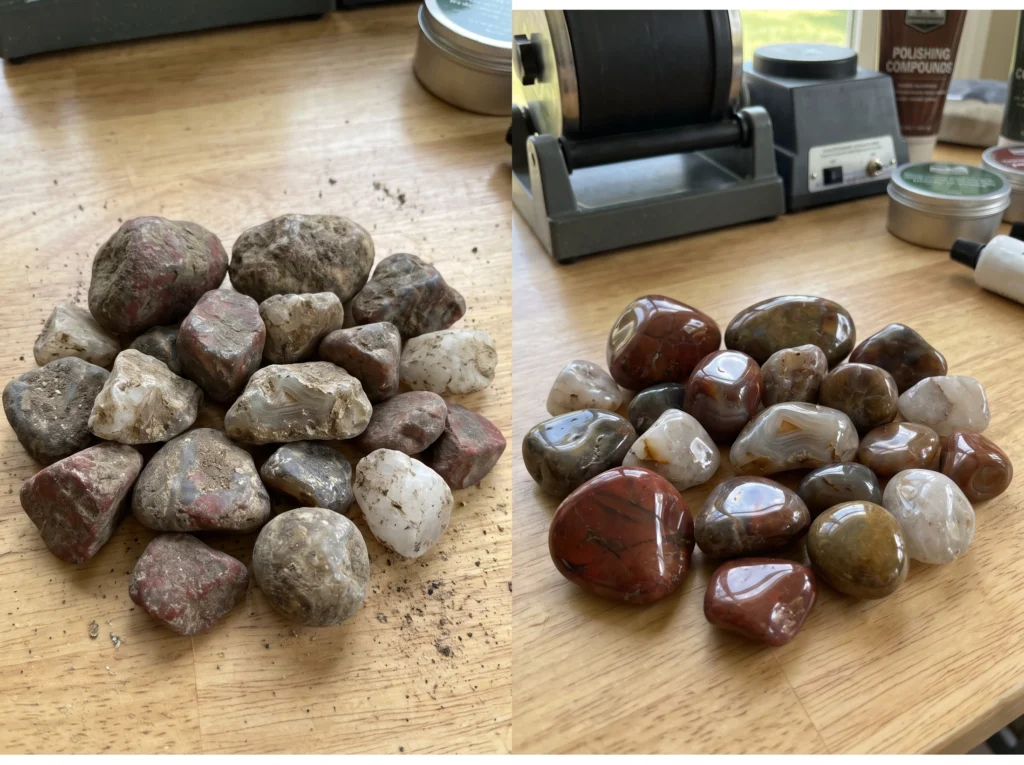
Ceramic is the best all-purpose choice for many loads because it combines filler, contact, and moderate cushioning. Its cylinders settle between stones, carry slurry through the load, and reduce repeated rock-to-rock impacts.
Choose non-abrasive ceramic media made for rock tumbling. Industrial ceramic media may contain abrasive material that can scratch stones, especially during pre-polish or polish. A product’s shape matters too: sharply cut, brand-new cylinders should not go directly into a polish load.
Advantages of ceramic media
- Its hard surface supports grinding and smoothing.
- It can move through successive stages when cleaned thoroughly.
- It works in rotary and vibratory tumblers when the instructions allow it.
- It is durable and reusable; large pieces gradually wear into smaller media.
Limitations of ceramic media
- Fresh pieces may scratch a late-stage load.
- It adds more load weight than plastic.
- It can be too aggressive for some soft or delicate material if a recipe calls for gentler cushioning.
Break in new ceramic during a grinding stage before using it in pre-polish or polish. The aim is to round every edge and give the pieces a smooth surface. If a supplier provides specific break-in instructions, follow them.




Plastic Pellets for Rock Tumbling
Plastic pellets are cushioning media for rotary tumblers. They separate stones and soften impacts without adding much grinding action, useful when a recipe calls for extra protection for fragile or easily bruised material.
Their softness creates the main handling problem: grit can lodge in the pellets. A pellet used with coarse or medium grit can carry those particles into a finer stage and scratch the load. Plastic must therefore be dedicated to one stage—one container for coarse, another for medium, another for pre-polish, and another for polish.
Advantages of plastic pellets
- They provide gentle cushioning and float for easier separation.
- They can be reused repeatedly within the same grit stage.
- They do not need to be broken in like fresh ceramic.
Limitations of plastic pellets
- They do little to improve grinding because they are soft.
- They retain grit and cannot safely move to a finer stage.
- Several labeled batches may be needed, adding storage and sorting work.
- They are generally unsuitable for vibratory tumblers.
Lortone describes its plastic media as a pre-polish and polish filler, while other suppliers discuss broader use. Those are product- and process-specific directions. Your manual and material recipe take priority.
Ceramic Media vs. Plastic Pellets: Quick Comparison
| Factor | Ceramic media | Plastic pellets | Small compatible rocks | No added media |
|---|---|---|---|---|
| Main role | Filler, contact, grinding support, cushioning | Soft cushioning and separation | Active filler and grinding support | Preserves an already balanced load |
| Best fit | Typical loads from grinding through polish | Fragile or easily bruised material in a rotary tumbler | Stage 1 and other loads needing size variety | Barrel already has correct fill and mixed sizes |
| Moves between stages? | Yes, after thorough cleaning | No; keep a dedicated batch for each grit | Yes, if clean and compatible | Not applicable |
| Needs break-in? | Yes, before late stages | No | Rough pieces shape with the load | Not applicable |
| Rotary tumbler | Yes | Yes | Yes | Yes |
| Vibratory tumbler | Usually, if the manual allows | Generally no | Sometimes, if suitable for the recipe | Yes |
| Grinding contribution | Meaningful | Minimal | Meaningful | Depends on the rock mix |
| Storage | One clean supply can serve multiple stages | Separate, clearly labeled stage containers | Sort by hardness, condition, and size | None |
Judge cost per usable batch, not only by package price. Ceramic can serve many loads and stages. Plastic is reusable, but separate stage supplies add storage. Small stones may already be available and can become finished pieces. Ceramic or rock also avoids adding loose plastic pellets to the workflow.
Best Tumbling Media by Stage
| Stage | Practical first choice | When to choose something else |
|---|---|---|
| Stage 1: coarse shaping | Compatible small rough, or no added media when the barrel is already balanced | Use ceramic when fill or cushioning is needed and the loss of some ceramic to wear is acceptable. Use plastic only when a trusted recipe or manual specifically calls for soft cushioning. |
| Stage 2: medium/fine grinding | Broken-in ceramic carried with the load | Use suitable small rocks for active filler. Choose stage-dedicated plastic when fragile material needs softer separation. |
| Stage 3: pre-polish | Clean, seasoned ceramic | Use pre-polish-only plastic for a delicate rotary load. Never introduce sharp, fresh ceramic here. |
| Stage 4: polish | Clean, smooth ceramic already proven in earlier stages | Use polish-only plastic when the material or recipe benefits from extra cushioning. |
| Burnish or final cleaning | Clean, seasoned ceramic if the recipe needs filler | Use only media known to be free of abrasive contamination; follow the machine and material recipe. |
In Stage 1, smaller, similarly hard rough gives grit more stone surface to work on. Ceramic remains useful when a load lacks small pieces or needs gentler movement, but it wears with the rocks. Plastic protects better than it grinds, so it is rarely the first choice for an ordinary hard-rock coarse load.
From Stage 2 onward, smooth ceramic conveniently replaces lost volume. For soft, fragile, or chip-prone material, a proven recipe may favor plastic cushioning in a rotary tumbler.
How Much Rock Tumbling Media Should You Use?
There is no universal answer in cups or a fixed ratio. Use enough to bring the total load—rocks plus media—to the fill level specified for your barrel while leaving room for the load to roll.
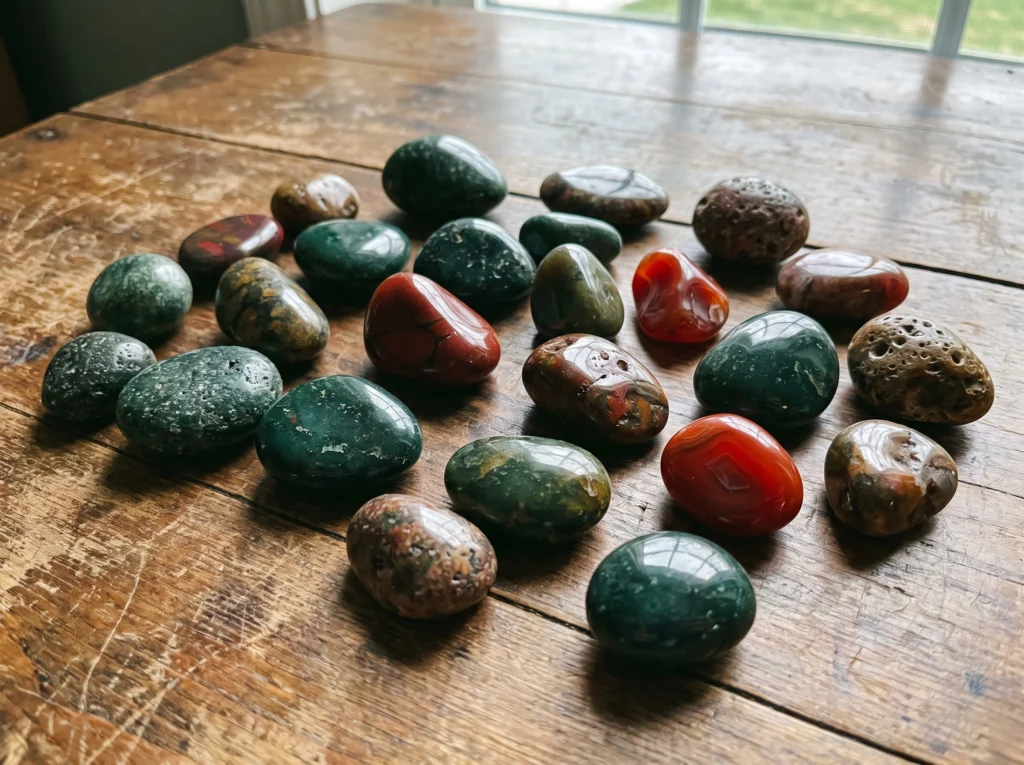
Many small rotary instructions use roughly two-thirds to three-quarters full. Some machines specify another range, so check the manual.
Use this method:
- Load the selected rocks first.
- Check both the fill level and the mix of sizes.
- Add small rocks or media gradually to fill the voids.
- Stop when the complete load reaches the manufacturer’s target.
- Add grit and water according to the recipe for that tumbler and material.
See how to load a rock tumbler correctly for the broader barrel setup.
Think in terms of barrel fill by volume, not bag weight. A half-empty barrel may need substantial filler; a well-packed batch may need none. Recheck after every stage because the load shrinks.
Too little load can produce hard impacts or sliding; too much can prevent the rolling movement the process needs.


Cleaning, Storage, and Preventing Grit Contamination
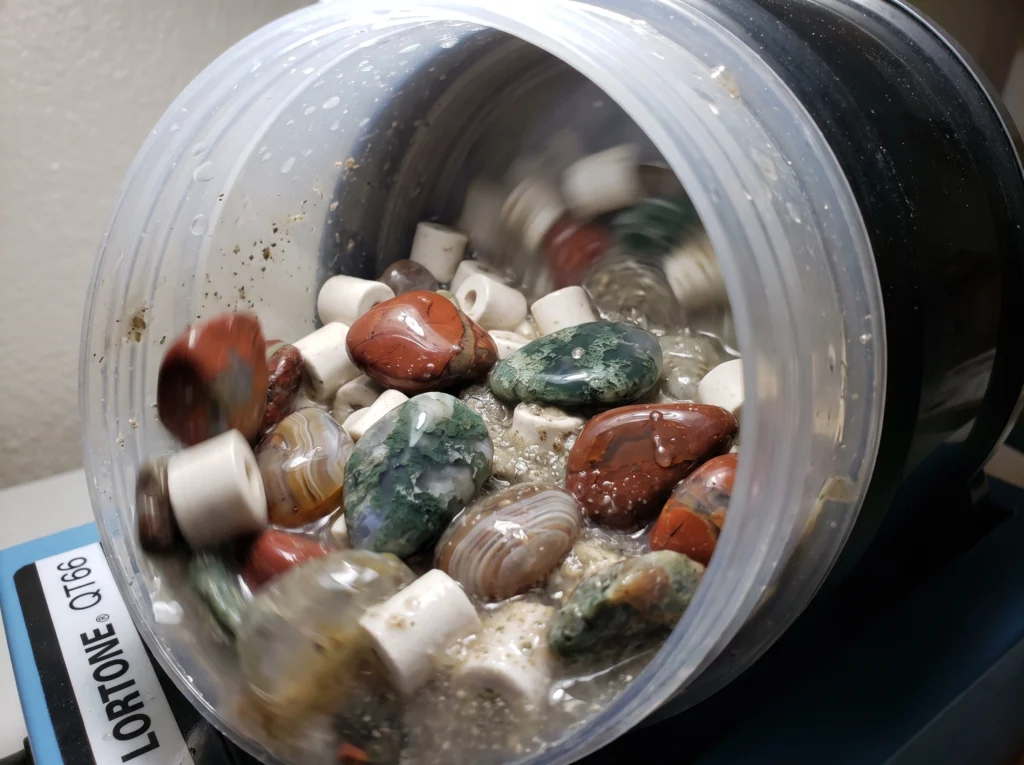
Contamination is most damaging when a coarse particle reaches pre-polish or polish. Treat every stage change as a clean-work checkpoint.
- Rinse stones, ceramic, barrel, lid, gasket, and tools over a bucket—not a household drain.
- Inspect seams, recesses, and the barrel rim for trapped slurry.
- Wash ceramic until no residue remains, and examine it for chips or sharp edges.
- Keep plastic in separate containers labeled by stage. Never promote coarse-stage plastic to a finer stage.
- Use dedicated or thoroughly cleaned screens, scoops, and work surfaces for late stages.
- Dry stored media when its supplier recommends dry storage, and keep containers closed and labeled.
- Capture every plastic pellet during cleanup; do not rinse pellets into drains, soil, or stormwater.
Ceramic can normally travel forward after thorough cleaning. If contamination is uncertain, keep it out of the polish load.
Simple Decision Guide
Start with the barrel, not the bag of media:
- Is the barrel at its specified fill level with mixed rock sizes? Use no added media unless the material needs cushioning.
- Is a Stage 1 load short on small pieces? Add compatible small rough first.
- Is an ordinary hard-rock load in Stages 2–4 underfilled? Add clean, seasoned, non-abrasive ceramic.
- Is the material fragile, soft, thin, or prone to bruising in a rotary tumbler? Consider plastic dedicated to that exact stage, especially when a tested recipe recommends it.
- Are you using a vibratory tumbler? Use compatible ceramic or small rock if the manual calls for media; skip plastic pellets.
Alternative rock filler should be clean, sound, and reasonably similar in hardness to the main batch. Unknown gravel may contain soft, porous, or contaminated pieces.
Common Media Mistakes
These checks complement our broader rock tumbling tips.
- Treating media as grit: Media changes the load; abrasive grit does the cutting.
- Adding fresh ceramic in polish: Break it in earlier and inspect every edge.
- Moving plastic to a finer stage: Embedded grit can scratch the next stage. Label it from first use.
- Adding media to an already full barrel: Overfilling can stop the cascading action.
- Ignoring the tumbler type: Plastic is a rotary option, not a general vibratory medium.
The Best Default for Most Tumblers
For a typical hard-rock load, use a mix of rock sizes in Stage 1, then carry clean, seasoned ceramic through the later stages as needed to maintain the correct fill. Reserve stage-labeled plastic pellets for rotary loads that genuinely benefit from softer cushioning. Use no added rock tumbler filler when the barrel is already properly loaded.
Choose the medium that supplies the missing function—contact, fill, or cushioning—without creating a contamination problem.

Frequently Asked Questions
Can I use ceramic media in every rock-tumbling stage?
Non-abrasive ceramic can be used in every stage when the tumbler and recipe allow it, but fresh ceramic should be broken in before pre-polish or polish. Stage 1 may be more economical and productive with compatible small rough instead.
Can plastic pellets move from coarse grit to polish?
No. Plastic can retain grit, so dedicate a separate labeled batch to each stage. Reuse polish pellets only in polish, pre-polish pellets only in pre-polish, and so on.
Are small rocks as good as ceramic media?
They can be an excellent active filler, especially in Stage 1, if they are clean, sound, and similar in hardness to the main load. Unknown or porous gravel can introduce incompatible material or contamination.
How full should a rock-tumbler barrel be with media?
Measure rocks and media as one total load and follow the tumbler manual. Many small rotary recipes use roughly two-thirds to three-quarters full, but the correct range is model-specific.
Do I need tumbling media in the polish stage?
Only if the load needs more volume, more contact points, or cushioning. A correctly filled load with a good size mix may need none. If you add media, use fully seasoned, clean ceramic or plastic reserved only for polish.
 Love Rock Tumbling?
Have a question? Use the form above to submit your question or comment.
I love hearing from you and seeing what you made!