

Most National Geographic tumbler problems are easier to diagnose once you match the symptom to the exact kit and its instructions. A kit may include rough gemstones and grit packed inside the barrel, so check its contents before loading it. The safest first step is to identify the model and follow its matching instructions.
Stop the cycle and unplug the unit before inspecting it. A fix may be as simple as correcting the load or cleaning a seal, while an electrical fault needs product support. The right checks can help you avoid damage from forcing a part or using instructions meant for another kit.
Look for the model label before making a repair or changing the load. If the cord or another electrical part looks damaged, leave the unit disconnected. Unplug the unit before checking anything around its barrel or motor base.
Identify your exact kit and revision before following repair or loading advice
The model number, not the brand name on the box, tells you which loading and timer instructions to use. To run a rock tumbler, follow that kit’s fill guidance, add its specified grit and water, seal the barrel, then select the matching stage duration and speed.
Do not transfer settings between models. A good National Geographic rock tumbler kit for you depends on the capacity and controls you need, not a universal ranking. The 3-pound model suits a reader who needs its stated capacity; the 2-pound model is the smaller-capacity option.
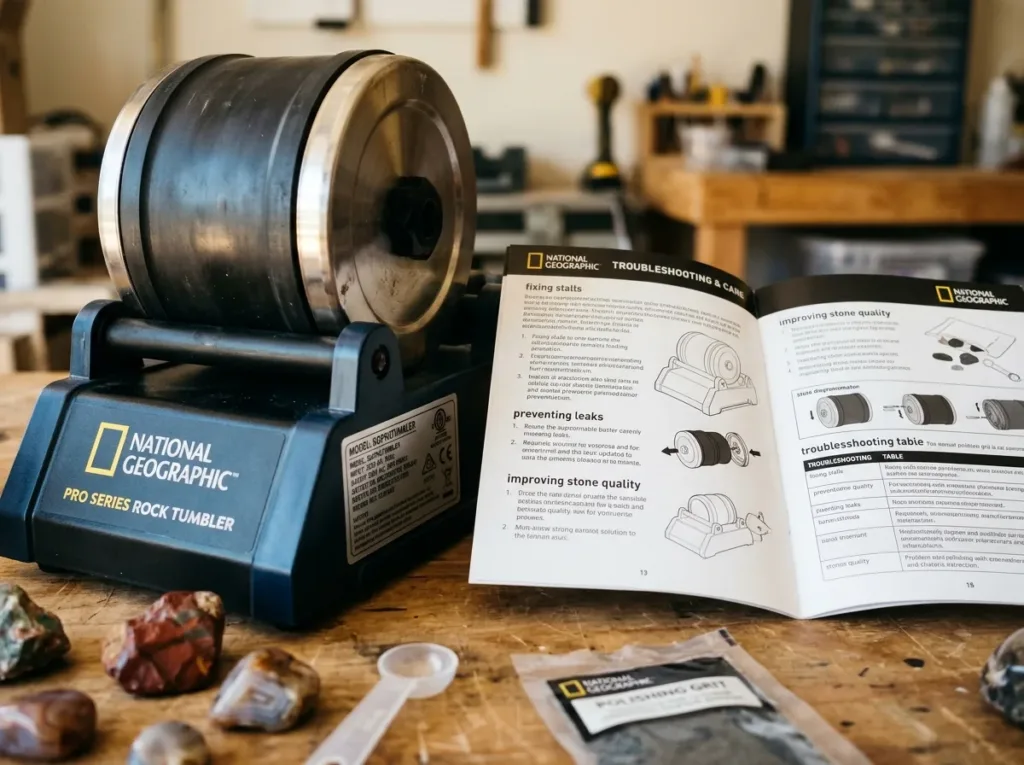
Find the model number and timer type
Check the product label on the tumbler or its packaging, and compare it with the revision label and manual. NGTUMBLER3LB has a 3 Lb. barrel, a 3-speed motor and a 9-day timer. NGULTTUMBLER2 has a 2-pound barrel, three adjustable speeds, and timer settings for days and hours.
Match loading and operating instructions to that model
For NGTUMBLER3LB, fill the barrel approximately 2/3 to 3/4 full with rocks, then add water until it almost covers them. A separate National Geographic kit gives a 1/2 to 2/3 fill level; use that range only with its matching instructions.
NGULTTUMBLER2 instructions advise tumbling rocks of similar hardness and cleaning the barrel, lid and components after each use. Follow the correct manual for grit amounts and cycle settings, too. Keep the model number beside the tumbler’s manual so it is easy to check before each cycle.
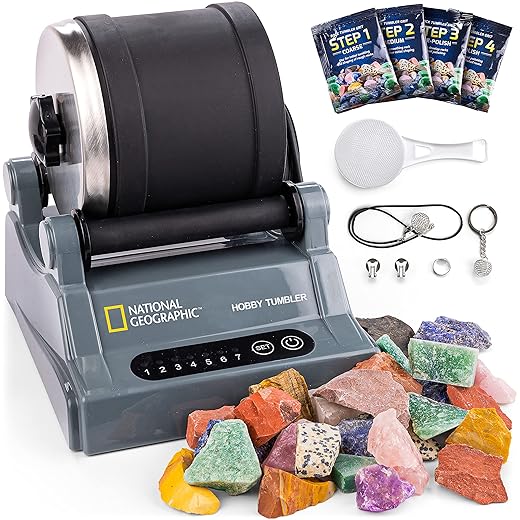
Compare kit listings: These National Geographic kits have different barrels and controls; use the model label and matching manual to identify your own unit.



National Geographic Rock Tumbler Troubleshooting: symptom chart for common problems
A tumbler that will not start, flashes lights or stops turning needs a different first check for each symptom. Match the check to the problem, and use the manual for your exact model before interpreting a light pattern.
A flashing-light pattern alone cannot diagnose every model. A no-start may point to a power issue, while rollers turning without the barrel suggests a mechanical issue. Use these first checks to sort a broken tumbler symptom without guessing at a repair.
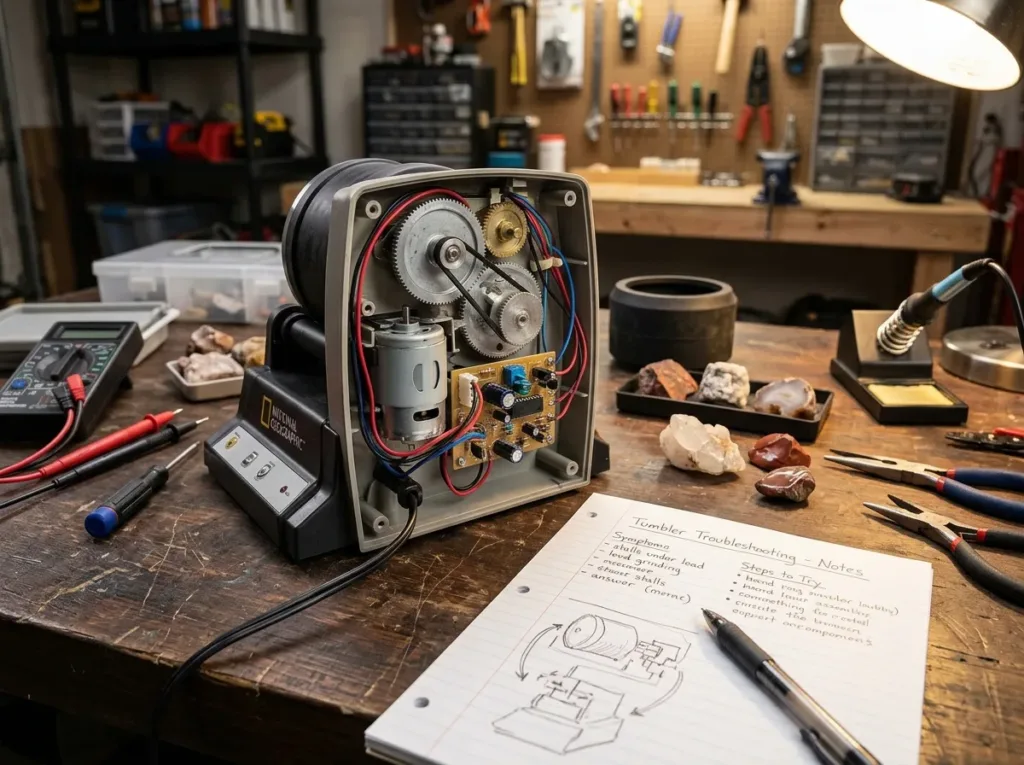
- No power: Check the compatible power supply and look for visible damage.
- Flashing lights: Note the exact pattern and consult the matching manual.
- Rollers turn while the barrel stays still: Disconnect power, then inspect the load and roller contact.
- Leak: Stop the cycle and check the seal.
- Dull stones: Record the batch and stage details for the polishing diagnosis.
For one National Geographic kit, the specified transformer is model SAW06D-120-0500UD; its UK model is SAW06D-120-0500BD. Do not assume either part fits another kit. Check the matching instructions for the compatible power supply before replacing one.
Inspect the transformer cord, plug, enclosure and other parts regularly. A problem in the circuit or a worn component can affect power, but a light display does not prove which part has failed. If the power cord or transformer is damaged, leave the tumbler unplugged until the damaged part is repaired or replaced.
Fix a stall safely: power, load, barrel seating, roller contact and model-compatible parts
If the NGTUMBLER3LB stops under load, first unplug it and remove some rocks before resetting it. An overloaded barrel can stop this tumbler; after reducing the load, reconnect power to reset it.
Keep your hands away from moving parts whenever the unit is powered. A stall may come from too much weight, poor barrel seating or a damaged belt. Check one cause at a time and follow only the instructions for your exact model.
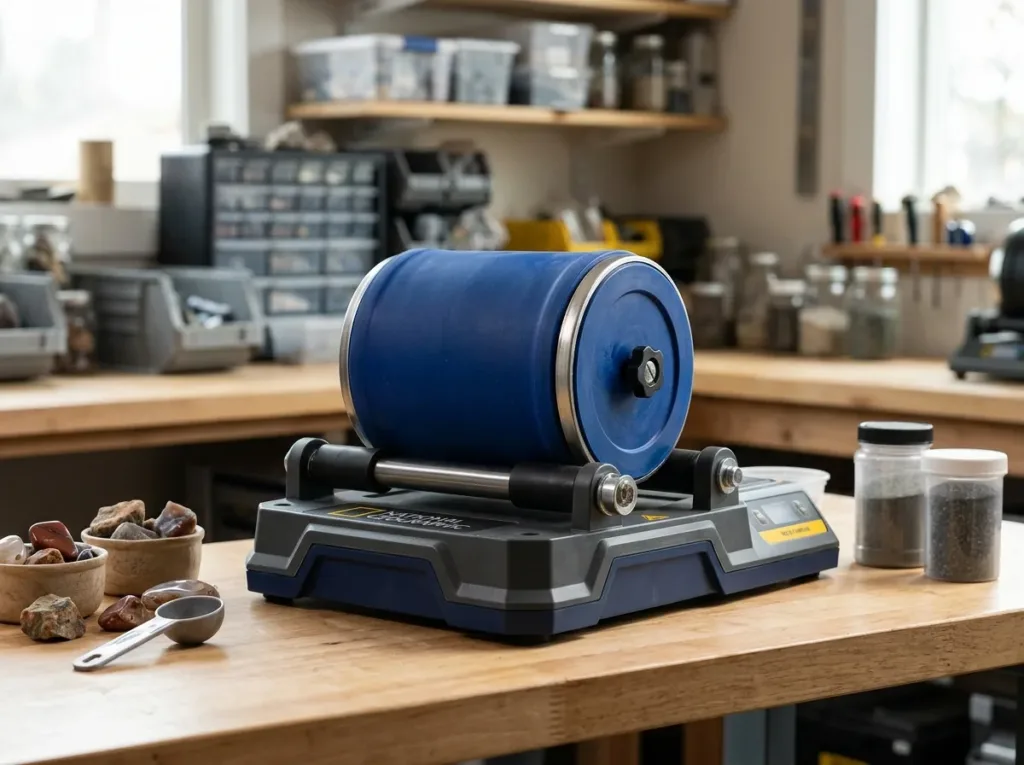
- Disconnect power before inspecting the tumbler.
- Reduce an overloaded load using the fill guidance in the exact manual.
- Check that the barrel is seated correctly on the rollers.
- Look to see whether the rollers turn freely, without touching powered parts.
- Inspect the belt only as the matching manual allows.
Check the load and barrel position with power disconnected
The NGTUMBLER3LB manual directs you to unplug the unit, remove some rocks and plug it back in to reset it. If a reduced load does not solve the stall, check whether the barrel rests securely on the rollers. A barrel sitting out of place may fail to turn even when the motor runs.
Watch the rollers only while the tumbler is disconnected. Do not reach in to test them by hand or inspect them while they move. If the rollers appear blocked or do not move freely, stop and use the manual’s troubleshooting steps rather than opening the motor base.
Inspect the belt and use only a compatible replacement
The NGTUMBLER3LB kit includes an extra drive belt, and its learning guide provides steps for replacing a worn or broken belt. Inspect or replace it only as those instructions allow. Do not treat a motor or electrical board as a routine home repair.
Some five-pack O-ring-style replacement-belt listings claim compatibility with National Geographic and Dr. Cool tumblers. That claim does not establish fit for every model, so match any replacement part to your model before using it. Do not run the tumbler with its barrel misseated or a belt that is visibly damaged.
Diagnose a leak: clean and inspect the lid and seal; use the matching manual
A slow leak often starts where residue or a misseated seal keeps the lid from closing evenly. Clean contact surfaces can help the lid and lining fit as intended, but the assembly differs between kits.
Use the sealing instructions for your exact model. For NGTUMBLER3LB, clean the lid and barrel rim, then confirm that the lid is screwed on tightly. Inspect the rubber lining to make sure it sits correctly and has no damage.
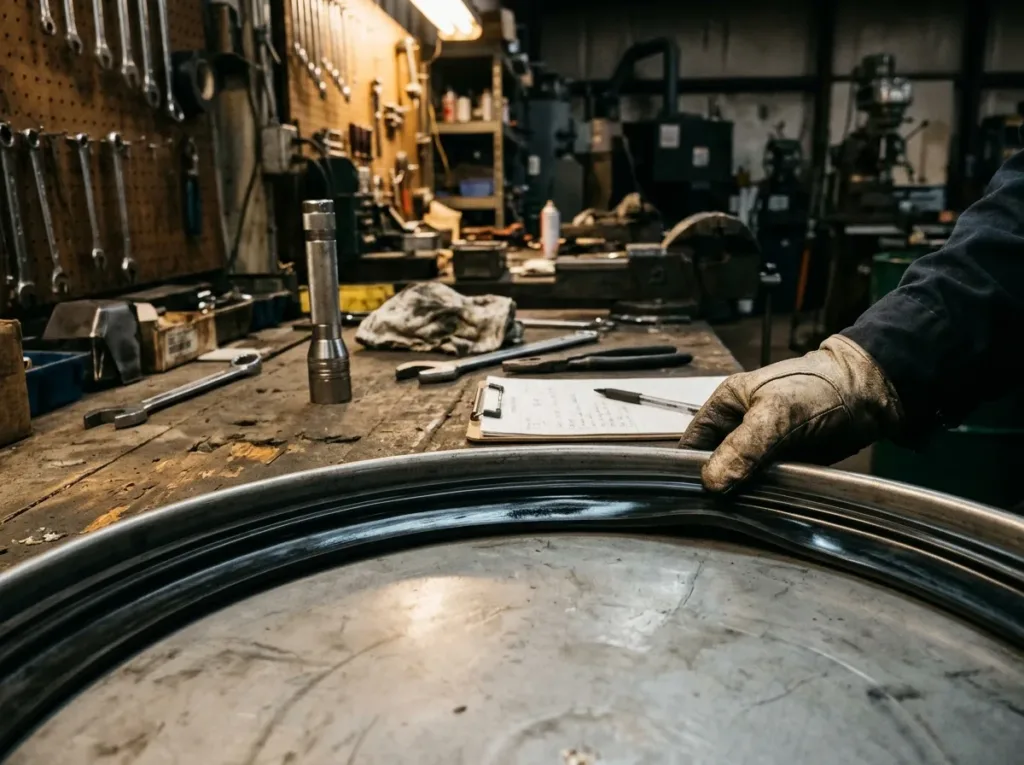
Grit or dried residue on the rim can hold the lid slightly open and let water escape during tumbling. Wipe the sealing surfaces clean, then look around the lid and rim for signs of uneven contact. Do not force the lid tighter if it resists or appears misaligned.
One National Geographic kit uses a barrel assembly with an inner lid, metal housing and outer black knob. That arrangement is model-specific, not a universal sealing sequence. Follow the matching manual’s assembly order instead of forcing a part into place.
After cleaning and reassembly, check that the lining remains seated as the manual shows. A damaged seal may not close evenly, even when the lid is correctly fitted. Stop the cycle if the lining is split or will not sit correctly in its groove.
Safe load and seal checks: A small scale helps check load weight, while brushes and clean cloths help remove residue from non-electrical contact surfaces.


Diagnose dull stones: dry inspection, grit contamination, incomplete earlier stages or unsuitable rough
Dull stones usually point to an unfinished stage, grit carried forward or a batch that needs a closer inspection. Grit cross-contamination means leftover abrasive from one tumbling stage that gets carried into the next stage and can scratch or dull the stones.
Do not advance a batch until the stones are ready for the next stage. The NGTUMBLER3LB manual lists an incorrect grit-to-rock ratio, insufficient tumbling time and cross-contamination as possible reasons for poor polish.
Inspect the stones and review each earlier stage
Rinse and dry several stones before judging their surface. After coarse grinding, look for sharp edges that remain; after later stages, check for scratches that persist. Stones that look rougher or more scratched than the rest may need more time at an earlier stage.
For NGTUMBLER3LB, suggested settings are coarse grinding for 3-5 days at Speed 3, medium grinding for 6-8 days at Speed 2, pre-polish for 6-8 days at Speed 1, and polish for 7-10 days at Speed 1. These are stage suggestions, not a promise that every batch will finish on schedule.
Review the grit-to-rock ratio and the time spent in each earlier stage before blaming the final polish. A separate National Geographic kit suggests about 4 weeks of tumbling and checking test stones at each stage. Follow that advice only with the matching kit, and let the stones’ condition guide when they advance.
Prevent grit carryover and sort rocks by hardness
Rinse the rocks, barrel and lid thoroughly between stages. Wash used grit into a bucket rather than pouring it down a household drain. Keep each stage’s grit and tools from carrying abrasive into the next stage.
A general sorting rule is to tumble rocks within ±1 Mohs hardness of one another. That guideline can help reduce uneven wear, but it cannot guarantee that every combination of rough rocks will polish alike. Sort out stones that differ noticeably in hardness or surface condition.
A small amount of mineral oil can make finished stones look shinier, but it cannot remove scratches or replace unfinished grit stages. Check a few rinsed test stones before moving the whole batch to the next grit.
Grit and cushioning media: For a new stage, choose grit and media that fit your kit's instructions and keep every abrasive stage separate.


What to photograph and record before contacting product support
A clear model-label photo and a short symptom timeline can make a support request much easier to assess. Specific details help describe what happened without asking support to guess which kit or part you have.
Record the model and the conditions around the fault before contacting support. Include the load, stage in progress and any visible damage, then take clear photos of the relevant parts.
- Write down the model number and revision label.
- Note when the symptom occurs and what the tumbler was doing.
- Record the load and tumbling stage in progress.
- Describe any light pattern, sound or visible belt, lid or lining damage.
- Photograph the label, full unit, affected part and included components.
Take photos in clear light, with the part in view and the model label readable. A full-unit photo gives useful context, while a close-up can show a split lining or damaged belt. Keep your notes factual, including when the issue began and whether it happens each cycle.
Check inside the barrel before reporting missing grit or rough gemstones; some kit contents are packaged there. The listed components include the base, barrel, power cord, strainer, replacement belt, jewelry fastenings and booklets, along with grit and rough gemstones packaged inside the barrel.
For a missing part, email custserv@discoverwithdrcool.com. For other support needs, use the contact information in your matching manual. Keep the original model label and any damaged part visible in the photos.
Conclusion
The most useful troubleshooting habit is to match every check and part to the tumbler’s exact model. That match matters for loading, replacement parts and any repair steps.
Unplug the unit before inspecting it. If the fault involves damaged electrical parts or a repair beyond the manual, contact product support rather than opening the motor base or guessing at a fix.
Keep the model label and manual together so you can make a safe, informed choice before running another batch. Find the model label and matching manual before your next cycle.

 Love Rock Tumbling?

Have a question? Use the form above to submit your question or comment.
I love hearing from you and seeing what you made!