

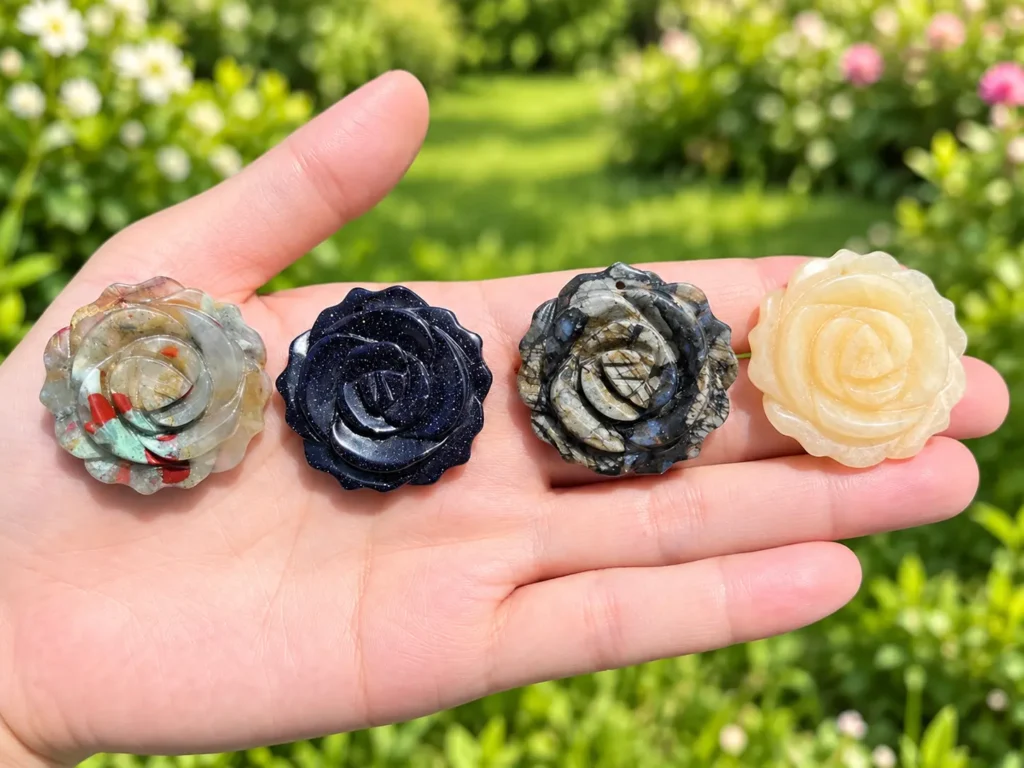
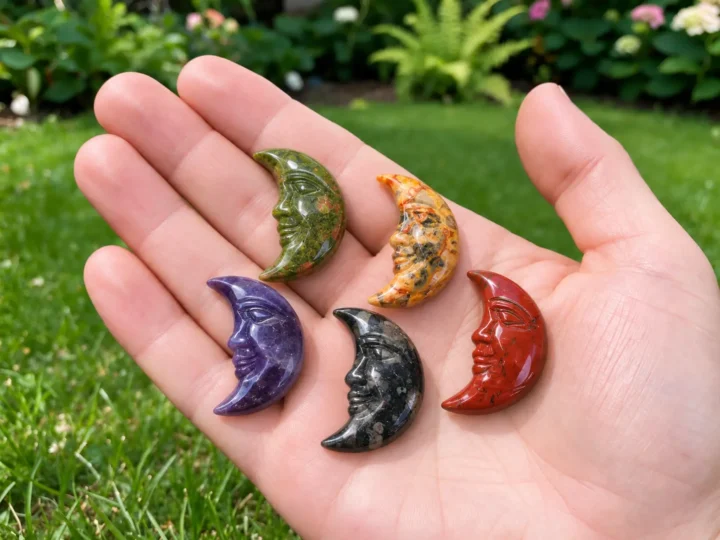
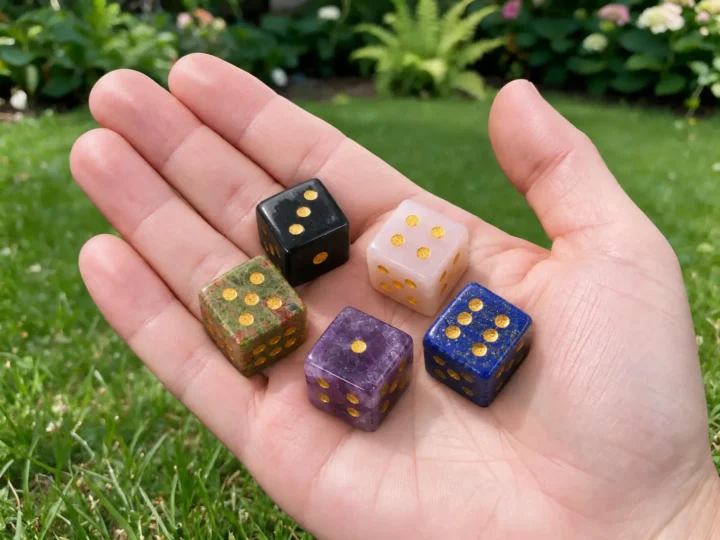
A gemstone rose pendant is a hand-carved mineral sculpture shaped into the layered, spiraling bloom of a natural rose, finished with a silver-plated pinch bail for pendant wear. The finished piece measures roughly 25 mm to 35 mm across, with individual petal grooves cut 1.5 mm to 2.5 mm deep using diamond rotary burrs under continuous water flow. Minerals like amethyst, rose quartz, lapis lazuli, green aventurine, tiger eye, amazonite, hematite, opalite, and kambaba jasper all produce striking rose pendants with distinct color character. If you have followed our earlier lapidary projects on how to carve a gemstone moon face, how to make gemstone dice, or how to make an inlaid gemstone pendant, rose petal carving builds on those same rotary relief skills with an organic, botanical twist.
Learning how to carve a gemstone rose pendant takes your lapidary craft beyond flat cabochons and into three-dimensional floral sculpting. Each petal ring requires controlled depth cuts and smooth curved transitions that replicate the gentle overlap found in a real opening rose bloom. At Rock Tumble Lab, our team carved test roses across more than a dozen mineral varieties to develop a reliable, repeatable petal-carving sequence. For studio questions, visit our about page or reach our lapidary staff through the contact page.
Key Takeaways
- Slab Preform Dimensions: Start with a mineral slab 8 mm to 12 mm thick, cut into a 30 mm to 35 mm diameter round disc on a diamond trim saw.
- Outer Petal Scalloping: Use a 6 mm diamond cylinder burr at 5,000 RPM to grind the characteristic wavy petal edge profile around the disc perimeter.
- Spiral Groove Carving: A 2.0 mm diamond ball burr cuts the concentric spiral grooves that separate individual petals, starting from the center bud and spiraling outward.
- Petal Face Rounding: Switch to a 4 mm flame burr to round each petal face into a gentle convex dome, giving the rose its dimensional bloom appearance.
- Polishing and Bail Attachment: Smooth with 400, 600, and 1200 grit rubberized silicon carbide points, polish with cerium oxide on felt bobs, and attach a silver-plated pinch bail with two-part epoxy.
Essential Materials for Carving a Gemstone Rose Pendant
Carving thin, overlapping petal forms out of hard minerals requires stable stone blanks without internal fracture planes. When learning how to carve a gemstone rose pendant, selecting tough, cryptocrystalline silicates ensures that thin petal edges and the tight center bud spiral will not chip or shear under rotary burr pressure.
Selecting Mineral Slabs for Rose Pendant Carvings
Your mineral choice directly affects how cleanly petal grooves hold their edges during grinding. Cryptocrystalline quartz varieties (Mohs 6.5 to 7.0) and dense feldspar-group minerals provide the best cohesion for floral detail. Avoid porous sandstones, coarsely crystalline granites, or minerals with strong cleavage planes like calcite or fluorite.
| Mineral Variety | Mohs Hardness | Fracture Traits | Rose Carving Guidance |
|---|---|---|---|
| Rose Quartz | 7.0 | Conchoidal / No cleavage | Translucent pink mass quartz. Carves cleanly and accepts a glassy cerium oxide polish. The soft pink tone photographs well as a floral pendant. |
| Amethyst | 7.0 | Conchoidal / No cleavage | Transparent to translucent purple quartz. Use color-zoned slabs where darker purple concentrates in the center bud for a natural gradient effect. |
| Green Aventurine | 7.0 | Conchoidal / Tough | Opaque to translucent green quartzite with chrome mica flecks. The sparkle (aventurescence) shows well across curved petal surfaces. |
| Tiger Eye | 7.0 | Fibrous / Tough | Golden chatoyant quartz. Orient the fiber direction across petal faces so the shimmer band travels across petals during wear. |
| Lapis Lazuli | 5.0 to 5.5 | Uneven / Granular | Softer than quartz. Reduce RPM to 4,000 to 5,000. Deep blue with gold pyrite flecks creates stunning contrast against silver bail hardware. |
| Amazonite | 6.0 to 6.5 | Good cleavage / Brittle | Blue-green feldspar. Carve with extra caution on thin petal tips due to cleavage planes. Keep water flow constant to prevent heat splitting. |
| Hematite | 5.5 to 6.5 | Subconchoidal / No cleavage | Dense iron oxide mineral. Carves smoothly to a gunmetal mirror polish. The metallic sheen looks striking as a dark rose pendant. |
| Kambaba Jasper | 6.5 to 7.0 | Conchoidal / Dense | Dark green stromatolite fossil jasper with circular orb patterns that add natural texture across each petal face. |
| Opalite (Glass) | 5.5 | Conchoidal / Brittle | Man-made opalescent glass. Reduce RPM to 3,500 to 4,500 and use the lightest burr pressure to avoid chipping translucent petal edges. |
For mineral hardness data sheets, consult the USGS Mineral Resources Program. The GIA Gem Encyclopedia covers optical properties affecting polishing behavior.
If you need rough rose quartz, agates, or bulk raw crystals to slice into blanks for rose carvings, here are top-rated options:




Lapidary Tools and Diamond Burrs: How to Carve a Gemstone Rose Pendant
Floral carving requires more burr shapes than flat cabochon work. Here is the full tool inventory:
- Diamond Trim Saw: A 6-inch or 8-inch continuous-rim blade for slicing rough mineral into 8 mm to 12 mm slabs, then cutting 30 mm to 35 mm round preform discs.
- Diamond Cabbing Wheel (180 grit, 360 grit): For truing disc edges and establishing flat faces before carving begins.
- Foredom Flex Shaft or Variable-Speed Rotary Tool: A flexible-shaft machine with foot pedal speed control (3,000 to 12,000 RPM range). Running speed for rose carving should stay between 4,500 and 7,000 RPM depending on mineral hardness.
- Diamond Burr Set: 6 mm cylinder burr (perimeter scalloping), 2.0 mm and 3.0 mm ball burrs (spiral groove cutting), 4 mm flame burr (petal face contouring), 1.5 mm tapered point burr (center bud detailing).
- Rubberized Silicon Carbide Points: 400, 600, and 1200 grit mounted points for removing carving scratches before polishing.
- Cerium Oxide Polishing Compound: Mixed into a thin slurry and applied with felt bobs for a final optical polish on quartz varieties.
- 50,000-Grit Diamond Paste: Applied on hardwood toothpick tips for polishing tight crevices between inner petals.
- Silver-Plated Pinch Bail: A 15 mm to 20 mm spring-loaded bail that clips over the top petal edge, secured with two-part epoxy.
- Shallow Water Dish: A flat-bottomed tray filled with 20 mm of clean water for submerged carving to suppress silica dust and cool burrs.
Step-by-Step Workshop Process: How to Carve a Gemstone Rose Pendant
This carving sequence moves from rough slab to finished pendant in six controlled stages.
Step 1: Cutting the Round Preform Disc
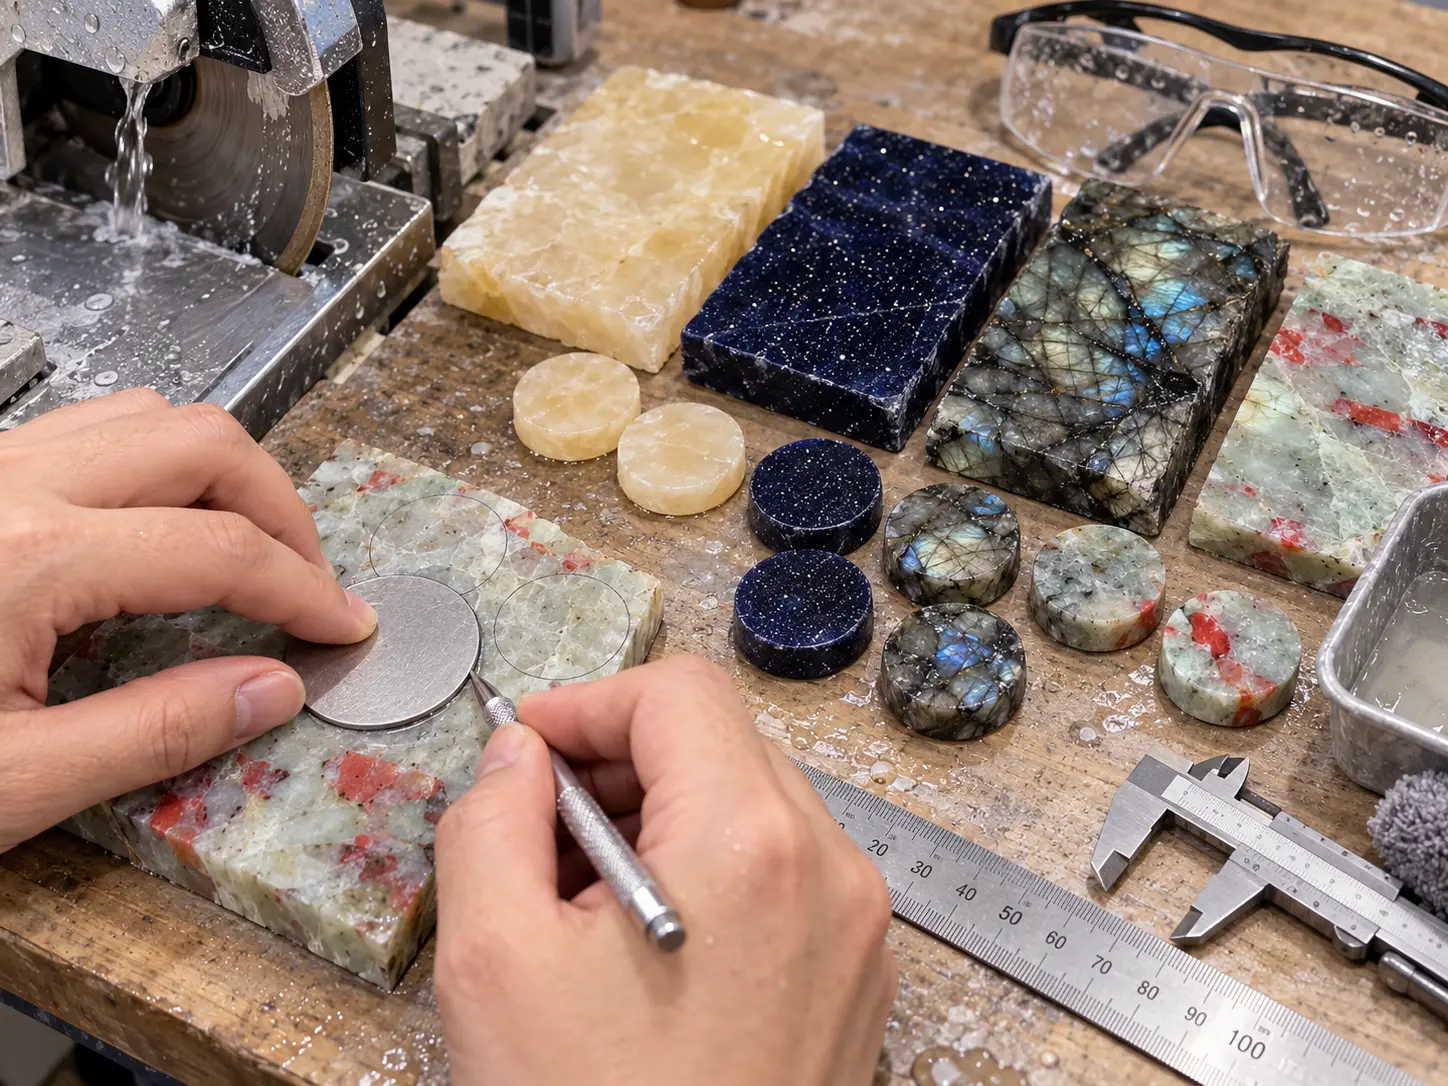
Start with a mineral slab 8 mm to 12 mm thick. Place a 30 mm cardboard circle template on the slab face and trace around it with an aluminum scribe. On your diamond trim saw, cut four straight tangent lines around the traced circle to remove corner waste. Then slowly freehand-trim the remaining flats into a rough round shape, rotating the stone 15 to 20 degrees between each cut. True the disc edges on the 180-grit diamond cabbing wheel until the perimeter is consistently round and the flat faces are parallel.
Step 2: Scalloping the Outer Petal Perimeter
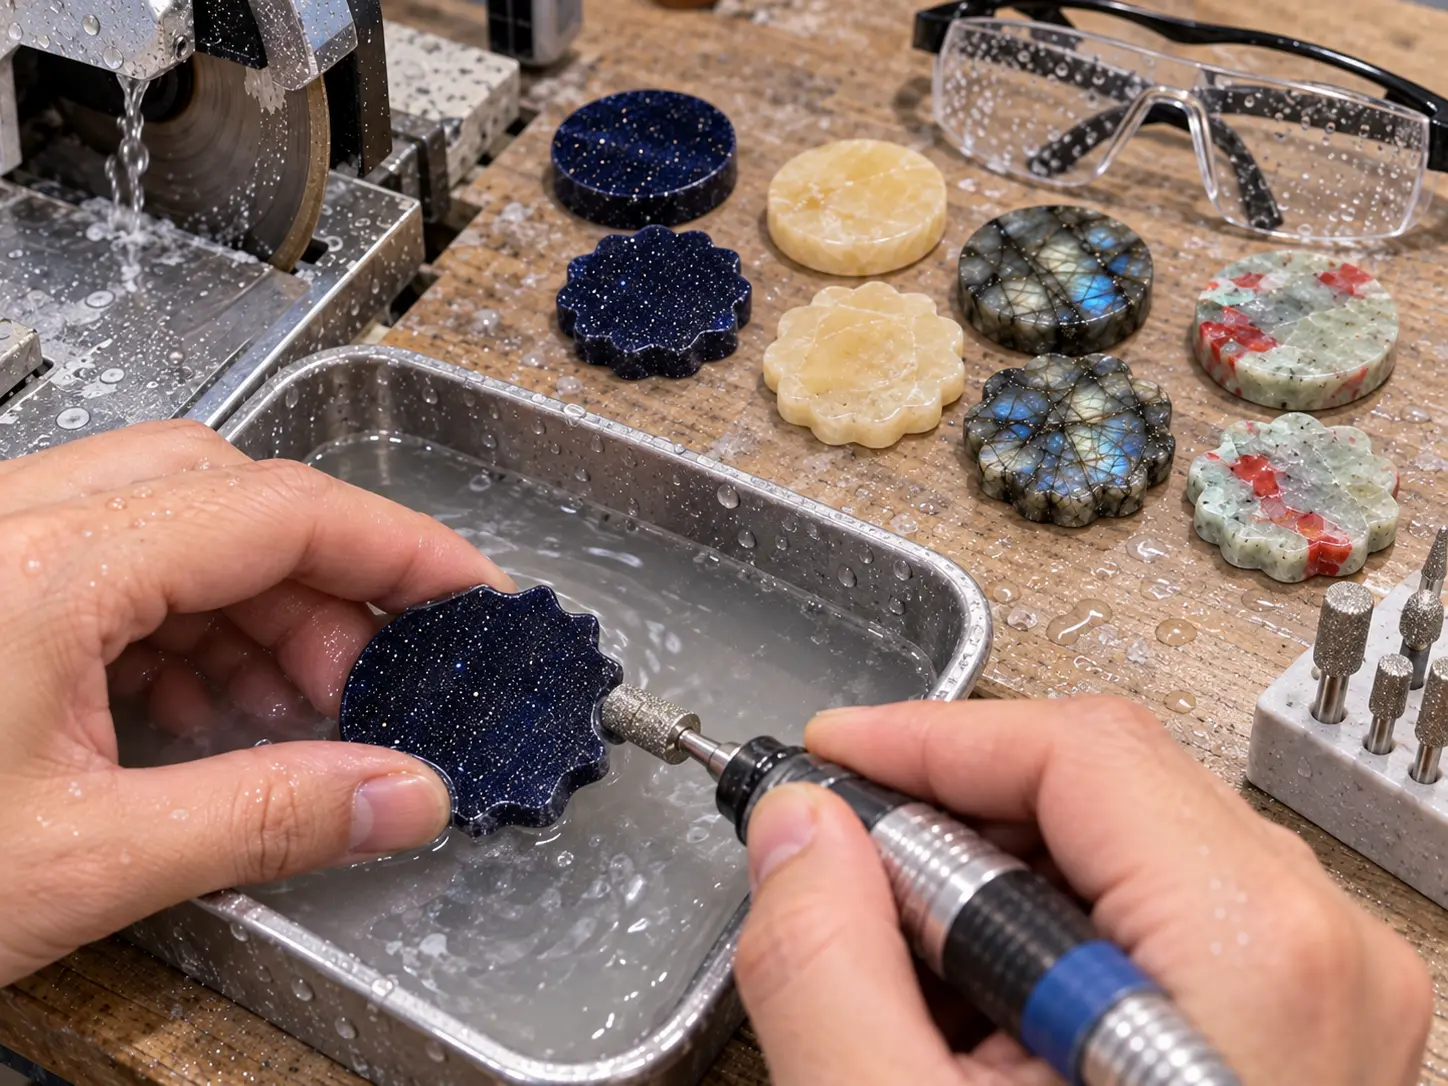
Submerge the disc in the shallow water dish. Using the 6 mm diamond cylinder burr at 5,000 to 5,500 RPM, grind six to eight evenly spaced concave scallops around the disc perimeter. Each scallop cuts inward approximately 2.0 mm to 3.0 mm from the original edge, creating the wavy petal tip profile. Pre-mark six to eight radial tick marks on the disc face with the aluminum scribe for even spacing. Grind each scallop in slow back-and-forth passes with light, steady burr contact. The finished perimeter should look like a flower viewed from above, with rounded petal tips separated by shallow notch valleys.
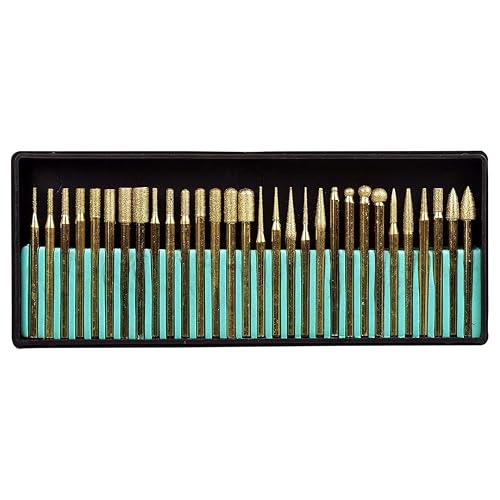
For carving clean spiral petal channels, scalloping outer curves, and maintaining precise fingertip control, these rotary flex-shaft attachments and diamond burr sets are essential:


Step 3: Carving the Spiral Petal Grooves
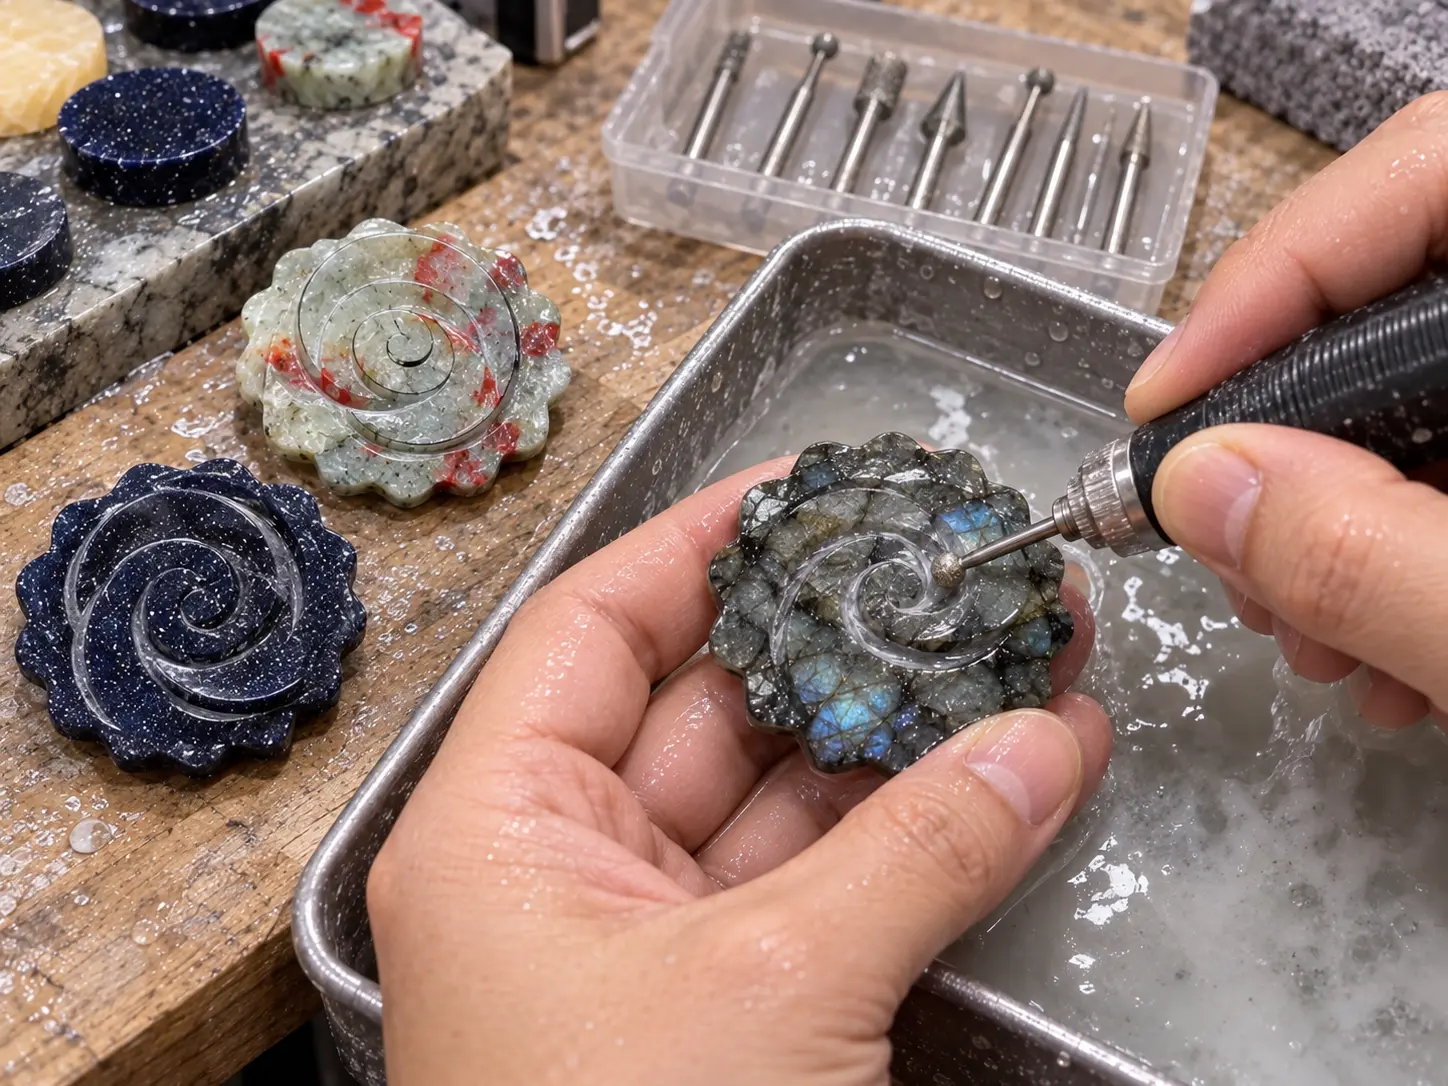
Switch to the 2.0 mm diamond ball burr. Begin at the center of the disc face and carve a tight clockwise spiral groove outward toward the scalloped perimeter. The center spiral starts tight (3 mm to 4 mm loop radius) and gradually opens as it expands. Cut each groove 1.5 mm to 2.0 mm deep. On a 30 mm disc, you will typically carve two to three complete spiral turns from center to edge, producing four to six distinct petal segments.
After the primary spiral, add two or three short secondary groove branches near the outer petals. These branches split the outermost petal ring into smaller sub-petals, replicating how a real rose has more petals in its outer layers. Keep secondary grooves slightly shallower (1.0 mm to 1.5 mm deep).
Step 4: Contouring and Rounding Petal Faces
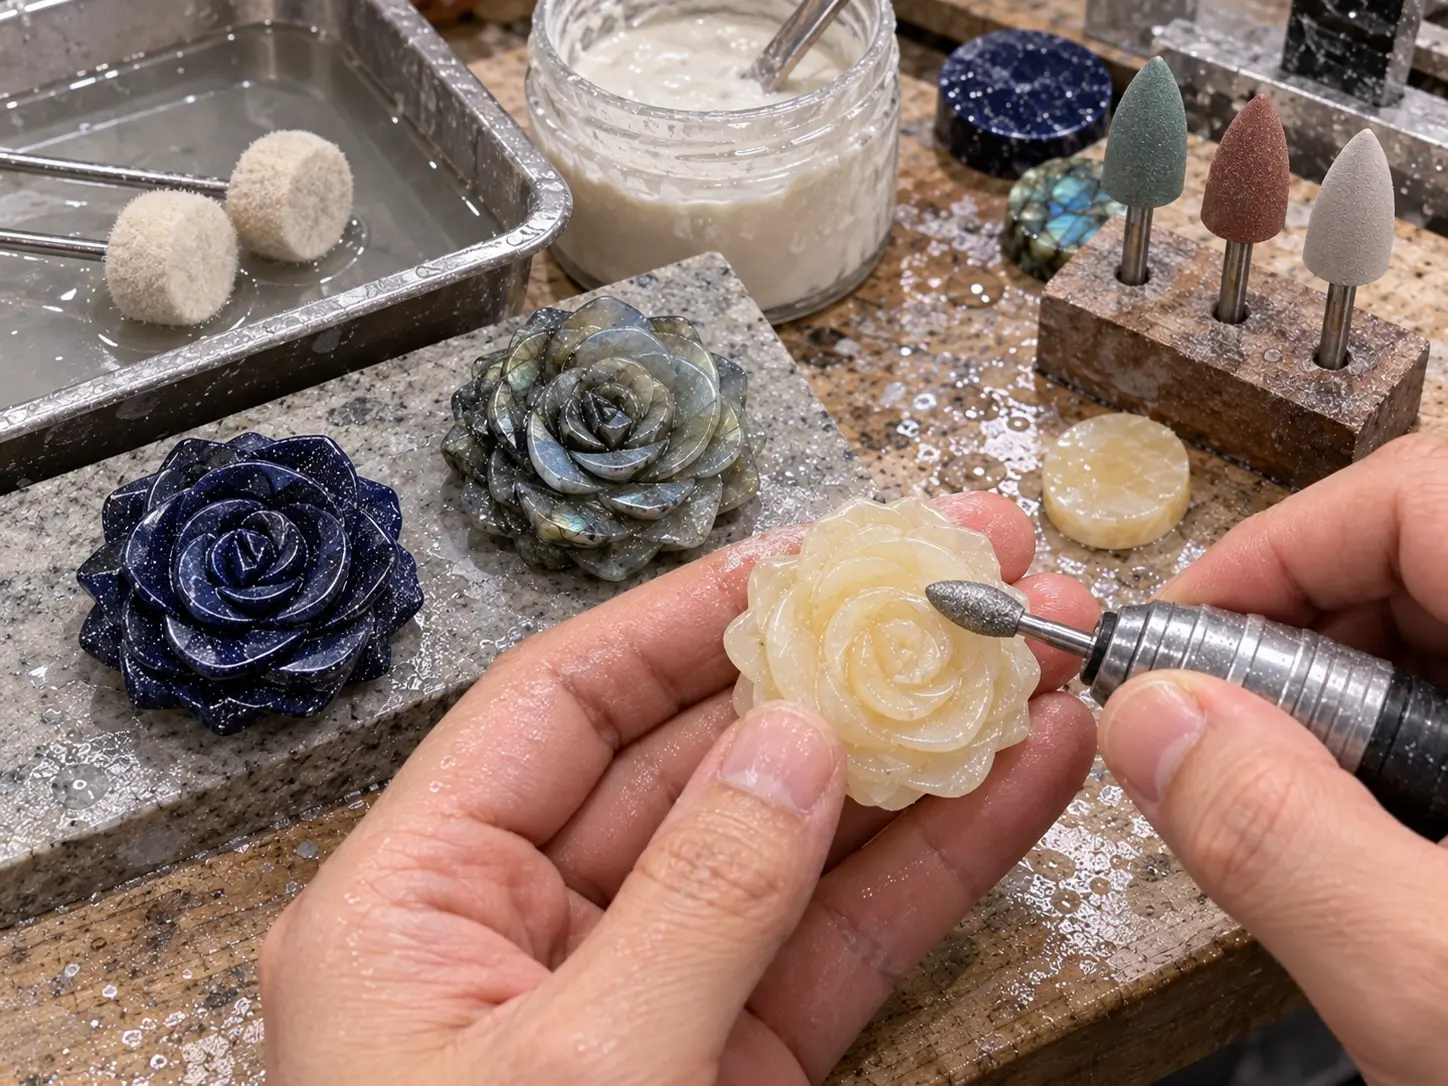
With the spiral grooves established, each petal segment is currently flat-topped. Switch to the 4 mm diamond flame burr at 5,500 to 6,500 RPM. Angle the flame burr at roughly 30 degrees across each petal face and slowly sweep from the groove edge toward the petal center. This rolling pass removes the flat top and creates a gentle convex dome on each petal.
Work one petal at a time. Compare petal heights frequently by viewing the carving from the side at eye level. All petal faces should rise to approximately the same height, with the center bud petals sitting slightly higher (by 0.5 mm to 1.0 mm) than the outer ring. For the center bud, switch to the 1.5 mm tapered point burr and carve a tiny tight swirl defining two or three tightly wrapped inner petals. The center bud sits as the highest point of the entire rose face.
Step 5: Smoothing and Polishing the Rose
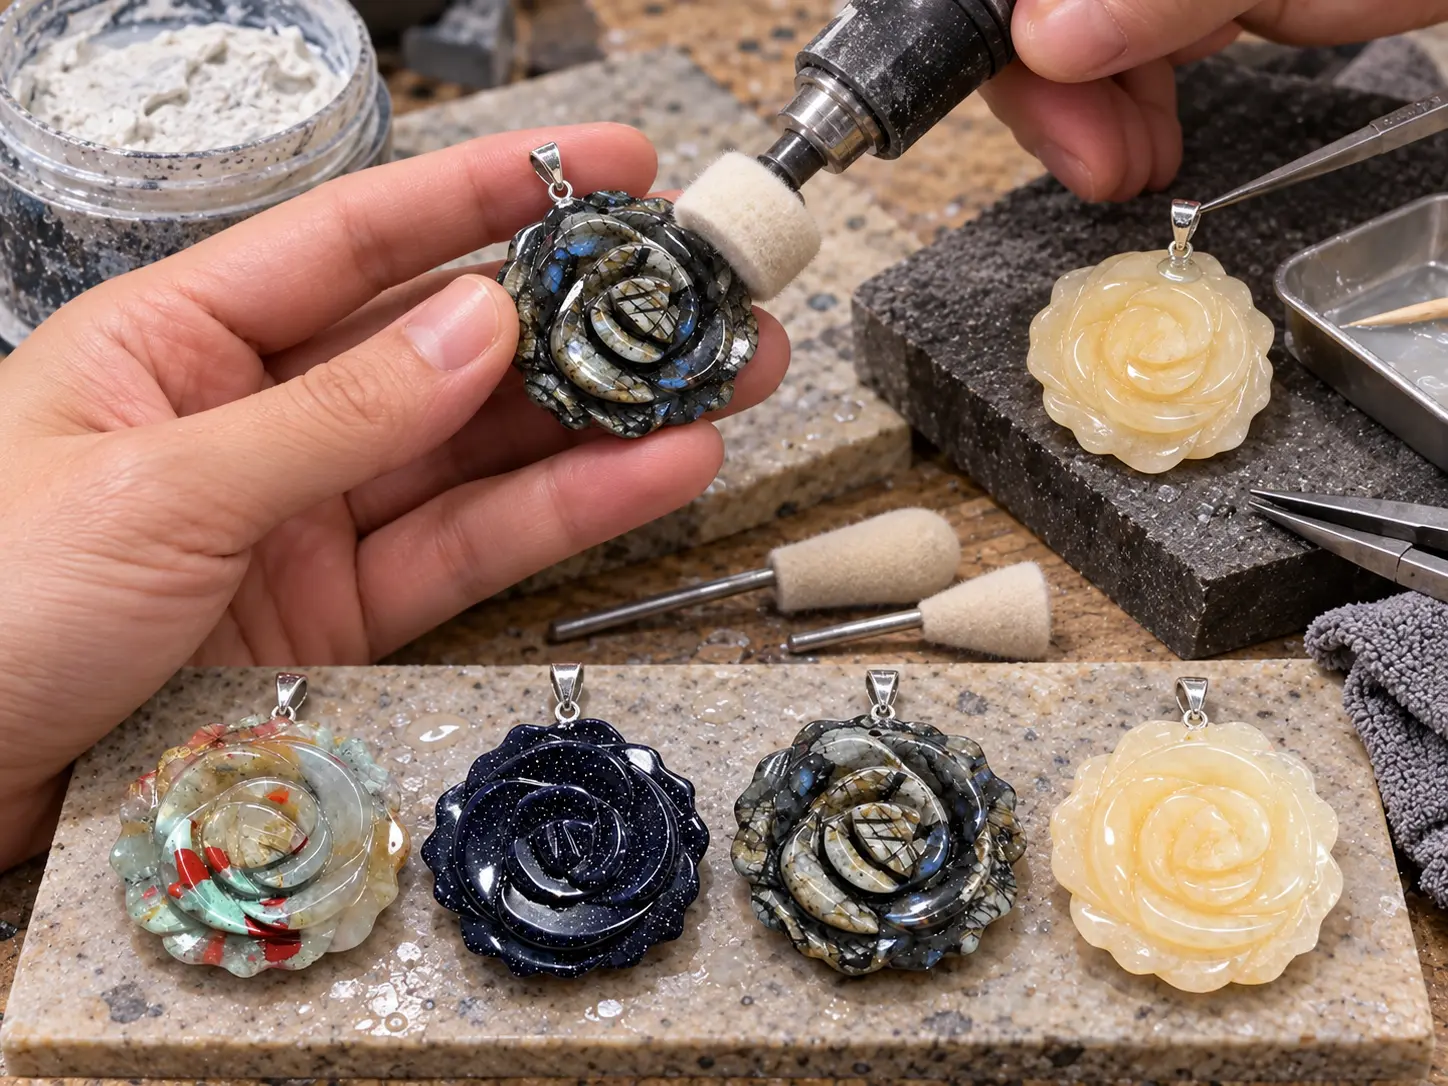
Switch from diamond cutting burrs to rubberized silicon carbide abrasive points. Start with the 400-grit point and smooth every petal face, groove wall, and scalloped edge. Move to the 600-grit point and repeat, then finish with the 1200-grit point. Use a 3 mm ball-shaped abrasive point to reach inside narrow groove channels.
For the final optical polish, load a small felt bob with cerium oxide slurry (one teaspoon of powder in two tablespoons of water). Run the felt bob at 4,000 to 5,000 RPM across each petal face. For softer minerals like lapis lazuli and hematite, tin oxide paste works better. For deep inner petal grooves where felt bobs cannot fit, dip a hardwood toothpick into 50,000-grit diamond paste and manually rub the groove walls for 20 to 30 seconds per groove.
Step 6: Attaching the Bail for Pendant Wear
Select a silver-plated pinch bail sized 15 mm to 20 mm tall with a spring-loaded jaw that opens wide enough to grip your stone thickness. Clean the top petal edge with isopropyl alcohol. Mix two-part stone-and-metal epoxy, apply a thin layer to the bail jaws, position the bail centered on the top petal, and clamp firmly. Hold steady pressure for the 5-minute initial cure. Allow 24 hours for full bond strength before hanging on a chain. For heavier minerals (hematite, lapis lazuli), use a glue-on bail plate with a flat adhesive pad for wider weight distribution.
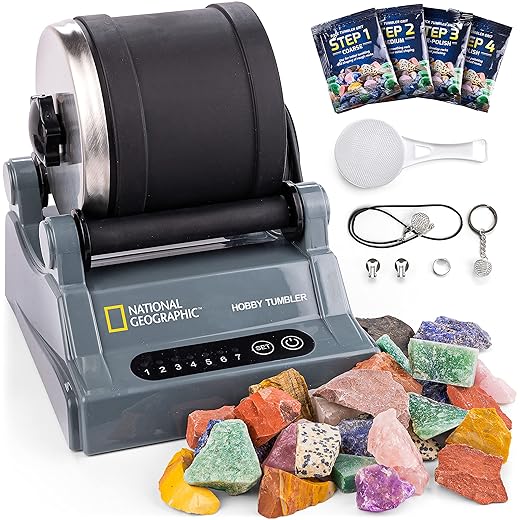
To buff intricate floral crevices to a mirror shine with diamond compound, lap flat backs, or tumble lapidary offcuts, here are top-performing polishing pastes, flat laps, and rock tumblers:


Troubleshooting Common Rose Carving Problems
Petal Tip Chipping: Your burr RPM is too high or feed pressure is too heavy. Drop RPM by 500 to 1,000 and use lighter contact. For minerals with cleavage (amazonite), pre-round petal tips with the 360-grit cabbing wheel before fine-detailing.
Uneven Spiral Groove Depth: Carve in multiple shallow passes (0.5 mm per pass) rather than reaching full depth in a single cut. Check depth with a thin wire or dental pick pressed into the groove.
Polishing Haze in Grooves: Leftover 400-grit or 600-grit scratches are still present. Return to the 1200-grit rubberized point and re-smooth groove walls thoroughly before re-polishing.
Bail Bond Failure: The polished stone surface was too smooth for adhesive grip. Lightly roughen the bail contact area with 320-grit sandpaper before re-gluing.
For tips on tumbled stone finishing, visit our how to make tumbled rocks shiny guide. Readers interested in other pendant styles can explore our gemstone heart pendant guide or our fluted heart pendant project. For stone selection basics, see our best rocks for tumbling reference and our rock tumbling beginners guide.
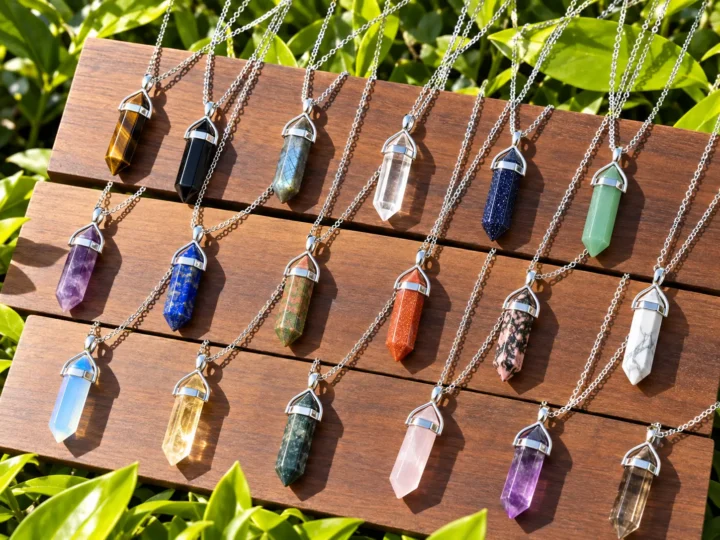
For a geometric alternative to curved petals, explore our crystal point pendant tutorial, which focuses on flat faces and aligned tips instead of relief carving.
Frequently Asked Questions About How to Carve a Gemstone Rose Pendant
What Rotary Speed Is Best When Learning How to Carve a Gemstone Rose Pendant?
For quartz-family minerals (Mohs 7.0) like rose quartz, amethyst, and aventurine, run your flex shaft at 5,500 to 7,000 RPM during petal groove carving. For softer minerals like lapis lazuli (Mohs 5.0 to 5.5) and opalite (Mohs 5.5), drop to 4,000 to 5,000 RPM. Higher speeds on softer stones risk overheating and chipping thin petal edges.
How Long Does It Take to Carve One Gemstone Rose Pendant?
Plan for four to six hours of bench time from rough slab to polished and bailed piece. The spiral groove carving and petal contouring stages consume the most time (roughly two hours combined). Polishing adds another 60 to 90 minutes. With practice, carving time drops to three to four hours per pendant.
Can Beginners Make Gemstone Rose Pendants Without Prior Lapidary Experience?
Yes, but start with soapstone (Mohs 1.0 to 2.0) first, which carves with standard metal files and lets you practice the spiral groove layout without risking expensive mineral slabs. Once your practice rose looks balanced, move to green aventurine or red jasper, which are affordable and forgiving to carve.
What Type of Bail Works Best for a Heavy Gemstone Rose Pendant?
For lightweight minerals like opalite or amazonite, a standard spring-loaded pinch bail works fine. For heavier minerals like hematite (specific gravity 5.3), use a glue-on bail plate with a flat adhesive pad. Always roughen the bail contact zone with 320-grit sandpaper before applying two-part epoxy for maximum bond strength.
 Love Rock Tumbling?
Have a question? Use the form above to submit your question or comment.
I love hearing from you and seeing what you made!