


Rock tumbling turns rough stones into smooth, polished pieces by rolling them with abrasive grit and water. A beginner can get good results with a small rotary tumbler, a compatible batch of rocks, four grades of grit, and enough patience to let each stage finish its work.
Most batches take four to six weeks. The tumbler runs day and night, and you clean the barrel and stones between stages. The process is easy to learn, but small details such as rock hardness, barrel fill, and grit contamination decide whether the final stones shine or come out scratched and dull.
Rock Tumbling for Beginners: Quick-Start Checklist
- Choose solid agate, jasper, chalcedony, or quartz with similar hardness and a mix of sizes.
- Fill a rotary tumbler barrel about two-thirds to three-quarters full with rocks and media.
- Run coarse, medium, pre-polish, and polish stages with fresh abrasive at each step.
- Clean the barrel, rocks, media, and tools thoroughly before moving to the next grit.
- Check the machine daily, keep the motor dry, and collect slurry instead of rinsing it down a drain.
What Is Rock Tumbling?
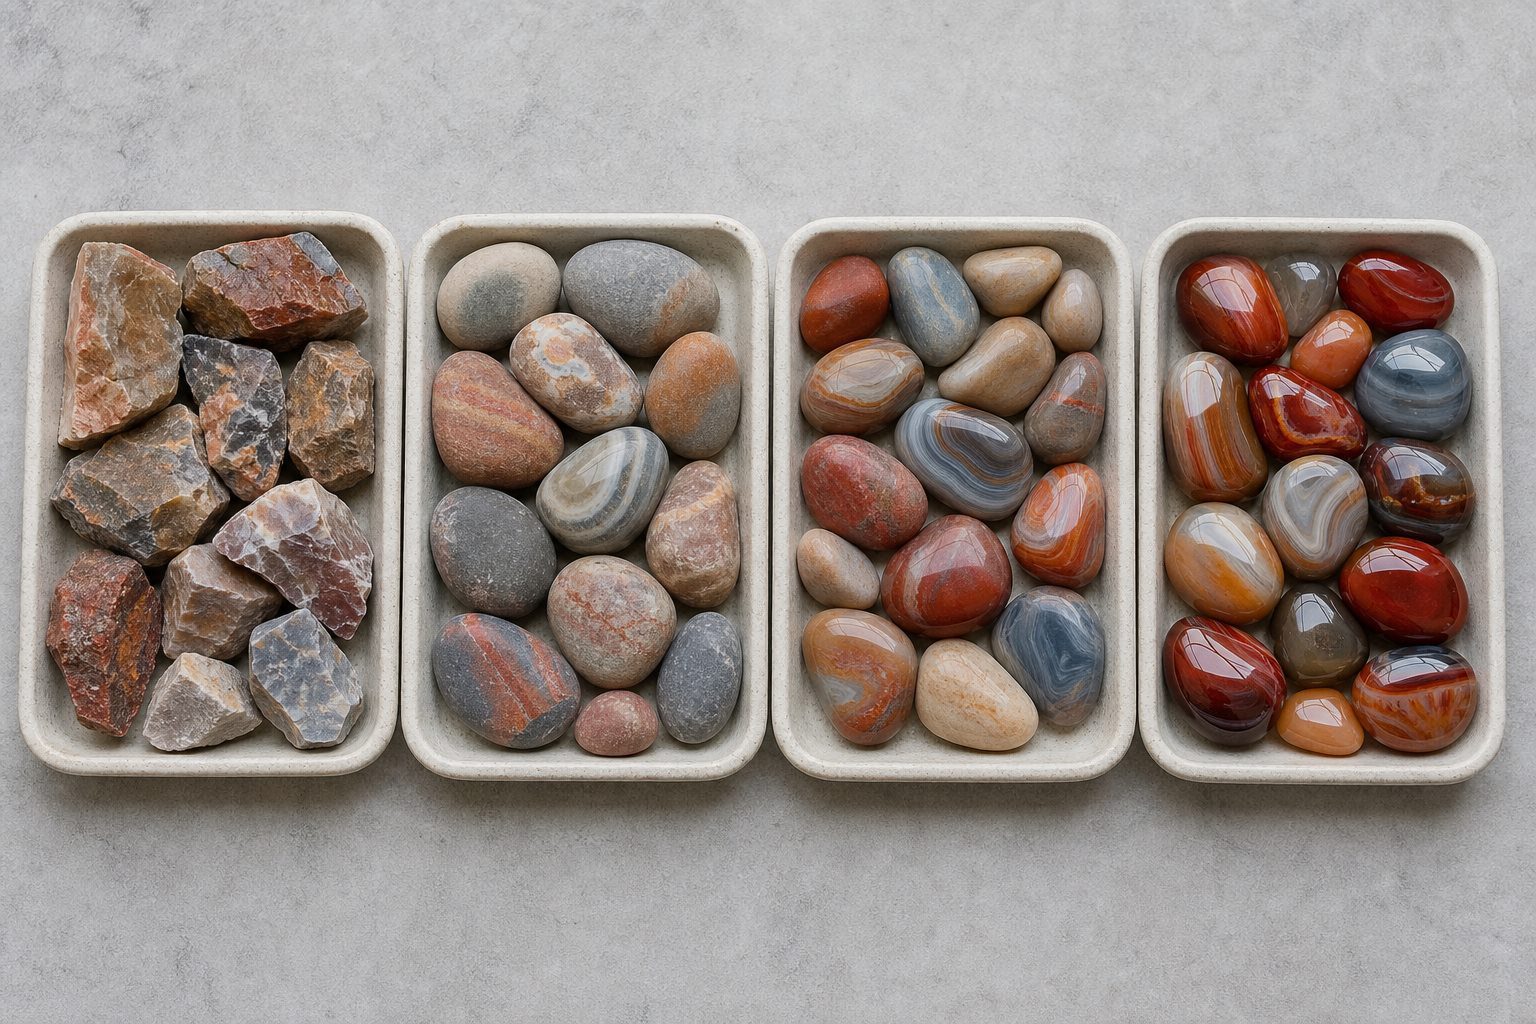
Rock tumbling copies the abrasion that rounds stones in rivers and along shorelines. Inside a rotary tumbler, the barrel lifts the stones and lets them slide against one another. Water carries abrasive particles between the rocks. Coarse grit removes corners and pits, finer grit erases the scratches left by the previous stage, and polish creates the final shine.
A rotary tumbler is the best starting point for most beginners. It works at a slow speed, accepts rough stones, and rounds them as it smooths their surfaces. Vibratory tumblers work faster and preserve more of a rock’s original shape, but they require closer attention and are better suited to people who already understand grit progression and barrel loading.
Essential Rock Tumbling Tools and Supplies
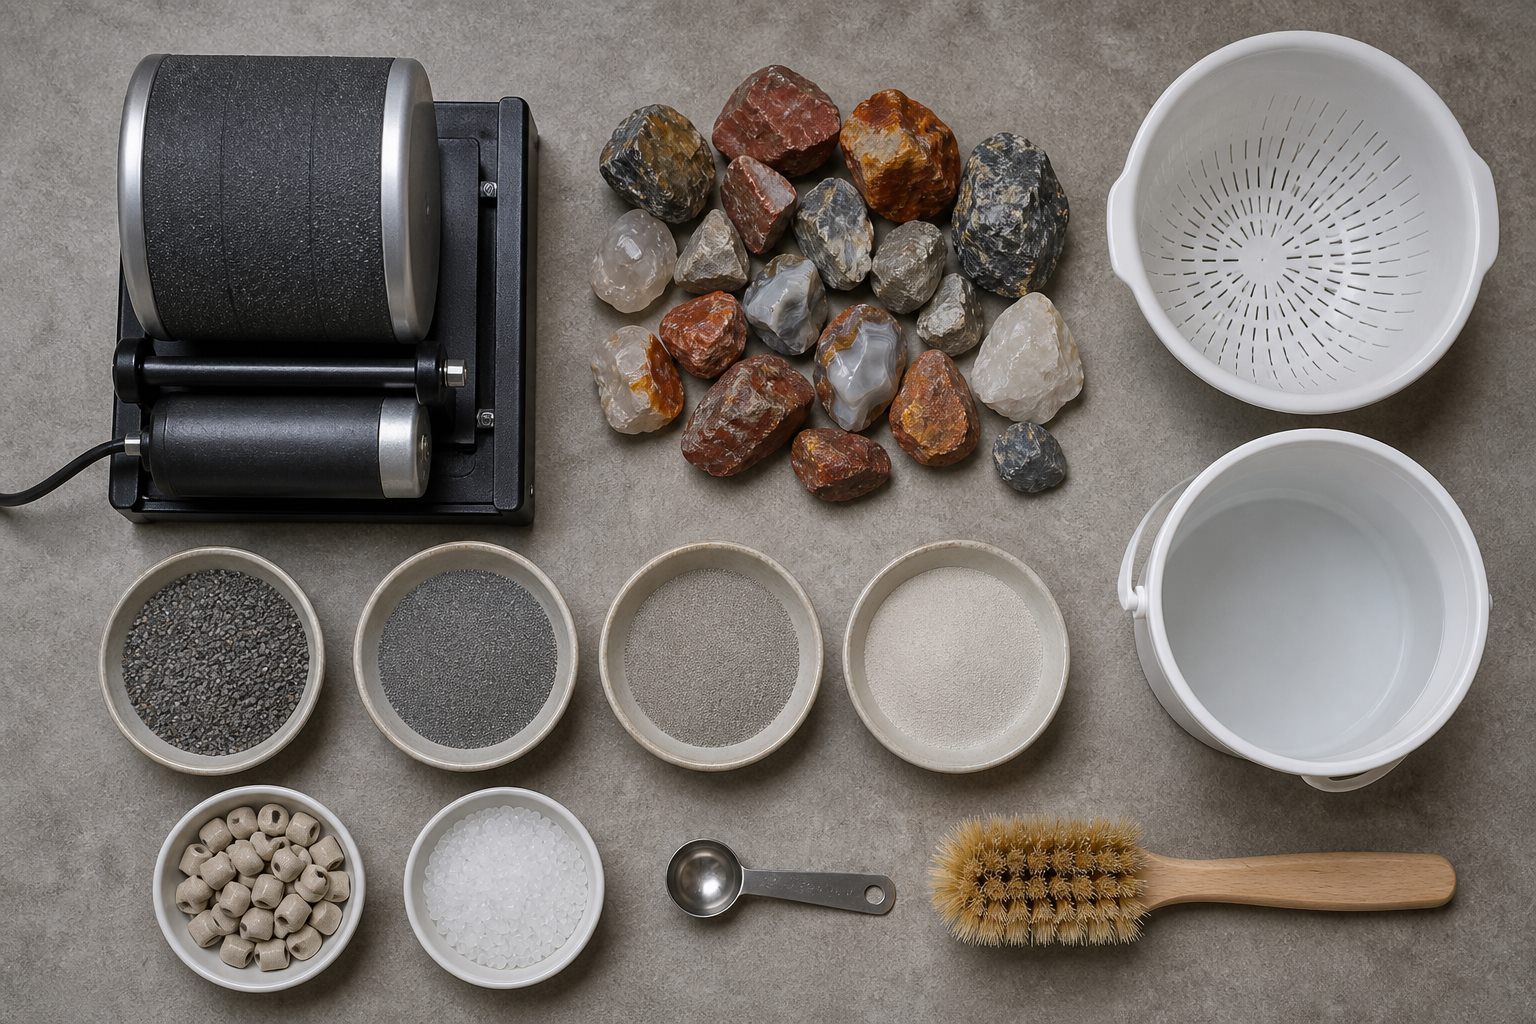
You do not need a workshop full of lapidary equipment. A basic setup includes:
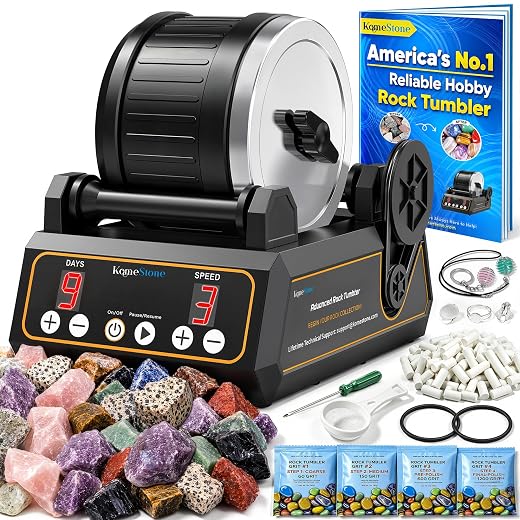
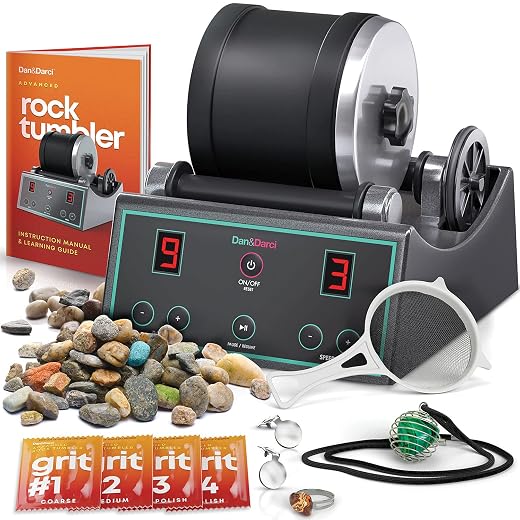
- A rotary rock tumbler with a rubber barrel. A three-pound barrel is a practical size for a first machine.
- Rough rocks of similar hardness, with a mix of sizes from about 1/4 inch to 1 1/2 inches.
- A four-stage rock tumbling grit and polish kit made for the capacity of your barrel.
- Ceramic media or plastic pellets to fill gaps and cushion the load when you do not have enough small stones.
- A plastic colander, bucket, old toothbrush, measuring spoon, and clean water for rinsing.
- A notebook or labels for recording the rock type, grit, start date, and results from each stage.
Choose a tumbler rated for continuous operation and follow its load limits. Rubber barrels cost more than many plastic barrels, but they run with less noise and usually seal better. Place the machine on a stable, level surface where the sound will not disturb anyone. Keep the motor and power connection dry, allow air to circulate around the machine, and check the barrel each day for leaks or a stalled roller.

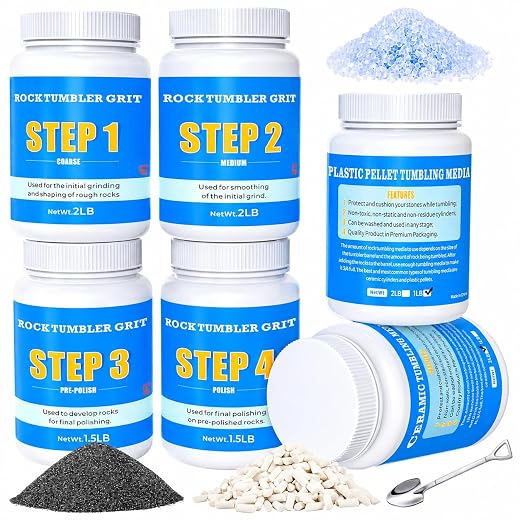

Grit kits use different labels and mesh sizes. A common sequence is 60/90 silicon carbide for coarse grinding, 120/220 or 220 silicon carbide for medium grinding, 500 or 600 grit for pre-polish, and aluminum oxide for polish. Use the sequence supplied by your grit maker instead of mixing steps from different instruction sheets.
How to Choose Rocks for Tumbling
Agate, jasper, chalcedony, and many varieties of quartz make dependable first batches. They are hard enough to take a polish and are easy to find as tumbling rough. Many of these materials measure around 6.5 to 7 on the Mohs hardness scale.
Keep rocks of similar hardness in the same batch. A soft stone can wear away while harder pieces remain rough, and the resulting fragments may scratch the rest of the load. If you cannot identify a stone, test it before adding it to a full batch. A steel nail should not scratch good agate or jasper, while the rock should scratch ordinary glass. Wear eye protection and keep your hands clear of sharp chips when testing rough material.
Inspect every piece under bright light. Set aside rocks with deep cracks, crumbly areas, open pores, or large undercut sections. Grit hides in those defects and may escape during a later stage, leaving scratches across an otherwise clean batch. Shallow pits may disappear during coarse grinding, but deep fractures often grow as the stone tumbles.
A useful load contains large, medium, and small pieces. Smaller stones and ceramic media fill the spaces between larger rocks, creating more contact points and a smoother tumbling action. Avoid a barrel filled with pieces of the same size.
The Stages of the Rock Tumbling Process
Before adding grit, fill the barrel about two-thirds to three-quarters full with rocks and media. A barrel that is too empty lets stones crash into each other. An overfilled barrel cannot develop the rolling action needed for grinding. Add the amount of grit recommended for your machine, then add water until it reaches the bottom of the top layer of stones. The rocks should be wet, not floating.
| Stage | Typical abrasive | Usual time | Goal |
|---|---|---|---|
| Coarse grind | 60/90 silicon carbide | 7 days, repeated as needed | Shape the rocks and remove pits, cracks, and sharp edges |
| Medium grind | 120/220 or 220 silicon carbide | About 7 days | Remove coarse scratches and smooth the surface |
| Fine grind or pre-polish | 500 or 600 grit | About 7 days | Prepare an even, satin-smooth surface for polish |
| Polish | Fine aluminum oxide polish | 7 to 10 days | Produce a clean, reflective finish |
Stage 1: Coarse Grinding
The coarse stage does most of the shaping. After about seven days, open the barrel and rinse the rocks into a plastic colander positioned over a bucket. Never pour rock tumbling slurry into a sink, toilet, or household drain. The slurry can settle and harden in plumbing. Let it dry in a disposable container and follow local waste rules.
Wash each stone and inspect it while wet. Return rocks with unwanted pits, sharp edges, or cracks to another coarse cycle with fresh grit. Remove broken pieces. This stage may take several weeks when you start with angular rough or want well-rounded stones. Moving imperfect rocks forward saves no time because fine grit and polish cannot repair a shape problem.
Stage 2: Medium Grinding
Medium grit removes the scratches left by coarse silicon carbide. Scrub the barrel, lid, rim, stones, and media before loading this stage. A few grains of coarse abrasive can keep an entire batch from developing an even surface.
Run the load for about a week, then rinse and inspect it. The rocks should feel smooth, with no rough patches or sharp chips. Add clean ceramic media if the shrinking stones no longer fill the barrel to the correct level.
Stage 3: Fine Grinding or Pre-Polish
Pre-polish removes the faint scratches left by medium grit. The stones usually develop a soft satin sheen when dry, though they will not look glossy yet. Cleanliness matters more as the abrasive gets finer. Use a toothbrush on the lid grooves and around any recessed areas in the rocks.
If the barrel produces gas and the lid begins to bulge, release the pressure according to the tumbler manufacturer’s instructions. Some rock types and water conditions react during tumbling. Check a new batch after the first day rather than leaving it untouched for a week.
Stage 4: Polishing
Load only stones that passed the pre-polish inspection. Add the polish specified by your kit, clean media, and the recommended amount of water. Run the barrel for seven to ten days. A finished stone should retain its shine after it dries. A surface that looks glossy only while wet still contains fine scratches or has been contaminated by coarser grit.
Many poor polishes begin several weeks earlier. Mixed hardness, hidden cracks, skipped cleaning, or a rushed coarse stage will show up now. If a batch stays dull, wash everything and repeat pre-polish before trying polish again.
Optional Burnishing
Burnishing cleans polish residue from finished stones. Place the polished rocks in a spotless barrel with clean water and a small amount of mild soap recommended for tumbling. Run the load for 30 minutes to a few hours, then rinse it. Burnishing can brighten a hazy surface, but it will not fix scratches or replace a proper polish stage.
Media Used in Rock Tumbling
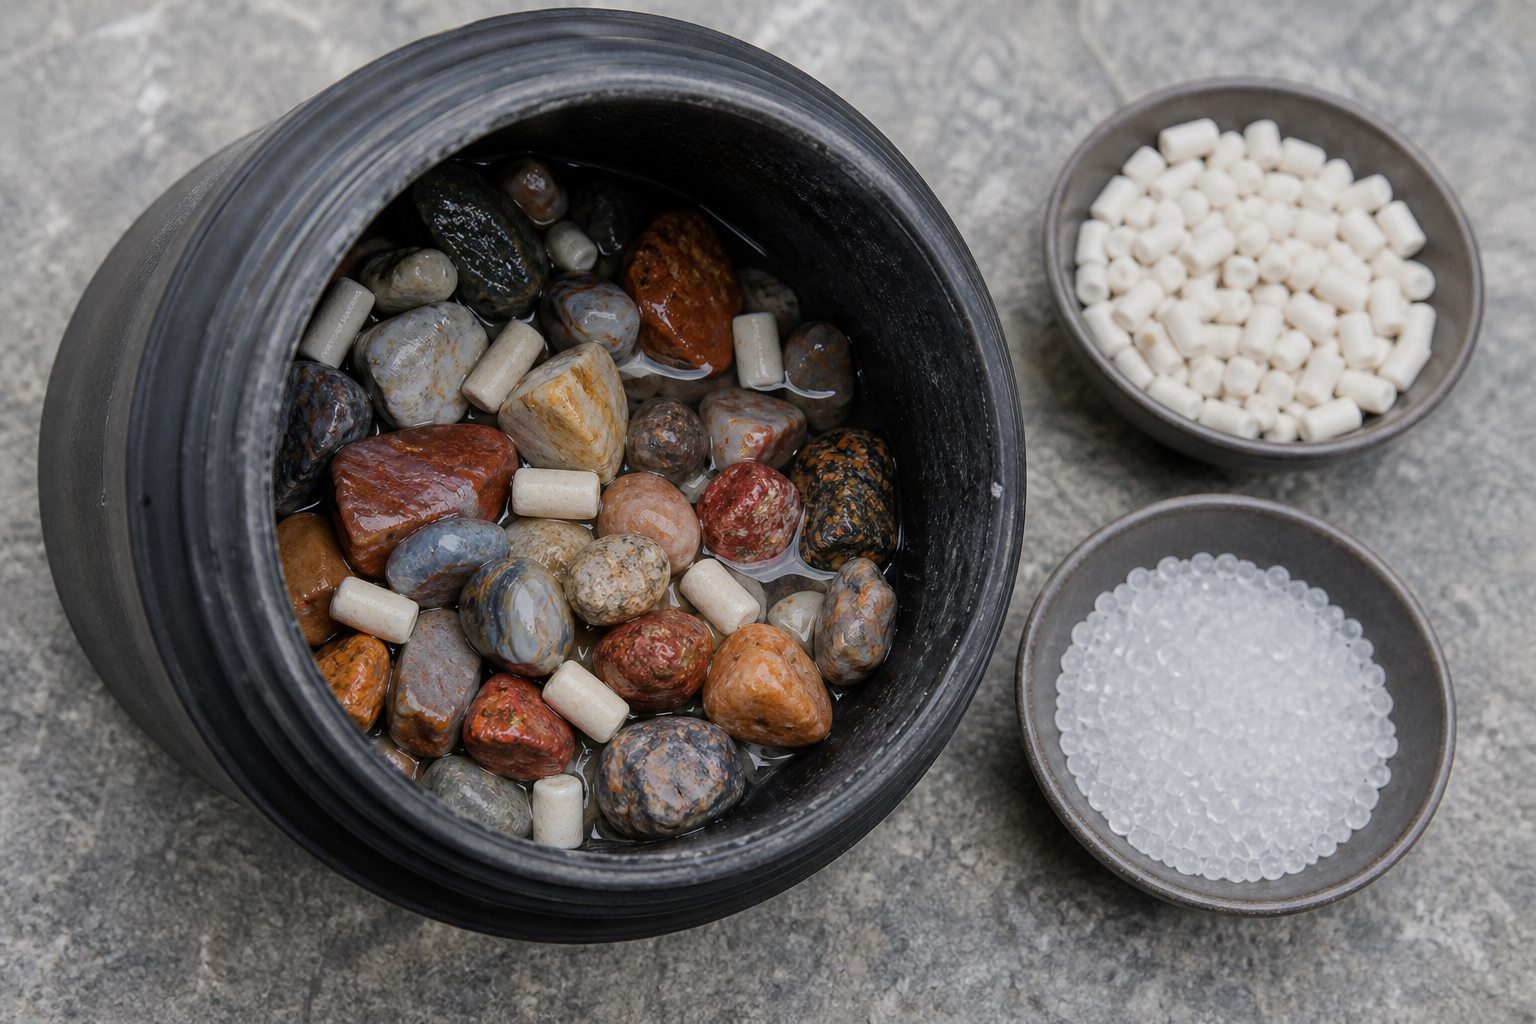
Media fills empty space, improves contact between rocks, and cushions pieces that might bruise one another. The two common choices for wet rotary tumbling are ceramic media and plastic pellets.
Ceramic Media
Ceramic cylinders add weight and grinding action. They are useful in coarse through polish stages when the product is rated for that use. Wash them with the same care as the rocks. Many tumblers keep separate media for coarse work and polishing to reduce the risk of carrying stray grit into the final stages.
Plastic Pellets
Plastic pellets add volume and cushioning without much weight. They float during rinsing, which makes them easy to collect, but abrasive can become embedded in the plastic. Reserve each batch of pellets for one grit stage and label the storage container. Do not move coarse-stage pellets into pre-polish or polish.
Walnut Shell and Corn Cob Media
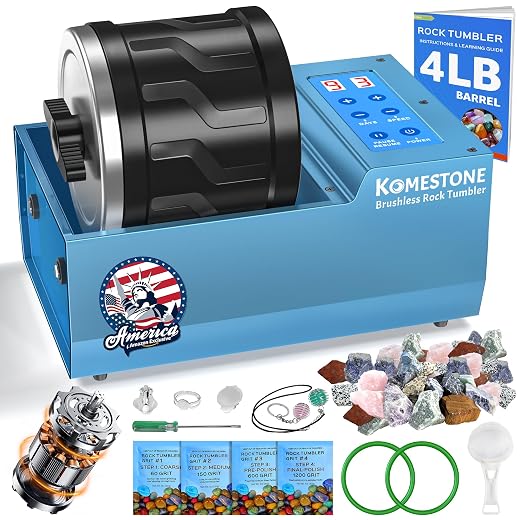
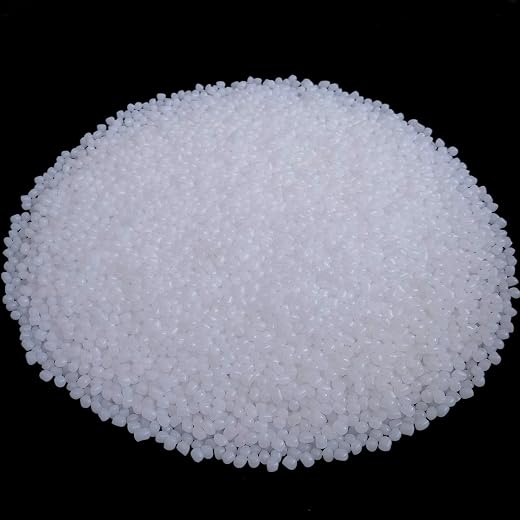
Walnut shell and corn cob media are used for specialized dry buffing and for polishing some metals. They do not replace silicon carbide grit or aluminum oxide polish in a standard wet rock tumbling sequence. Beginners will get more predictable results with ceramic media or stage-specific plastic pellets.
Factors to Consider While Rock Tumbling
- Keep hardness consistent. Tumble agate, jasper, and quartz-family material together, and run softer stones in separate batches designed for them.
- Maintain the barrel fill. Add media as the rocks get smaller so the load stays near the manufacturer’s recommended level.
- Use fresh abrasive at every stage. Worn slurry cannot be restored by adding a small scoop of new grit.
- Measure water with the rocks already in the barrel. Too much water reduces the grinding action; too little can produce a thick, stalled slurry.
- Clean between stages. Pay attention to the barrel rim, lid groove, media, colander, and tools.
- Keep notes. Record the grit, run time, fill level, and rock types so you can repeat a good batch or diagnose a poor one.
Common Beginner Mistakes and How to Fix Them
Rushing the Coarse Stage
Coarse grinding creates the shape and surface that every later stage refines. Repeat it until the rocks meet your standard. Some collectors keep natural features and accept a few pits; others want completely rounded stones. Make that choice before medium grit.
Mixing Incompatible Rocks
A single soft or fractured stone can break down and spread fragments through the barrel. Sort the rough by hardness and condition. Check unfamiliar material in a small test batch.
Letting the Barrel Run Too Empty
Stones strike each other when the load is low, causing chips and white bruises along the edges. Add compatible small rocks or media to restore the correct fill.
Carrying Grit into the Next Stage
Coarse contamination leaves fresh scratches that finer abrasive cannot remove. Clean the equipment, tools, rocks, and your work area before opening the next grit container. Separate polish-stage supplies if space allows.
Judging Stones Only While Wet
Water fills fine scratches and makes an unfinished stone look shiny. Let a few sample rocks dry before deciding whether the batch is ready to move forward.
Frequently Asked Questions About Rock Tumbling
How long does rock tumbling take?
A standard four-stage batch usually takes four to six weeks. Coarse grinding may add several weeks when the rough contains deep pits or sharp corners. Hardness, starting shape, tumbler speed, and the finish you want all affect the schedule.
What rocks are best for beginner rock tumbling?
Agate, jasper, chalcedony, and quartz-family stones are good beginner choices. Select solid pieces of similar hardness without deep cracks or crumbly areas. Mixed-size rough produces a better barrel action than pieces that are all the same size.
How full should a rock tumbler be?
Many rotary tumblers work best when the barrel is about two-thirds to three-quarters full, but the machine’s instructions take priority. Use ceramic media or plastic pellets to bring a small load up to the recommended level.
How much grit should I use?
Use the amount listed by the tumbler or grit manufacturer. Two level tablespoons per pound of rock is a common starting point for small rotary barrels, but grit type, barrel design, and load size can change the correct dose.
Can I mix different kinds of rocks?
You can mix rock types when they have similar hardness and durability. Agate and jasper often tumble well together. Keep soft, porous, or fragile stones out of a hard-stone batch.
Why are my tumbled rocks not shiny?
The usual causes are scratches left from an earlier stage, mixed hardness, an underfilled barrel, contaminated polish, or the wrong polishing compound. Inspect the dry stones. If they show fine scratches, repeat pre-polish after cleaning the barrel and media.
Can used grit go down the drain?
No. Collect slurry in a bucket or disposable container. Let the solids settle or dry, then dispose of them according to local rules. Rock slurry can clog household plumbing.
Start with One Careful Batch
Your first rock tumbling batch teaches you more than a shelf full of supplies. Start with dependable rough, follow one grit system, and write down what you put in the barrel. Inspect the stones between stages and repeat coarse grinding when the shape needs more work. That routine produces better results than trying to rescue a rushed batch during polish.
Once you can polish agate or jasper consistently, experiment with softer material, different media, and vibratory finishing. Change one variable at a time so you can see what improved the result.
For a longer walk-through of preparation, stage checks, and finishing, use our rough-stone-to-polished-gem guide alongside your tumbler manufacturer’s instructions.



 Love Rock Tumbling?
Have a question? Use the form above to submit your question or comment.
I love hearing from you and seeing what you made!