

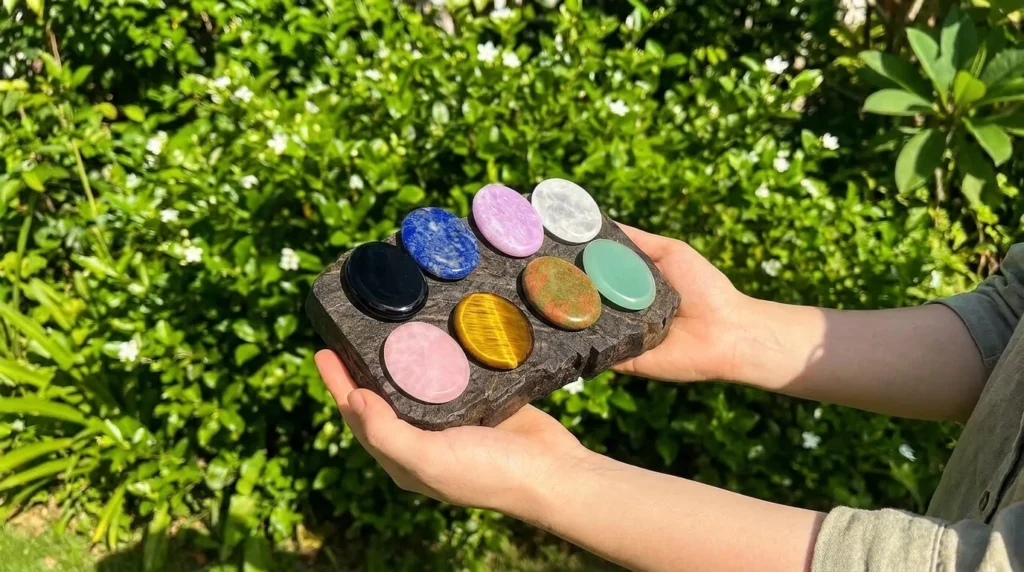
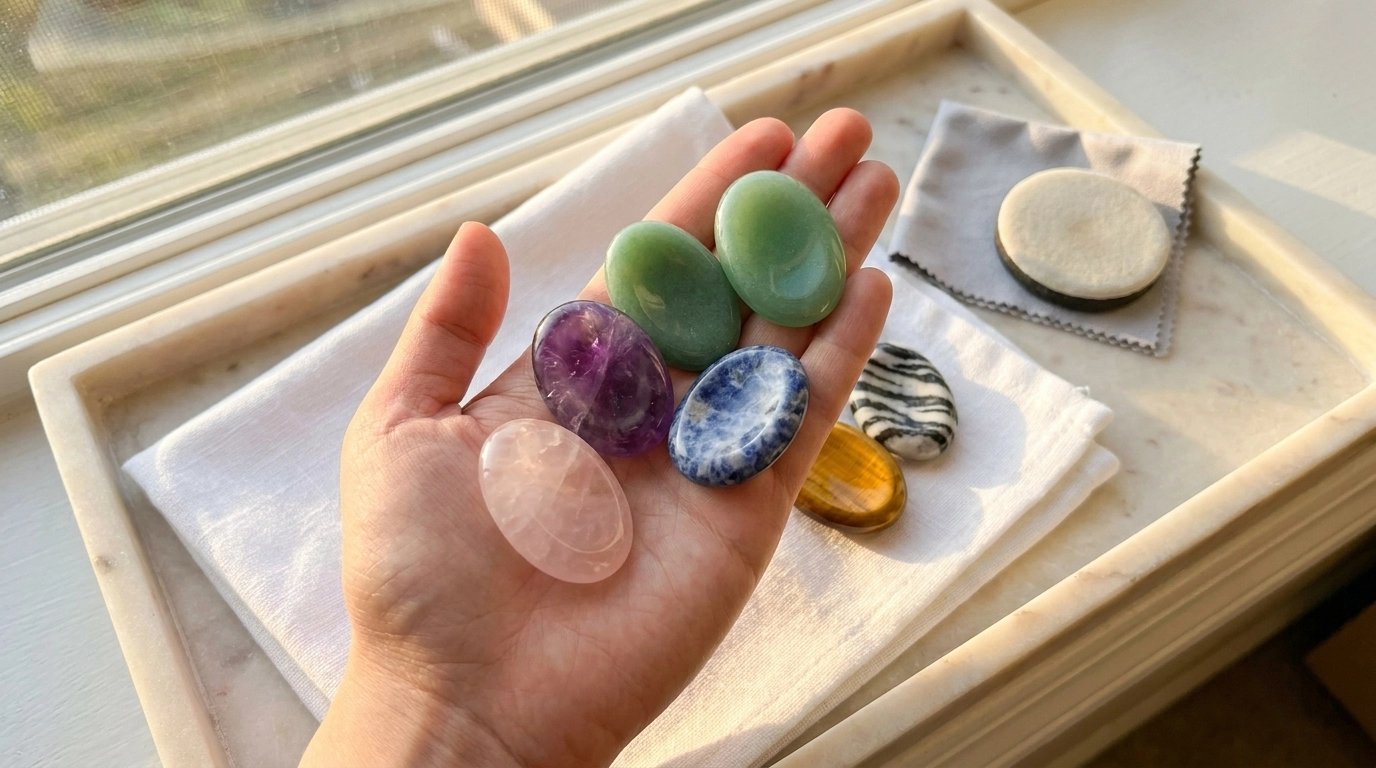
DIY gemstone worry stones start with real stone blanks: you cut an oval, soften its edges, create a comfortable thumb surface, and polish away the sanding marks. The appeal of this eight-stone collection is its simple shared shape, which lets black obsidian, blue lapis lazuli, pink quartz, and golden tiger’s eye supply the decoration.
This tutorial explains a proposed lapidary reconstruction of the LizCreationStudio worry stones on Etsy. The listing describes stones around 1.5 inches in size. You can reproduce their oval format and material palette, but natural veining, inclusions, and color cannot be duplicated exactly. The seller does not disclose its workshop process, thickness, or thumb-recess measurements; dimensions below are suggested practice targets, not original specifications.
Plan to learn the process on one inexpensive, sound blank before making all eight. This is a stone-cutting project requiring suitable equipment and instruction. For a project you can shape without lapidary machinery, see our DIY clay worry stones tutorial.
Match the Eight Stones in the Reference
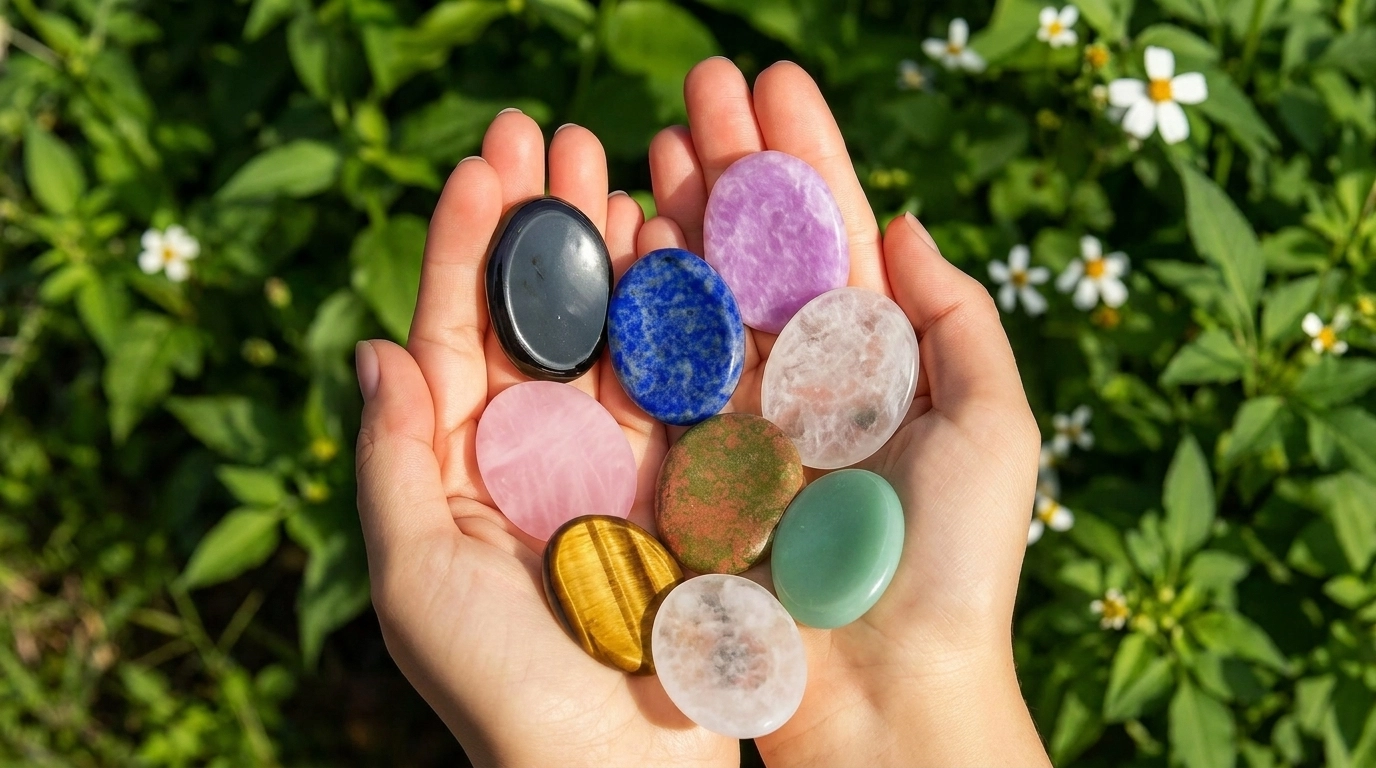
The reference palette contains eight materials. The listing’s labeled photograph identifies green aventurine, while its written options repeat unakite. Use the names below when sourcing confirmed, labeled lapidary stock; color alone is not a reliable mineral identification test.
| Stone | What to match and how to approach it |
|---|---|
| Black obsidian | Choose dense black material with no snowflake pattern for this version. The glossy black oval needs especially careful scratch removal. Reject sharp, fractured blanks and round the edge before checking comfort by hand. |
| Lapis lazuli | Look for a strong blue field with scattered pale or metallic-looking areas. Ask whether the material is dyed, waxed, or stabilized before selecting coolant, adhesive, or polish. Work gently across its different mineral components. |
| Lepidolite | Select compact pink-lavender carving stock, not a loose cluster of mica flakes. Keep a substantial edge and a very shallow thumb surface. Stop if the material peels or sheds under light working pressure. |
| Clear quartz | Choose colorless quartz with attractive internal clouds for the pale example. Inspect it against a light before cutting; an internal inclusion is different from an open fracture crossing the proposed oval. |
| Rose quartz | Choose evenly pink, relatively sound material. Preserve enough thickness for its color to remain visible after shaping. This is a useful first practice material if a suitable inexpensive blank is available. |
| Tiger’s eye | Select golden-brown stock that displays a moving silky highlight when tilted. Mark that attractive face before cutting. Recheck the effect as you shape, because orientation influences the finished appearance. |
| Unakite | Look for a balanced distribution of salmon-pink and green areas. Place both colors within the outline. Inspect for uneven wear as you work across the different components. |
| Green aventurine | Choose a consistent pale-to-medium green blank to echo the reference. Move the template away from obvious seams, pits, or weak edges. Preserve its understated appearance without adding artificial color. |
These materials need individual treatment. GIA rates lapis lazuli at Mohs 5–6 and rose quartz at 7. Mohs hardness describes scratch resistance, not resistance to breaking. The Handbook of Mineralogy lists lepidolite at 2.5–4 with perfect cleavage, explaining why flaky material is unsuitable for a dependable pocket piece.
For tiger’s eye, the moving light band is called chatoyancy. GIA’s research on optical effects relates this effect to aligned fibrous inclusions. Buy sound lapidary-grade stock and assess its face under light rather than assuming any cutting direction will produce the pictured golden stripe.



Gather Tools and Prepare the Workspace
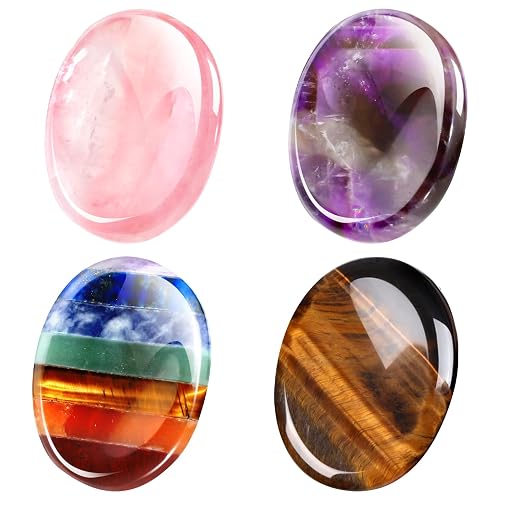
Start with pre-sawn slabs or thick oval preforms of the eight materials. A preform is a roughly shaped blank; it saves cutting work while leaving you control over the final contour. Avoid buying thin jewelry cabochons if you want to carve a thumb recess: they may have too little material beneath it.
For the practice piece, a 38 mm long by 28 mm wide oval, finished from a sound 8–10 mm thick blank, is a reasonable starting design. Those dimensions are adjustable. A smaller hand may prefer a shorter oval; the finished piece should rest between the fingers without forcing them apart.
Gather the following:
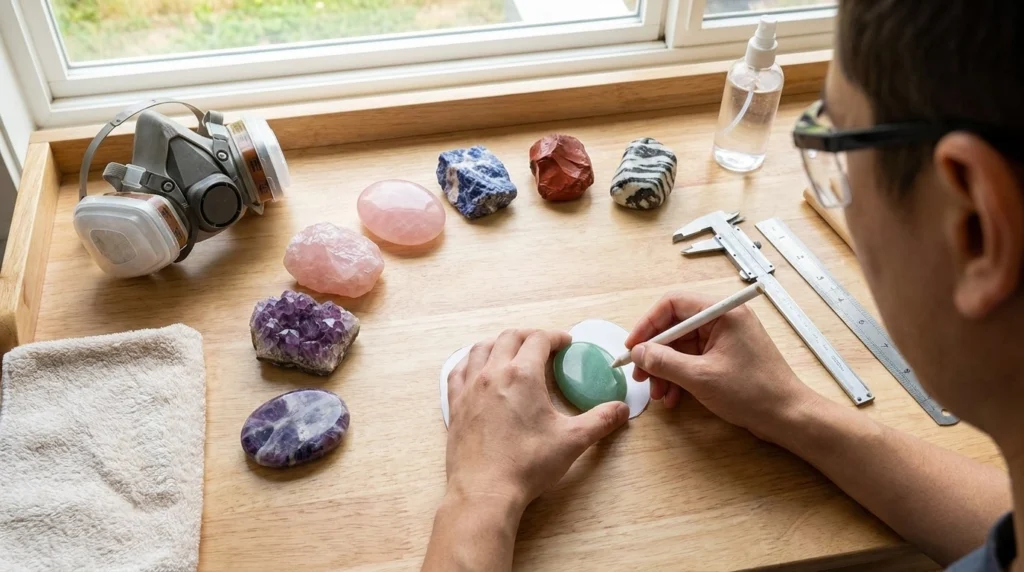
- An oval template, fine marker, ruler, calipers, and a small inspection light.
- A guarded diamond trim saw approved for the selected coolant, or professionally cut preforms.
- A wet lapidary grinder or flat lap, plus suitable finer abrasives and polishing accessories.
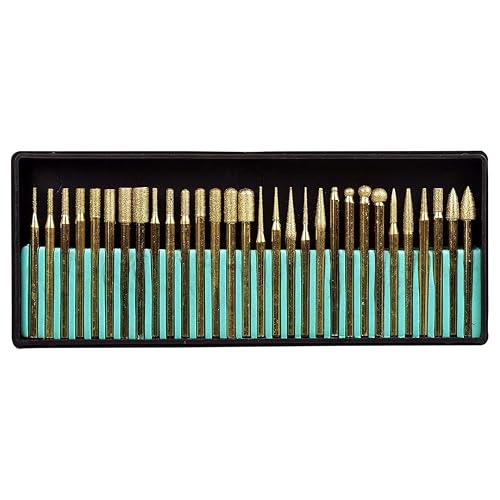
- A wet-use carving setup with a rounded diamond burr, if adding a recess.
- Flexible diamond hand abrasives and a rounded backing tool for sanding inside the dip.
- A secure stone holder or appropriate dop system, clean trays, separate polishing pads, and a splash enclosure.
- Eye protection, suitable respiratory protection, and hearing protection where the machine requires it.
Work at a dedicated, ventilated bench. Cutting quartz-bearing stone can release respirable crystalline silica. Use continuous wet dust control at the contact point, appropriate extraction, and a correctly selected, fitted respirator where needed. A household fan or paper mask is not an adequate substitute for controlling exposure. NIOSH recommends wet methods, ventilation, and avoiding dry sweeping or compressed-air cleanup.
Use only equipment designed for the wet operation. Keep water away from motors, plugs, and connections, and use electrical protection specified by the manufacturer, including GFCI/RCD protection where required. Unplug before changing accessories. Secure hair and clothing, remove dangling jewelry, and follow the machine’s rules about gloves near rotating parts.
If you have never operated a trim saw or carving handpiece, complete a supervised lapidary session first. Practice secure holding and coolant control with scrap before touching your chosen blanks.
Shape DIY Gemstone Worry Stones Step by Step
The defining features are a balanced oval, rounded perimeter, broad thumb surface, and smooth finish. A curved reflection in a photograph does not reveal the exact depth of a recess. Start with a low, comfortable face; add only a shallow dip if you want the familiar thumb-stone feel.
Plan Your DIY Gemstone Worry Stones Blanks
Label each blank with its material name and intended front. On dry stock, examine both faces and every edge. Briefly wet suitable untreated stock to preview its colors, then dry it before marking. A crack reaching the surface inside your outline is a reason to reposition the design or choose another blank.
Trace the same oval onto each piece, leaving cutting allowance outside the line. Draw lengthwise and crosswise centerlines. These make it easier to spot a lopsided outline later. Mark an inner oval for the potential thumb area, leaving a generous continuous border around it.
For the 38 × 28 mm practice design, an inner oval around 24 × 16 mm leaves room to blend the depression into the rim. Treat this as a layout guide, not a required cavity size. A fingertip should travel across the transition without finding a ledge.
Record the starting thickness near the center. Set a conservative first recess target of roughly 1 mm, only in sound material with ample thickness beneath it. A 1 mm dip is not safe merely because it is shallow: a fracture or weak mica layer can still make the blank unsuitable. Reject fractured or unstable stock. Omit the recess when an otherwise sound blank is too thin to support it.
Cut the Oval and Round Its Edges
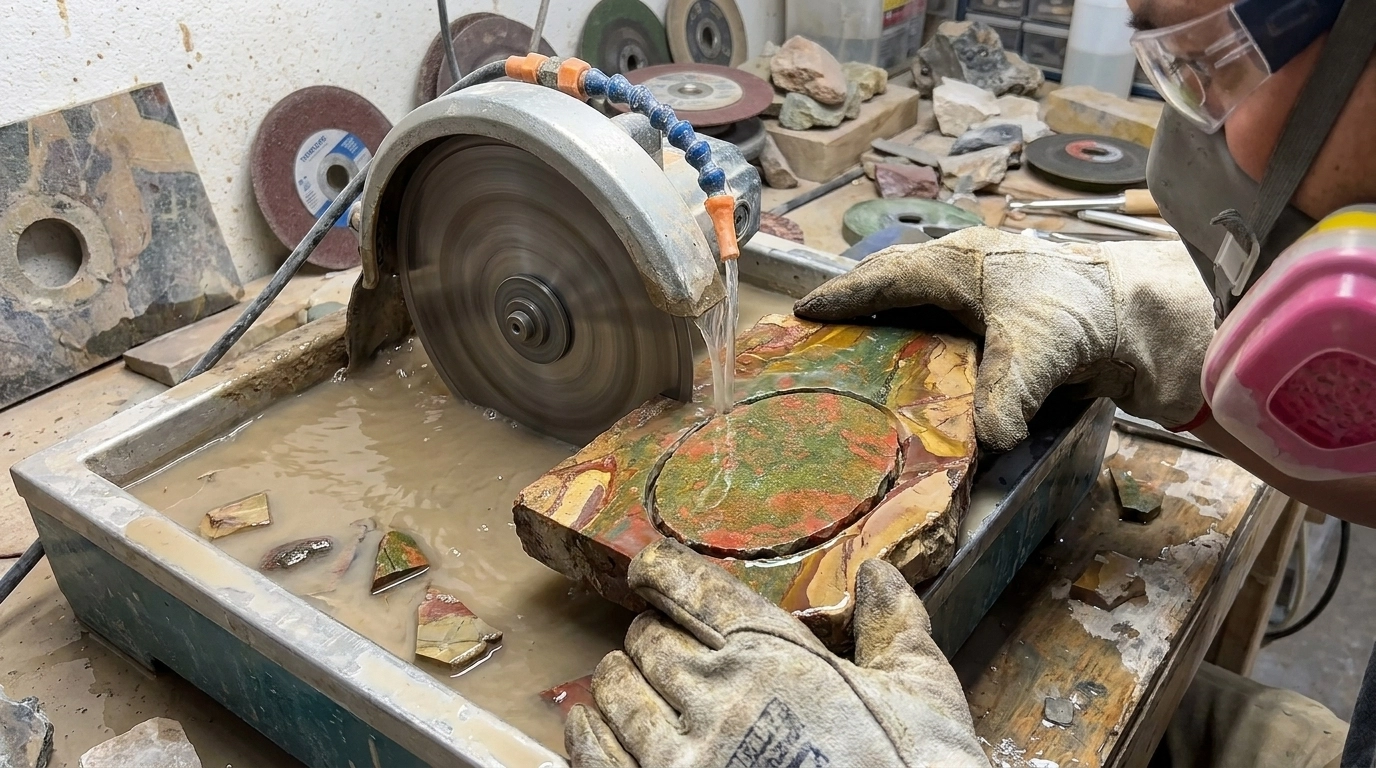
Have a lapidary shop trim the blank if your saw cannot hold it securely. Otherwise, set up the guarded saw according to its manual and make straight cuts outside the outline. Do not twist a thin blade around an oval or use its side as a grinding wheel. Leave the curved outline for the grinder.
Support the stone with a holder suited to its size. A dop is a temporary handle attached to the stone, but its adhesive and release method must be compatible with the material. Avoid heating treated lapis or delicate blanks simply to copy a generic hot-wax technique.
At the wet grinder, remove the small corners left by the saw and approach the marked outline gradually. Check both ends against the template. Keep the broad faces roughly parallel at this stage, so an uneven base does not disguise an uneven rim.
Next, soften the front and back perimeter into rounded shoulders. Retain a substantial band of material around the middle of the edge. Pocket stones benefit from comfortable curves; a thin, sharp jewelry-style edge will feel unpleasant and chip more easily.
The Inland Craft cabochon guide explains the underlying slab, outline, and shaping workflow. Adapt that approach to this low oval profile. You do not need to build a tall dome just because conventional cabochons have one.


Form a Shallow Thumb Recess
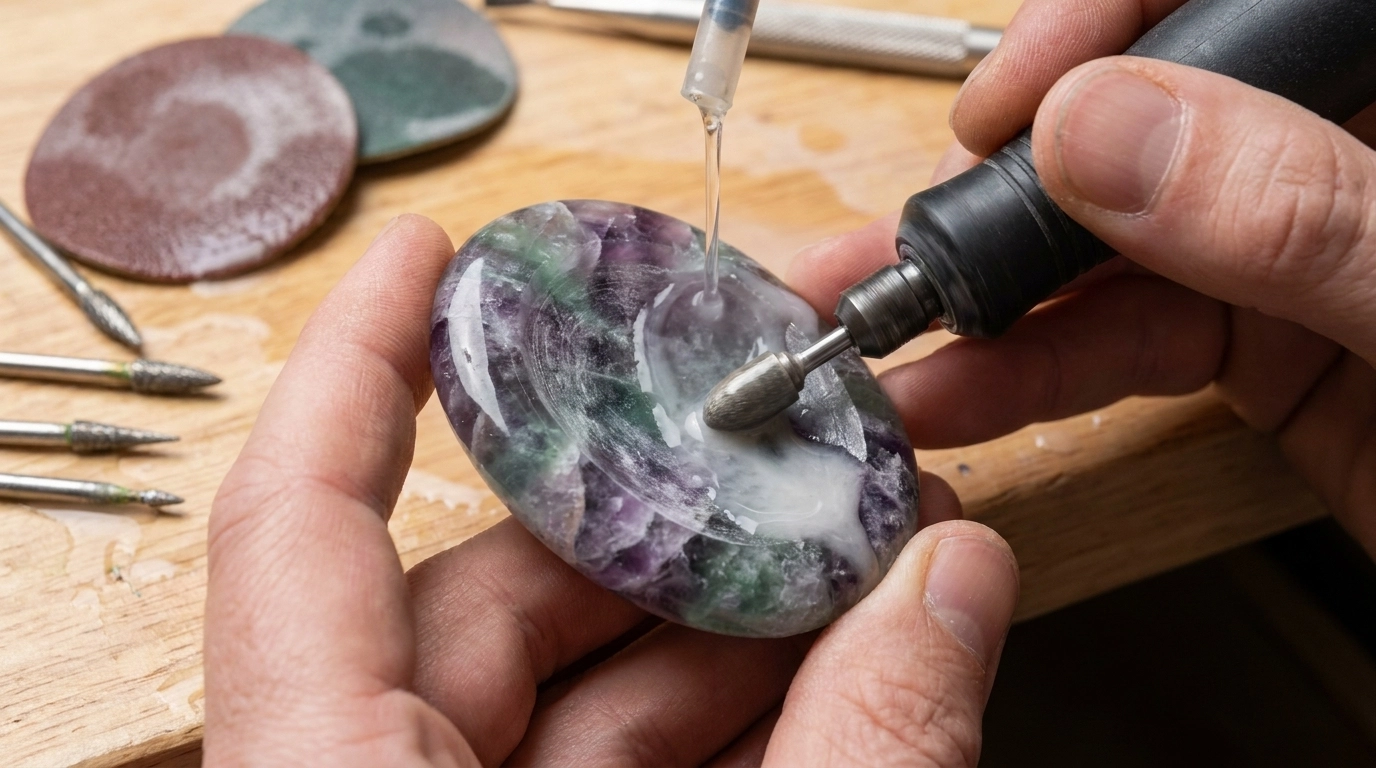
Secure the blank front-up in a padded fixture that supports it without squeezing it across a weak plane. Start coolant and use a rounded diamond burr approved for your wet carving setup. Follow the accessory’s speed limit; there is no universal RPM appropriate for every burr and stone.
Work across the marked inner oval in overlapping passes. Keep the contact moving, taking off small amounts rather than drilling one deep hole in the center. Gradually blend the perimeter of the dip outward, protecting the rim you established earlier.
Stop frequently, switch off, rinse, and check the shape. A straightedge bridging the face helps reveal depth; suitable depth calipers can measure it more accurately. Compare your readings with the starting thickness. Do not keep deepening the center merely to remove one isolated pit.
Before a comfort check, smooth any sharp edges and wash away the abrasive residue. With the machine stopped and the stone clean, slide your thumb gently across the surface. It should follow a broad curve without catching at the center, rim, or ends. Broaden a cramped dip instead of making it deeper.
For lepidolite, watch for lifted flakes after every brief pass. For obsidian, watch for fresh chips. If either appears, stop and reassess the blank. Extra polishing will not repair a failing structure.
Sand and Polish the Entire Surface
Shape changes should be finished before fine sanding begins. The next job is to remove the previous abrasive’s scratches from the front, back, rim, and any recess. Work one stone at a time until you understand how its material responds.
A common cabbing sequence progresses from fine grinding to 280, 600, 1,200, and 3,000 grit resin abrasives. CabKing’s manufacturer tutorial describes this sequence and checking the dry surface between stages. It is an equipment example, not a universal recipe: use a compatible progression supplied for your wheels, pads, and stone.
Inside a thumb dip, a large flat wheel cannot reach every area evenly. Use finer carving accessories or flexible wet diamond abrasives supported on a smooth, rounded backing that fits the curvature. Keep each grit’s backing and rinse container separate. Do not improvise loose abrasive strips on a rotating shaft.
Divide the piece mentally into five areas: center, upper end, lower end, rim, and back. Inspect each before changing grit. Rotate the dry stone beneath a small light. A remaining coarse scratch is usually easier to see when the reflection passes across it, rather than when the light points straight down.
If the front looks smooth but a pale crescent remains around the depression, the transition probably missed a sanding stage. Return to the abrasive capable of removing that mark. Scrubbing only the middle will deepen the dip while leaving the actual problem untouched.
Choose the final compound with your lapidary supplier for the specific stock. Fine diamond is one option; cerium oxide is another common glass-and-stone polish. Inland Craft’s cerium oxide product instructions describe mixing it with water. Follow the chosen compound and pad instructions instead of combining several powders in one batch.
Test the polish on a spare offcut first, especially with mixed-mineral or treated material. Use a small amount on a dedicated pad and prevent overheating. A rounded polishing accessory can follow the recess; keep it moving and avoid concentrating pressure at its lip.
Clean and dry the finished stone before judging the shine. A water film can hide scratches and make an unfinished surface appear polished. The finished oval should retain its sheen when dry, with comfortable edges and no powder lodged in pits. Repeat the successful sequence on the next stone, adjusting it when the material requires.


Troubleshooting, Care, and Common Questions
The stone is shiny in patches. Check for flat spots, missed sanding areas, or differences in the material. On lapis and unakite, softer components may wear faster, leaving an uneven surface. Reduce pressure and reassess the abrasive support rather than chasing every hollow deeper.
The thumb dip is comfortable but dull. Your polishing pad may be bridging over it. Use an accessory that actually contacts the concave surface, after confirming that all earlier scratches are gone. A different polish cannot compensate for an area that was never fully sanded.
An edge chips or a fracture opens. Stop using the piece as a pocket stone. A small edge chip may allow a smaller, rounded outline; a crack through the center usually calls for another blank. Do not disguise a structural defect with clear varnish.
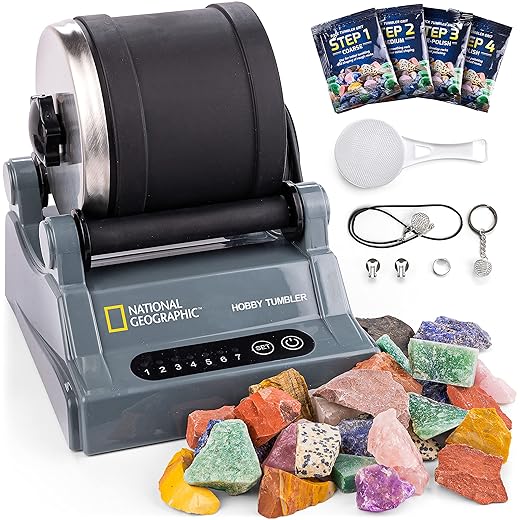
Can a rock tumbler make the same shape? A tumbler rounds exposed edges, but does not give controlled oval dimensions or carve a measured thumb recess. Tumbling the finished collection together also risks damage because the materials differ. Use individually controlled lapidary shaping for this project. Our rock tumbling guide covers the separate barrel-polishing process.
Can I make these entirely by hand? A pre-shaped blank can be refined with appropriate wet diamond hand abrasives, but major shaping in quartz takes considerable work. Ordinary craft sandpaper and a few minutes of rubbing will not reliably turn rough quartz into the pictured oval. Having the rough cutting done professionally makes hand finishing more practical.
How should I clean and store them? Wipe away handling residue with a soft, slightly damp cloth, then dry. For known compatible untreated pieces, use mild soap briefly and rinse; check treatment advice first. Avoid steam, ultrasonic cleaning, acids, solvents, and abrupt temperature changes across this mixed collection. Store each stone separately from keys and harder stones, and keep small pieces away from young children.
Keep a short workshop record for each successful oval: material, blank dimensions, abrasive sequence, polish, and any troublesome area. That record will help you reproduce the comfortable shape across all eight colors while letting each stone retain its own natural character.
 Love Rock Tumbling?
Have a question? Use the form above to submit your question or comment.
I love hearing from you and seeing what you made!