

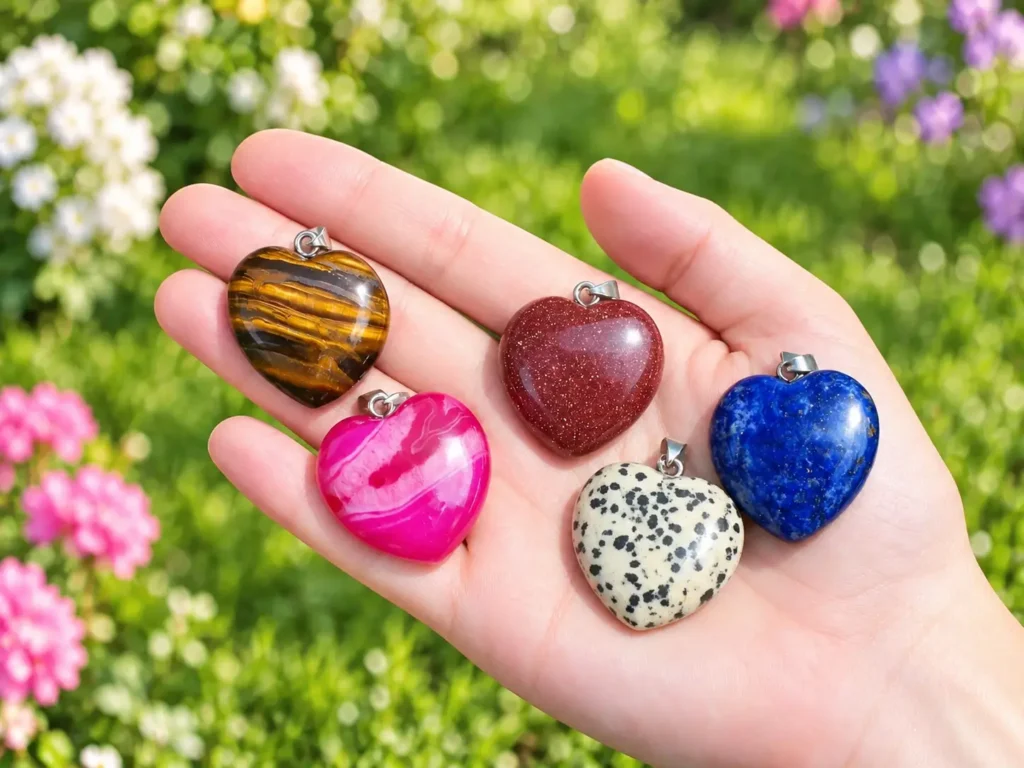
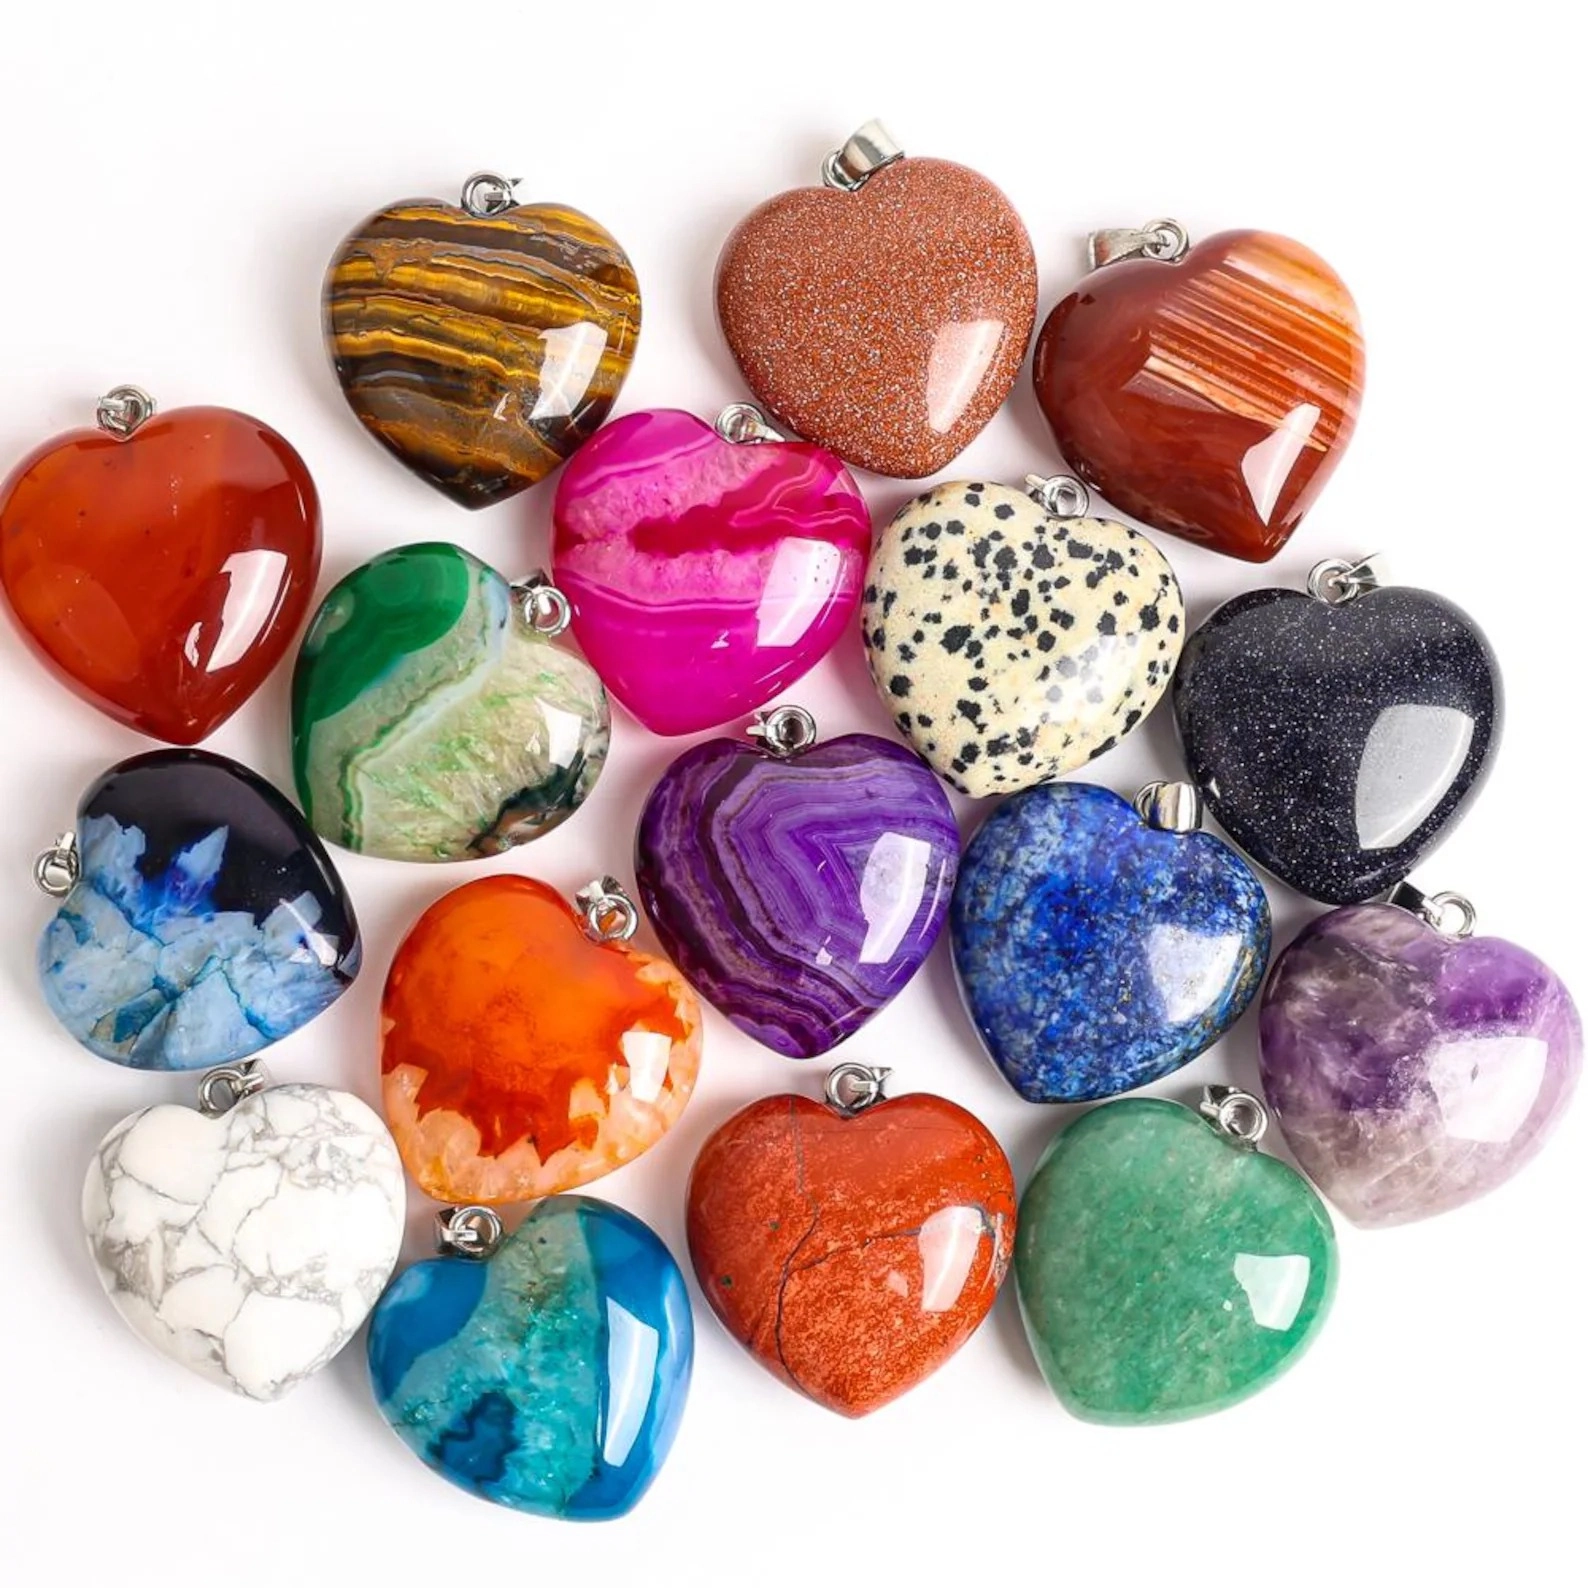
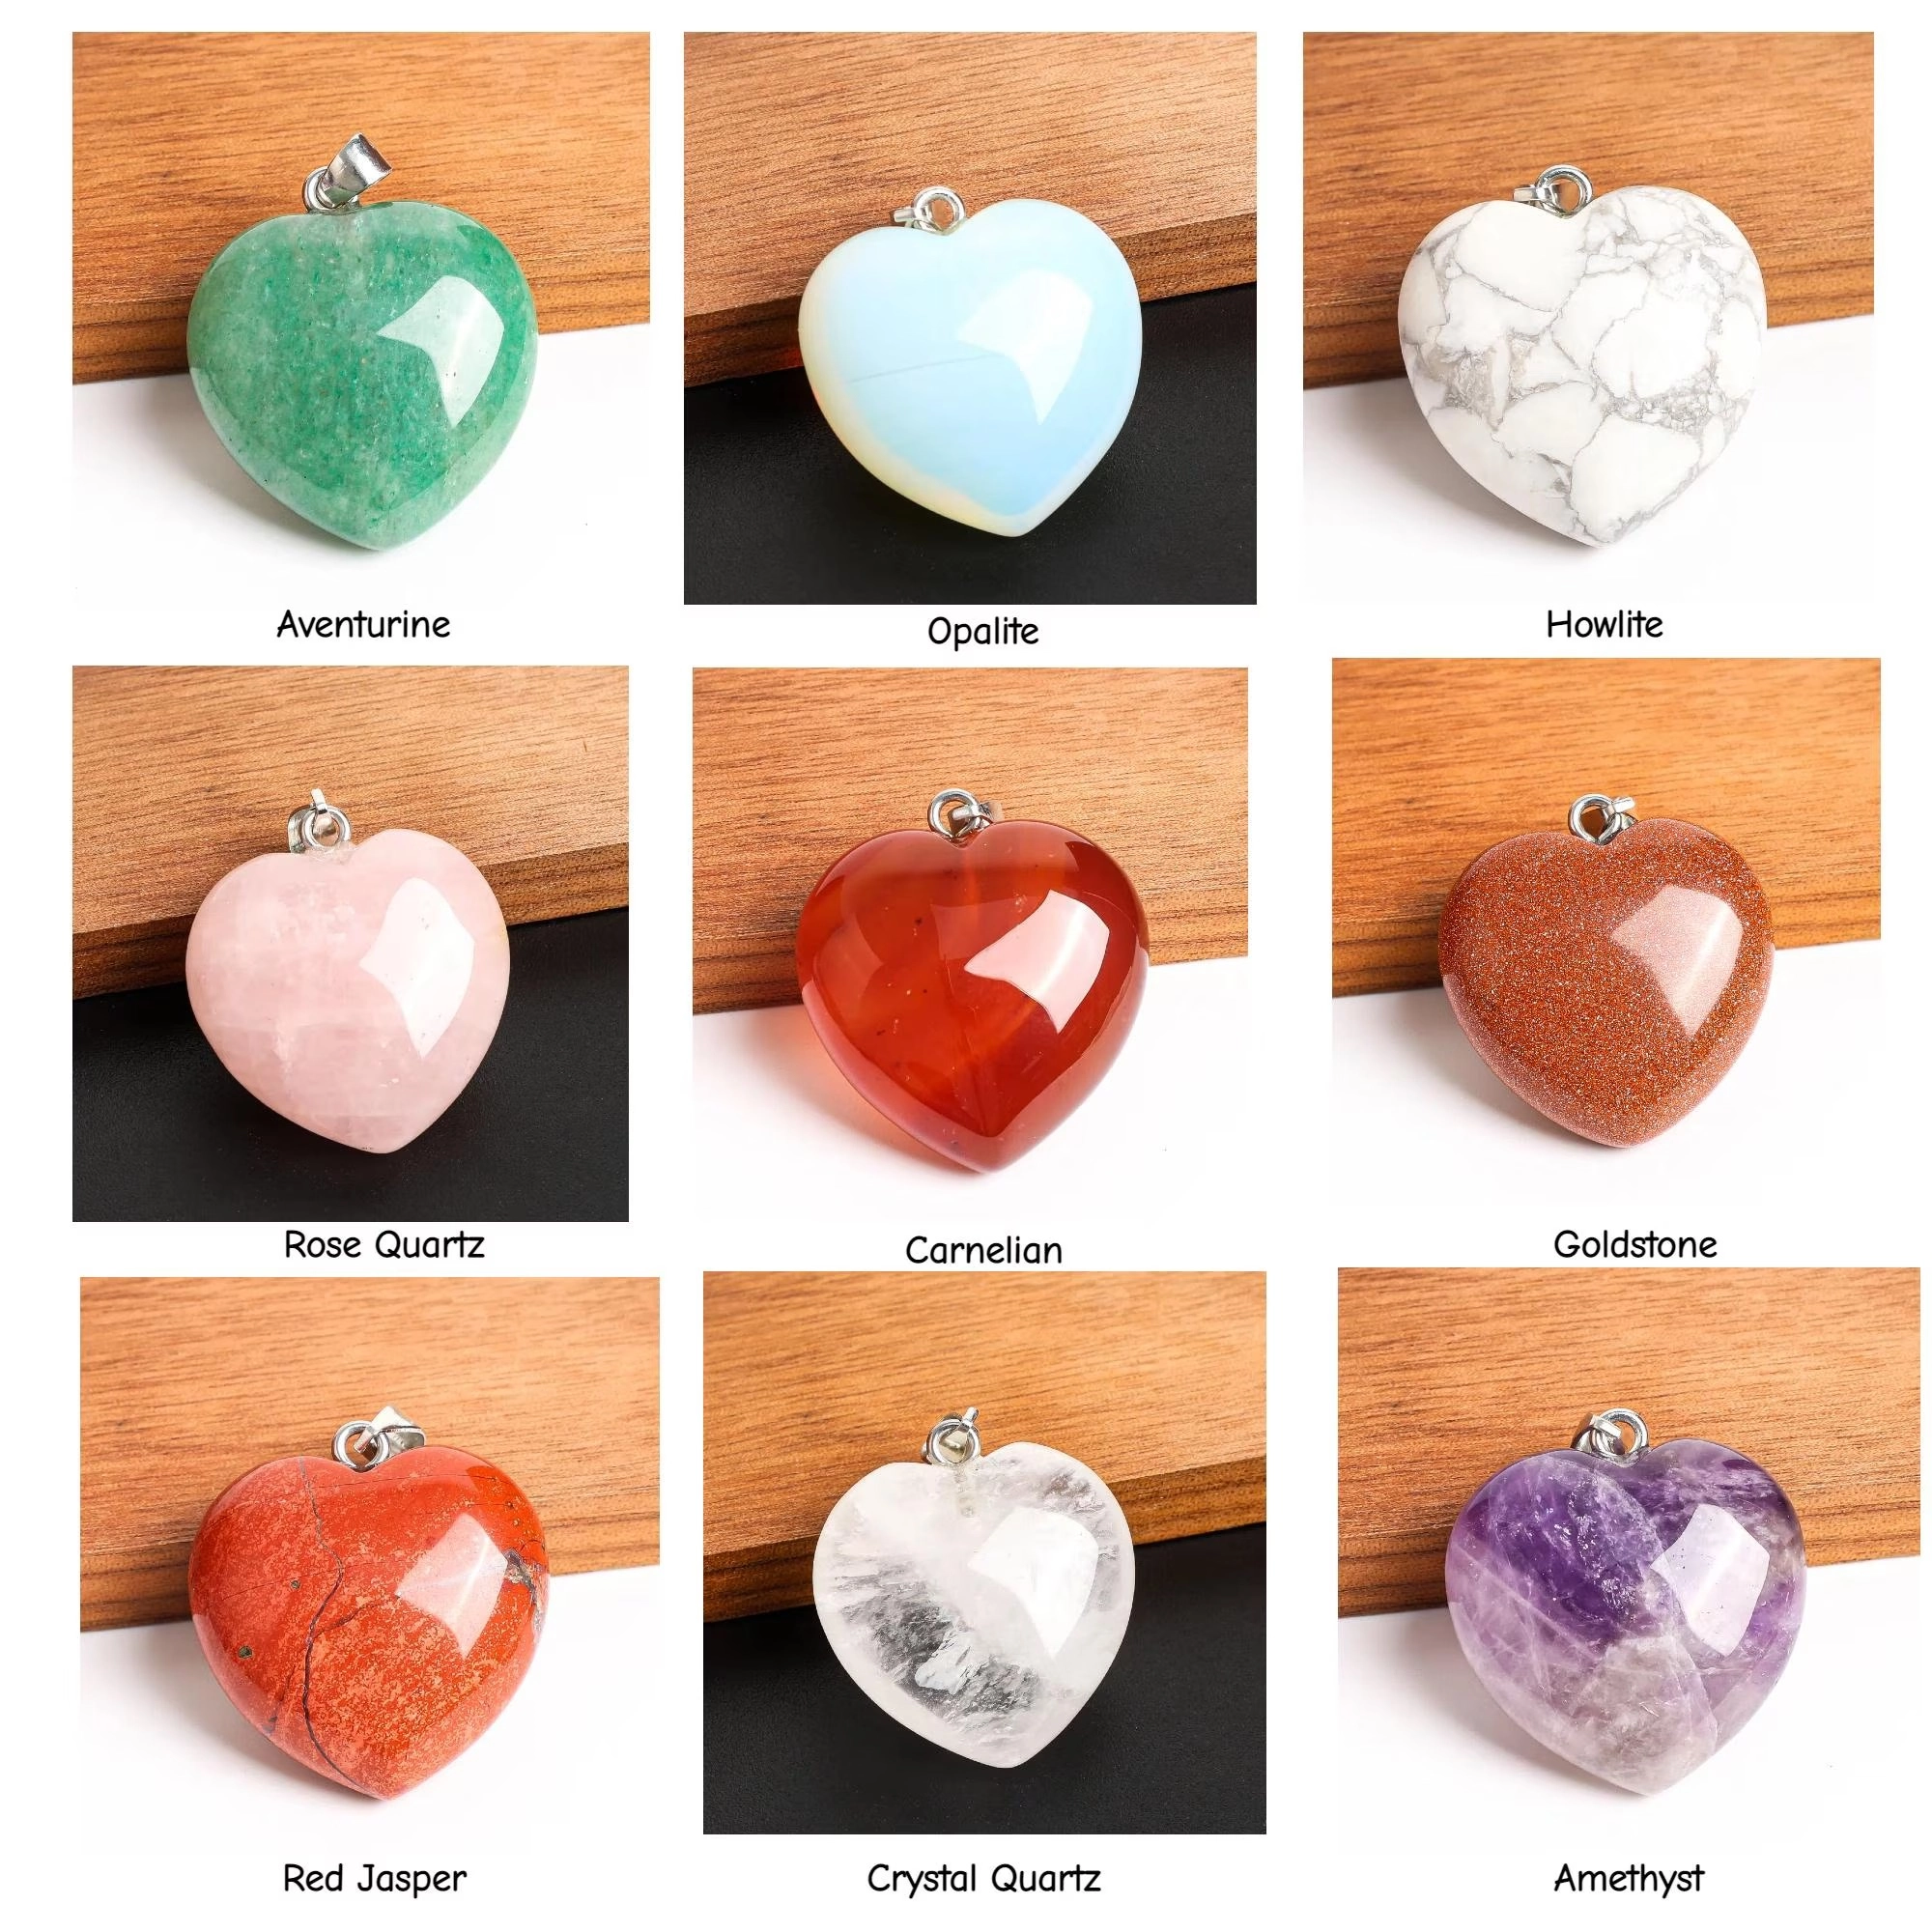
How to make a gemstone heart pendant like the polished hearts in the reference listing is straightforward in principle: start with a sound 14–16 mm slab or block, cut a slightly oversized heart, dome both faces, drill the top, and work through progressively finer abrasives before installing a silver-tone bail. The target is a plump heart about 30 mm across and 12–14 mm thick with an approximately 1 mm top hole.
You are not making amethyst, jasper, quartz, or aventurine from raw ingredients. You are shaping purchased stone. Opalite and goldstone need special labeling because they are manufactured materials. What you can reproduce is the size, silhouette, domed profile, polish, and hardware.
This is an intermediate lapidary project. Practice on an inexpensive piece before cutting valuable rough, and expect the first heart to take several workshop sessions rather than one quick pass.
Key Takeaways
- Copy the reference proportions with a reusable 30 mm template and calipers, not by eye alone.
- Cut and grind stone wet using equipment designed for lapidary work; never dry-grind silica-containing stone.
- Establish the heart outline before doming, and drill before the final polish so small edge chips can still be corrected.
- Natural color bands, inclusions, and veins cannot be duplicated exactly, even when the dimensions match.
- A 1 mm glue-in peg bail gives the closest match to the reference item’s small top loop and silver-tone hanger.
Match the 30 mm Gemstone Heart Pendant Design
The reference Etsy listing describes heart pendants in 30 × 12 mm, 30 × 13 mm, and 30 × 14 mm sizes with an approximately 1 mm drill hole. Its listed weights run from about 16 to 21.6 grams, depending on the material. Treat those numbers as product specifications, not a complete manufacturing drawing.
Copy four visible features:
- A balanced face: matched lobes, a rounded notch, and a centered bottom point.
- A puffed profile: two gentle domes meeting at a rounded edge.
- A mirror polish: no coarse scratches or breaks in the reflected highlight.
- Compact hardware: a small top loop connected to a silver-tone bail.
You can match those features closely, but natural patterns vary and the seller does not disclose its process. This is a practical reconstruction based on the visible pendant and listed dimensions.
Choose a Material That Will Hold the Shape
For a first pendant, choose fine-grained, solid material without an open seam through the notch or tip. Red jasper, carnelian, many agates, aventurine, and solid quartz varieties are sensible practice choices. Amethyst and clear or rose quartz take a bright polish but can expose internal fractures as you thin the edges. If you enjoy more detailed stone projects, compare the approach with our amethyst rose carving guide.
The listing’s options fall into three practical groups:
| Material group | Examples in the listing | Workshop note |
|---|---|---|
| Quartz, chalcedony, and related material | Amethyst, clear quartz, rose quartz, aventurine, carnelian, tiger iron, and agates | Use diamond abrasives and inspect translucent pieces for fractures. |
| Opaque or mixed ornamental stone | Red, dragon blood, Kambaba, and Dalmatian jasper; lapis; labradorite | Mixed minerals, cleavage, or pores can undercut or chip. |
| Manufactured decorative material | Opalite, goldstone, and blue goldstone | Reduce heat and pressure, and label the composition honestly. |
GIA identifies goldstone as a man-made glass with copper inclusions. The trade name “opalite” is less precise, and GIA has documented plastic imitation opal sold under that name. A photograph alone cannot establish the reference piece’s composition. Buy from a supplier who discloses it, and do not market either material as a natural crystal without evidence.




Gather Lapidary Tools and Set Up for Wet Work
Use purpose-built lapidary equipment or a supervised lapidary club. A household rotary tool does not become safe around water because a diamond bit needs coolant. Follow the maker’s instructions for water delivery, guarding, electrical protection, and accessories.
You will need:
- A sound stone slab or block at least 32–34 mm across and 14–16 mm thick
- A 30 mm paper or thin plastic heart template
- Calipers, a waterproof marker, a ruler, and a bright inspection light
- A wet-rated trim saw or access to a lapidary cutting service
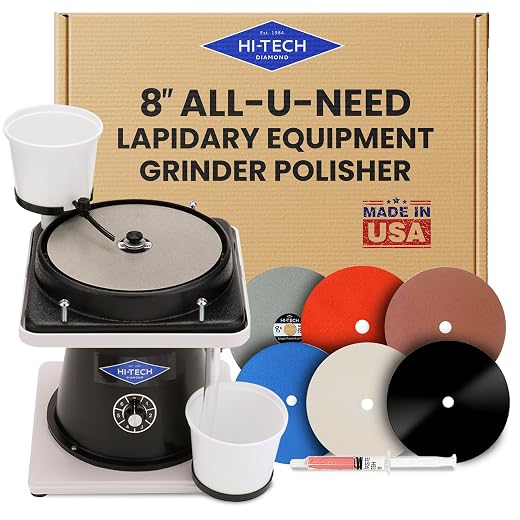
- A cabbing machine, flat lap, or suitable wet carving setup with diamond wheels or burs
- Coarse shaping abrasives plus 280, 600, 1,200, and 3,000 grit finishing stages, or the equivalent sequence specified by your system
- A small wet-use diamond core drill or diamond point matched to the bail pin
- A drill press or secure jig that keeps the stone from twisting
- A silver-tone glue-in peg bail with a pin that fits the finished hole
- Two-part adhesive rated by its maker for both stone and metal
- Eye protection, hearing protection where required, an apron, splash control, and the protective equipment specified for your machines and materials
Stone dust is the main reason to keep this process wet. OSHA’s guidance for silica-containing stone recommends wet methods and local exhaust. Keep slurry wet until contained, and never dry-sweep it or use compressed air. Wet cutting does not replace guarding, ventilation, or exposure-appropriate respiratory protection.
How to Make a Gemstone Heart Pendant: Process Overview
The cleanest workflow is to complete one measurable outcome at a time:
- Select and orient a fracture-free blank.
- Trace a symmetrical 30 mm heart and cut outside the line.
- Grind the outline, center notch, and point to final shape.
- Create an even double-sided dome while preserving the centerline.
- Drill and test-fit the top hardware.
- Sand out every coarse scratch, then polish both faces and the edge.
- Clean, bond, cure, and inspect the bail.
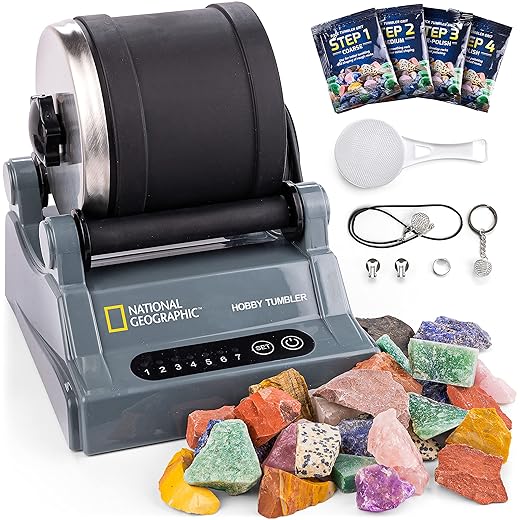
Do not use a tumbler for the final silhouette. It will soften the notch, blunt the point, and make precise sizing difficult. Direct shaping gives you control. Our DIY gemstone worry stones tutorial is better when a simple rounded form is the goal.
Cut, Shape, and Dome the Stone Heart
Step 1: Make a Repeatable 30 mm Template
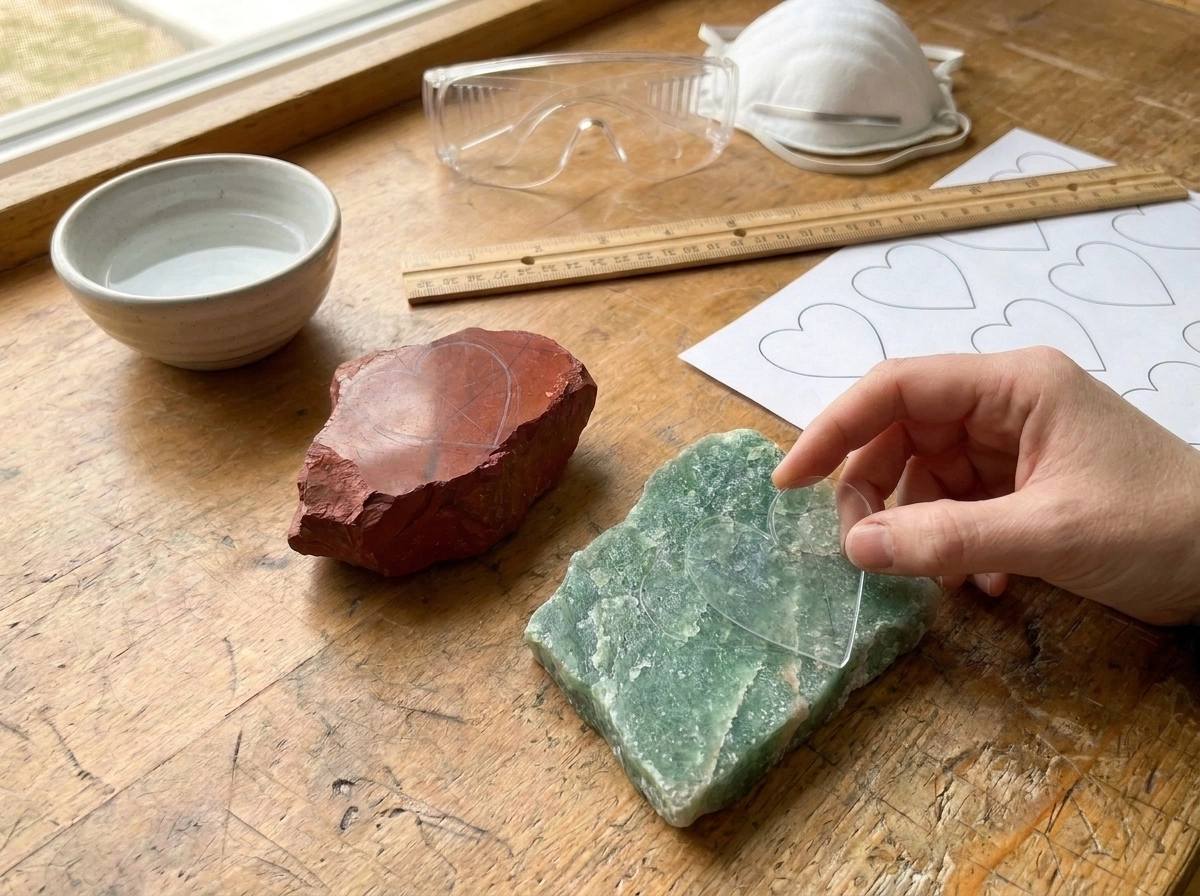
Fold paper in half, draw half a heart, and cut through both layers. Check the open template for symmetry and transfer it to thin plastic if you plan to make a set.
Mark the centerline, notch, widest points, and tip. Keep the top thick enough for the bail pin. Preview the wet stone, then shift the outline away from open cracks and toward attractive banding.
Verification: Measure the outline in several directions. The face should fit the planned 30 mm envelope, with 1–2 mm of cutting allowance outside the line.
Step 2: Saw a Rounded-Triangle Preform
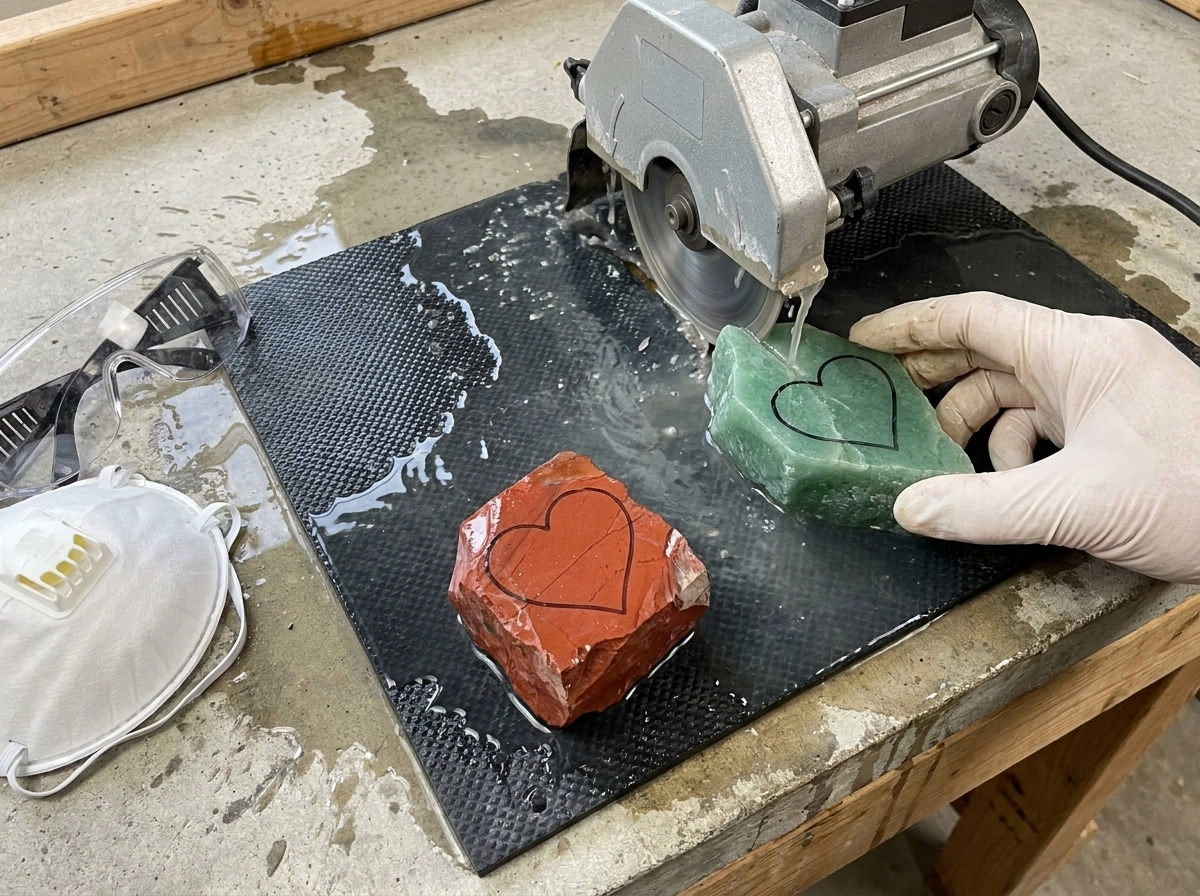
Make straight relief cuts around the perimeter rather than trying to steer a rigid blade around the curves. Stay outside the marked outline. A safe first preform resembles a rounded triangle with two shoulders; leave the center notch for controlled grinding.
Support the stone as the machine maker directs. Keep fingers clear, maintain coolant flow, and never twist the blank to force a curve. If a small piece cannot be held securely, leave a larger handle section or ask a lapidary shop to cut it.
Verification: The preform should have no saw cut extending inside the final outline. A deep accidental cut at the notch can remain visible after substantial grinding.

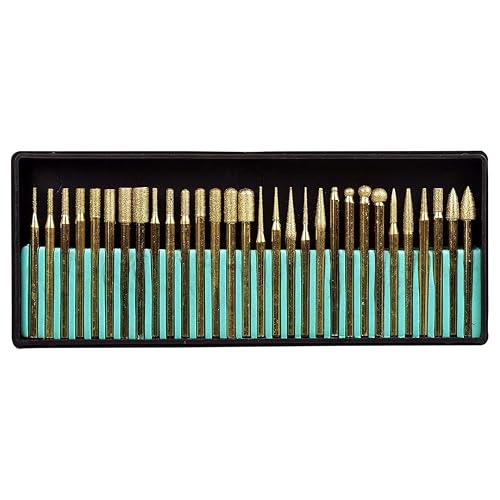

Step 3: Grind the Outline and Center Notch
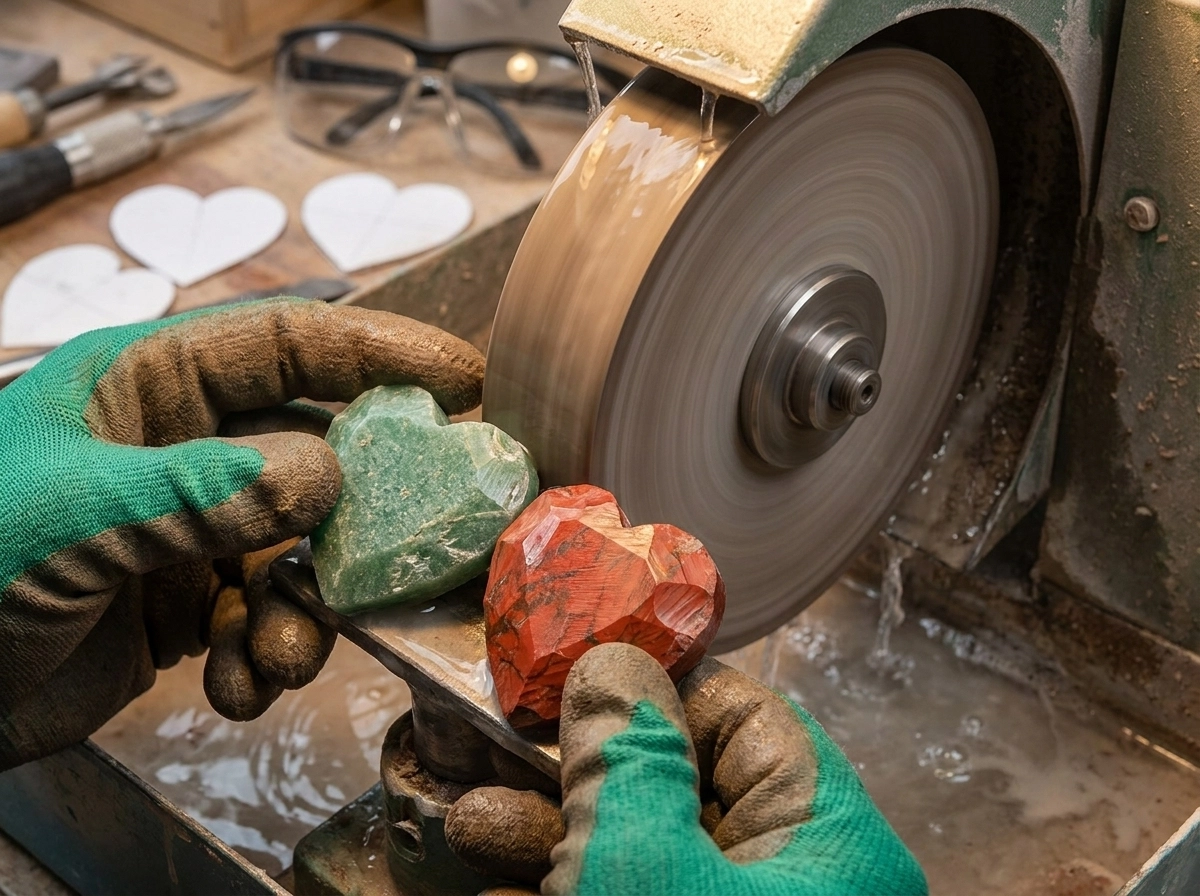
Bring the outer curves to the line with a coarse diamond wheel or bur. Alternate sides so one lobe does not become smaller than the other. Re-mark the centerline as needed.
Form the notch with the rounded edge of an appropriate wheel or a small cylindrical or ball-shaped diamond bur. Stop before the notch becomes narrow and V-shaped. The reference hearts use a soft inner curve that is less fragile and easier to polish. Round the tip slightly instead of leaving a needle point.
Check the silhouette against a plain background and rotate it 180 degrees to expose asymmetry. The same approach appears in our crystal butterfly carving tutorial, where paired shapes must stay balanced.
How to Make a Gemstone Heart Pendant Without Losing Symmetry
Remove small amounts from opposite sides and measure often. Mark a centerline around the entire edge as the reference for both domes.
Bevel the front edge evenly, then repeat on the back. Blend each bevel toward a high center with overlapping passes, creating a continuous curve rather than a flat center and rounded rim.
View the heart from every side. The domes should meet at a centered edge, and both lobes should have similar volume. Measure only after the machine stops.
Verification: Set the dry heart on each face over a padded surface. It should rock gently on the dome rather than sit on a flat patch. Under a moving light, the reflection should cross each face without an abrupt kink.
Drill, Sand, Polish, and Add the Bail
Step 4: Drill the 1 mm Top Hole
Drill after coarse shaping but before the final sanding and polish. That timing lets you correct a small chip around the opening without ruining a finished surface.
Mark the hole on the top centerline at the same angle as the bail pin. A vertical blind hole most closely matches the reference. Mark the required depth on the bit and leave solid stone between the hole and both faces.
Clamp the stone in padded workholding. Use a diamond bit, approved coolant, light pressure, and clearing passes. Forcing the bit adds heat and can wedge debris in the hole. Stop if a crack appears.
Test the clean, dry hole with the bail pin. It should enter without hammering, sit straight when viewed from both faces, and leave enough room for the specified adhesive bond line.
Step 5: Remove Every Scratch and Polish the Dome
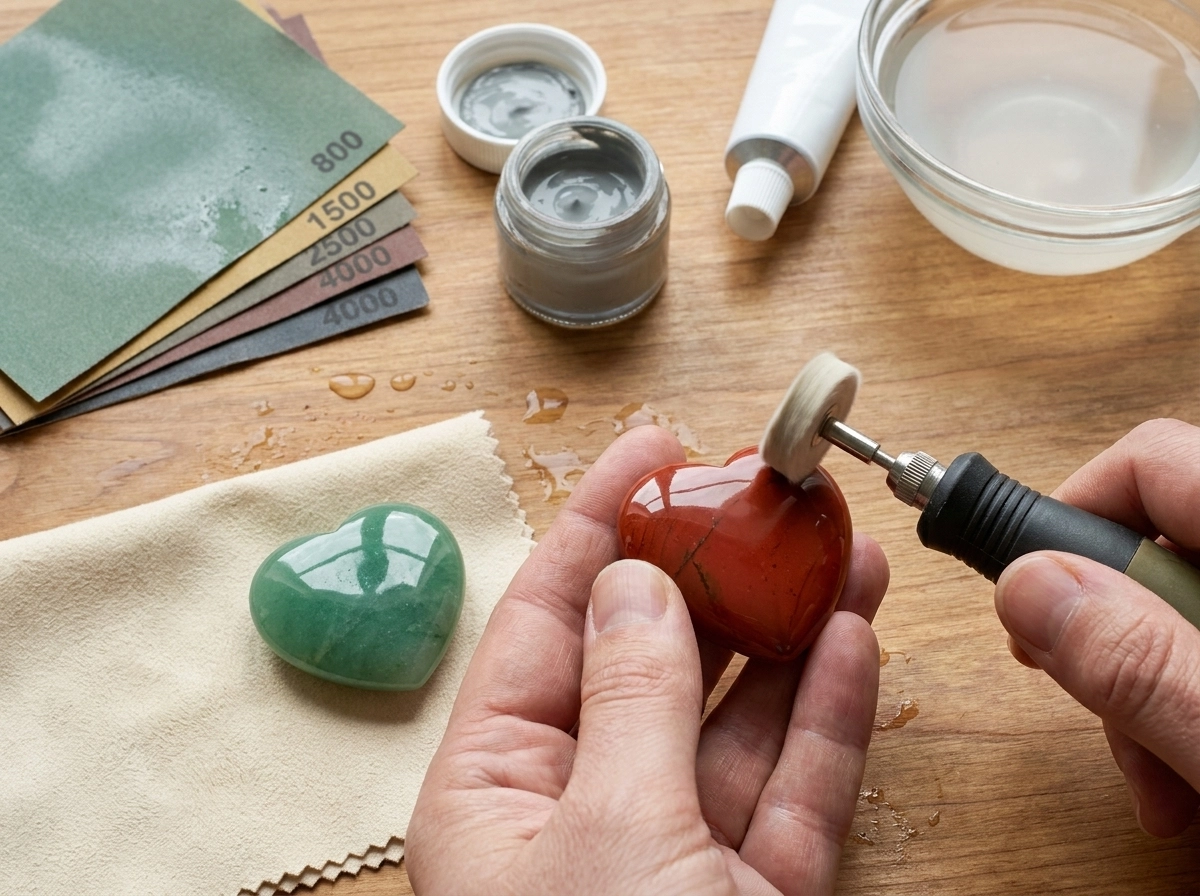
Return to the coarsest stage needed to erase saw marks, flats, and deep shaping scratches. Then progress through the abrasive sequence specified for your wheels, belts, discs, or points. Diamond Pacific’s lapidary catalog describes successive shaping, sanding, and polishing stages and lists wet resin-bond accessories in 280, 600, 1,200, and 3,000 grit, followed by finer finishing options.
Clean the heart and work support between stages. One coarse particle can redraw the face. Inspect the dry surface under bright light after each grit. If a scratch remains, go back now; polish will not remove it.
Use small points in the notch without sharpening it. Finish the edge as carefully as the faces. Choose a polishing pad and compound approved for the material because quartz, mixed rock, and glass may respond differently.
Verification: Dry the pendant completely. The polish should remain clear when dry, the reflected light should flow across both domes, and the notch and hole should be free of white residue.
Step 6: Bond and Cure the Silver-Tone Bail
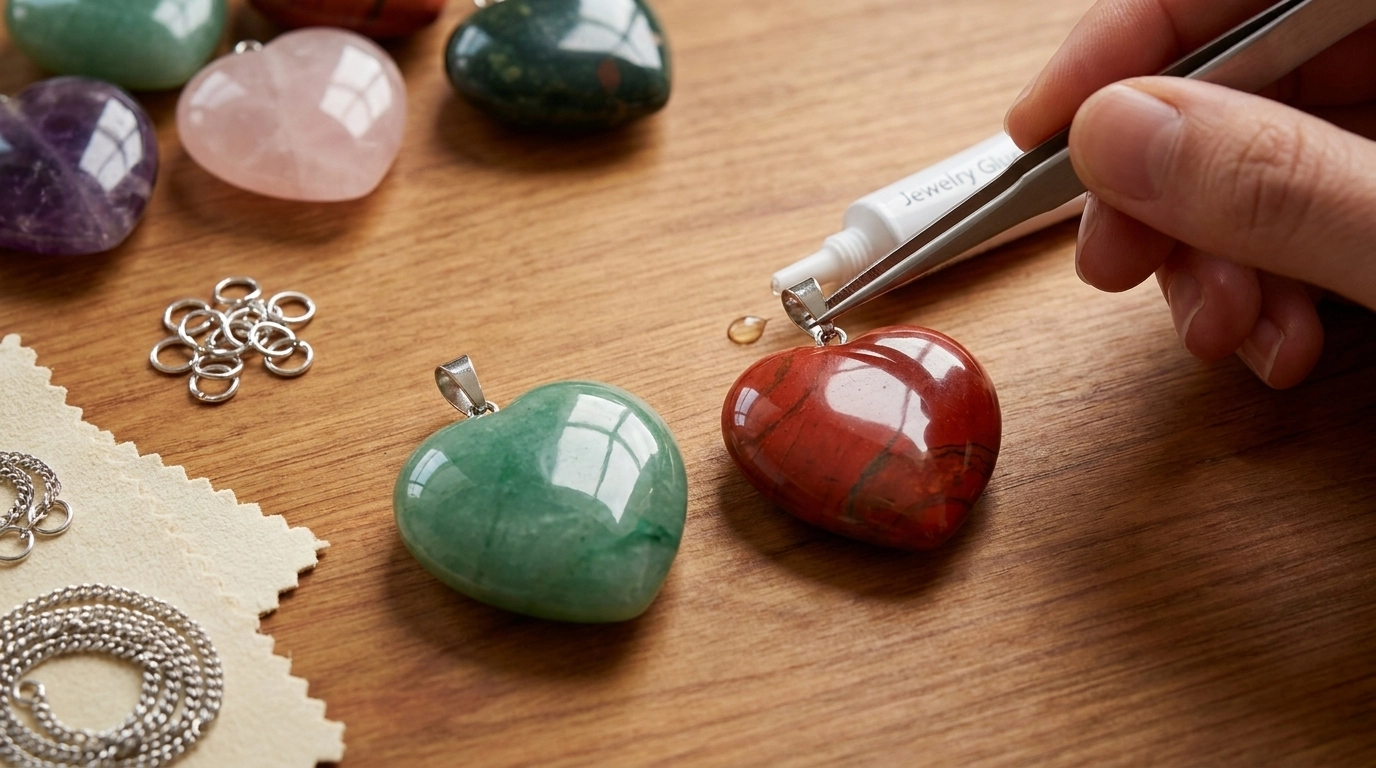
Degrease the metal pin and prepare the hole exactly as the adhesive manufacturer instructs. Do not enlarge a precise hole merely to make room for excess glue. Mix a small batch, coat the pin without flooding the opening, and seat the bail in the orientation you marked during the dry fit.
Support the pendant so gravity cannot rotate the hardware while it cures. Remove visible squeeze-out using the maker’s approved cleanup method before it hardens. Loctite’s Clear Multi-Purpose Epoxy technical sheet, for example, lists stone and metal as suitable materials and specifies a 24-hour full cure under its stated conditions. Your product may differ, so use its actual mixing ratio, working time, surface preparation, and cure schedule.
After full cure, attach a jump ring or cord and test over a padded bench. The loop should stay centered. Do not use a pendant with moving hardware, a radiating crack, or a splitting tip.

Fix Common Gemstone Heart Carving Problems
The lobes do not match. Stop refining the smaller lobe. Trace the template and reduce only the larger side. If the heart is already undersized, favor balance over the original dimension.
The notch has a saw scar. Broaden the curve with a rounded bur. Do not deepen it unless enough material remains beneath the bail hole.
The dry surface looks cloudy. Clean it, inspect under angled light, and return to the abrasive that can remove the marks. Extra final-stage pressure adds heat without fixing deep scratches.
The edge chips during drilling. Reduce pressure, improve support, and confirm coolant delivery. Blend a shallow chip during sanding, but reject a crack traveling toward a face or the notch.
The bail leans. Do not bend it against the stone. If the adhesive instructions permit, clean the parts, correct the fit, and try again.
For a more complex practice shape with tight curves, see our ocean jasper seahorse carving guide. It uses the same principle: establish a sound silhouette first, then refine details without thinning fragile areas.
Gemstone Heart Pendant Questions
Can a Rock Tumbler Make This Exact Heart Shape?
No. A tumbler removes sharp edges from every exposed surface, so it tends to soften the center notch and bottom point. Use a saw and lapidary grinding equipment for the controlled heart shape. Tumbling can prepare or smooth suitable rough for other projects, as explained in our beginner’s guide to rock tumbling, but it cannot preserve this pendant’s exact outline.
What Is the Best Stone for a First Heart Pendant?
Choose an inexpensive, fine-grained, fracture-free jasper or agate blank. Its pattern may be simple, but a sound practice piece lets you learn symmetry, doming, drilling, and scratch removal without risking valuable material. Save fractured quartz, cleavable labradorite, porous lapis, and manufactured glass for later experiments.
Can I Reproduce the Etsy Hearts Exactly?
You can reproduce the approximately 30 mm size, 12–14 mm thickness, rounded notch, double dome, high polish, 1 mm top hole, and silver-tone bail. You cannot reproduce a natural stone’s internal pattern exactly, and the seller’s undisclosed tooling and mounting method may differ. Describe your result as inspired by the visible design and made with your own lapidary process.
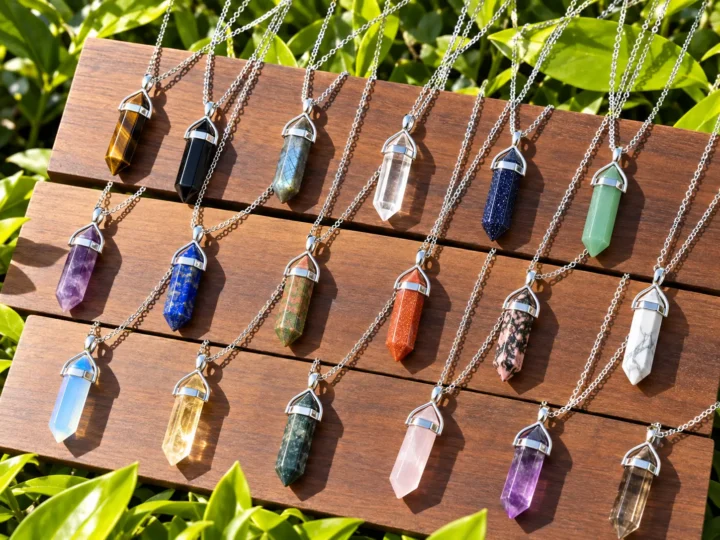
For another pendant outline, see our teardrop gemstone pendant guide. Compare its single rounded shoulder and tapered tip with the heart notch before choosing your next template.
Your Finished 30 mm Gemstone Heart Pendant
A successful pendant looks balanced, centered, and glossy when dry. Its notch is smooth, its point is slightly rounded, and its bail stays straight after curing. Record the dimensions, material, abrasive sequence, polish, bit, bail, and adhesive so you can repeat the result.
Start with one solid jasper or agate blank and keep the template beside the machine. Careful measuring and patient scratch removal matter more than aggressive cutting. Once the first piece passes the dry-polish and bail checks, repeat the same checkpoints to build matching pendants in the other materials from the reference collection.
 Love Rock Tumbling?
Have a question? Use the form above to submit your question or comment.
I love hearing from you and seeing what you made!