

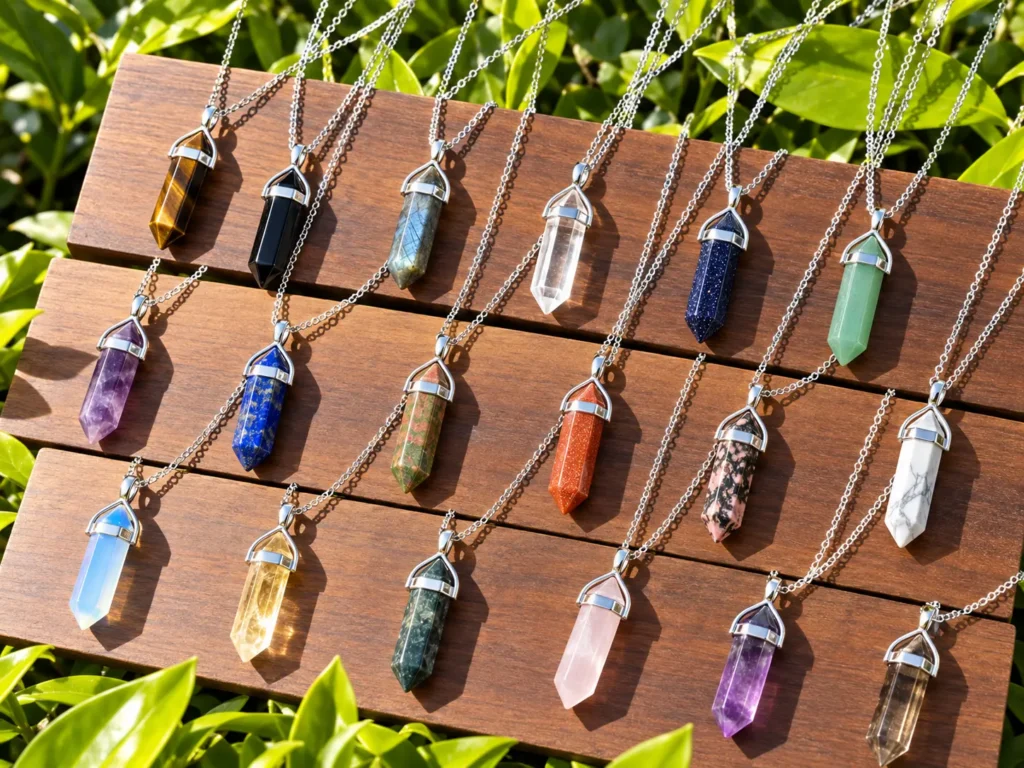
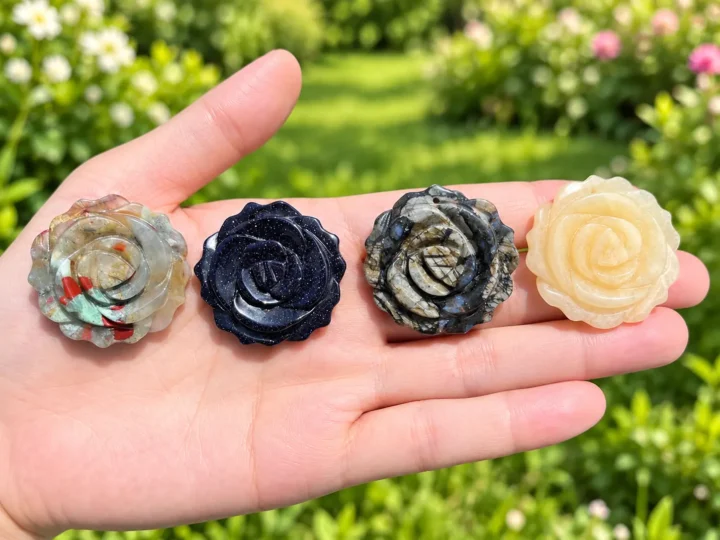
A crystal point pendant is a hexagonal prism of natural mineral ground to a symmetrical double-terminated point, fitted with a silver-plated bullet bail cap, and hung on a chain for pendant wear. The finished piece measures roughly 30 mm to 40 mm in length and 8 mm to 12 mm across the flat-to-flat hexagonal width. Minerals like labradorite, amethyst, red jasper, green aventurine, tiger eye, lapis lazuli, snowflake obsidian, amazonite, opalite, and clear quartz all produce beautiful point pendants with distinct optical character. If you have followed our earlier projects on how to carve a gemstone rose pendant, how to carve a gemstone moon face, or how to make an inlaid gemstone pendant, crystal point shaping introduces precision geometric grinding that differs from organic freeform carving.
Learning how to make a crystal point pendant requires grinding six flat hexagonal faces and two symmetrical pyramidal tips from a rough mineral rod blank. Unlike freeform carving, point pendants demand strict angular symmetry so the finished piece hangs straight and catches light evenly across all six faces. At Rock Tumble Lab, our team ground test points across more than a dozen mineral varieties to develop a reliable shaping sequence that produces clean facets and sharp tips. For workshop questions, visit our about page or reach our lapidary staff through the contact page.
Key Takeaways
- Rough Blank Dimensions: Start with a mineral rod or slab piece roughly 10 mm to 14 mm square and 40 mm to 50 mm long, cut on a diamond trim saw.
- Hexagonal Grinding: Shape six flat faces on a 180-grit flat lap or diamond cabbing wheel by rotating the blank 60 degrees between each face grinding pass.
- Pyramidal Tip Grinding: Angle the blank at approximately 45 degrees against the grinding wheel and rotate through all six faces to form each pointed tip.
- Progressive Polishing: Smooth all faces with 400, 600, and 1200 grit abrasives, then polish with cerium oxide or diamond paste for a glass-like finish.
- Bail Cap Attachment: Glue a silver-plated bullet bail cap over one tip using two-part epoxy for secure pendant wear on a chain.
Essential Materials for Making a Crystal Point Pendant
Grinding precise flat faces and sharp pyramidal tips out of hard minerals requires rigid stone blanks without internal fracture planes. When learning how to make a crystal point pendant, selecting tough, cohesive minerals ensures clean face edges and chip-free tips during the grinding process.
Selecting Minerals for Crystal Point Pendant Blanks
Your mineral choice directly affects how cleanly the six hexagonal faces grind and how sharp the pyramidal tips hold their edges. Cryptocrystalline quartz varieties (Mohs 6.5 to 7.0) and dense opaque minerals provide the best results. Avoid brittle minerals with strong cleavage planes or coarse crystal structures that chip along grain boundaries.
| Mineral Variety | Mohs Hardness | Fracture Traits | Point Pendant Guidance |
|---|---|---|---|
| Clear Quartz | 7.0 | Conchoidal / No cleavage | Transparent with high clarity. Grinds cleanly to mirror-flat faces. The classic crystal point mineral with maximum light transmission. |
| Amethyst | 7.0 | Conchoidal / No cleavage | Translucent purple quartz. Color zoning shows beautifully across polished flat hexagonal faces. Use darker material for stronger pendant color. |
| Labradorite | 6.0 to 6.5 | Good cleavage / Brittle | Feldspar with blue-gold iridescent flash (labradorescence). Orient the slab so the flash displays across the widest face pair for maximum optical effect during wear. |
| Tiger Eye | 7.0 | Fibrous / Tough | Golden chatoyant quartz. Align the fiber direction along the prism length so the shimmer band travels up and down the pendant body. |
| Red Jasper | 6.5 to 7.0 | Conchoidal / Dense | Opaque microcrystalline quartz. Grinds smoothly with minimal chipping. Takes a glassy cerium oxide polish on all six faces. |
| Green Aventurine | 7.0 | Conchoidal / Tough | Green quartzite with chrome mica flecks. The aventurescent sparkle shows across each polished face under pendant lighting. |
| Lapis Lazuli | 5.0 to 5.5 | Uneven / Granular | Softer than quartz. Reduce grinding pressure and use finer starting grit (320 instead of 180). Deep royal blue with gold pyrite flecks. |
| Snowflake Obsidian | 5.0 to 5.5 | Conchoidal / Brittle | Volcanic glass with white cristobalite snowflake patterns. Grinds fast due to lower hardness. Use light pressure on tip grinding to prevent chipping. |
| Opalite (Glass) | 5.5 | Conchoidal / Brittle | Man-made opalescent glass. Very brittle at tip points. Grind tips at a shallower 50-degree angle to leave thicker, stronger points. |
For mineral hardness data, consult the USGS Mineral Resources Program. The GIA Gem Encyclopedia covers optical properties affecting polishing behavior.
If you need raw quartz, fluorite, or bulk lapidary-grade rough crystals to cut into rectangular rods and crystal points, here are top-rated options:




Lapidary Tools for Grinding Crystal Points: How to Make a Crystal Point Pendant
Point pendant grinding uses different tool configurations than freeform carving. You need flat grinding surfaces rather than shaped burrs, and a protractor or angle guide for consistent tip geometry. Here is the full tool inventory:
- Diamond Trim Saw: A 6-inch or 8-inch continuous-rim blade for cutting rough mineral into rectangular rod blanks approximately 10 mm to 14 mm square and 40 mm to 50 mm long.
- Flat Lap or Diamond Cabbing Wheel (180 grit): The primary grinding surface for shaping the six hexagonal faces. A flat lap produces flatter faces than a curved cabbing wheel.
- Dop Stick and Dop Wax: A 6 mm diameter metal or wooden dop stick. Heat brown dop wax with an alcohol lamp, press the mineral blank onto the wax, and let it cool. The dop stick acts as a handle for controlled grinding pressure and consistent rotation.
- Protractor or Angle Guide: A simple plastic protractor taped to your workbench edge provides a visual reference for the 45-degree tip grinding angle. Some lapidary shops sell dedicated faceting jigs that hold the dop stick at fixed angles.
- Flat Lap Discs (320, 600, 1200 grit): Progressive grit diamond or silicon carbide laps for smoothing face scratches after the initial 180-grit shaping pass.
- Cerium Oxide Polishing Compound: Mixed into a thin slurry and applied on a leather or felt lap for the final optical polish on quartz varieties.
- 50,000-Grit Diamond Paste: For polishing softer minerals like lapis lazuli and obsidian where cerium oxide works less effectively.
- Silver-Plated Bullet Bail Cap: A cone-shaped metal cap sized 10 mm to 14 mm in diameter that fits over one pyramidal tip. Secured with two-part epoxy.
- Shallow Water Dish: For wet grinding to suppress mineral dust and cool the grinding surface.
Step-by-Step Workshop Process: How to Make a Crystal Point Pendant
This shaping sequence moves from rough mineral blank to finished pendant in five controlled stages.
Step 1: Cutting the Rectangular Rod Blank
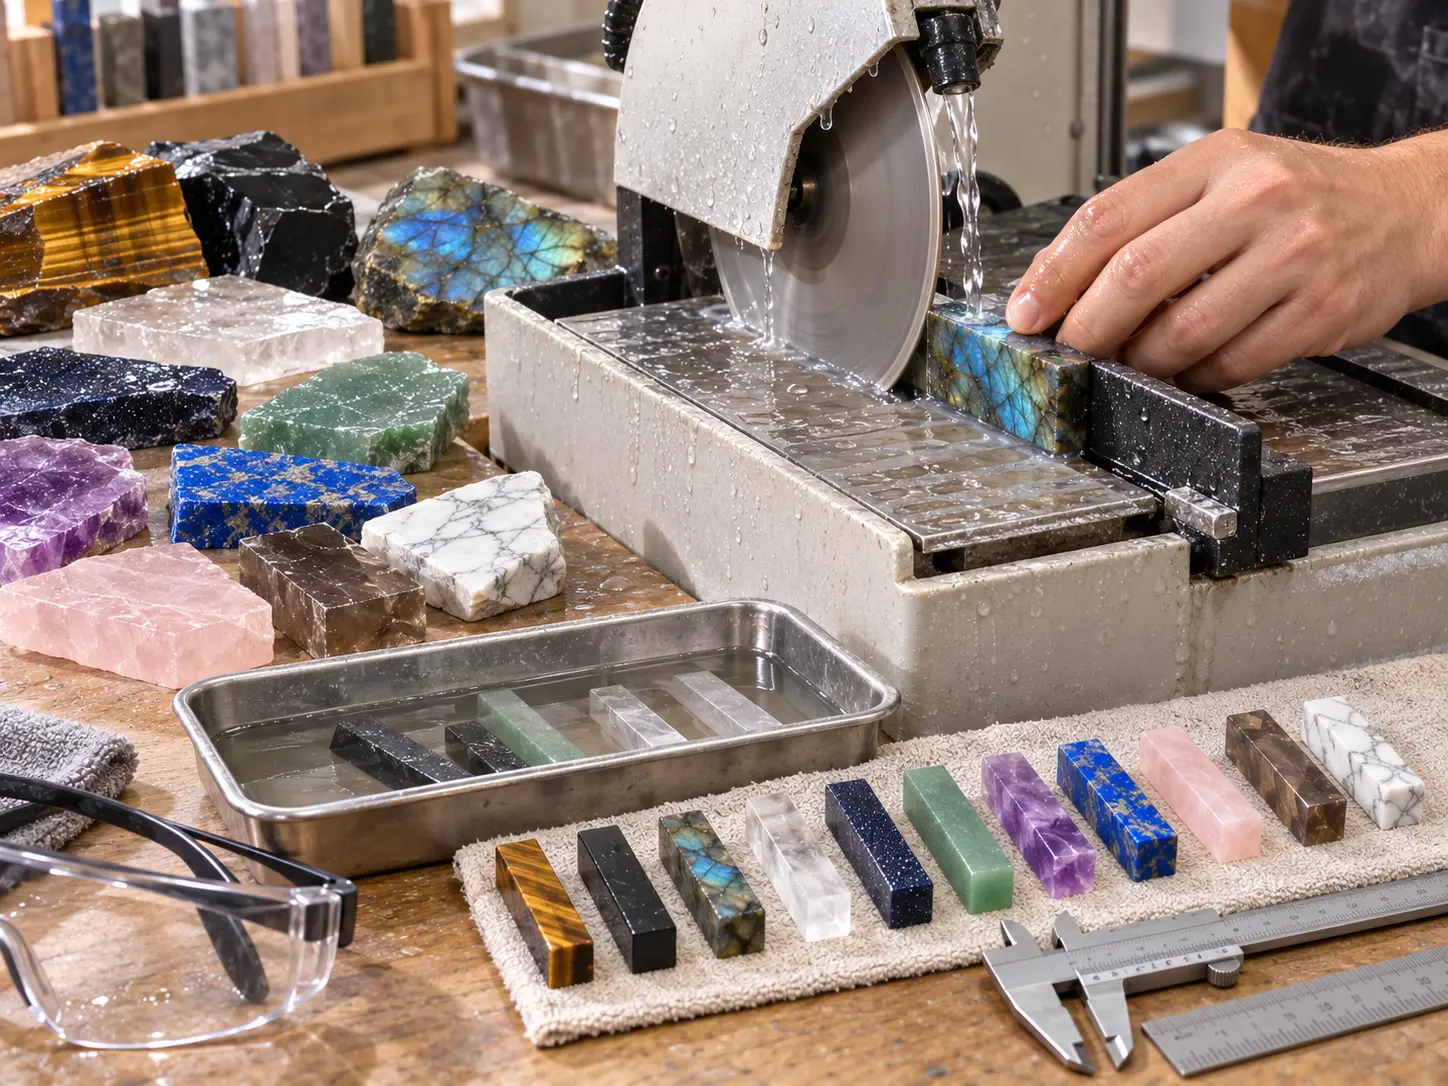
Start with a mineral slab or rough piece at least 10 mm to 14 mm thick. On your diamond trim saw, cut a rectangular rod blank approximately 10 mm to 14 mm square in cross-section and 40 mm to 50 mm long. The rod should be slightly longer than your target pendant length (30 mm to 40 mm finished) to allow material for grinding both tips. Inspect the blank for visible cracks or vugs that could cause problems during grinding. Set aside any blanks with fractures running across the planned tip zones.
Step 2: Grinding the Six Hexagonal Faces
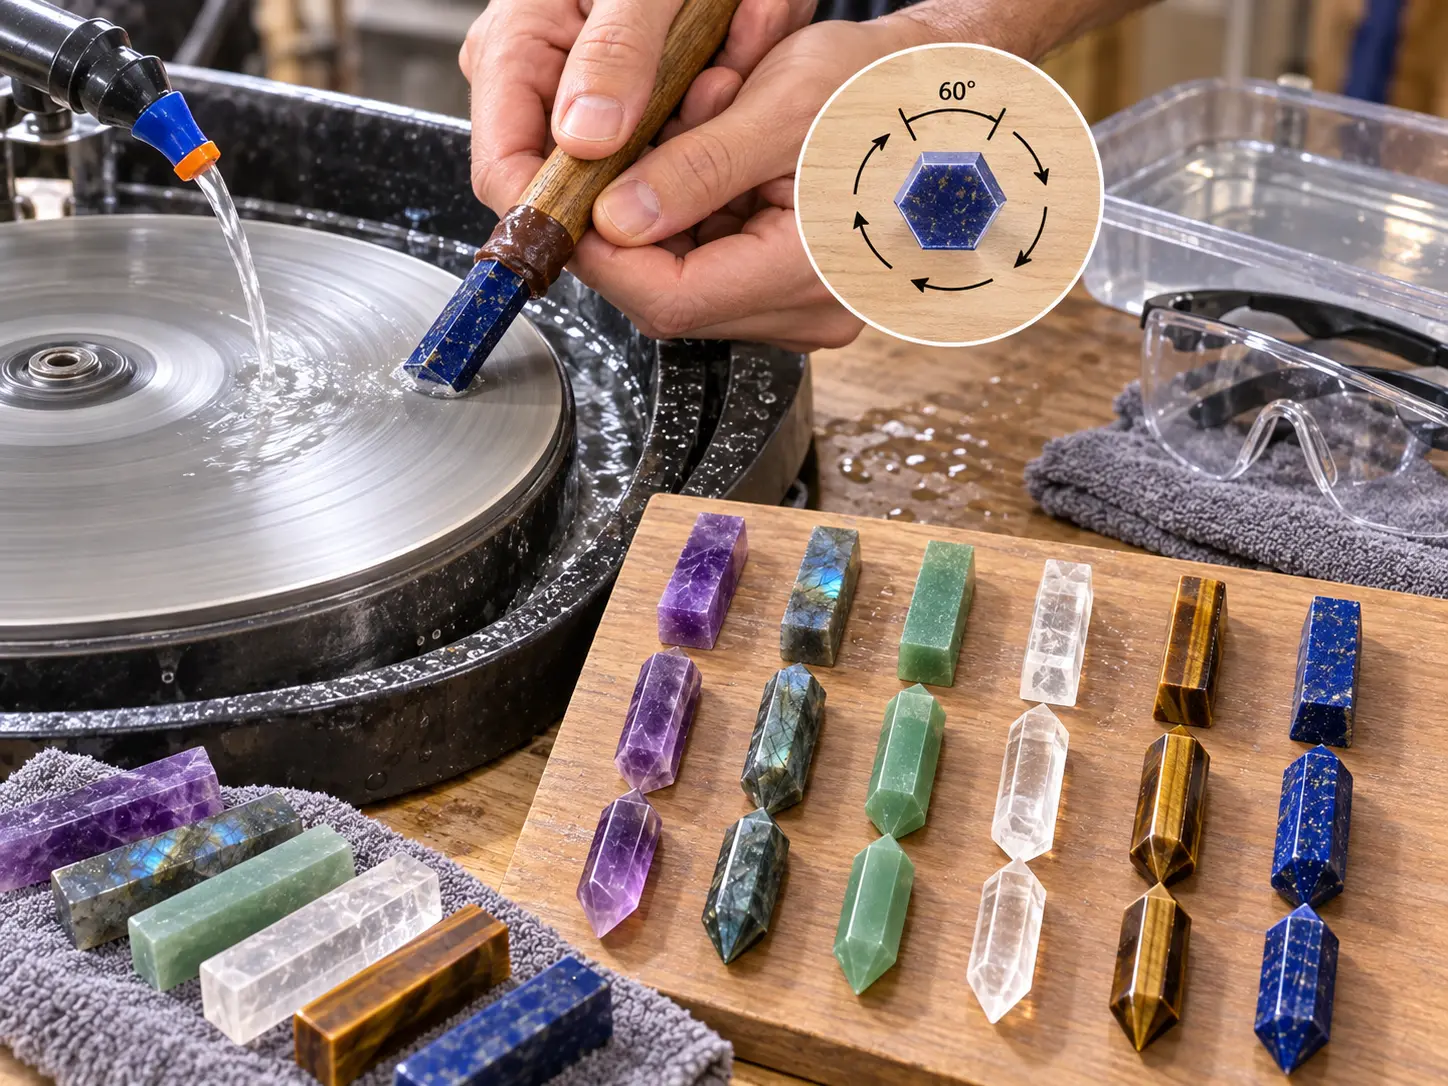
Dop the rod blank onto your dop stick using heated brown dop wax. Allow the wax to cool fully before grinding. Hold the dop stick so the mineral rod lies flat against the 180-grit lap surface. Apply light, steady downward pressure and grind the first flat face. Lift the blank, rotate it exactly 60 degrees, and grind the second face. Repeat for all six faces.
The key to a symmetrical hexagon is consistent rotation and equal grinding time on each face. Each face should be ground until it measures approximately equal width. After grinding all six faces at 180 grit, the rod blank should have a uniform hexagonal cross-section when viewed end-on. If one face is wider than the others, grind the two adjacent faces slightly more to bring the hexagon into balance.
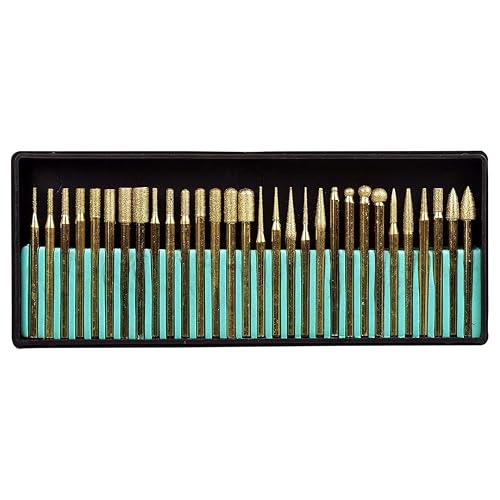
For shaping precise pyramidal tips, trueing hexagonal facets, and smoothing delicate crystal termination angles, these rotary flex-shaft attachments and diamond burr sets are essential:


Step 3: Grinding the Pyramidal Tips
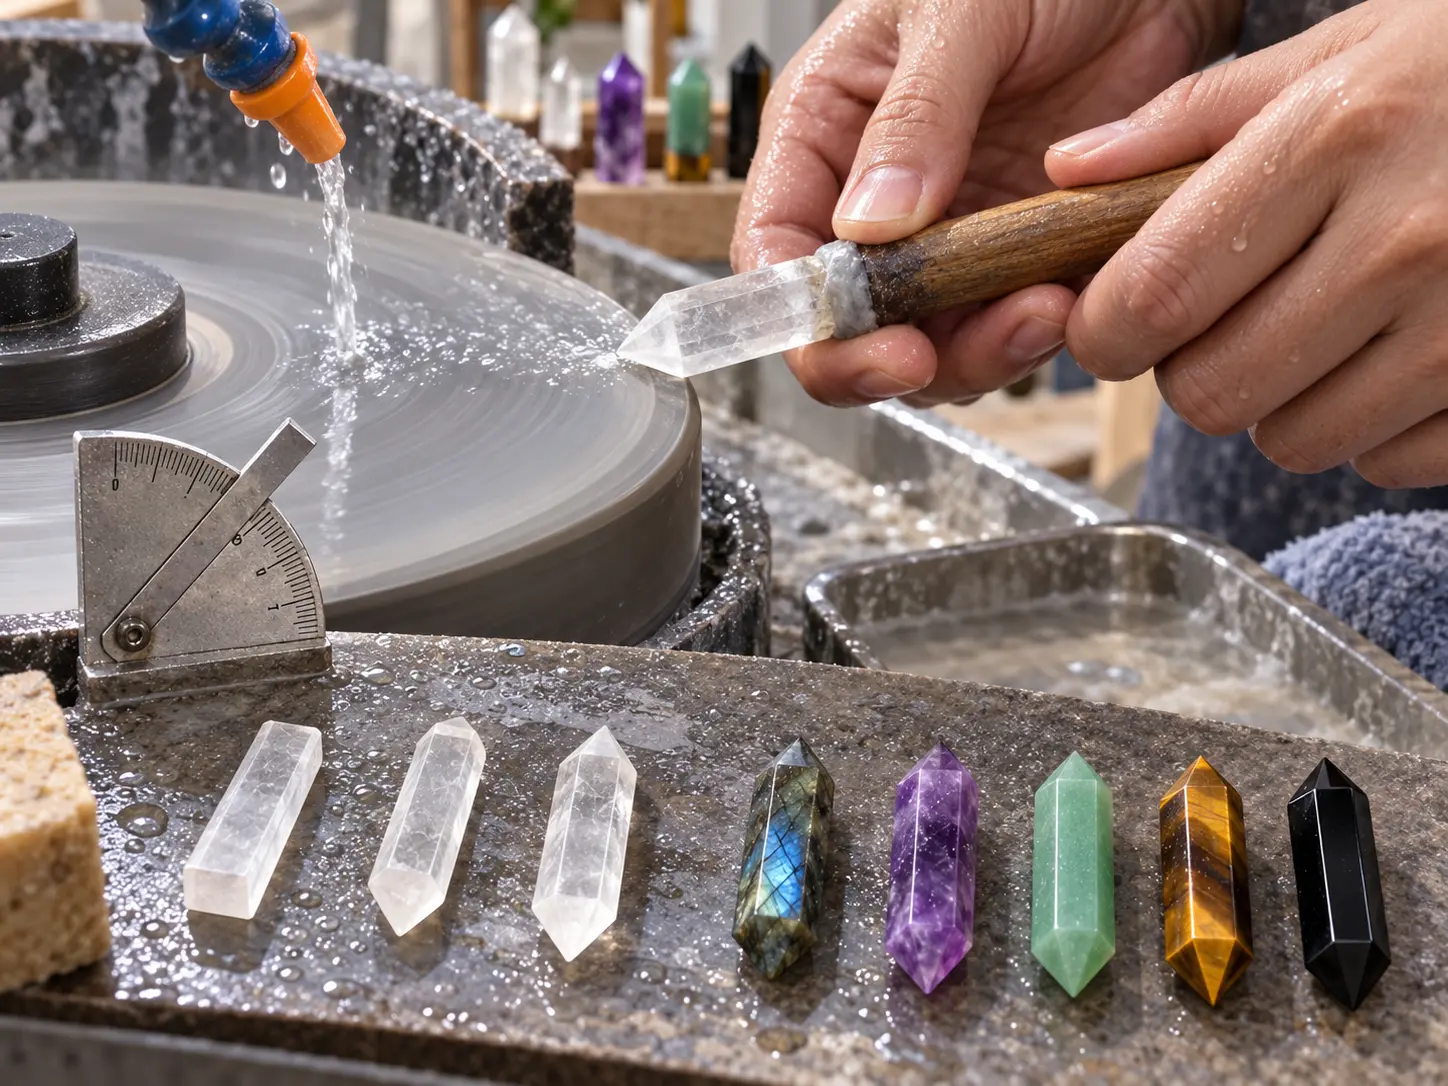
With the hexagonal prism body complete, grind the pointed tips at each end. Tilt the dop stick so the mineral blank contacts the grinding lap at approximately 45 degrees from the lap surface. This angle produces a natural-looking crystal point geometry. Grind the first facet of the tip, then rotate the blank 60 degrees and grind the next facet. Repeat for all six tip facets. Each tip consists of six triangular facets that converge to a single sharp apex point.
Grind one tip first, then remove the blank from the dop, flip it end-for-end, re-dop, and grind the second tip. The second tip is the one that will be covered by the bail cap, so it does not need to be as sharply pointed or finely finished as the visible display tip. Focus your best grinding work on the display tip that will be visible during pendant wear.
Step 4: Smoothing and Polishing All Faces
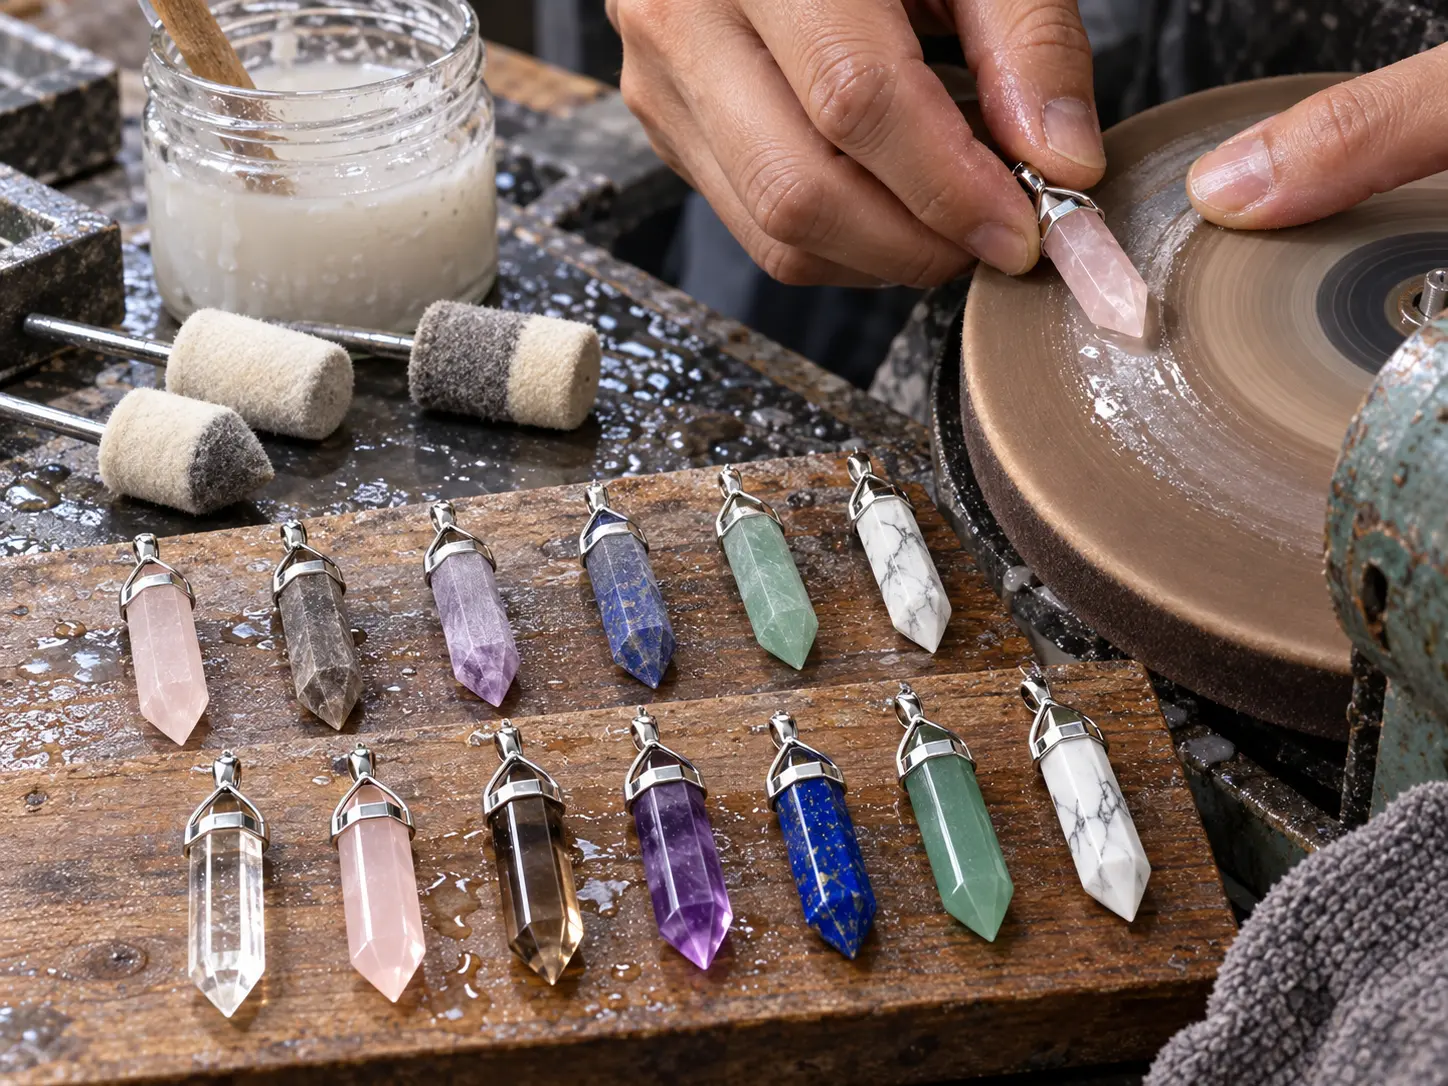
After both tips are ground, switch from the 180-grit lap to progressively finer grits. Work through 320 grit, 600 grit, and 1200 grit on each of the six prism faces and all twelve tip facets (six per tip). Each grit step should cover every ground surface completely before advancing. The 320-grit pass removes deep 180-grit scratches. The 600-grit pass reduces the surface haze. The 1200-grit pass prepares the surface for final polishing.
For the optical polish, apply cerium oxide slurry on a leather or felt lap. Run each face across the polishing lap with light, even pressure until the surface reflects light like glass. For softer minerals like lapis lazuli, snowflake obsidian, and opalite, use 50,000-grit diamond paste on a leather lap instead of cerium oxide. The display tip facets should receive the same polishing treatment as the prism body faces.
Step 5: Attaching the Bullet Bail Cap
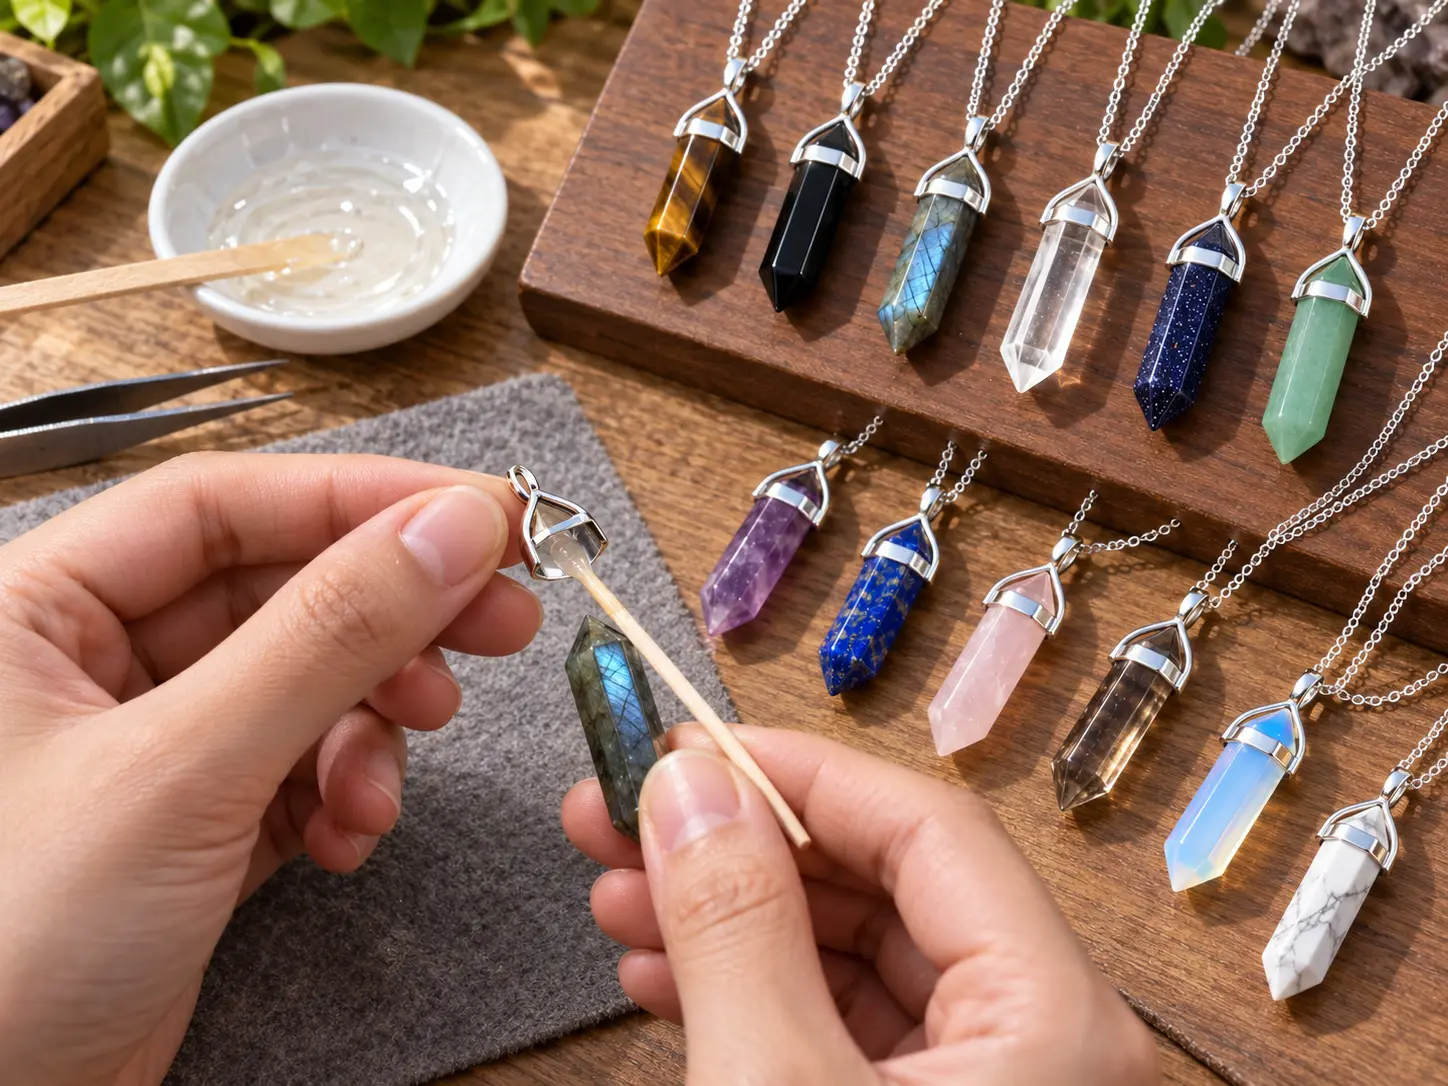
Select a silver-plated bullet bail cap sized to fit snugly over the bail-end tip of your crystal point. The cap should sit over the tip with its rim touching the first ring of hexagonal body faces. Clean the inside of the bail cap and the tip surface with isopropyl alcohol. Mix two-part stone-and-metal epoxy and apply a thin layer inside the bail cap. Press the cap firmly over the tip and hold steady pressure for the 5-minute initial cure. Allow 24 hours for full bond strength before attaching a chain through the bail loop.
For heavier mineral points (labradorite, lapis lazuli), apply a slightly thicker epoxy layer inside the cap for additional bonding strength. If the cap is too loose, wrap a single layer of thin copper foil tape around the tip before inserting it into the cap. The foil fills the gap and gives the epoxy more surface area to grip.
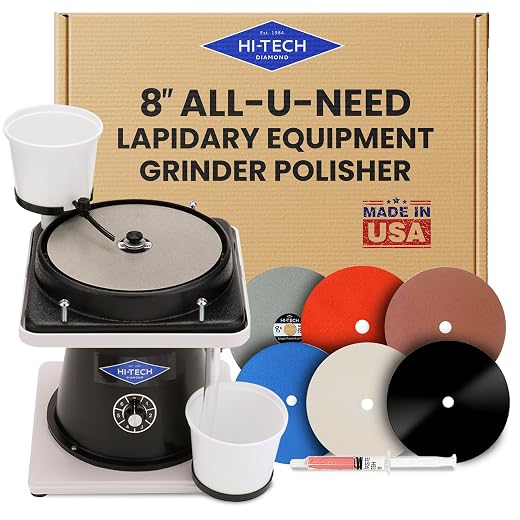
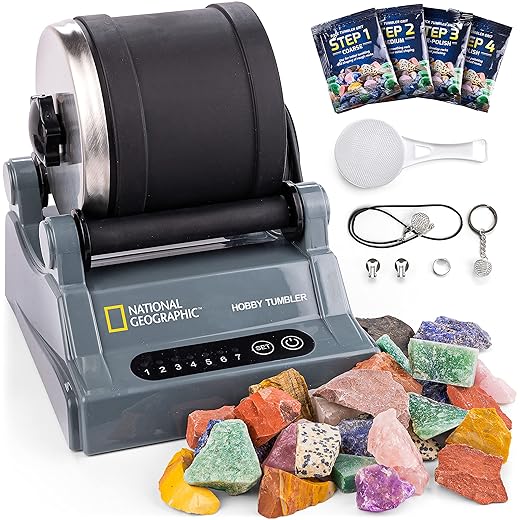
To polish hexagonal faces to a vitreous glass luster with diamond paste, lap flat faceted planes, or tumble gemstone offcuts, here are top-performing flat lap machines, polishing compounds, and tumblers:

Troubleshooting Common Crystal Point Grinding Problems
Uneven Hexagonal Faces: If your hexagon looks lopsided, you ground some faces longer than others. The fix is to mark each face with a permanent marker before grinding. When the marker is fully removed, that face is ground flat. If one face is ground too deep, grind the two opposing faces slightly more to re-center the hexagonal cross-section.
Chipped Tip Apex: If the sharp tip point chips during grinding, your grinding pressure is too heavy or you are grinding against the tip direction. Always grind with the tip trailing (pulling the stone toward you across the lap), not leading into the lap surface. For brittle minerals, leave the apex slightly rounded instead of razor-sharp.
Scratches Visible After Polishing: Leftover scratches from a previous grit step are showing through. Return to the coarser grit (usually 600 or 1200) and re-grind that face thoroughly before re-polishing. Each grit step must fully eliminate all scratches from the previous step.
Bail Cap Detachment: The polished tip surface was too smooth for the epoxy. Roughen the tip area inside the cap zone with 320-grit sandpaper before re-gluing. Alternatively, score light crosshatch lines on the tip with a diamond scribe to provide mechanical grip for the adhesive.
For tips on stone finishing techniques, visit our how to make tumbled rocks shiny guide. Readers interested in other pendant styles can explore our gemstone heart pendant guide or our fluted heart pendant project. For stone selection basics, see our best rocks for tumbling reference and our rock tumbling beginners guide.
Frequently Asked Questions About How to Make a Crystal Point Pendant
What Angle Should I Grind the Tips When Learning How to Make a Crystal Point Pendant?
A 45-degree angle from the prism axis produces the classic natural crystal point look. Steeper angles (30 to 35 degrees) create longer, narrower tips that look elegant but are more fragile. Shallower angles (50 to 55 degrees) create stubbier, stronger tips better suited for soft or brittle minerals like opalite and snowflake obsidian.
How Long Does It Take to Grind One Crystal Point Pendant?
Plan for three to five hours of bench time from rough blank to polished and capped pendant. The hexagonal face grinding and tip shaping stages take roughly 90 minutes combined. Polishing all 18 surfaces (six prism faces plus twelve tip facets) adds another 90 to 120 minutes. With practice, total time drops to two to three hours per pendant.
Can Beginners Make Crystal Point Pendants Without a Faceting Machine?
Yes. A simple flat lap or even a diamond cabbing wheel combined with a dop stick is enough for crystal point grinding. You do not need a precision faceting machine. The hexagonal shape and pyramidal tips are ground freehand against the flat lap surface, rotating the dop stick 60 degrees between faces. A protractor taped to your bench provides the angle reference for tip grinding.
Which Minerals Are Easiest for First-Time Crystal Point Pendant Makers?
Red jasper and green aventurine are the best starter minerals. Both are Mohs 7.0, tough, affordable, and widely available as rough or slab stock. They grind predictably without chipping, take a clean cerium oxide polish, and produce attractive finished pendants. Avoid labradorite and amazonite for your first attempts because their cleavage planes can cause unexpected splitting during tip grinding.
 Love Rock Tumbling?
Have a question? Use the form above to submit your question or comment.
I love hearing from you and seeing what you made!