

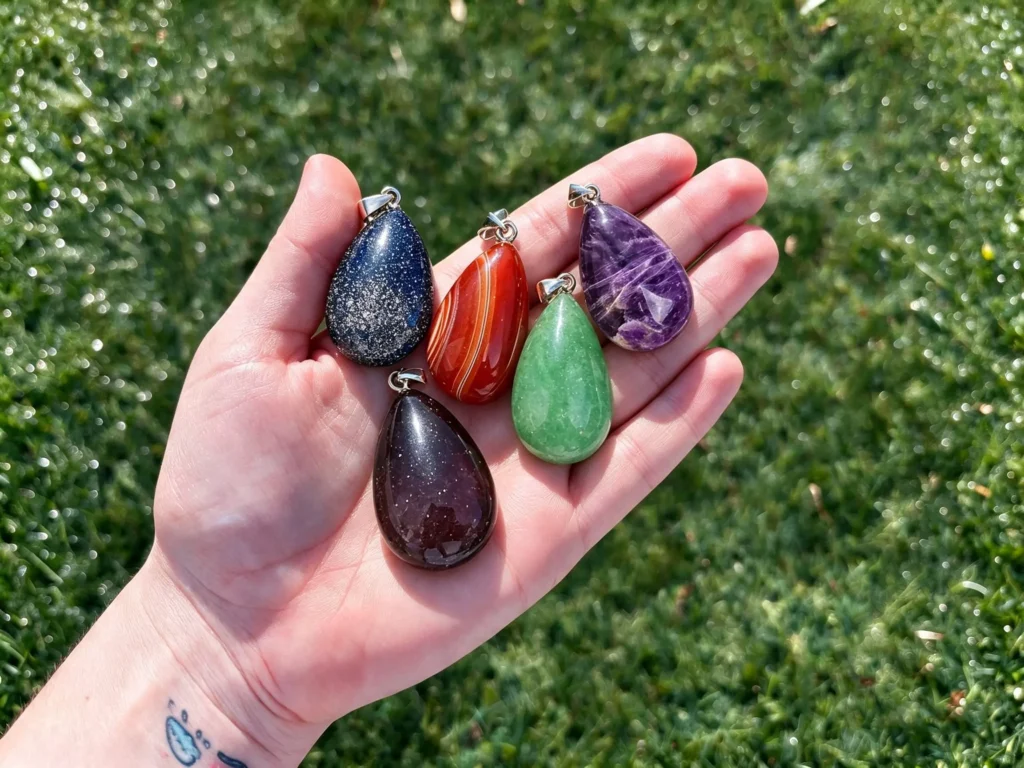
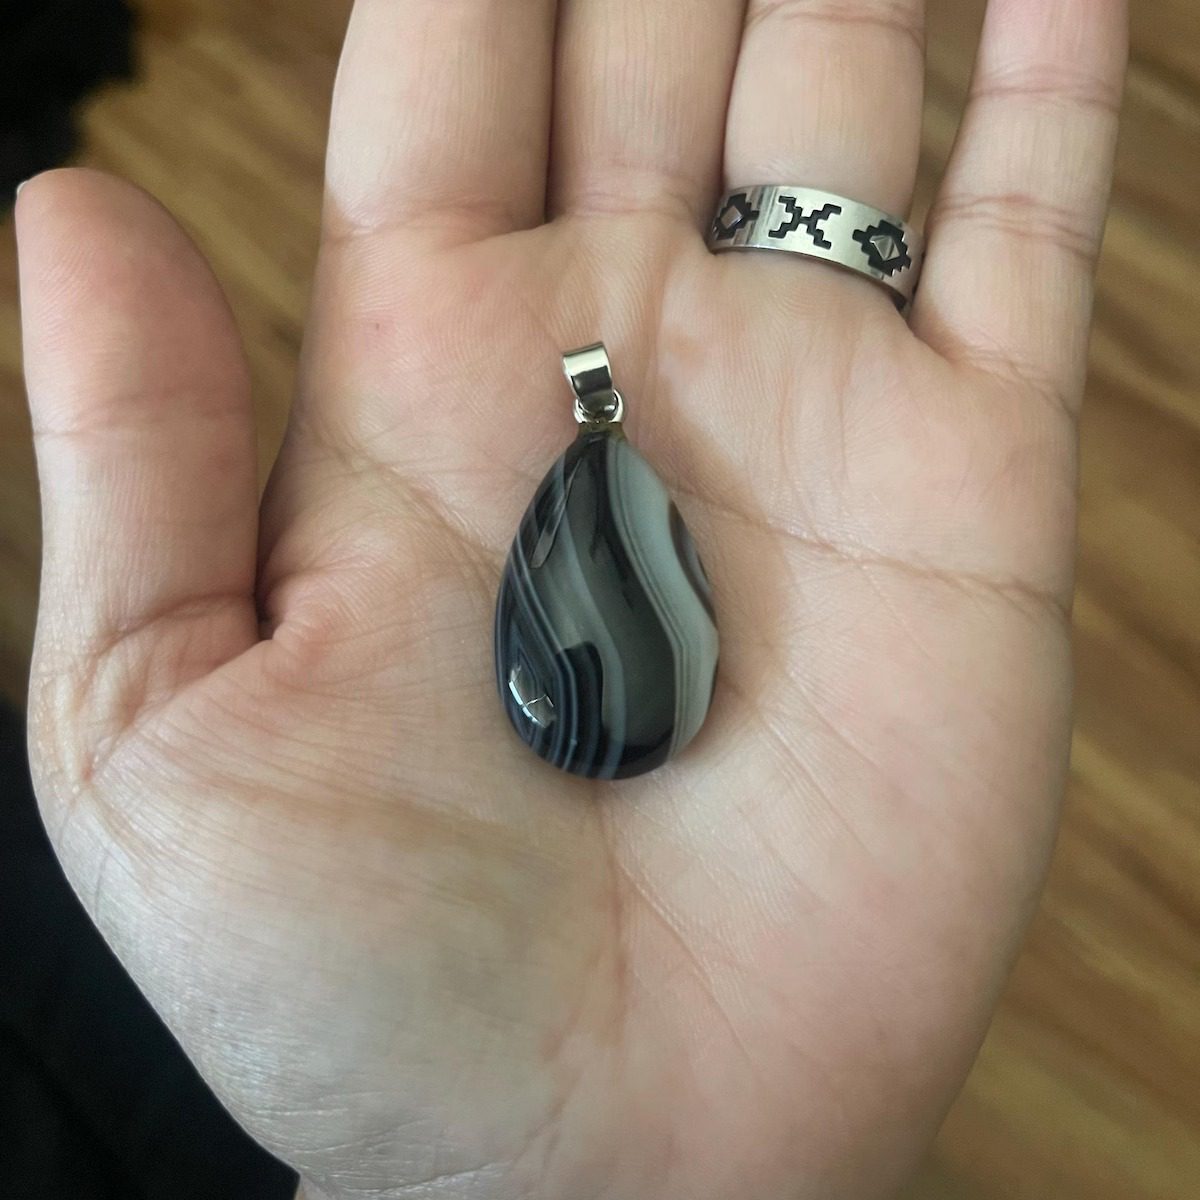
To learn how to make a teardrop gemstone pendant like the reference pieces, start with a blank at least 34 x 22 x 12 mm. Wet-cut and grind it to a symmetrical 32 x 20 mm teardrop, form a 10 to 11 mm polished profile, drill an approximately 1 mm top hole to suit your chosen hardware, and fit a compact silver-colored bail. Larger listing variants measure about 47 to 48 x 29 to 30 x 8 to 10 mm.
The procedure below focuses on the standard 32 mm pendant. It gives you measurable checkpoints rather than asking you to shape the stone by eye alone. You can match the silhouette, proportions, finish, and hardware closely, but you cannot duplicate a natural stone’s bands, inclusions, color zones, or weight exactly. The seller’s private tooling and production sequence are also unknown. Think of this as an exact dimensional reconstruction of the visible design, not a claim that two natural gemstones can become identical.
Key Takeaways
- Target a finished size of 32 mm long, 20 mm wide, and 10 to 11 mm thick.
- Make a reusable template with a centered tip, balanced shoulders, and a full rounded base.
- Keep the stone and diamond tools wet to control heat and silica-containing dust.
- Check symmetry after every grinding stage, not only before polishing.
- Drill an approximately 1 mm top hole only after measuring your chosen bail.
- Choose either a pinch bail with a transverse hole or a peg bail with a blind hole. The listing does not disclose which method the seller uses.
- Expect the finished weight to vary with the mineral and dome depth. The listing’s standard examples are about 8.2 to 15.7 grams.
Tools and Materials for a 32 mm Pendant
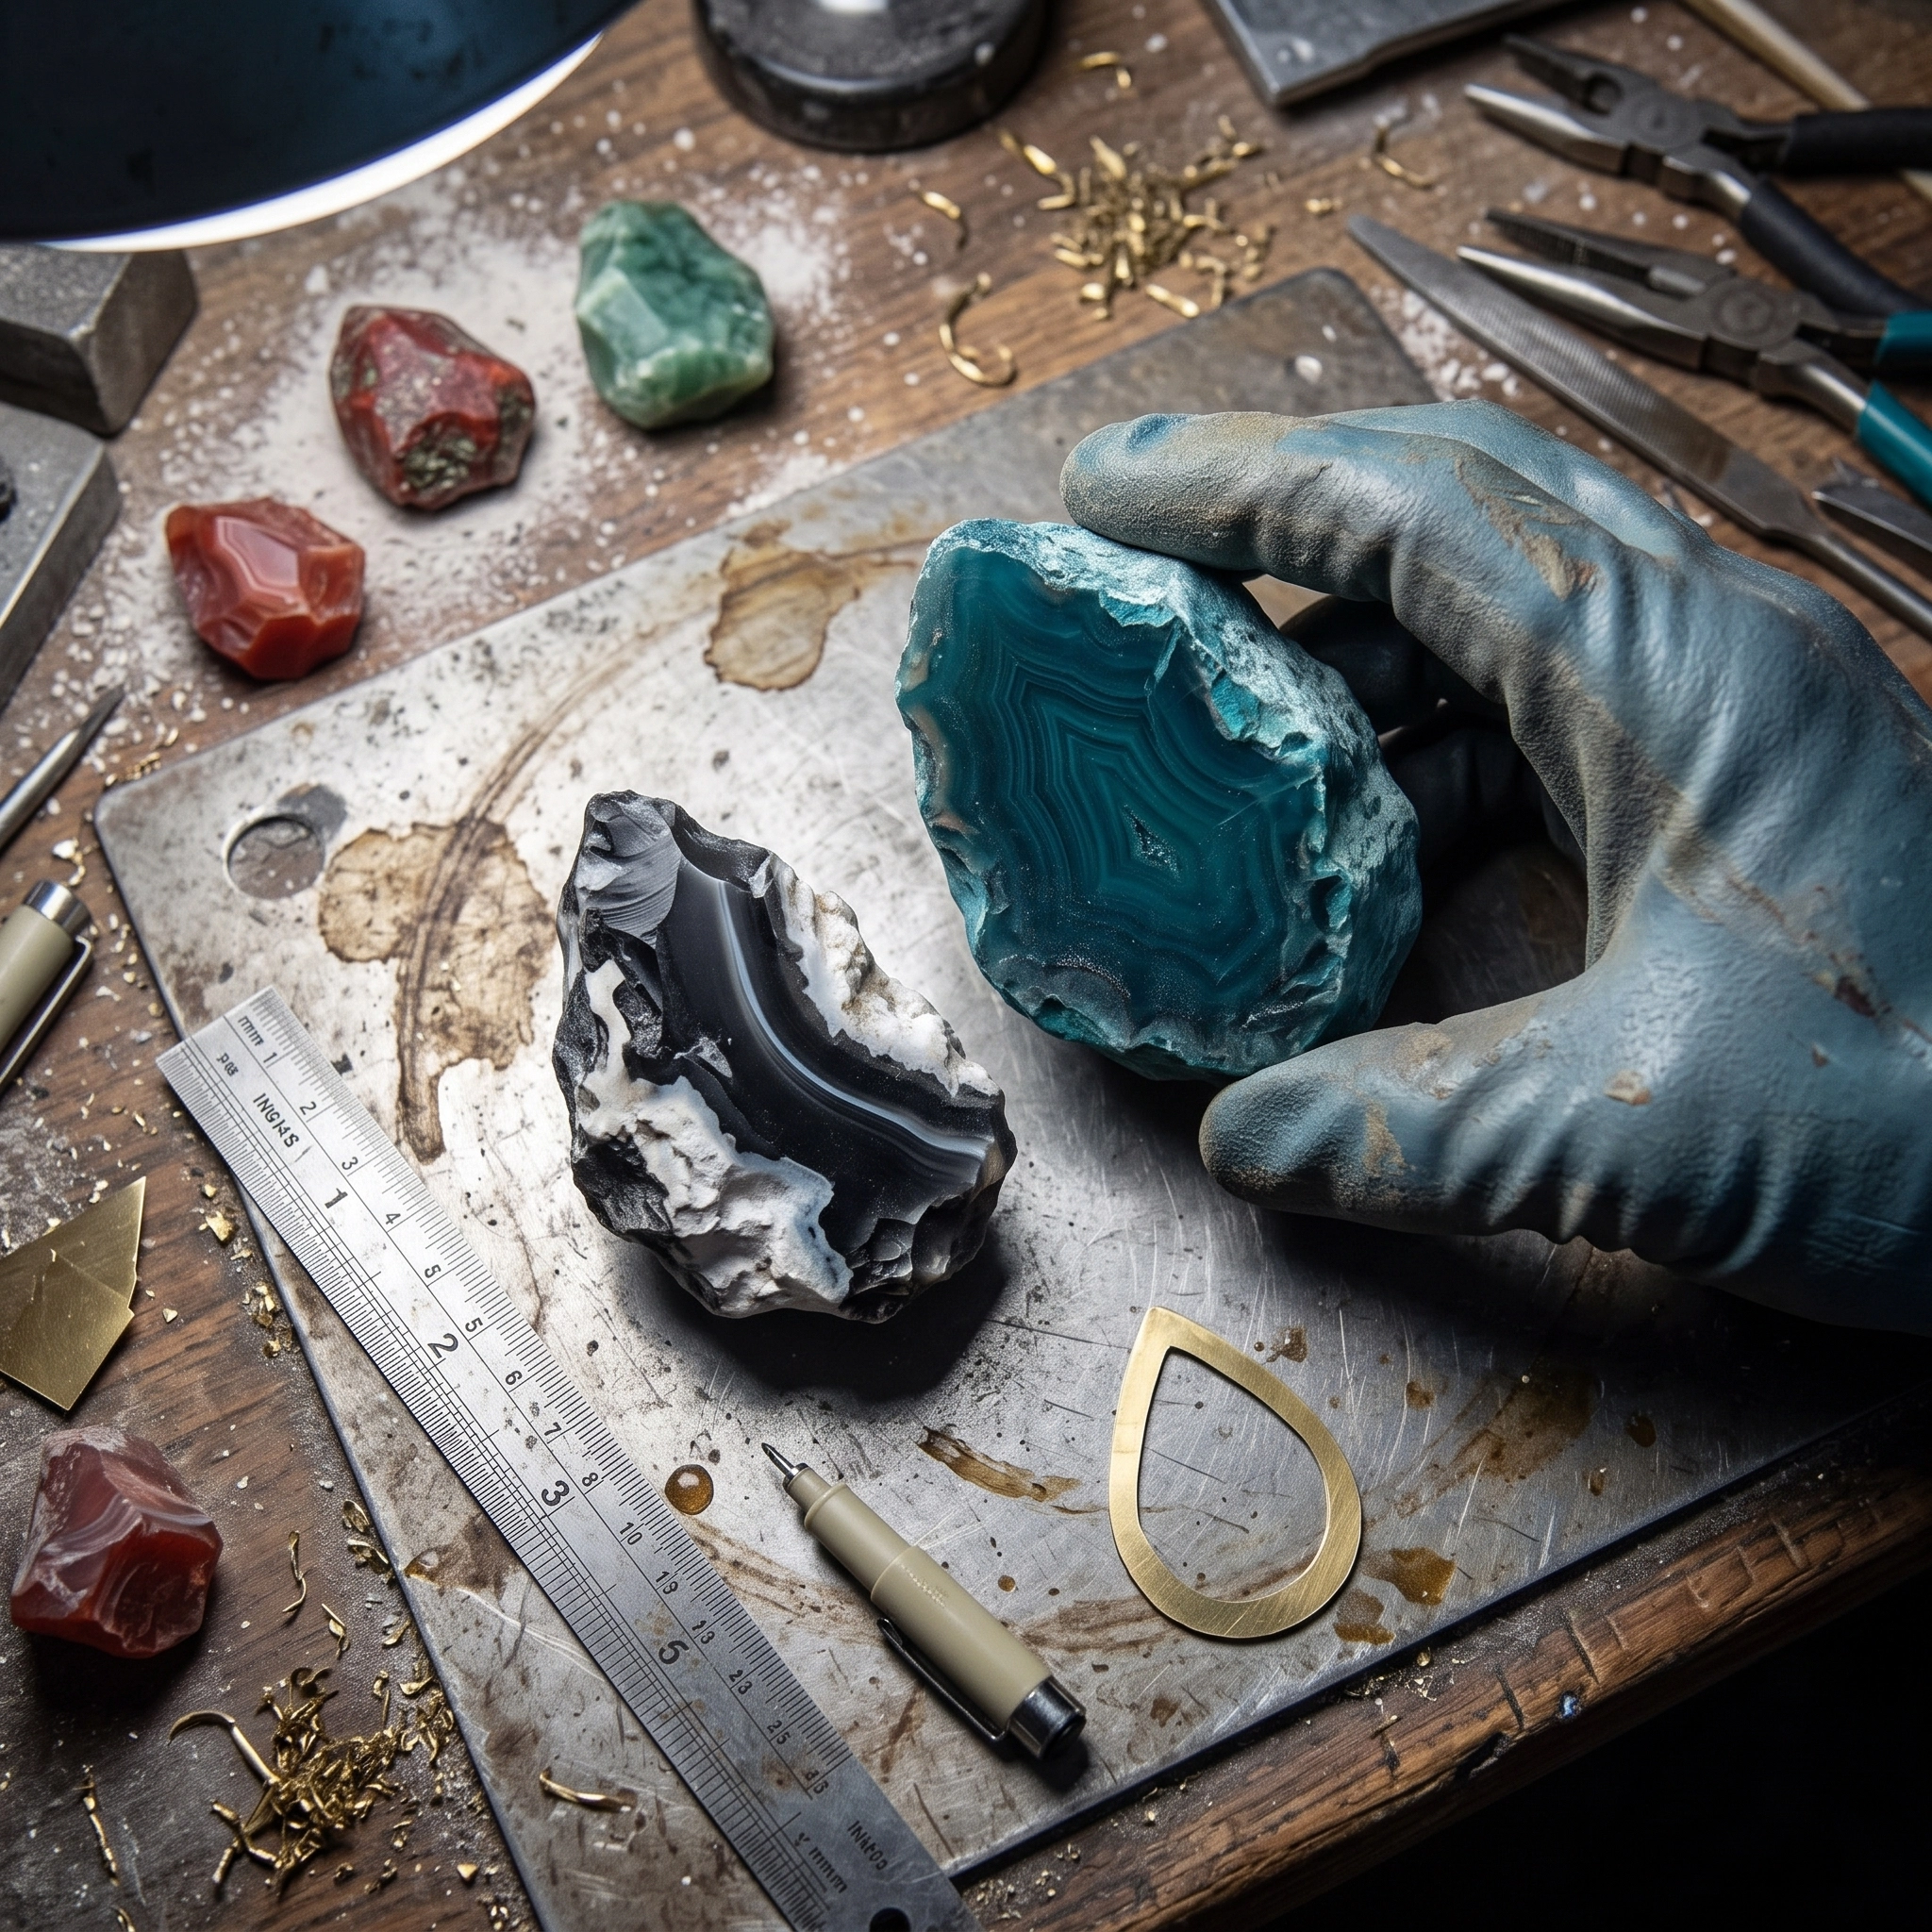
This is an intermediate lapidary project. If you have never shaped a cabochon, practice the outline on inexpensive jasper first.
| Item | What to use |
|---|---|
| Stone blank | At least 34 x 22 x 12 mm, sound and free of cracks near the top |
| Template supplies | Paper, thin plastic, fine permanent marker, ruler, and calipers |
| Cutting equipment | Water-fed trim saw with a diamond blade |
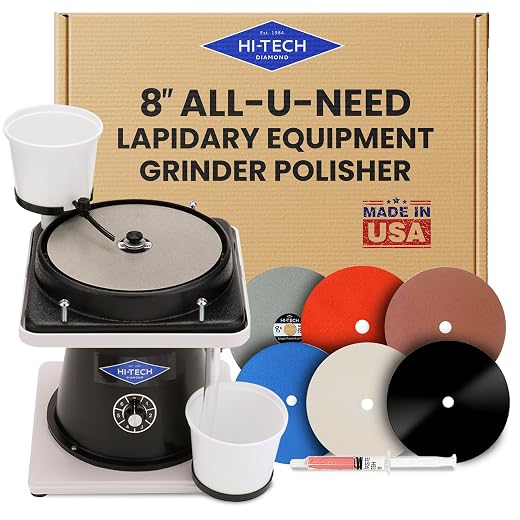
| Shaping equipment | Wet lapidary arbor or flat lap with coarse and medium diamond wheels |
| Sanding equipment | Progression such as 220, 600, 1,200, and 3,000 grit |
| Polishing equipment | Appropriate pad and polish for your stone species |
| Drilling equipment | Variable-speed flex shaft or drill press, 1 mm diamond bit, water reservoir |
| Hardware | Silver-colored pinch bail, or a peg bail with matching hole |
| Adhesive | Slow-curing two-part jewelry epoxy suitable for stone and metal |
| Safety equipment | Splash-rated eye protection, apron, hearing protection, and wet-work setup |
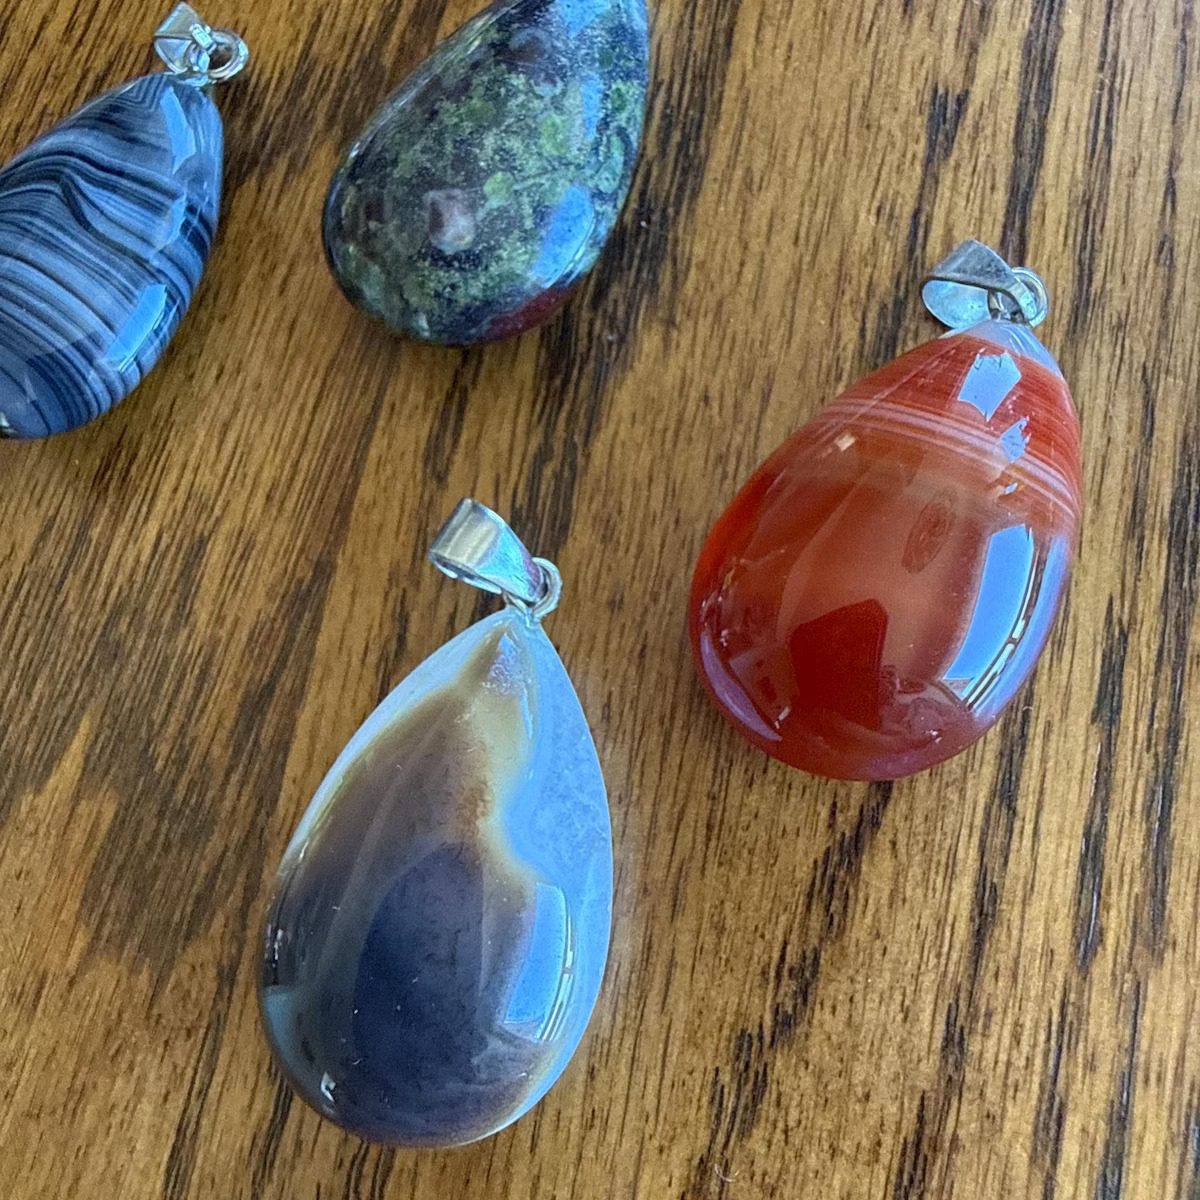
Choose sound agate, jasper, quartz, aventurine, tiger’s eye, amethyst, or unakite. Avoid cracks near the narrow top. GIA identifies goldstone as manufactured glass, not a natural gemstone. Opalite is an ambiguous trade name used for manufactured glass and other imitations; GIA has also documented a plastic imitation opal sold as Opalite. Identify material and known treatment from supplier disclosure, not appearance alone.
If you are new to rough, review the beginner’s guide to rock tumbling. Its lessons on fractures, hardness, and polishing behavior transfer well.
Wet-Work and Silica Safety
Never dry-grind silica-bearing stone. The CDC and NIOSH stone fabrication guidance explains the hazard and the role of wet controls. Keep tools wet, contain splashes, and clean slurry while damp. Never sweep dry residue or use compressed air.
Wear eye protection, keep electrical connections away from water, tie back hair, and remove loose clothing or jewelry. Do not wear loose gloves around rotating machinery. A respirator does not replace wet methods, ventilation, and careful cleanup.




How to Make a Teardrop Gemstone Pendant to Exact Dimensions
The finished silhouette is a plump pear shape, not a sharp triangular drop. At 32 x 20 mm, its length-to-width ratio is 1.6:1. The maximum width sits slightly below the vertical midpoint. From there, the sides curve inward evenly toward a narrow but rounded top that has enough material for the 1 mm hole.
1. Make the 32 x 20 mm Template
Draw a vertical centerline 32 mm long. Mark the widest horizontal line at 20 mm, placing it about 18 mm down from the top. Sketch one side of the teardrop: a gentle inward curve from the top, a fuller shoulder through the widest point, and a smooth semicircular base. Fold the paper on the centerline and cut both halves together so they are mirror images.
For repeated use, transfer the shape to thin plastic. Mark a 2 mm rounded platform at the top for stable drilling. Confirm the template with calipers.
2. Orient the Pattern and Trace the Preform
Wet the rough to preview its color. Rotate the template until bands, color zones, or tiger’s-eye fibers complement the long axis. Keep fractures, vugs, and soft seams away from the narrow top.
Trace the template with a fine marker. Add a second cut line 1 to 2 mm outside the final outline. Also mark the face you consider the front and draw the vertical centerline over the top edge. Photograph or sketch the orientation before sawing because water can erase the marks.
Natural markings will not match the listing exactly. Even slabs cut beside each other can show different bands. The reproducible parts are the 32 x 20 mm outline, the 10 to 11 mm profile, the centered hardware, and the polish quality.
3. Saw a Controlled Teardrop Preform
Set the water-fed trim saw so the blade receives a steady coolant flow. Make a series of straight relief cuts outside the waste line rather than forcing the blade around the curve. Leave about 1 mm of material beyond the traced outline. Extra stock allows you to remove saw marks and correct small alignment errors during grinding.
Support the slab, feed slowly, and never twist it against the blade. Inspect the cut under bright light. Reject a preform if a crack reaches the planned drill area.
4. Grind the Outline and Restore Symmetry
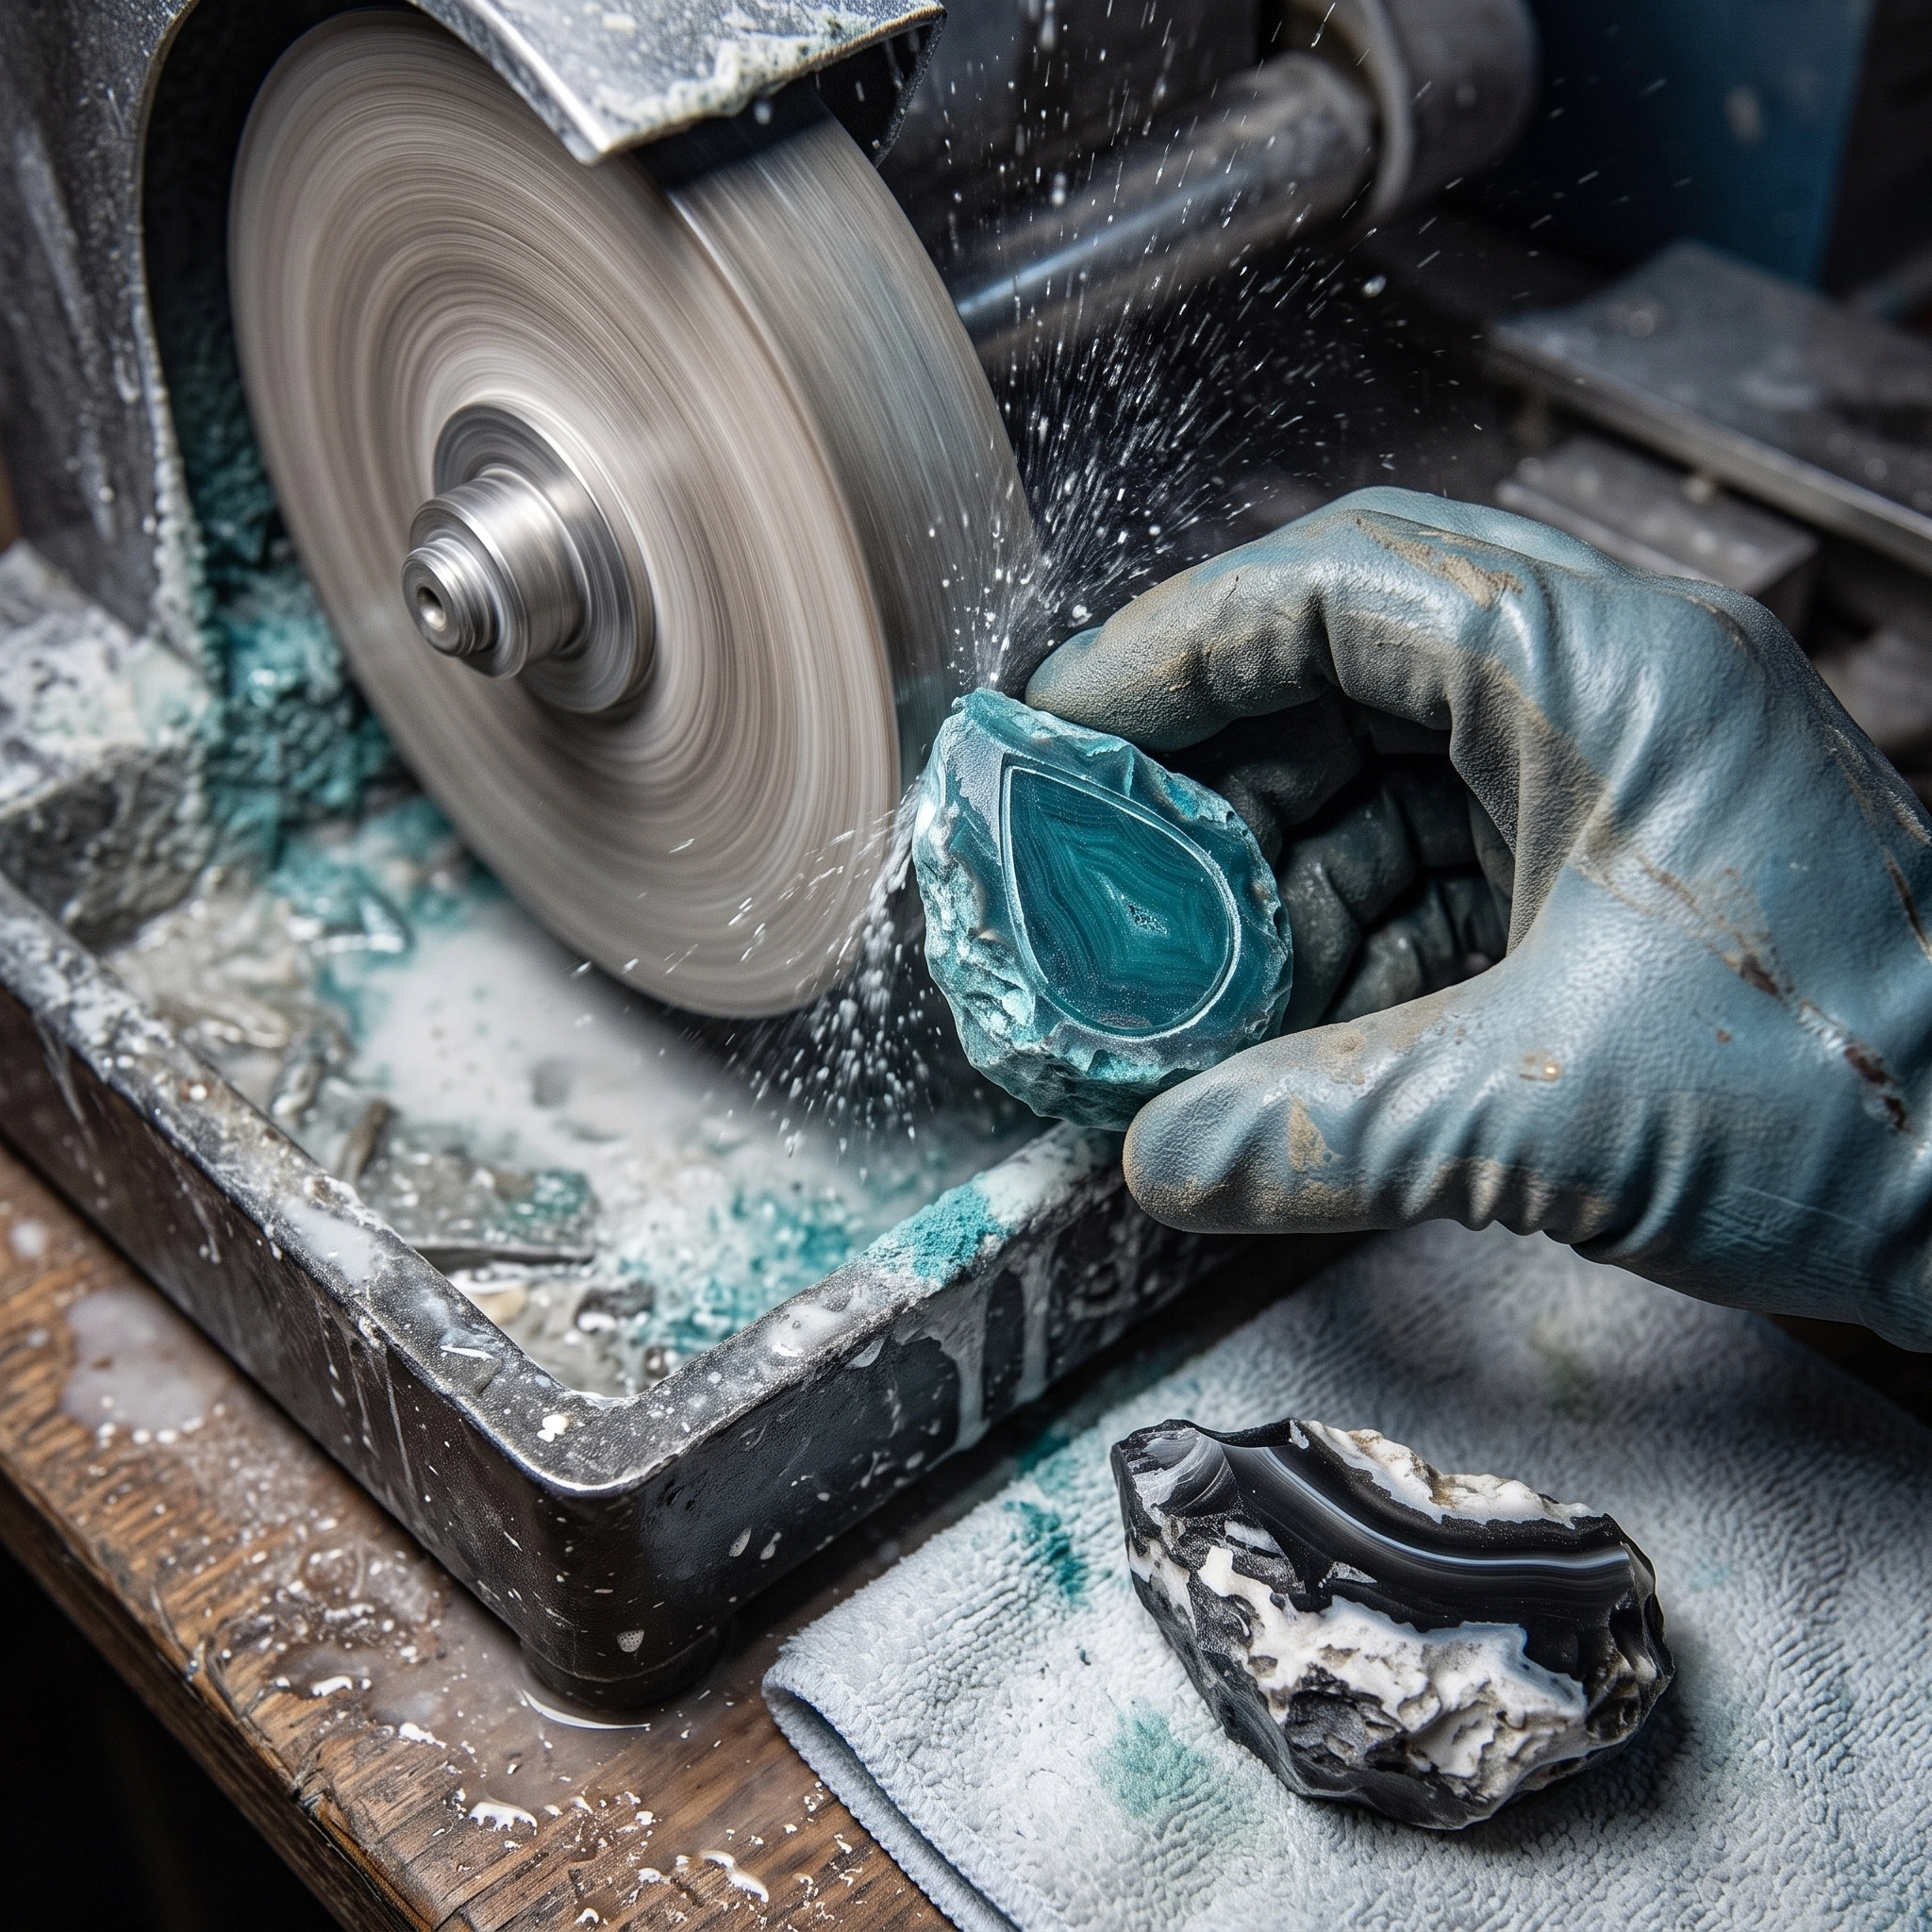
Use a coarse wet diamond wheel to bring the preform to approximately 32.5 x 20.5 mm. Work in short, alternating passes on the left and right sides. Keep the top centered over the vertical line and preserve the rounded base. Do not finish one side before starting the other because that makes asymmetry hard to correct.
Move to a medium wheel and reach 32 x 20 mm. View both faces against a bright background, then check four points:
- Overall length: 32 mm.
- Maximum width: 20 mm.
- Left half and right half at the widest line: about 10 mm each.
- Top platform: centered and about 2 mm wide.
This amethyst rose carving tutorial also shows why preserving reference marks matters.
5. Create a Practical 10 to 11 mm Domed Profile
The listing confirms the total thickness but does not show a measured side or rear profile. A balanced double dome is a practical reconstruction choice. Mark a girdle line around the edge at half the stone’s thickness. Then draw an inner guide on each face about 2 to 3 mm inside the outline. On a coarse or medium wet wheel, bevel from the inner guide toward the girdle. Rotate the piece continuously so you create many small facets instead of a few deep flats.
Blend those facets into one continuous convex surface. Repeat on the back, removing similar amounts from each face. A standard pendant should finish 10 to 11 mm thick at its highest point, with a soft edge and no sharp girdle. Preserve slightly more thickness near the top to support drilling. View the stone from the side: the front and back arcs should appear balanced, and the highest points should sit near the center.
For a flatter profile, use a shallower back dome while staying within the stated thickness. Never weaken the top merely to deepen the dome.
The controlled curve work resembles the smoothing stage in the DIY gemstone worry stones guide, although this pendant needs a more precise outline and a drill-ready top.
How to Make a Teardrop Gemstone Pendant Without Flat Spots
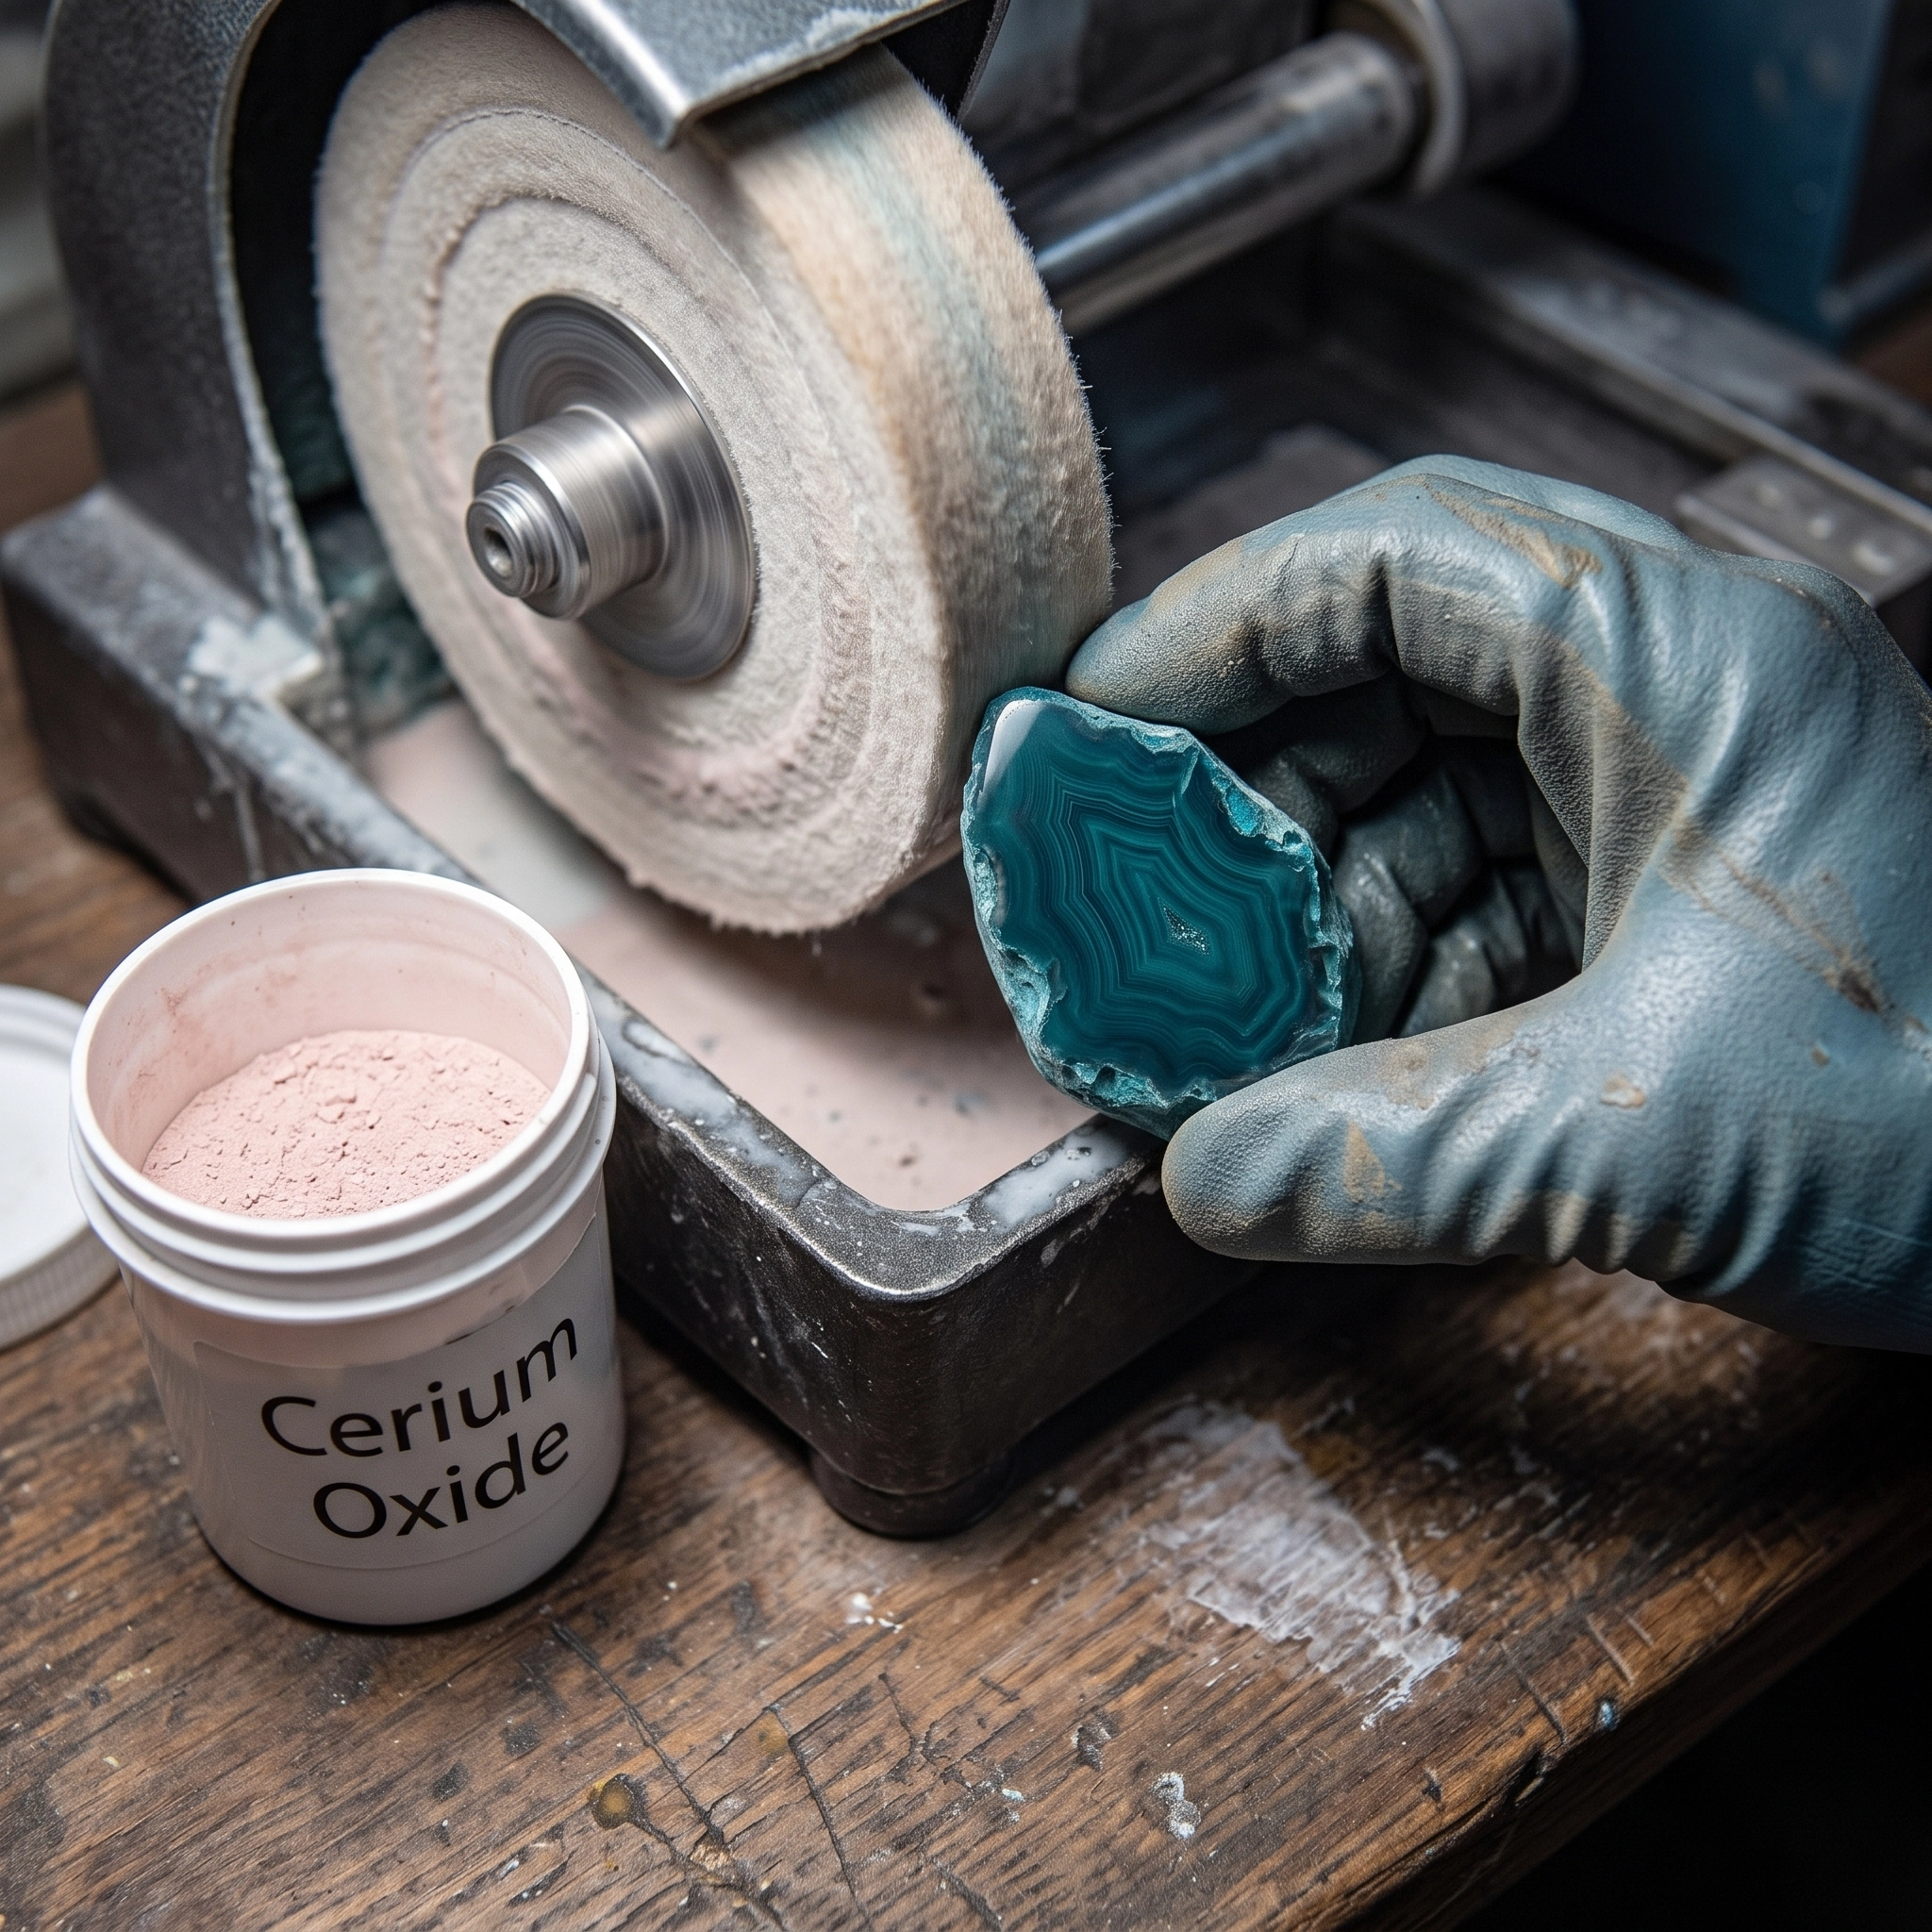
Flat spots form when the stone stays in one wheel position. Use light pressure and rotate through the curve. At each grit, dry the stone, inspect it under raking light, pencil over defects, and sand until the marks disappear.
Work through 220, 600, 1,200, and 3,000 grit, or follow your equipment guidance. Clean everything between grits because one coarse particle can undo several stages.

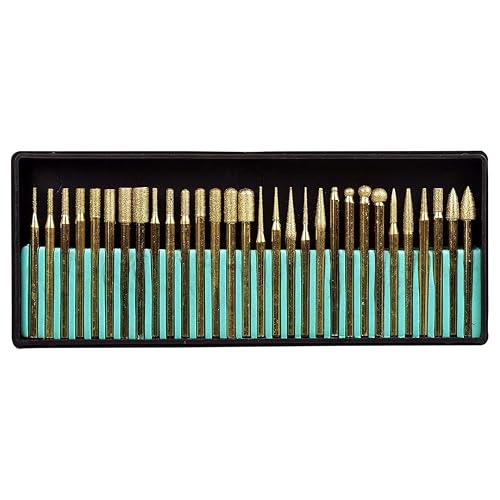

Drill the 1 mm Top Hole for the Bail
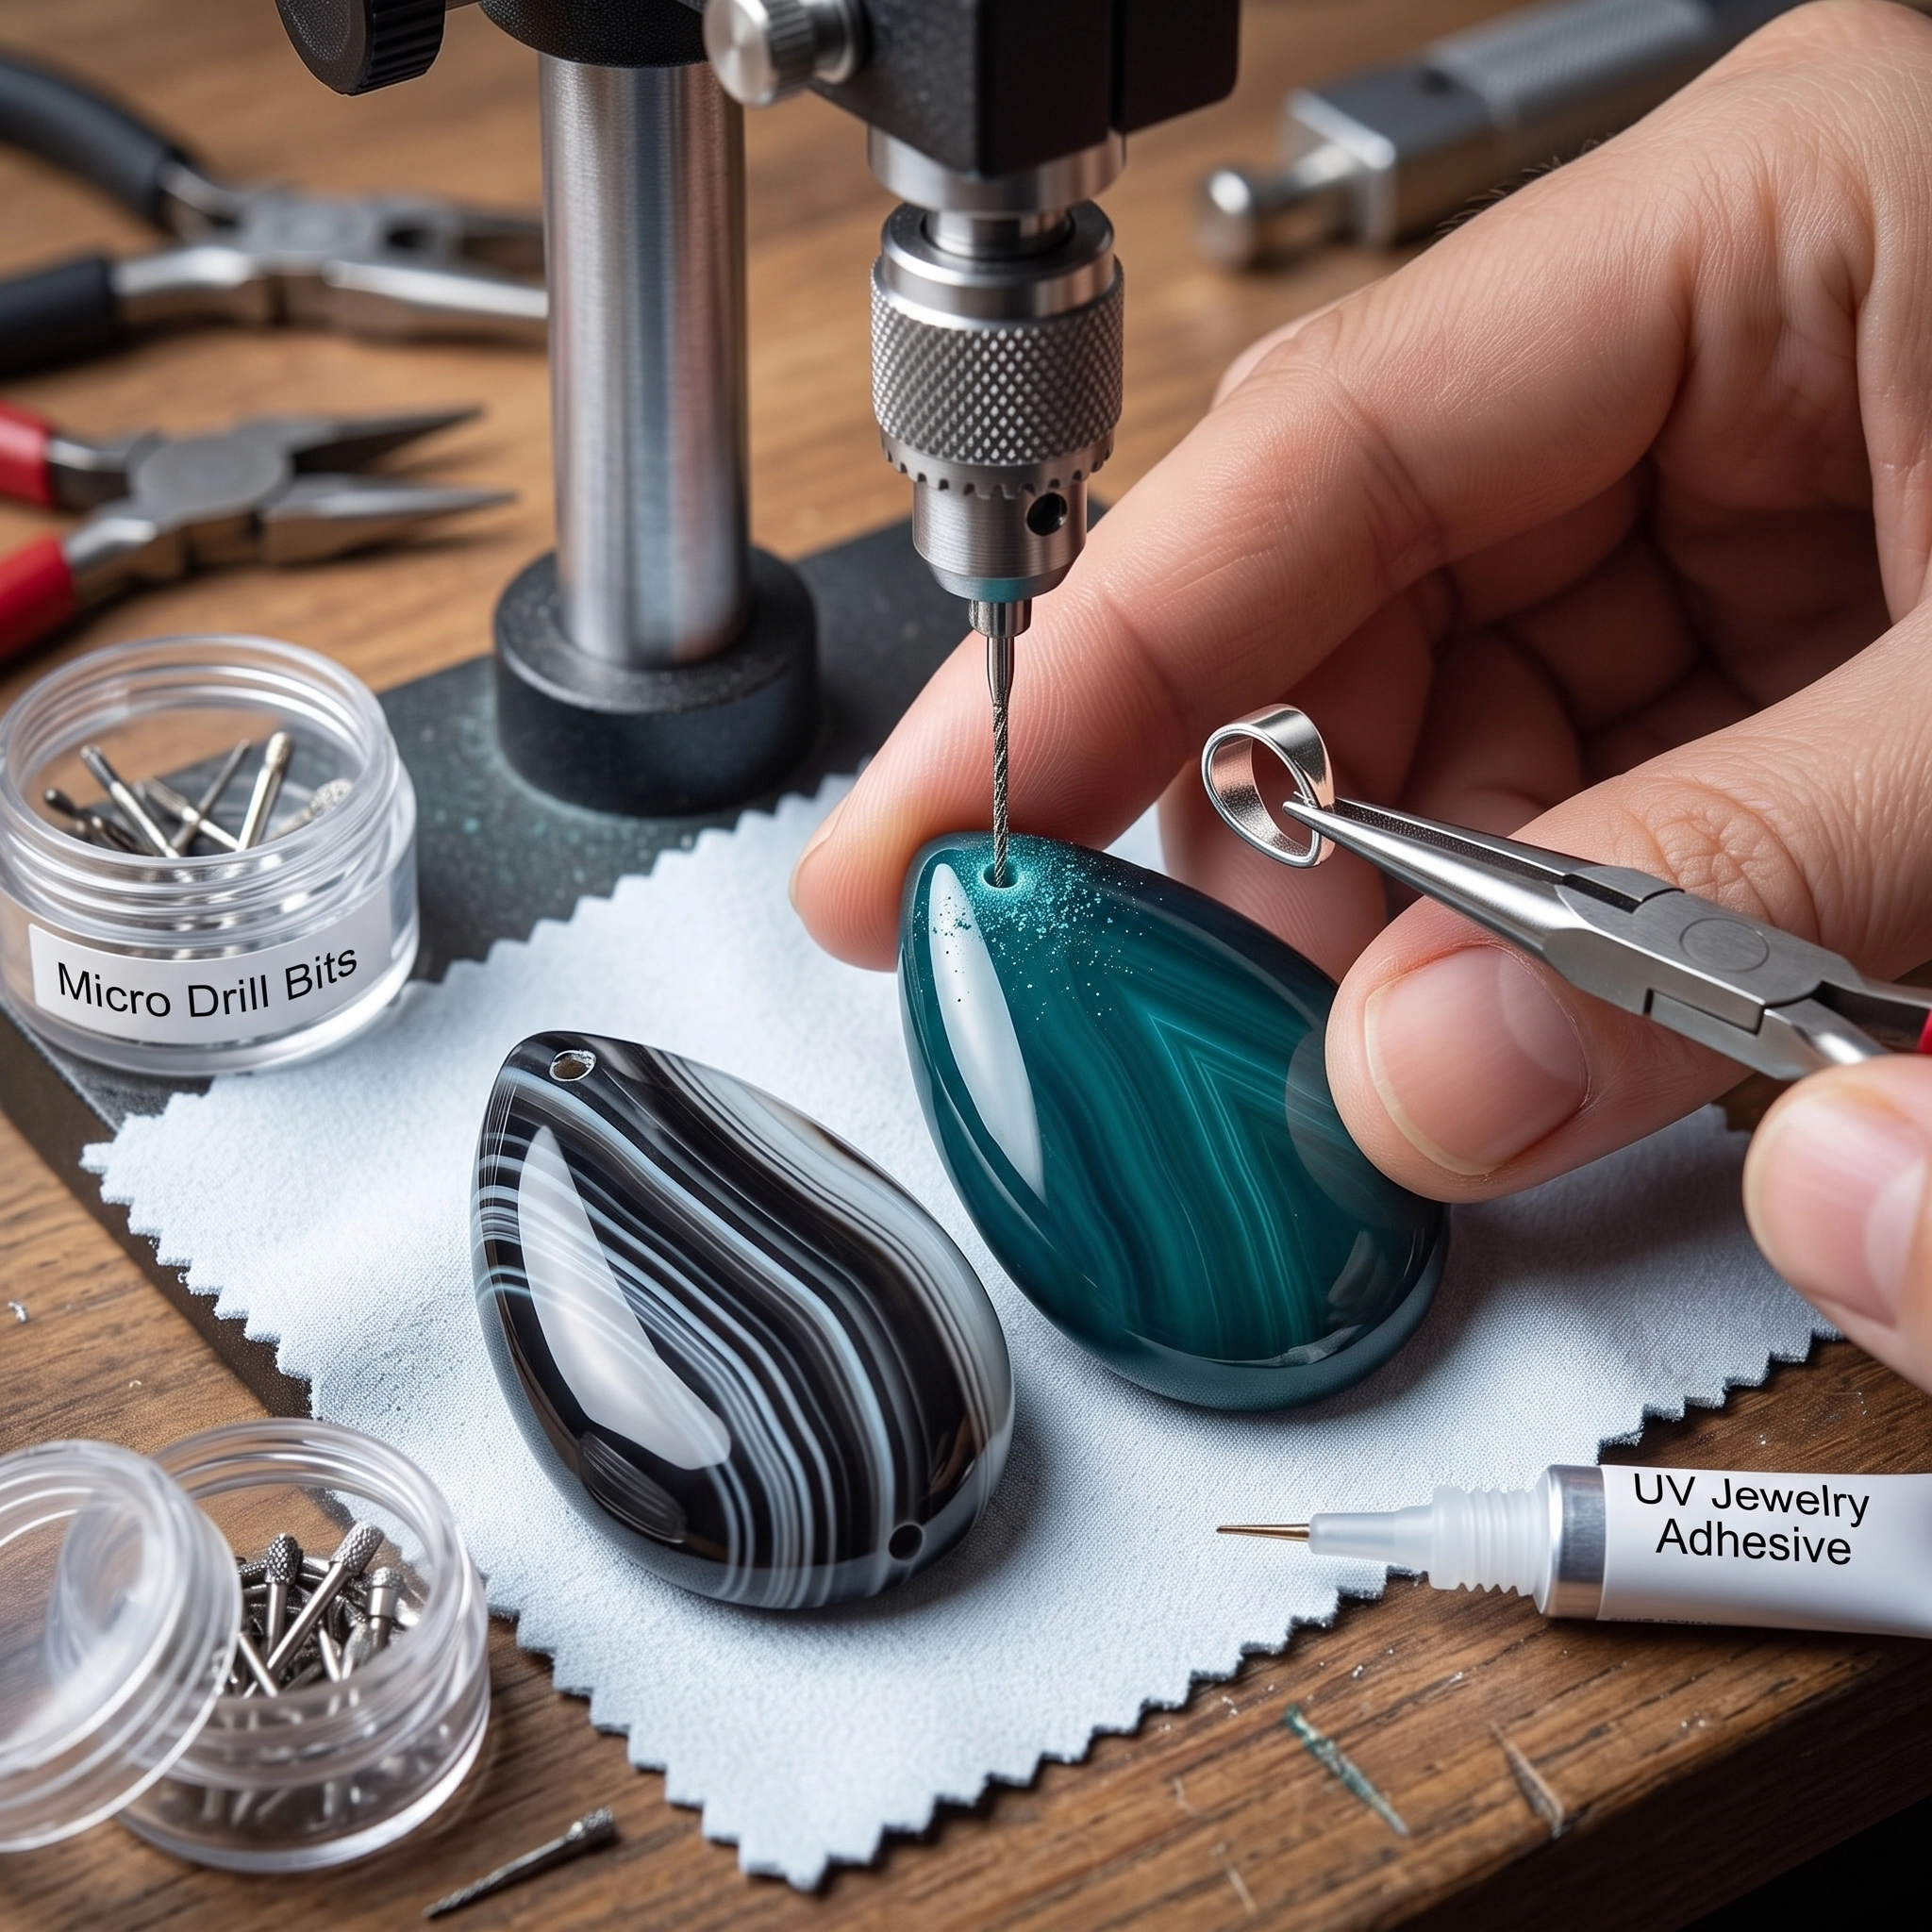
Drill after fine sanding but before final polish so you can remove minor drill marks. Measure the chosen hardware first. The photographs show a small silver-colored cap or bail, but they do not reveal the hole direction, metal, prong or peg geometry, adhesive, or attachment method.
For a pinch bail, drill a transverse 1 mm through-hole across the narrow top. Mark both sides from the centerline, secure the pendant in a padded fixture, and drill wet at controlled speed. Drill about halfway from one side, then meet the hole from the other side to reduce exit chipping. The Rio Grande stone-drilling instructions illustrate controlled diamond drilling in stone and glass.
If your actual hardware has a straight peg, drill a vertical blind hole from the top only slightly deeper than the measured peg while preserving solid stone beneath it. Stop well before reaching the face. Either route can create the visible compact-bail look; neither can be confirmed as the seller’s method from the listing.
For either route, keep the bit continuously wet, use a gentle pecking motion, clear slurry often, and never use hammer mode. If the stone heats, stop and let it cool naturally. Rinse the hole and dry-fit the bail. It should sit squarely without rocking or forcing the stone.
Polish and Install the Silver-Tone Bail
Finish 3,000 grit sanding, then use the polish recommended for your mineral and machine. The CabKing lapidary instructions show a conventional wheel and polishing workflow. Remove every sanding scratch before polishing.
Polish both faces, the edge, and the area beside the top platform. Keep the stone moving and avoid excess heat. Wash away all polish residue, especially inside the hole. Let the pendant dry fully, then wipe the bail peg and its contact area with isopropyl alcohol. Avoid flooding porous or treated material with solvent.
Dry-fit the bail again. For a pinch bail, close its prongs evenly through the transverse hole; use adhesive only if the hardware maker specifies it. For a peg bail, mix slow-curing two-part jewelry epoxy according to its label. This Fire Mountain bail guide compares common bail styles.
For a peg bail, place minimal epoxy inside the clean hole and on the peg. Align the loop with the centerline, remove squeeze-out, and support it during the full labeled cure. Do not add a cord early.

Measurable Final Inspection
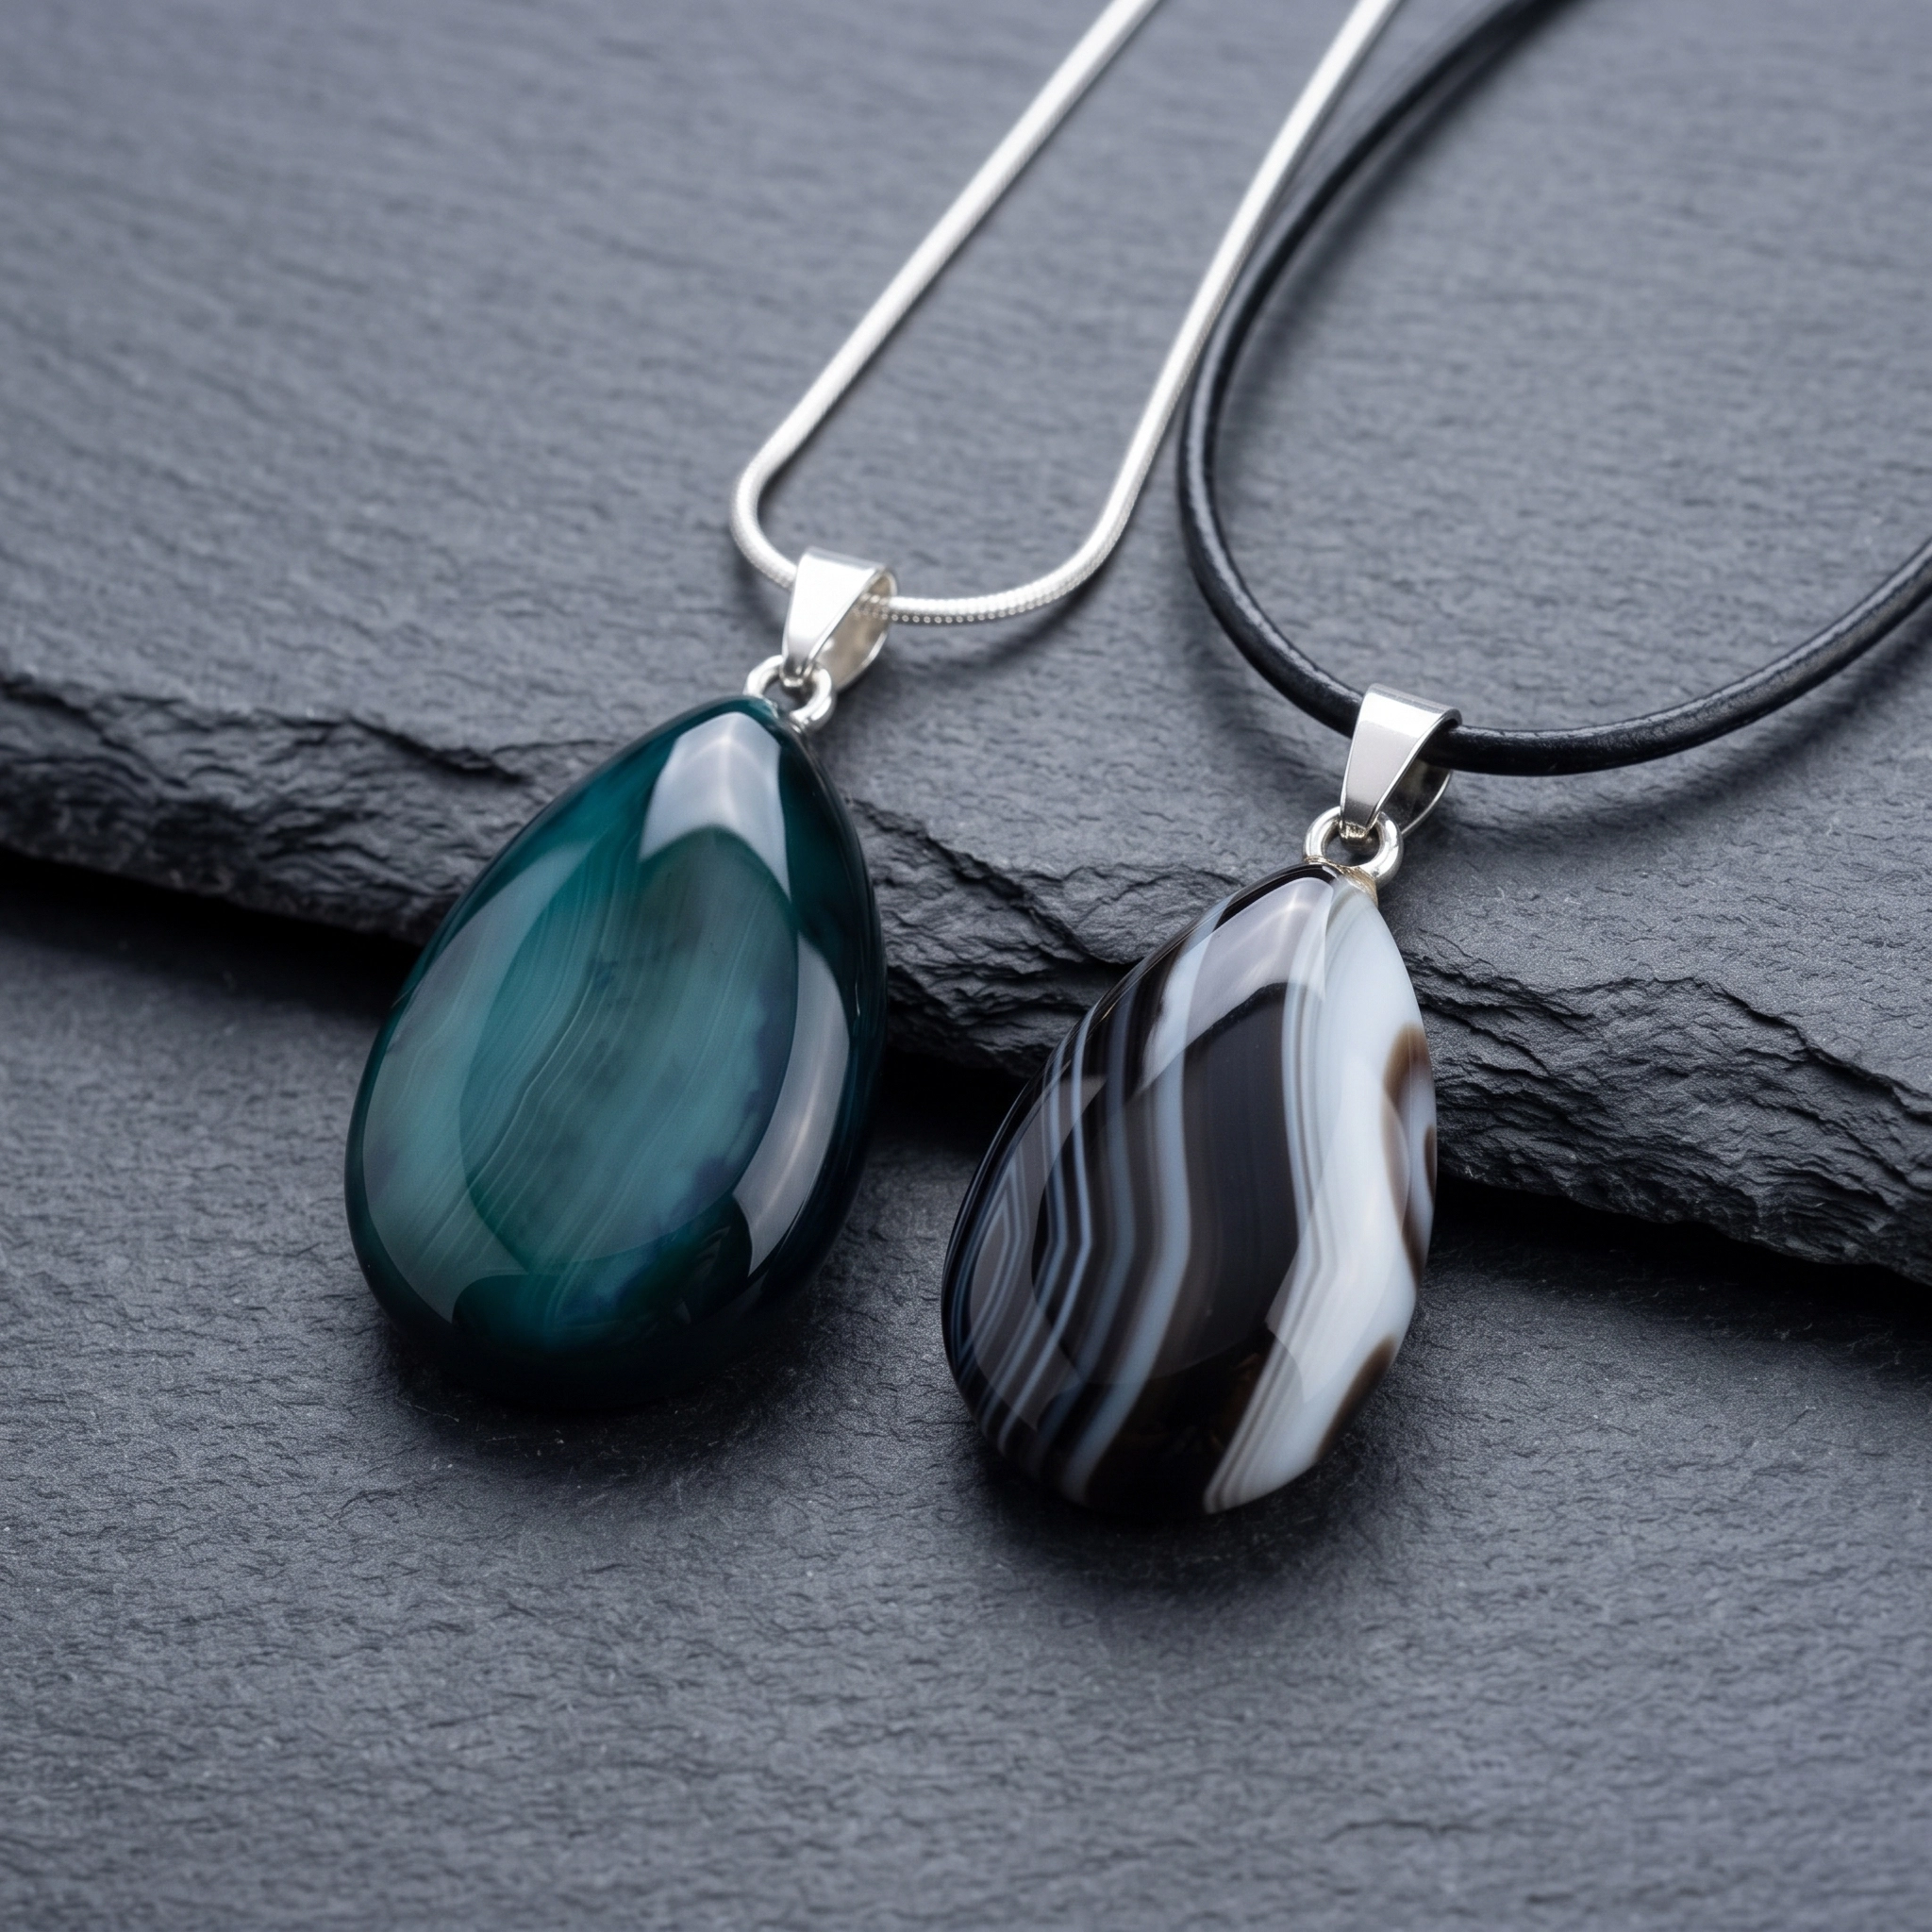
Gloss can hide poor geometry or weakness. Use this final checklist:
- Length and width: 32 x 20 mm, allowing only the tolerance you intentionally chose.
- Thickness: 10 to 11 mm at the highest point.
- Symmetry: centered tip, equal shoulders, and an even rounded base.
- Surface: no visible saw marks, coarse scratches, pits, or dull bands.
- Edge: comfortable, continuous curve with no sharp girdle.
- Hole: approximately 1 mm, straight, clean, and matched in direction and depth to the chosen pinch or peg bail.
- Bail: centered, fully seated, and free of visible adhesive.
- Weight: plausibly within about 8.2 to 15.7 grams for the standard size, with mineral density and dome depth explaining variation.
The crystal butterfly carving project and ocean jasper seahorse carving guide also demonstrate finishing narrow transitions before polishing.
Troubleshooting Common Problems
One side looks heavier. Redraw the centerline, measure both half-widths, and correct the fuller shoulder before refining the dome.
A flat patch remains. Return to the sanding grit that can remove it, feather the surrounding area, then repeat every later grit.
The top is too narrow. Shorten the pendant to create a new 2 mm platform, or choose a glue-on cap bail. Do not drill a fragile point.
The bit skates. Make a tiny starter dimple while the stone is supported and wet, then verify the angle from two directions.
The hole chips at the entrance. Use less pressure, refresh a worn bit, and maintain constant water flow. A bail cap can hide a minute cosmetic chip, but it cannot make a cracked top structurally safe.
The epoxy remains soft. Follow the manufacturer’s removal directions, clean the parts, and restart with a precisely measured batch. Never wear an uncured piece.
Frequently Asked Questions
Can the natural pattern match the Etsy pendant exactly?
No. Natural banding, inclusions, and color placement are unique. You can closely reproduce the listed size, teardrop proportions, double dome, polish, top hole, and silver-tone bail. You cannot reproduce the seller’s exact stone pattern or verify their undisclosed tooling from photographs alone. The original Etsy listing should be treated as the design reference, not as proof of a proprietary production method.
Should I drill before or after polishing?
Drill after fine shaping and sanding, then complete the last sanding and polish. If the bit leaves a small mark at the entrance, you can blend it without damaging an already perfect finish.
How do I scale the design to the 47 to 48 mm version?
Keep the same flowing silhouette, but use the dimensions given for that variant: about 47 to 48 mm long, 29 to 30 mm wide, and 8 to 10 mm thick. Make a separate template rather than enlarging by eye. Because the larger version can be thinner relative to its length, use light grinding pressure and inspect the top for cracks, chips, and overheating.
Is this the same process as making a heart pendant?
The cutting, doming, sanding, and polishing principles are similar, but the geometry is different. A heart requires a central cleft and two balanced lobes, while a teardrop depends on one centered tip and uninterrupted side curves. See the gemstone heart pendant tutorial for the shape-specific differences.
Make the First Pendant a Measured Prototype
The most reliable way to learn how to make a teardrop gemstone pendant is to treat the first piece as a measured prototype. Make the 32 x 20 mm template once, preserve the centerline through shaping, stop at the 10 to 11 mm profile, and dry-fit the chosen bail in the approximately 1 mm hole before adhesive touches the stone. Record the blank size, grit sequence, drilling method, polish, and finished weight so the next pendant is easier to reproduce.
Your finished piece can match the listing’s proportions and construction closely, but its natural pattern will still be its own. That is not a flaw in the reconstruction. It is the part of gemstone work that dimensions cannot standardize, and it is what makes a carefully cut pendant worth wearing.
 Love Rock Tumbling?
Have a question? Use the form above to submit your question or comment.
I love hearing from you and seeing what you made!