

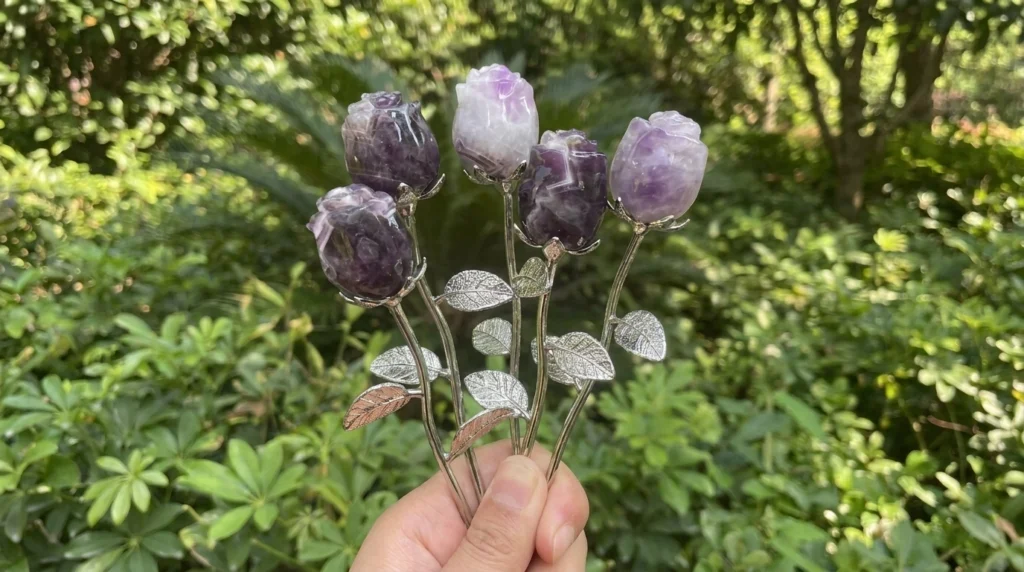
Amethyst rose carving turns a piece of purple stone into a small flower with overlapping petals and a polished surface. Add silver-colored stems, textured leaves, and a flared base, and you can build a lasting crystal bouquet for a shelf or a handmade gift.
The design here follows the visible features of LuminaCrystalsGoods’ amethyst rose listing: rounded stone rosebuds with layered tops and metal supports. The reference arrangement contains five flowers, mixing deep purple with pale lavender and white banding.
You can reproduce that shape, color palette, and arrangement. Natural veins will differ, and the seller’s exact tools, metal alloy, and attachment method are undisclosed. This is a proposed workshop method based on the visible design, not a tested build or the seller’s manufacturing instructions.
Project level: intermediate stone carving, plus basic metalworking. Start with one rose before committing to five. Allow several workshop sessions and the adhesive’s full curing period.
The listing names its material Dream Amethyst and gives dimensions of approximately 1 inch wide, 6 inches high, and 1 inch deep. Treat these as the listed item’s dimensions, not a measured drawing of the stone head. The title specifies one piece; the five-flower arrangement is the project we are recreating here.
Choose solid amethyst rough with purple and milky-white areas. Ask the supplier about treatments and whether the material is suitable for carving. Inspect wet and dry under a bright light: avoid open cracks, crumbly edges, and fractures running through the future petal crown. A decorative band can improve the design; an open seam can cause a petal to detach.
According to GIA’s amethyst guide, amethyst is purple quartz with Mohs hardness 7. That makes diamond abrasives appropriate, but hardness does not prevent thin edges from chipping.
For a first layout, sketch a bud about 22–25 mm wide and 28–32 mm tall. These are suggested workshop dimensions, not measurements taken from the listing. Select rough several millimeters larger on every side. Adjust the finished size to your metal cradle before cutting detailed petals.
Keep four design features consistent across the bouquet:
- An upright, rounded bud: slightly fuller through the upper middle, tapering toward the metal cup.
- A layered crown: overlapping petal lips around a small central curl.
- A smooth lower body: broad polished surfaces showing the stone’s bands.
- A balanced arrangement: one higher flower, two middle flowers, and two lower flowers, with leaves between them.
For the photographed palette, set aside roughly three darker pieces and two paler pieces. Rotate each blank until its most attractive band faces forward, then mark that face. Keep a small sketch beside each stone so you do not lose the orientation during shaping.
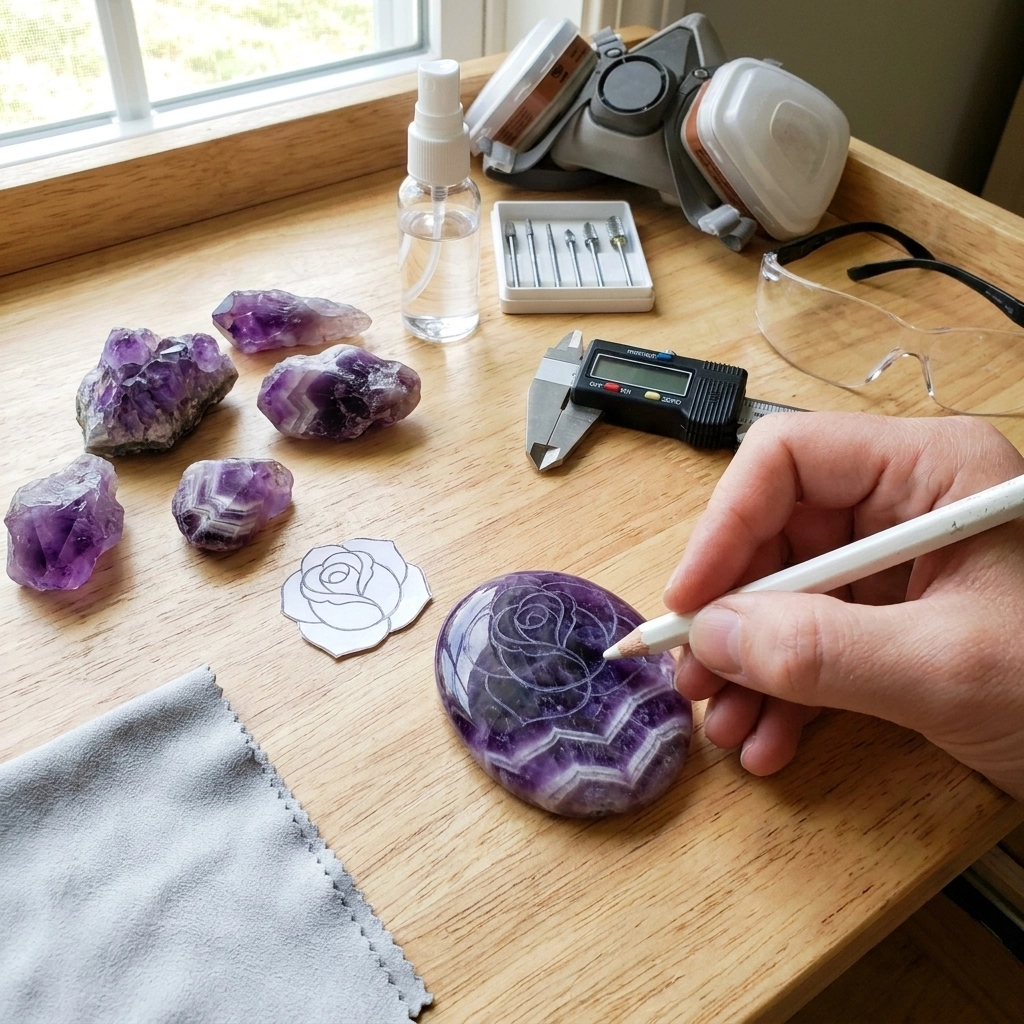




Gather Tools and Prepare Your Workspace
Use a lapidary workspace equipped for wet stone shaping. A general-purpose rotary tool does not become safe around water simply because a diamond attachment requires coolant. Follow the equipment maker’s instructions for the complete tool, handpiece, electrical supply, and splash control.
| Supply | What it does |
|---|---|
| Five sound amethyst blanks and one practice piece | Provide the flower heads and a trial surface for petals and polishing. |
| Wet-rated lapidary saw or access to a cutting service | Remove excess rough before detailed carving. |
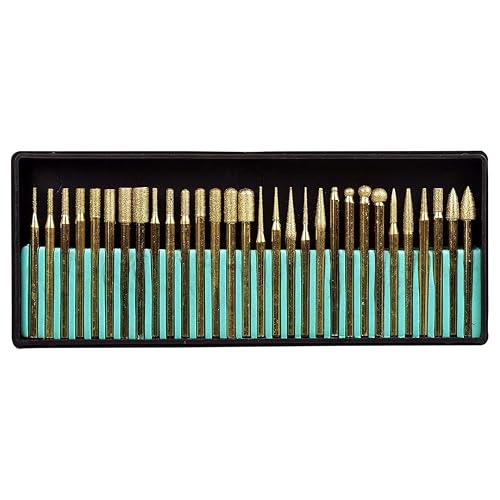
| Suitable carving machine and diamond burs | Use rounded or tapered profiles for shaping the body and petal recesses. |
| Small sanding points in successive grades | Reach the crown and remove scratches without flattening the petals. |
| Quartz-compatible polishing system | Finish the stone with dedicated pads or points for each abrasive. |
| Marker, calipers, magnifier, and padded workholding | Track dimensions and support the stone securely. |
| Metal stems, five calyx cups, leaf blanks, and a stable base | Create the bouquet’s supporting structure. |
| Stone-to-metal epoxy and assembly supports | Secure each head after the mechanical frame is complete. |
For the bolted frame described below, gather M3 threaded steel rods, matching nuts and washers, formable silver-colored craft metal for the cups, and metal leaves with attachment holes. M3 identifies a nominal 3 mm thread. You will also need appropriate snips, files, pliers, and a drill with a clamped workholding setup. This construction uses visible hardware; a metalsmith can make a smoother frame closer to the reference finish.
Amethyst grinding produces silica-containing material. Use suitable wet controls and local extraction where required; collect slurry before it dries. NIOSH’s silica guidance recommends dust controls and wet or HEPA-filtered cleanup. Do not dry-sweep residue or blow it away with compressed air. Respiratory protection, when needed, must be selected and fitted for the exposure; a loose face covering is not a substitute for controls.
Wear eye protection, contain splashes, and secure hair and loose clothing. Keep hands clear of rotating accessories and follow the machine’s glove guidance. Handle sharp sheet metal with suitable protection while the cutting tools are stopped. Mix and cure epoxy in a ventilated area using the protection specified on its safety sheet.
If this is your first stone project, practice broad curves before attempting a flower crown. Our crystal butterfly carving guide explains a simpler outline and the same progression from shaping to polishing.
Amethyst Rose Carving: Shape and Polish the Bud
1. Prepare Your Amethyst Rose Carving Blank
Draw the front and side profiles on the rough. Mark the crown, the widest part, and the bottom contact area. Leave a broad, solid lower end for the cradle; a narrow point creates a weak mounting location.
Trim only the accessible waste using equipment intended for the job. Keep the saw outside your marked line and grind down to the final outline afterward. Never twist the stone against a straight blade to force a curved cut. If your equipment cannot hold the blank securely, have a lapidary shop make the initial cuts.
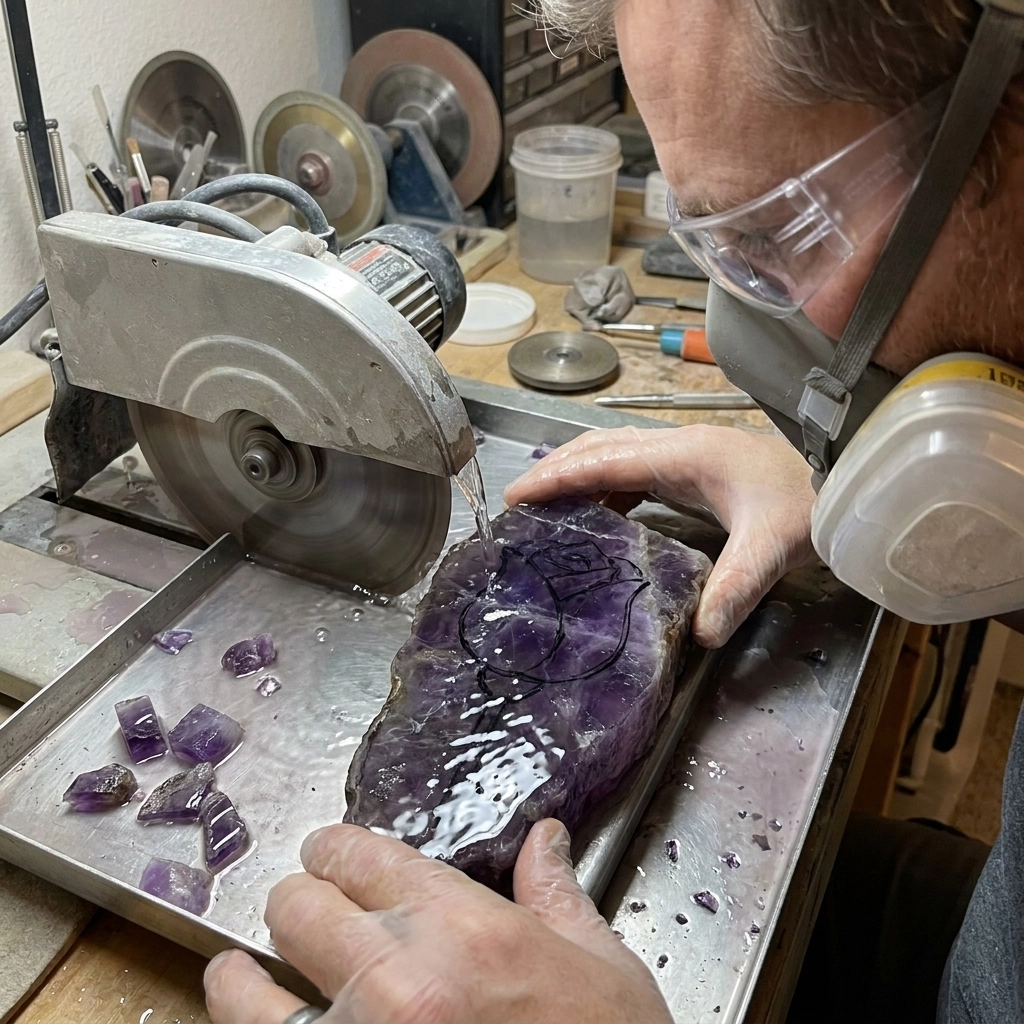
With a rounded diamond bur or suitable grinding surface, turn the block into an upright egg shape. Work around the circumference with short, light passes, maintaining the prescribed coolant supply. Remove material gradually from opposite sides so the bud remains centered above its base.
Stop regularly, clean the surface, and compare both profiles. The crown should remain slightly generous because the petal recesses will remove more material. Check the bottom against a temporary cup shape before proceeding. The support should contact a useful area, rather than balancing the entire flower on one small spot.


2. Carve Overlapping Petals Without Fragile Edges
Plan the petals with a marker first. Draw a small curved center near the crown, three offset arcs around it, and another loose ring of four or five arcs below. Avoid straight grooves that continue from top to bottom: the reference looks like overlapping petals, not vertical ribs.
Rehearse the sequence on the practice stone. Touch a small rounded bur to the recessed side of one marked arc, then make several shallow passes along it. Blend the hollow downward into the next petal face. Leave the opposite edge raised so light catches it as a petal lip.
Repeat around the crown, shifting each outer petal so its edge overlaps the space between two inner petals. Turn the stone frequently and approach each recess from a comfortable direction. Adjust the bur size when a curve becomes tight; forcing a large tool into a small recess removes the neighboring edge.
Keep the petals joined to the solid body. Do not undercut them into thin, freestanding sheets. Rounded lips and shallow valleys give the closed-bud effect while retaining material beneath each detail. If an edge becomes translucent and knife-like, soften it before cutting any deeper.
Carry only a few broad petal boundaries onto the upper body. Leave most of the lower half smooth, as in the reference. Inspect the silhouette against a plain background: the top should suggest a rose even before its surface shines.
For five flowers, repeat the same basic petal plan while allowing small differences. Similar proportions create a coherent bouquet; identical groove depths across differently fractured stones are not a useful goal.
3. Sand the Recesses and Polish the Stone
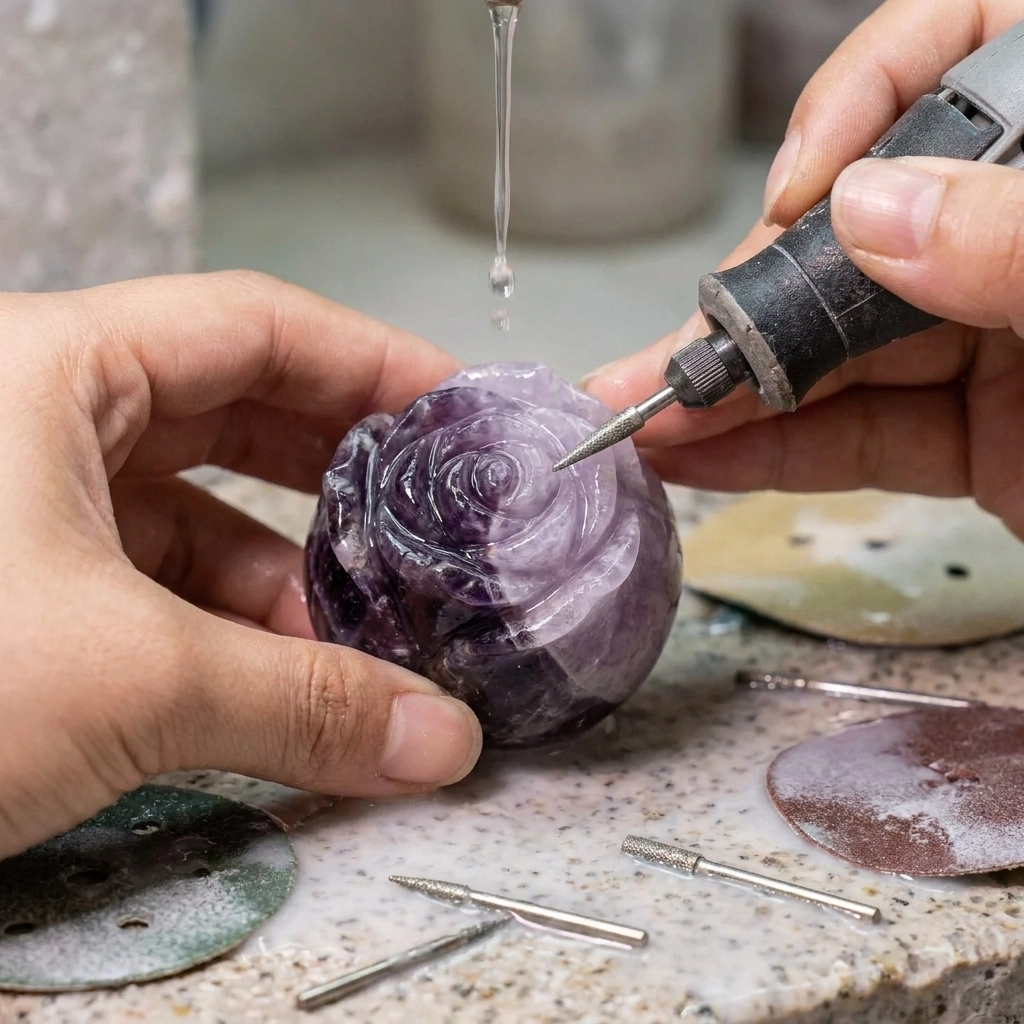
Use progressively finer abrasives sized for the surfaces you carved. Follow one compatible system’s sequence. For example, Diamond Pacific’s carving instructions describe shaping, successive sanding, and polishing, with wet Nova points available through 280, 600, 1200, and 3000 grit and finer finishing grades. Follow the actual accessory’s speed and lubricant instructions.
At each stage, work the rounded body, petal faces, and recesses. Clean away residue and inspect under angled light before moving finer. A scratch still visible at the current stage needs more work at that stage, not extra polishing compound at the end.
Choose small points that enter the valleys without widening them. Use light pressure near the crown, and keep polishing tools moving so heat does not build up. Dedicate separate points to separate abrasives and clean the stone between stages.
Aim for a clear shine on the outer surfaces and clean, smooth recesses. Avoid coating the finished rose to hide scratches. Leave the concealed bonding area suitable for the adhesive manufacturer’s surface-preparation requirements, and let the stone dry completely before assembly.


Build the Metal Stems, Leaves, and Stand
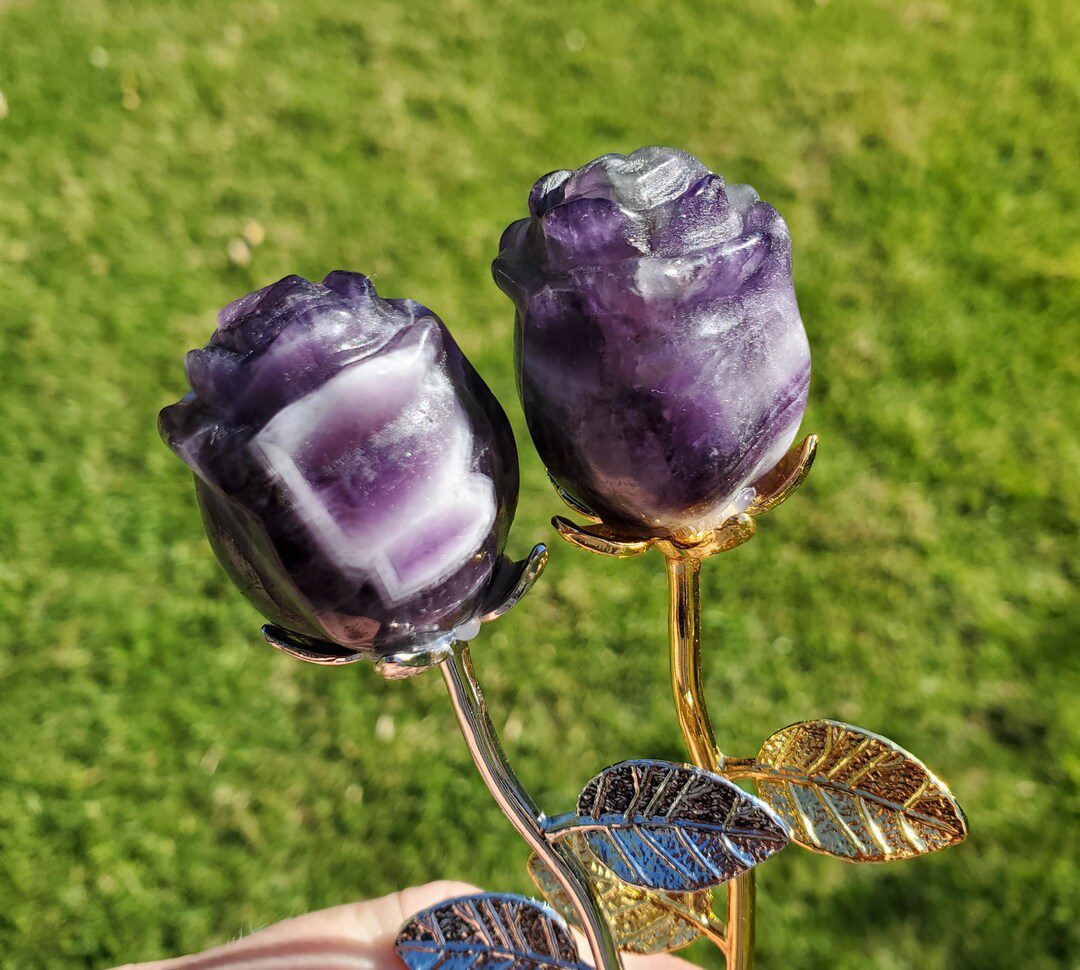
Complete the metalwork before mounting any amethyst. The photograph shows silver-colored metal, but it does not establish that the stems are sterling silver. Match the appearance with appropriate craft metal rather than making an unsupported material claim.
Make five supporting cups. A calyx is the small cup of pointed sepals immediately beneath a flower. Cut a paper template with five rounded lobes around a solid center, then test it around your carved bud. Transfer the adjusted shape to formable sheet metal. A disk approximately 30–35 mm across is a starting trial size for the suggested bud, not a fixed specification.
Clamp the flat metal securely and drill a clearance hole for the M3 stem through the center. Cut the outer shape, file all edges smooth, and form the lobes upward around a rounded former. Attach the cup between a nut and washer above and below. Shape it so the stone rests on the cradle, with clearance over the upper nut. Never tighten hardware against the gemstone.
Test one complete cup with a similarly weighted practice stone before making the other four. Increase the cup’s contact area or metal stiffness if it flexes. The small sepals should support the bud’s lower sides without covering the polished body.
Fit the stems to a stable base. Use a hollow, flared metal base with a rigid, flat mounting surface, access underneath, and sufficient weight to resist tipping. Leave enough clearance that nuts and rod ends remain above its supporting rim. Have a metalworker prepare it if you cannot safely drill and fasten it. Clamp the empty base for drilling, space holes so washers and nuts can seat properly, then secure each rod with washers and locking nuts above and below the mounting surface. Deburr trimmed rod ends.
Start with rods longer than needed and mock up the complete arrangement before trimming. Set one flower higher at the rear, two slightly lower to either side, and two toward the front. Maintain a gap between stone heads. Keep the spread modest: widening the bouquet increases the load that can tip its base. Choose the final height to suit your base and flower weights; the photographed bouquet has no confirmed dimensions.
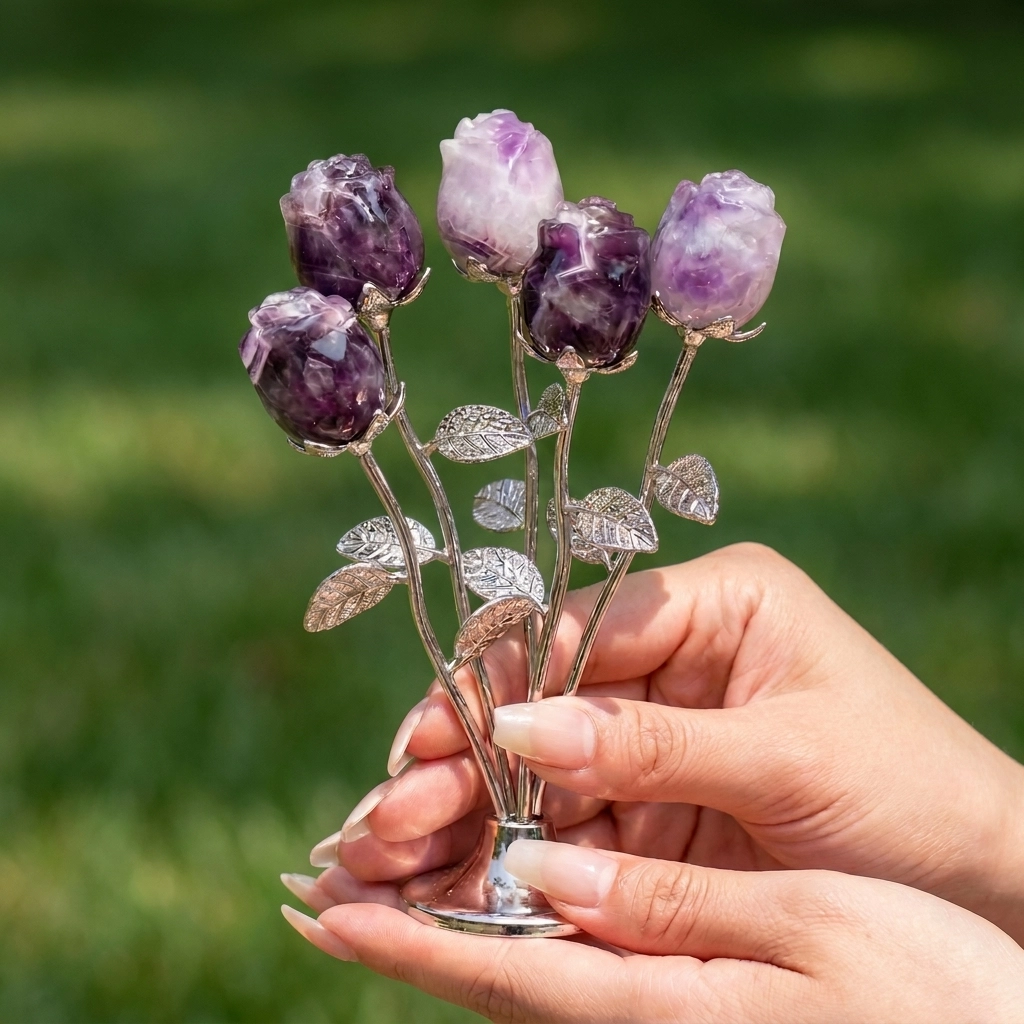
Add the leaves. Use veined metal leaf blanks with holes near their bases. Thread fine metal wire through each hole, wrap the ends securely around its stem, and turn the cut ends inward. Arrange one or two leaves per stem at alternating heights. Conceal the wire joint behind the leaf where possible. Check that leaves and wire ends cannot scratch neighboring roses.
Bond the heads last. Dry-fit every rose, mark its forward-facing side, and check that the cups carry the weight without rocking. Prepare the hidden contact surfaces as directed by the adhesive manufacturer. Test adhesion on matching metal and a stone offcut first, especially if the metal has a coating.
Henkel’s Loctite Clear Multi-Purpose technical sheet lists stone and metal among suitable materials. That specific product uses equal volumes and specifies a 24-hour full cure under its stated conditions. Other epoxies can differ; follow the package you actually use.
Apply a small amount within the cradle, seat the rose, and support it without pressure on the petals. Keep excess adhesive below the visible stone. Let every joint cure fully before moving the bouquet. Over a padded surface, check for loose heads, rotating rods, and tipping before placing it on display. Always lift the completed piece by its base.
Troubleshooting and Caring for Your Crystal Roses
A petal chips while carving. Stop and inspect the fracture. A small local chip may blend into a shorter rounded petal. If a crack continues into the crown, simplify the design or replace the blank; do not chase the damage with deeper grooves.
The surface looks cloudy after polishing. Clean it first to distinguish residue from scratches. Return to the abrasive stage that removes the visible marks, then progress again. More pressure can round details and create heat without solving the underlying scratch pattern.
A rose leans or a stem twists. Support and remove the affected assembly for inspection. Check the cup fit, hardware, and bond independently. Repair the failed component and repeat the full curing and stability checks. Adding glue around an unidentified loose joint makes later repairs harder.
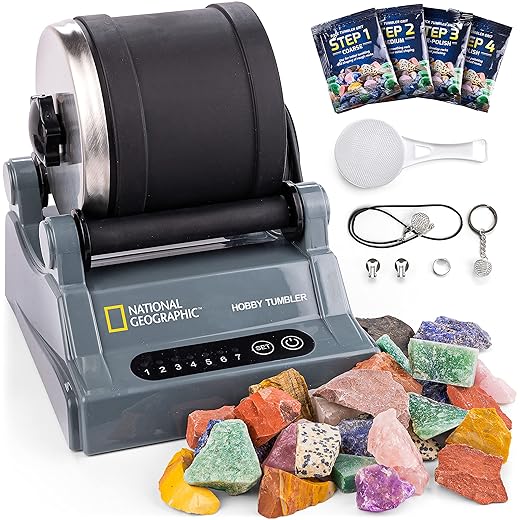
Can you tumble the finished flowers? Detailed petal crowns need controlled finishing. A tumbler can round the edges and let pieces strike each other, so finish each rose individually. Reserve tumbling for suitable simple shapes and use our tumbled-rock project ideas for those stones.
For display, choose an indoor spot away from strong sustained sunlight and heat. GIA’s amethyst care advice notes that intense light can fade some amethyst and sudden temperature changes can cause fractures.
Dust with a soft brush, then wipe gently with a lightly damp cloth if needed. Avoid soaking the assembled bouquet, steam cleaning, or using an ultrasonic cleaner on its glued joints. Keep cleaning products appropriate for both the metal finish and adhesive. With the flowers supported securely and the carved edges protected, the purple banding and polished petal shapes can remain the focus of your display.
 Love Rock Tumbling?
Have a question? Use the form above to submit your question or comment.
I love hearing from you and seeing what you made!