

How to Make Tumbled Rocks Shiny
Dull results do not always call for another full cycle. The real cause may be unsuitable rough, mixed hardness, dirty barrels, weak grit, or too little media. Rushed processing can also limit the final shine.
This guide helps you inspect the surface before spending more time and supplies. It separates true scratches from removable haze, dried slurry, and hard-water residue. That distinction points to the right step instead of guesswork.
You will review barrel cleaning, hardness matching, coarse-to-fine polishing, burnishing, manual sanding, and resin sealing. Burnishing often lifts the luster of polished stones after the main process. These methods also help people protect finished stones from cross-contamination.
Hobart M. King offers valuable context through decades of experience, a PhD in geology, and GIA graduate gemologist training. The guide also points to Steve Hart’s Modern Rock Tumbling, identified by RockTumbler.com as a useful resource. Whether you use one tumbler or several tumblers, a careful diagnosis helps you polish rocks with greater control and achieve more consistent results.
Diagnose Why Your Tumbled Rocks Look Dull
Start with diagnosis before another polishing cycle. A dull finish may come from uneven hardness, trapped grit, poor cleaning, or weak media. A close inspection saves time and protects good results.
Check Hardness, Texture, Fractures, and Shape
Most tumbling rough falls near 6–8 on the Mohs scale. Keep each batch within about 1.5–2 hardness points. Softer pieces wear fast beside harder stones, while hard material may need extra time in every process stage.
Choose pieces about one-half inch to one-and-one-half inches wide. A balanced shape supports steady movement. Rough texture, holes, and fractures can hold grit or release abrasive particles later.
Identify Cleaning, Grit, Media, and Timing Problems
- Clean barrel edges with a toothbrush.
- Check grit quality, grits, water level, and media fill.
- Review sanding, sandpaper, and tool use.
- Separate damaged ones from sound material.
Inspect Scratches, Haze, and Dried Slurry
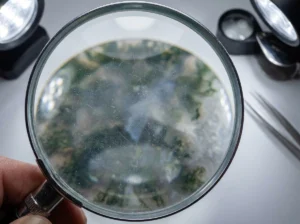
Use magnification under strong light. True scratches stay fixed after washing; haze or dried slurry may lift. This simple step helps a rock tumbler owner choose the right next action without restarting the entire tumbling process.
Prepare the Rocks and Tumbler for Better Results
Clean handling gives each polishing stage a fresh start. Small abrasive particles, soap, or old slurry can spoil a clean surface. Set aside enough time for this simple process.
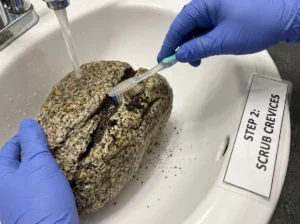
Clean the Barrel and Every Rock Between Stages
Rinse each piece separately, then inspect stones for fractures, holes, and lodged grit. Use a toothbrush around barrel edges, lid grooves, and seams. Remove any piece that may shed material during the next step.
Wash with water only unless a mild soap rinse is needed. Rinse again until no film remains. This routine limits cross-contamination from shaping, sanding, or earlier grits. Check sandpaper, each tool, polish, and finish supplies for residue before work begins.
Choose the Right Tumbling Media and Barrel Fill
Keep the barrel about two-thirds to three-quarters full. This level supports steady tumbling and cushions contact. Select media that fills gaps after shaping, especially when the load contains small stones.
Choose previously tumbled ceramic media. New cylinders can have sharp edges and leave scratches on a finished surface. In a rock tumbler, inspect the load before sealing. The same rule helps larger tumblers deliver consistent results during rock tumbling.




How to Make Tumbled Rocks Shiny Through Proper Polishing
A measured polishing sequence builds a clear surface and lasting shine. Each step removes marks left by the prior stage. Rushing the process often leaves scratches beneath a dull finish.
Use Coarse-to-Fine Grits Without Rushing the Process
Begin with coarse grit, then progress through finer grits. Hard stones rated 7 or higher on the Mohs scale may need extra time at every stage. Do not advance until the surface shows even wear.
- Check each load after shaping.
- Wash the barrel before every new grit.
- Repeat a weak stage rather than extending an unsuitable compound.
Control Water, Slurry, and Polish Quality
Keep enough water for smooth movement, but avoid a thick slurry that dries over the surface. A barrel needs adequate media for steady contact during rock tumbling. Make sure the load remains about two-thirds to three-quarters full.
Quality aluminum oxide resembles extremely fine powdered sugar. Black material labeled “polish” may signal an inferior product. For the best grit polishing, use clean media and inspect the finish under bright light. This approach helps polish rocks evenly, whether work takes place in a rotary tumbler or a standard rock tumbler.


Restore Shine With a Burnishing Step
Burnishing can lift residue and reveal a cleaner luster after polishing. This short cleaning stage suits polished stones that look hazy but feel smooth. It may improve the finish without restarting the full process.
Use the Cloth Buffing Test to Confirm the Need
Rub a flat rock surface rapidly with flannel, a T-shirt, or jeans for 15–20 seconds. If the warmed area looks brighter, a brief burnishing cycle may help. Test one piece first, then compare each side under strong light.
Burnish With Warm Water, Mild Soap, and Clean Media
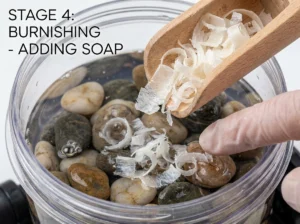
Place the rocks in clean, broken-in media. Add warm water and about one-half tablespoon of grated soap per pound of material. A Thumler’s U-V10 vibratory tumbler uses 10–12 tablespoons of water plus about 1 tablespoon of grated Original Ivory soap.
Rotary tumblers need enough water to almost cover the stones. Vibratory units usually need normal water plus 10–20% extra. Run the bath for 30–60 minutes. Warm water dissolves soap faster, while hard water may reduce luster because of calcium and magnesium. Stop promptly; excess tumbling can remove polish instead of improving shine.
Finish Smooth Rocks With a Manual or Resin Polish
Choose a surface treatment based on the defect. Manual work refines sound material, while resin adds a coating. Neither option fixes deep fractures, rough texture, or grit trapped inside holes. Test one piece first, then select a safe process.
Refine a Sound Rock Surface
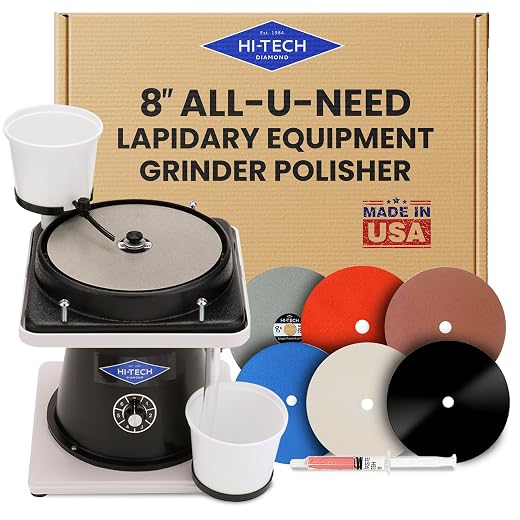
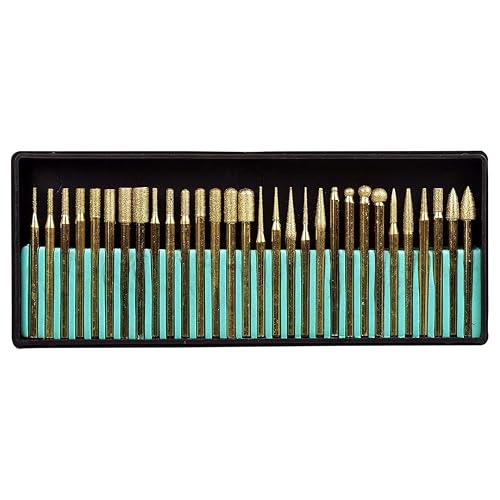
Start sanding with coarse sandpaper, then move through finer grades. Keep the sanding process even across the shape. A rotary tool can reach small edges, but light pressure prevents new scratches. Add polishing compound and finish with a soft cloth.
- Use water sparingly during manual work.
- Change sandpaper when its cutting power drops.
- Keep media and tools free from old grit.
- Inspect each side before the next step.

Apply Resin With Care
Natalie Shaw’s resin method starts with soap-and-water cleaning and complete drying. Wear gloves and a mask, and use an outdoor or disposable work area. Shake the resin can for about 30 seconds. Spray from 6–8 inches away, allow drying between coats, and repeat on the opposite side. This product creates a surface coating, unlike sanding or rotary tool work, which physically refines the material. A rotary tumbler cannot replace this controlled finish.
Great Lakes rock tumbling problems
Mixed Great Lakes beach rocks can need different treatment even when they share one barrel. For regional examples and a diagnostic worksheet, read Why Great Lakes Rocks Fail to Polish: A Troubleshooting Guide.
Conclusion
Consistent shine begins with a sound plan, not extra cycles. Choose suitable rough, clean equipment, compatible grit, balanced media, and patience. Inspect hardness, texture, fractures, shape, scratches, and haze before another process.
- Restart shaping or polishing with fresh grit when deep marks remain.
- Clean the barrel and adjust media when residue or poor movement affects results.
- Try burnishing after a 15–20-second cloth test shows a brighter surface.
- Use manual sanding, sandpaper, or a rotary tool for a smooth side. Resin can seal polished stones.
Careful tumbling and rock tumbling reward steady work. This process helps polish rocks while protecting luster. Repeat sanding only when sound ones need extra refinement. Steve Hart’s Modern Rock Tumbling and Hobart M. King offer trusted guidance for future rocks and a cleaner finish.


 Love Rock Tumbling?
Have a question? Use the form above to submit your question or comment.
I love hearing from you and seeing what you made!