


Tumbling Lake Superior agates in a rotary tumbler follows a coarse-to-fine grit sequence, followed by polish. Inspection determines when each stone advances. Before each stage, decide whether a stone needs more shaping, is ready for finer grit, or would be better left out of the barrel.
This guide covers a rotary-tumbler workflow: sorting the rough, choosing abrasives, inspecting progress and judging the final polish on dry stones. It includes a published timing benchmark and a batch-recording method you can use with your own equipment.
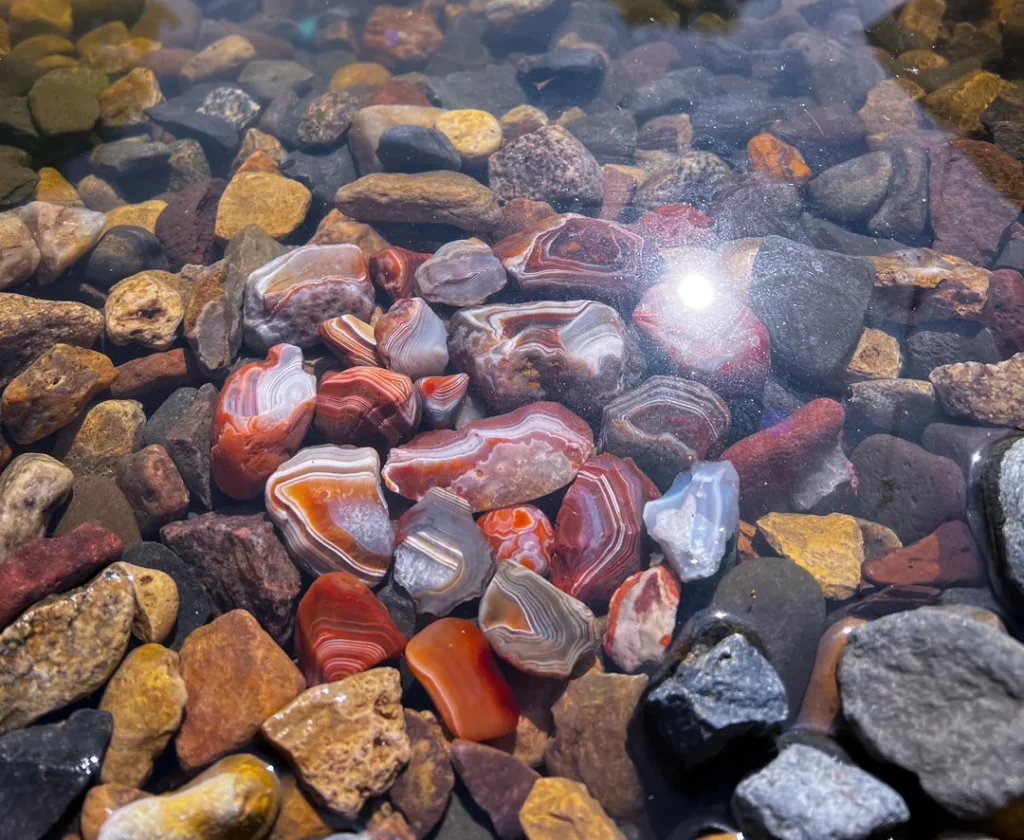
About this guide: This is a researched how-to article, not a report of a batch tested by Rock Tumble Lab. Published recipes are attributed below; no original batch results are claimed.
If you’re still learning how the stages fit together, start with our beginner’s guide to rock tumbling.
Key takeaways
- Keep identification and collection records separate: a regional find does not, by itself, identify a stone.
- Use a grit schedule as a starting point, then inspect individual stones before advancing them.
- Record the equipment, quantities and decisions so you can explain the finish, including imperfections.
1. Plan the batch before you start
Choose the finish you want before grinding away any material. Do you want fully rounded stones, a smoother surface that retains natural pits, or a specimen with its original shape intact?
Those goals lead to different decisions. A shallow cavity might be acceptable on a keepsake but unwelcome on a stone intended for a smooth jewelry setting. Write down what you’re willing to leave. Otherwise, it’s easy to keep grinding without a clear stopping point.
Give the batch a name and photograph the starting stones. Pick a few recognizable pieces to follow through the entire process. Their banding, outline or distinctive marks should let you identify them again without relying on labels that would wear away.
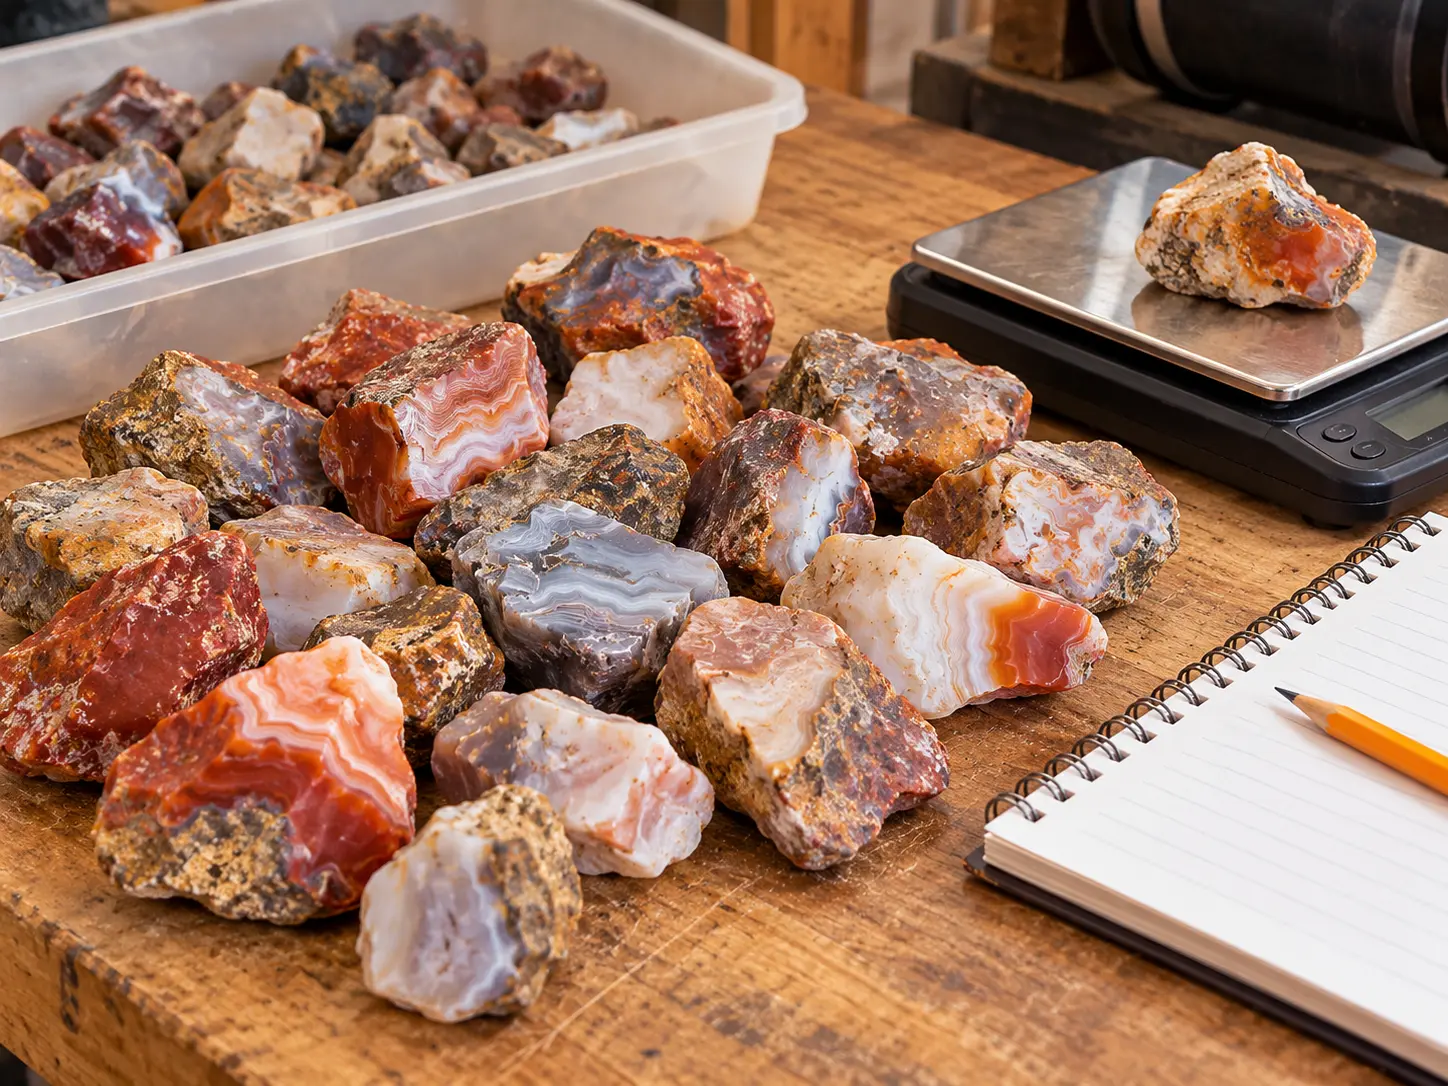
Before loading, record the following:
| Batch detail | What to write down |
|---|---|
| Identification and origin | What supports the agate identification; collection record or supplier description; any uncertainty |
| Stones | Count, approximate size range, dry starting weight and notable defects |
| Equipment | Tumbler model, barrel used and the applicable operating instructions |
| Loading | Rock weight, media weight, fill level and measured water |
| Abrasives | Product, grade, amount, unit and dosing basis |
| Timing | Start and stop dates for each run; downtime recorded separately |
| Finish target | Defects you want removed and natural features you intend to retain |
These are record fields, not a suggested batch size. A barrel’s nominal capacity is not an instruction to load that weight of dry rock and then add everything else.
2. Confirm the agate identification and record its origin
Use “Lake Superior agate” when identification and provenance support that name, not simply because a stone is red or came from a Great Lakes beach.
Collection records and supplier descriptions
The Minnesota Department of Natural Resources describes Lake Superior agates as chalcedony with characteristic banding and iron-related coloration. It also explains their distribution by glaciers, so a genuine specimen need not have been collected directly beside the lake. See the DNR’s Lake Superior agate reference.
For a self-collected stone, retain the collection date, general locality and original photographs. For purchased rough, keep the seller’s locality description and receipt. Distinguish “sold as Lake Superior agate” from an independently checked identification.
If you’re uncertain, ask an experienced local mineral club or knowledgeable identifier before making a regional claim. “Agate, origin unconfirmed” is more useful than false certainty. “Great Lakes agate” still needs support for that regional origin.
You can preserve detailed location records privately. A useful batch report doesn’t need to reveal a sensitive collecting spot.
Stones to select, set aside or leave natural
Inspect clean stones from several angles. Mark open fractures, crumbly areas, deep cavities and exposed crystal pockets in your notes. Set doubtful pieces aside while you assess whether tumbling suits the specimen.
For each candidate, ask: would removing enough material to eliminate this defect also remove something I want to keep? A band, eye pattern or natural exterior may matter more than an uninterrupted polish.
Tumbling is irreversible material removal. Photograph special pieces before deciding, and don’t use a favorite specimen as your first trial of an unfamiliar setup.
3. Choose equipment, grit and barrel loading
Start with the instructions for your actual rotary tumbler. Keep the machine’s loading requirements separate from the abrasive supplier’s dosing instructions, and resolve conflicts before running it.
Rock sizes and operating load
A mixture of sizes is generally more useful than a load made entirely of similarly large stones. The Rock Shed’s rock-size guidance emphasizes that suitable dimensions depend on barrel size and stone shape. A long, narrow piece and a bulky piece with the same maximum length are not equivalent loads.
For one specific reference point, the Lortone 3A manual calls for an assorted-size rock load about one-half to two-thirds full, water covering the rocks and abrasive, and compliance with the machine’s rated capacity. It also requires thorough cleaning between stages and warns against putting rinse water down household drains. These are model-specific instructions, not a universal loading recipe.
Measure and record the water you actually add. “Water to the top of the rocks” describes a level, not a fixed volume: changing the size mix or media changes the spaces between pieces.
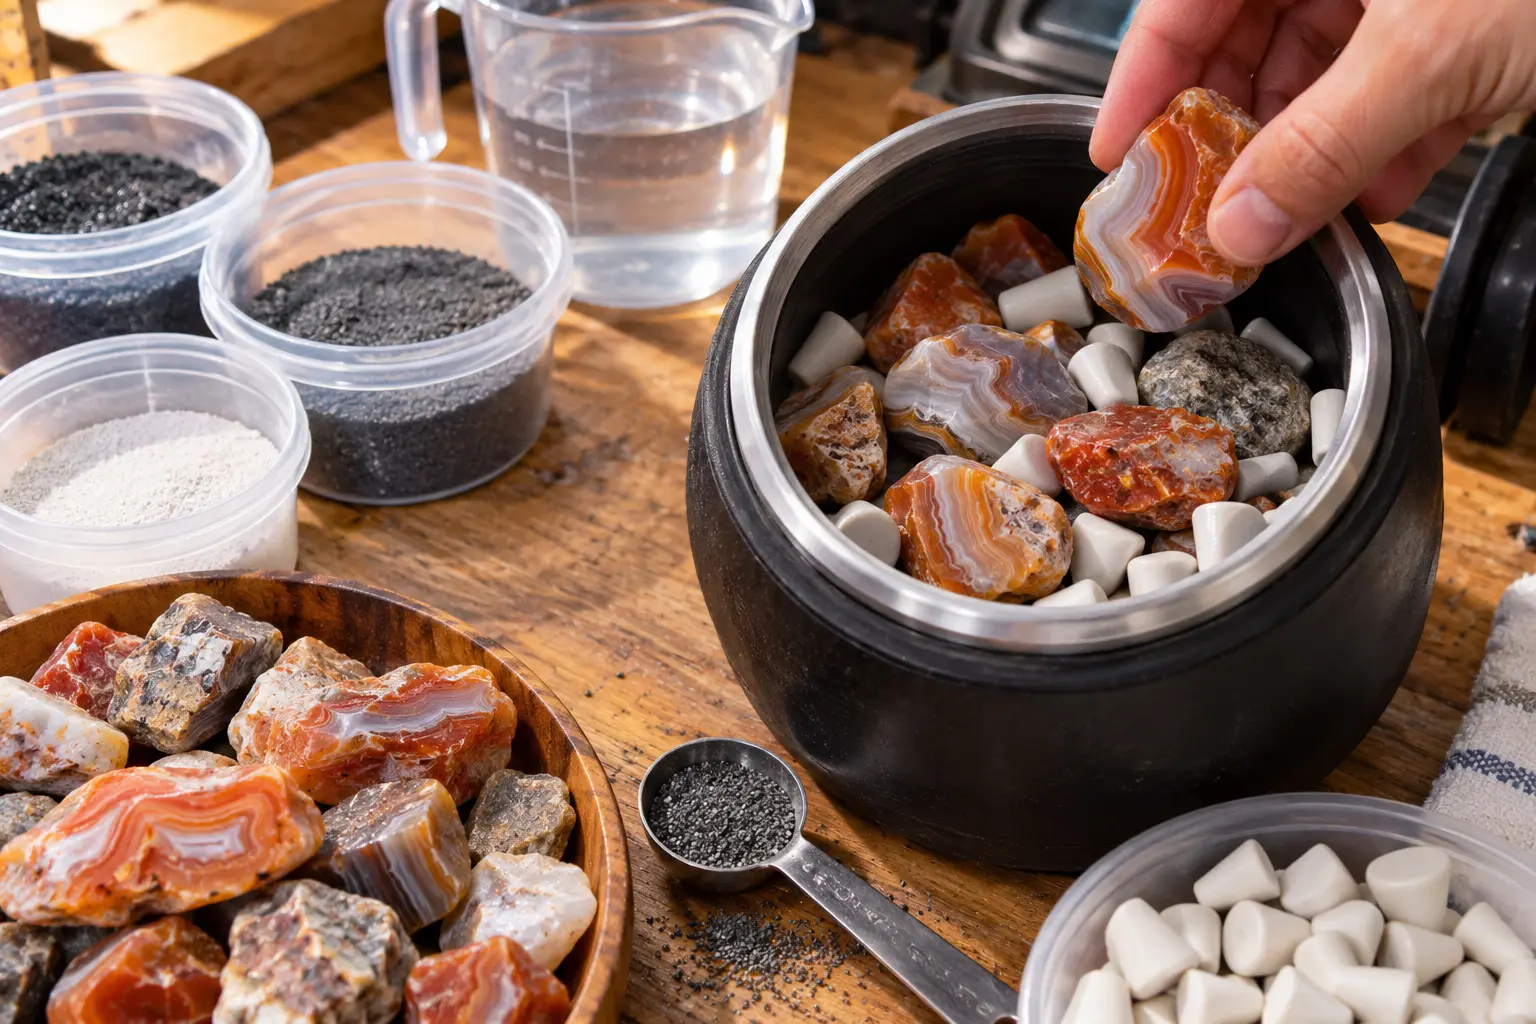
Abrasives, polish and ceramic media
Have the coarse, medium, fine or prepolish, and final-polish products ready before you begin. Write the full label in your log. A stage called “fine” in one system may occupy a different position in another, so don’t match products by stage names alone.
Keep these three quantities distinct:
- Rock weight: the stones you’re trying to finish.
- Media weight: added ceramic or other suitable filler.
- Operating load: everything counted under your machine’s rated-load definition.
A dose per pound of rock is not automatically the same as a dose per pound of rock plus media. Record the basis specified by the instructions you follow; ask the supplier if it is ambiguous.
Ceramic media can help fill lost barrel volume and improve contact among the contents. However, newly introduced rough ceramic surfaces can cause trouble in later stages. RockTumbler.com’s ceramic-media guidance recommends appropriately conditioned media for fine grinding and polishing. Our rock tumbling media guide explains the main choices.
Handle abrasive powders according to their product instructions. Keep cleanup water away from the motor and electrical connections, and collect slurry in a suitable container for disposal according to local requirements.
4. Follow a grit schedule, then inspect before advancing
A schedule tells you when to look; inspection tells you what to do next. Don’t advance a stone solely because the calendar says its current stage is finished.
A published Lake Superior agate tumbling grit schedule
This reference sequence comes from RockTumbler.com’s Lake Superior agate instructions for small rough. The recipe specifies two tablespoons per pound of material at each stage; these are supplier instructions, not our test results.
| Stage | Abrasive in the published recipe | Published duration |
|---|---|---|
| Coarse | 60/90 silicon carbide | Inspect after 2 weeks; up to 4 weeks of coarse grinding may be used |
| Medium | 150/220 grit | 1 week |
| Fine | 500F grit | 1 week |
| Polish | TXP aluminum oxide | 1 week |
That totals roughly 5-7 weeks: arithmetic from the cited schedule, not a guaranteed completion window. Repeated runs, cleaning and pauses can extend it.
Other equipment and abrasive systems use different schedules. The Rock Shed’s tumbler instructions, for example, separate rotary and vibratory processes. Choose one compatible system rather than combining convenient parts of several recipes.
Coarse grinding: decide what must change
After cleaning, inspect the stones dry under a consistent light. Compare them with the starting photographs. Which unwanted edges or surface defects remain? Have any cracks opened? Are you still working toward the original finish target?
Sort each stone into one of three groups:
- Advance: the shape meets your goal and the stone is ready for the next stage.
- Repeat: more grinding is justified by a specific remaining defect.
- Remove: further grinding would sacrifice a feature, or the stone needs separate assessment.
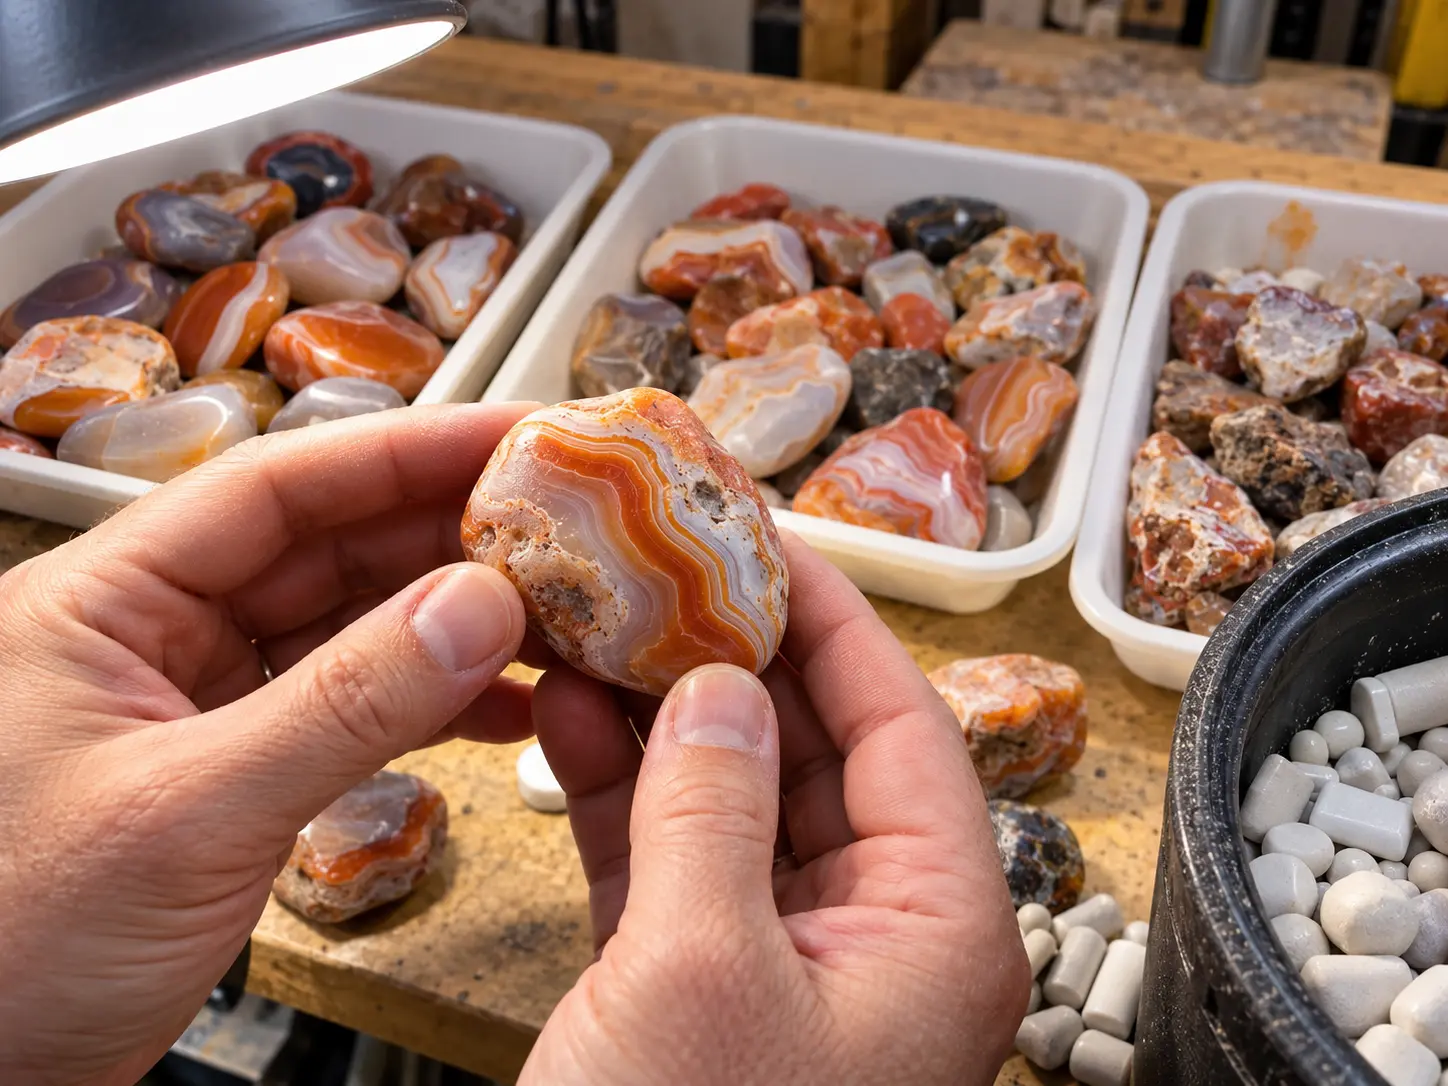
Use this as an inspection workflow, not a claim that every visible cavity must disappear. A retained feature should be intentional, documented and cleanable before later stages.
Medium and fine grinding: check scratches and cleanliness
Inspect the whole stone, not only its most attractive face. Rotate it in the light and compare suspect marks with the previous photograph. A persistent scratch needs a decision; a newly visible mark needs investigation.
Clean the stones, barrel and lid carefully between grades, including recesses where particles can hide. Keep your inspection surface clean too. Recording a careful wash means little if you put cleaned stones back into a tray carrying coarse grit.
Add one row per run to a log like this. Repeated stages need separate rows, rather than a single entry that hides the additional work.
| Stage/run | Abrasive and measured amount | Dosing basis | Start/end and run time | Dry observation | Next decision |
|---|---|---|---|---|---|
| Your next run | Record product, grade and quantity | Record what the dose is based on | Record actual dates and time | Describe the surface | Advance, repeat or remove; explain why |
Polishing and final cleaning
Use a product intended for the final-polish stage in your chosen process. Check the label; the largest grit number in a kit is not sufficient evidence that the product serves that role.
If the washed stones still look hazy, distinguish residue from an unfinished surface. RockTumbler.com’s burnishing guidance describes a soap-cleaning step that can improve the appearance of already polished stones. Cleaning is not a substitute for removing scratches in the appropriate earlier stage.
Before rerunning the entire batch, examine several stones individually. Different defects may call for different next steps.
5. Assess the results with dry, matched photographs
Judge the finish on clean, dry stones. Wet pictures can show color, but a wet “after” photograph cannot demonstrate a lasting dry polish.
Photograph the same stones in the same conditions
Use a simple setup you can reproduce:
- Keep the background, light direction and camera position consistent.
- Match the stone’s orientation using its bands or distinctive marks.
- Include an overview and a close-up of the same problem area.
- Label the stage and whether the stone is wet or dry.
- Leave oils, waxes and other surface coatings out of a polishing comparison.
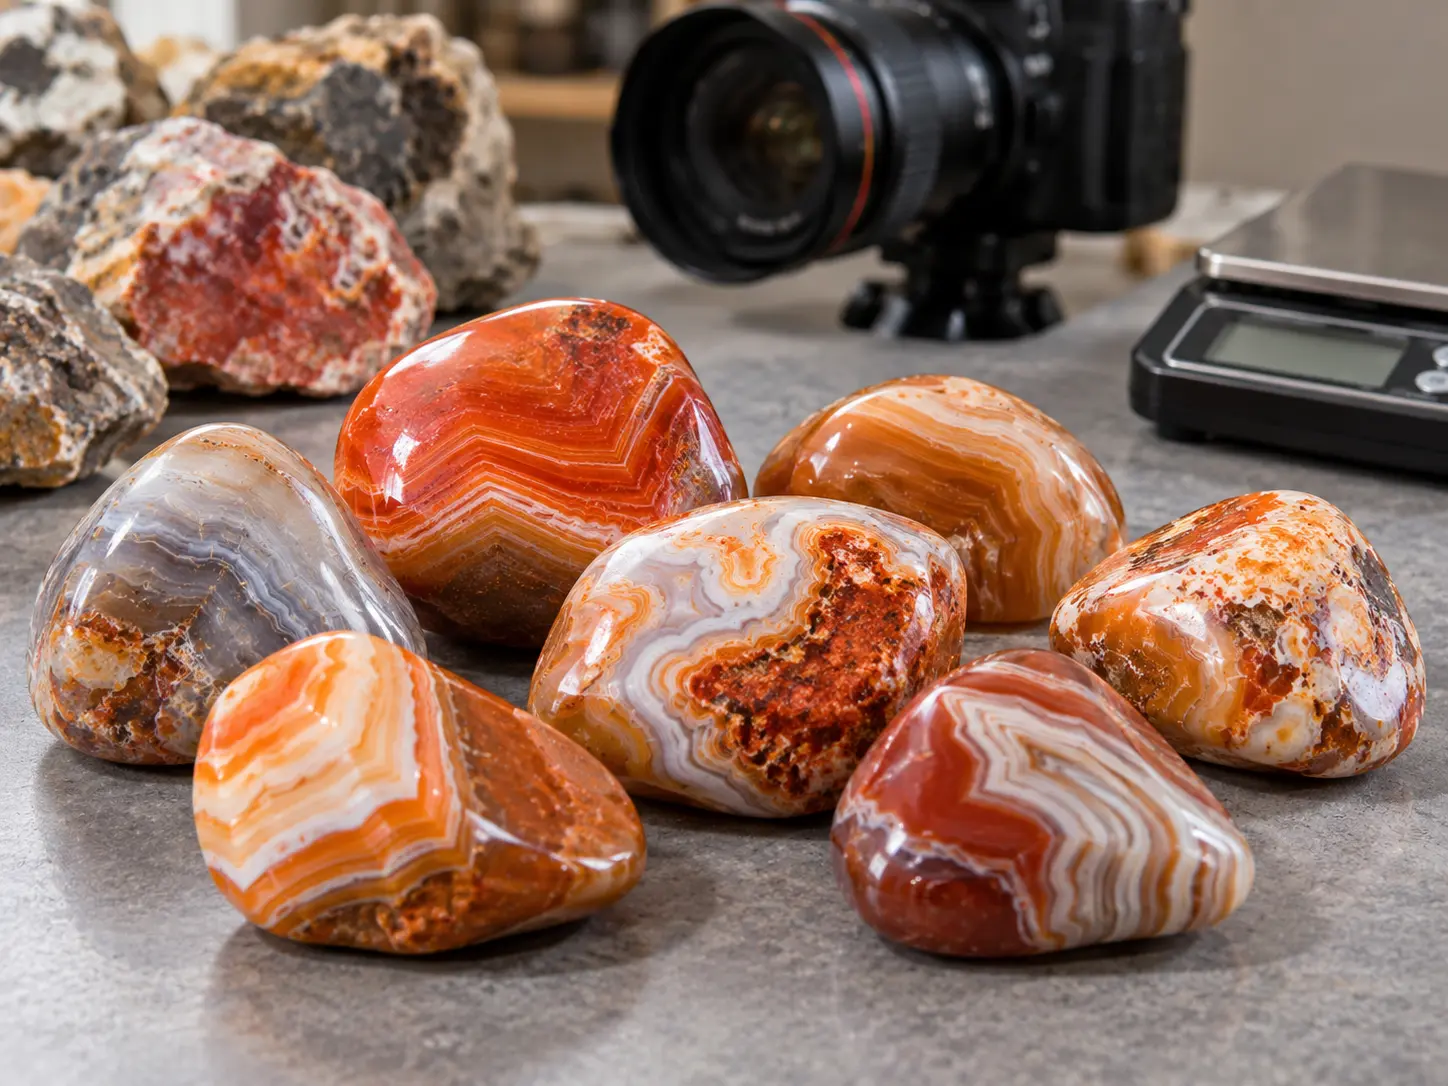
If you also photograph a wet stone to show its pattern, label that image separately. Keep the original files so your comparison can be checked later.
Photograph imperfect pieces as well as the best ones. Otherwise, a handful of attractive examples can hide how much of the batch still needs work.
Record material loss and finish quality
For a tracked set containing the same stones at both weighings, calculate:
Material loss (%) = (starting dry weight − final dry weight) ÷ starting dry weight × 100.
Exclude media. If you removed stones, added replacements or lost fragments, record those changes and don’t present the difference as a clean abrasion measurement. Weighing individually tracked stones avoids confusing batch changes with polishing loss.
Describe finish quality separately from appearance. Useful notes include “glossy dry across broad faces,” “one scratch remains,” “polish residue in a recess,” or “natural cavity retained.” These are examples of observation wording, not results from a tested batch.
A single percentage cannot capture both material retention and surface quality. Keeping those records separate makes the next decision clearer.
6. Use the record to improve the next batch
Change one controllable factor at a time where practical. If you change the loading, media, polish and duration together, a better finish won’t tell you which change helped.
For an informal comparison, keep the machine and abrasive system consistent, photograph both groups the same way, and describe how their starting material differs. Two batches of natural stones are not identical test samples, so frame any conclusion accordingly.
Investigate the specific problem before choosing the next run. If scratches were already visible before polish, revisit the earlier-stage decisions. If the surface is smooth but appears coated, investigate cleaning. If fresh chips appear, review the loading and stone condition rather than assuming a longer polish will solve everything.
Our guide to diagnosing tumbled rocks that won’t shine can help organize that check.
For your next batch, copy the record fields above before loading the barrel. The useful result is more than a shiny stone: it is a clear account of what you started with, what you changed and what happened.
7. Questions about tumbling Lake Superior agates
How long does it take to tumble Lake Superior agates?
The cited rotary benchmark totals approximately five to seven weeks, not a deadline. Track active run time separately from calendar time and record why you repeat a stage.
Can Lake Superior agates be tumbled with jasper or chert?
They may be compatible when the actual stones have similar hardness, sound surfaces and suitable sizes. The Rock Shed’s hardness guidance groups agates and jaspers as generally compatible tumbling materials. That does not make every mixed beach collection a suitable batch.
Assess chert and any inclusions individually rather than relying on the name alone. For sorting considerations, see our hardness and pairing guide.
Do rounded agates always need ceramic media?
No. The cited supplier runs its rounded rough without ceramic media. For your batch, assess the loading requirements, size mix and changing volume rather than assuming the same approach will work.
Can I use this schedule in a vibratory tumbler?
No. This article’s timing table is for a rotary process. Use instructions written for your vibratory machine, compatible material and abrasives; don’t transfer the rotary water levels, quantities or run times unchanged.


 Love Rock Tumbling?
Have a question? Use the form above to submit your question or comment.
I love hearing from you and seeing what you made!