

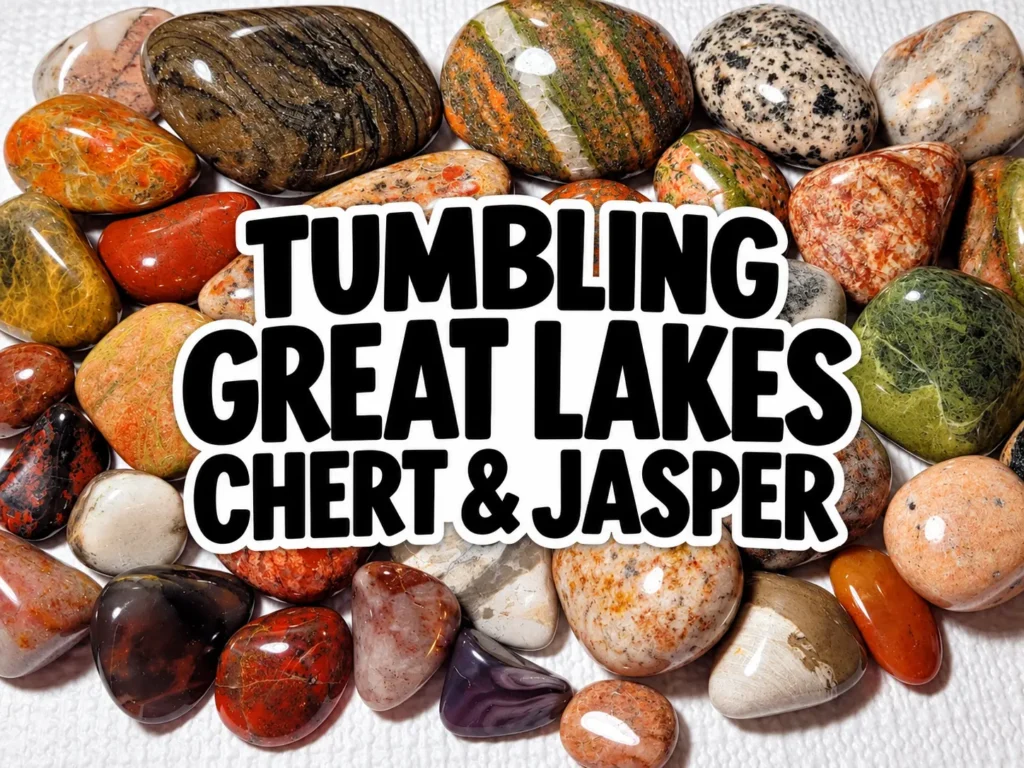
Tumbling chert can produce a smooth, reflective finish when the stone is sound and suitable for polishing. Jasper can also tumble well. However, a shared barrel does not guarantee a shared outcome: assess each stone’s surface, shape and damage separately.
Start with the condition of the rock, not the promise of its name. A rounded pebble with a weak seam may need a different decision from a solid, angular piece. A useful result includes the stones that stayed dull or broke, not just the brightest handful.
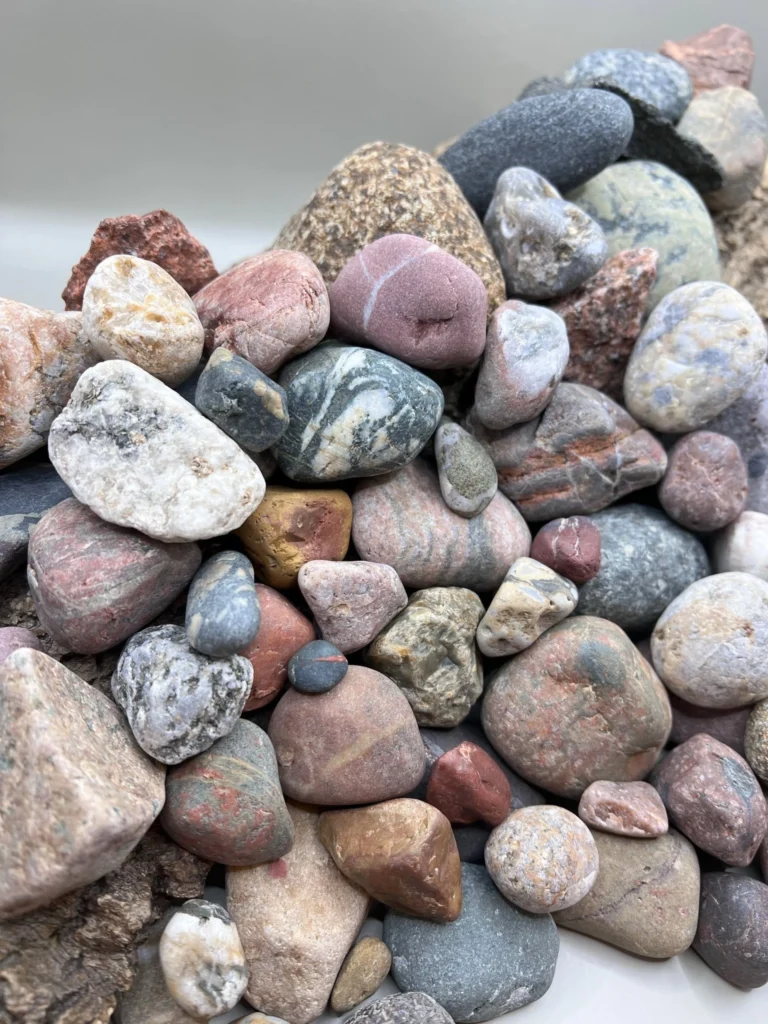
About this guide: No measured Great Lakes chert-and-jasper batch or specimen photographs were supplied for this article. This is a sourced process guide, not a report of an experiment. The comparison log below is a blank worksheet, and the grit schedule is a supplier reference, not our recorded run.
Which chert and jasper samples belong in the comparison?
Provenance, identification and uncertain labels
Record where each stone came from before choosing its label. Michigan’s geological survey includes chert and jasper among its Great Lakes beach-stone descriptions, but regional occurrence does not identify an individual pebble.
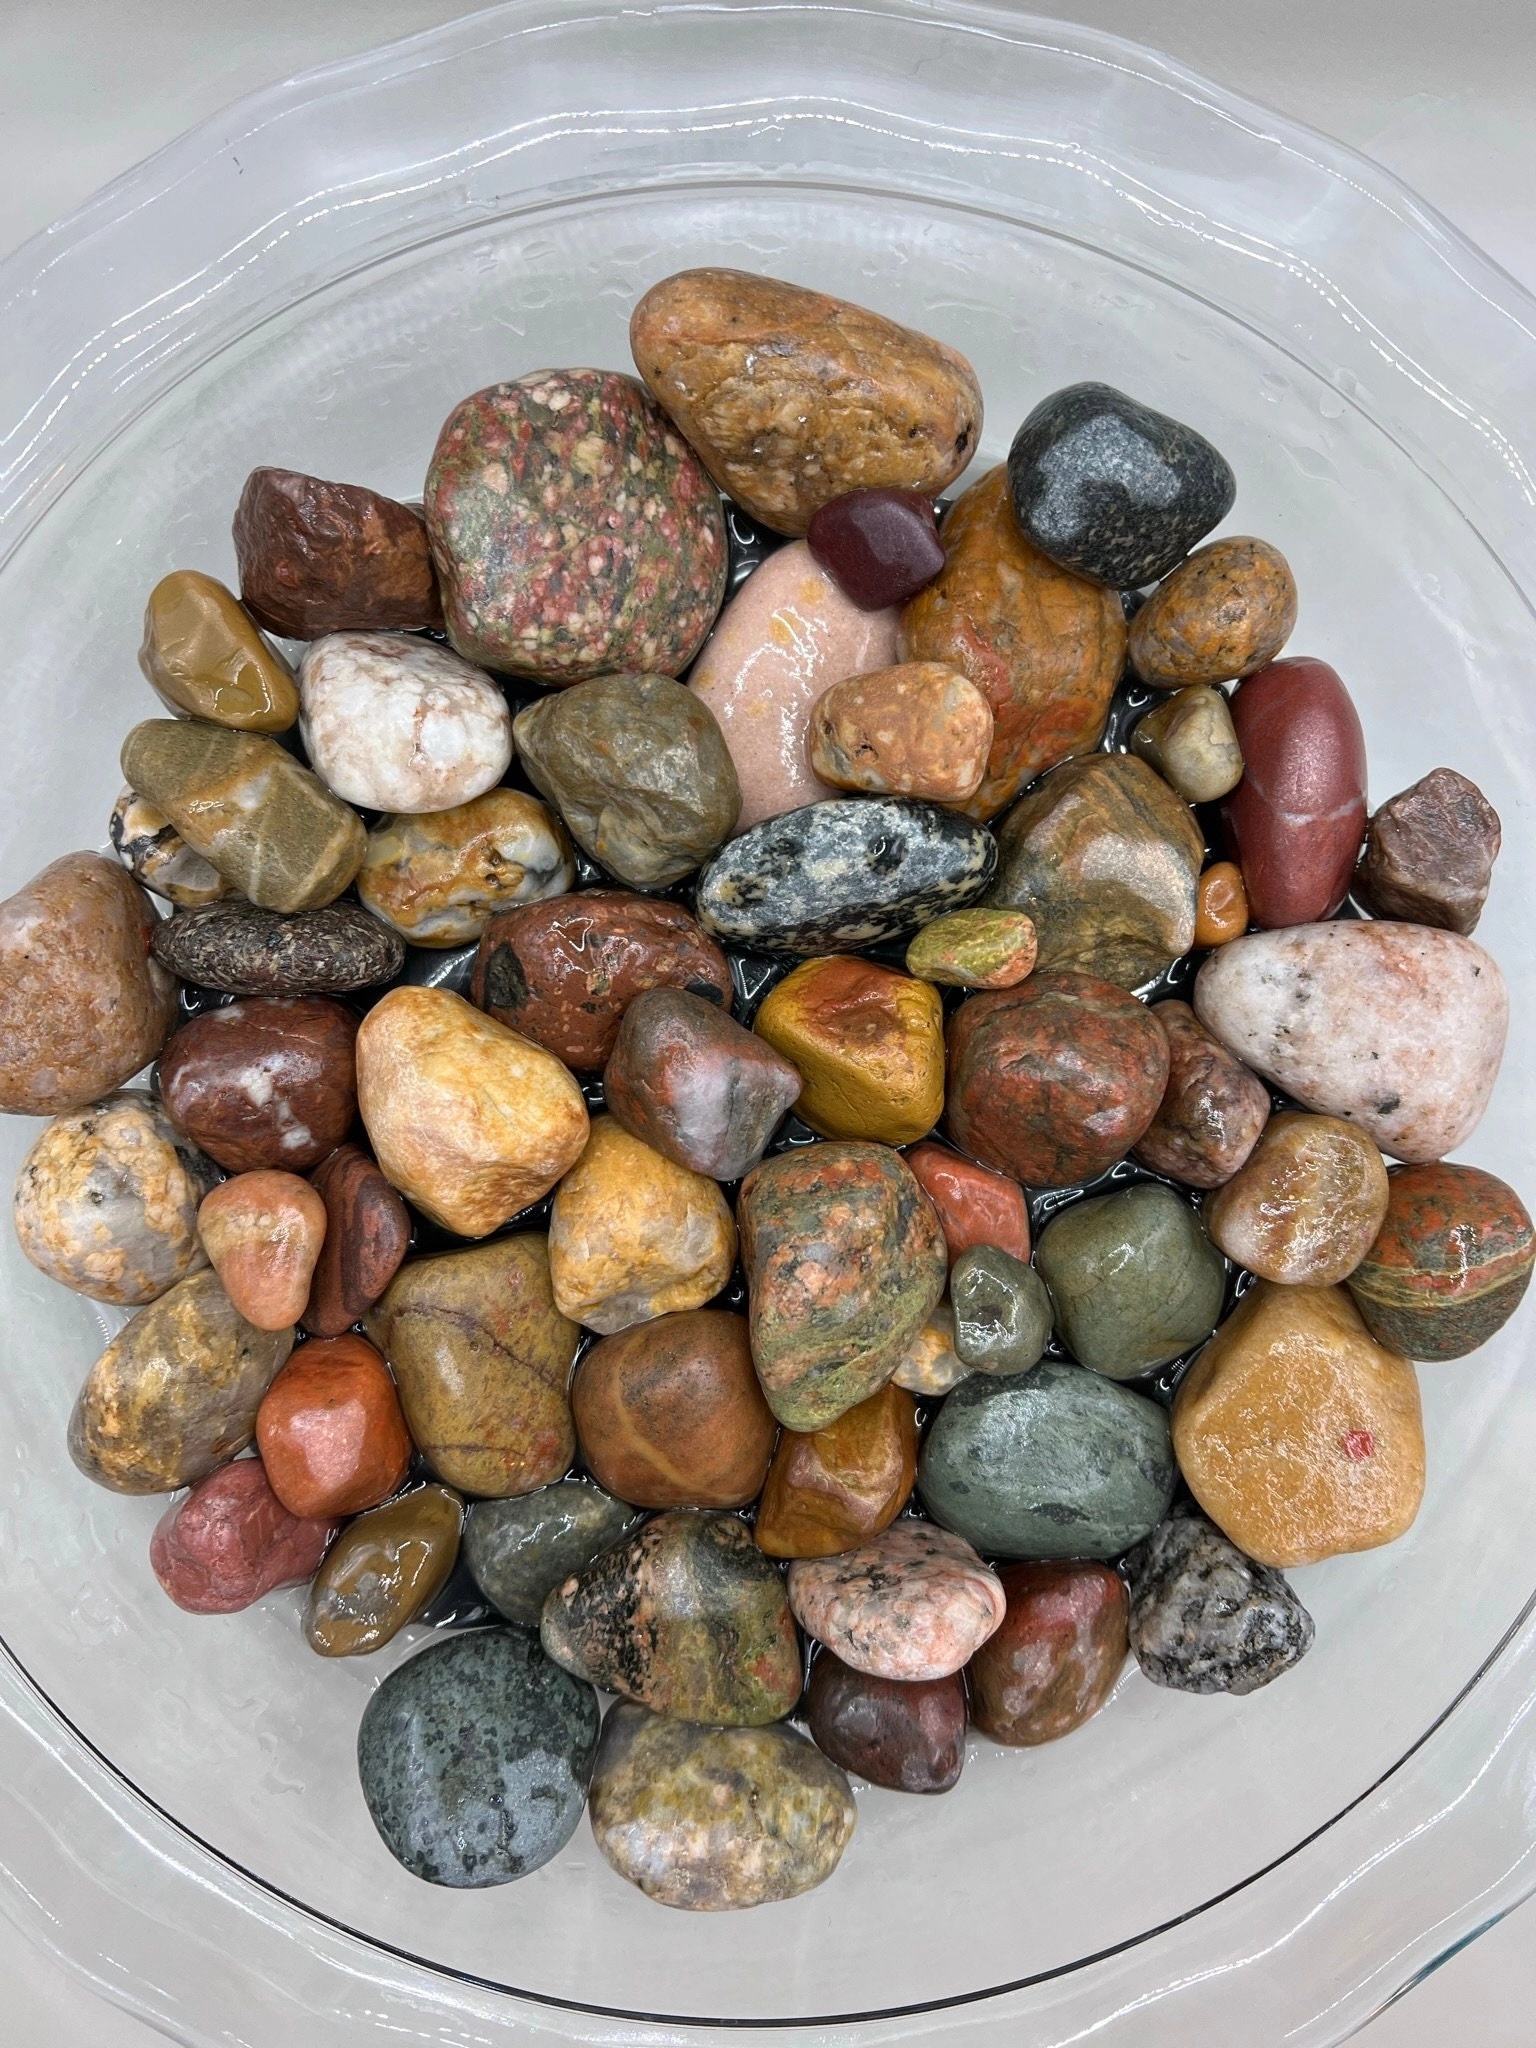
Separate three things in your notes: where the stone was collected or purchased, what you think it is, and how confident you are. A collection location documents where you found it; it does not, by itself, establish the rock’s geological source. Keep supplier descriptions as supplier claims unless you can substantiate them.
Names also need care. Jasper generally refers to opaque, colored silica-rich material, but commercial usage is inconsistent. GIA’s mineralogical examination of material sold as “Dalmatian jasper” found a mixture unlike true jasper. A familiar trade name is not a mineral test.
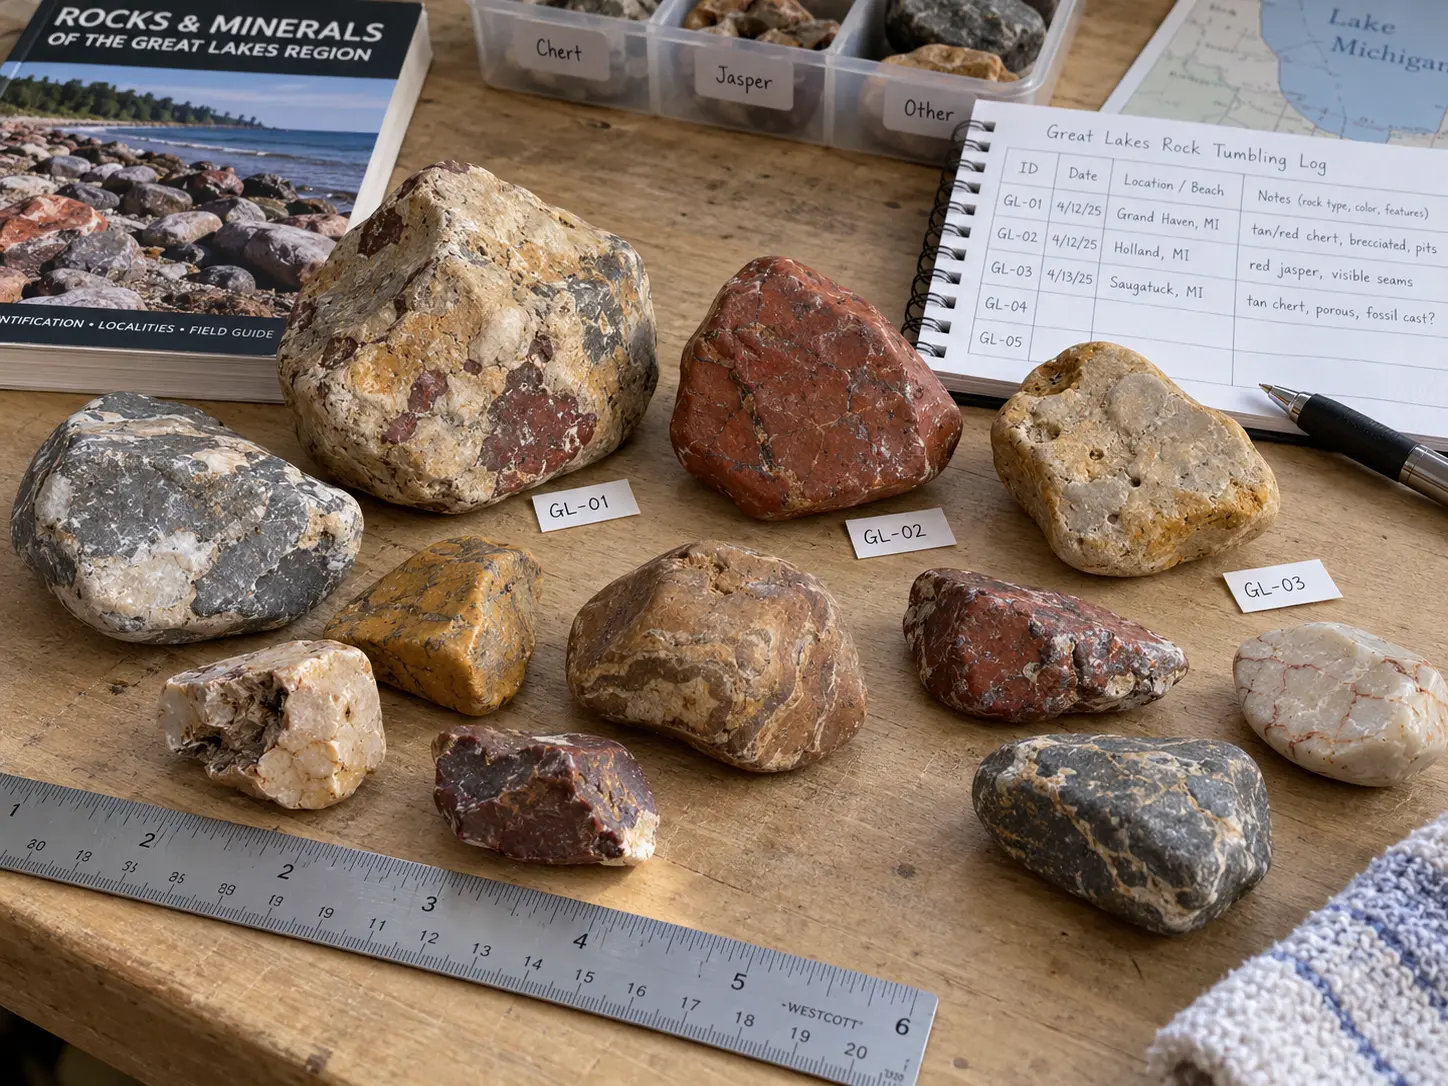
Use identifiers such as GL-01 and GL-02, with “suspected chert” or “jasper, supplier identified” in a separate field. Photograph each stone beside its identifier. Do not depend on markings remaining readable through grinding.
Texture, fractures and weathered surfaces
Photograph the dry stone from several angles, including its worst surface. Note cracks, pale seams, open cavities, rough crusts and edges that appear crumbly. Keep a ruler in the frame so later photographs show changes in shape and size.
A beach-rounded shape is not proof that coarse grinding is unnecessary. RockTumbler’s discussion of stream-rounded tumbling rough describes weathered surfaces and impact damage that can remain on naturally rounded stones. Inspect their condition rather than assuming nature completed the first stage.
Which stones are suitable for tumbling?
Screening fractures, pits and unstable pieces
Sort stones into three practical groups: suitable to attempt, uncertain, and better left out. Favor pieces with a cohesive surface and no obvious loose sections. Set aside specimens that shed grains, have an opening fracture, or contain cavities that you cannot clean reliably.
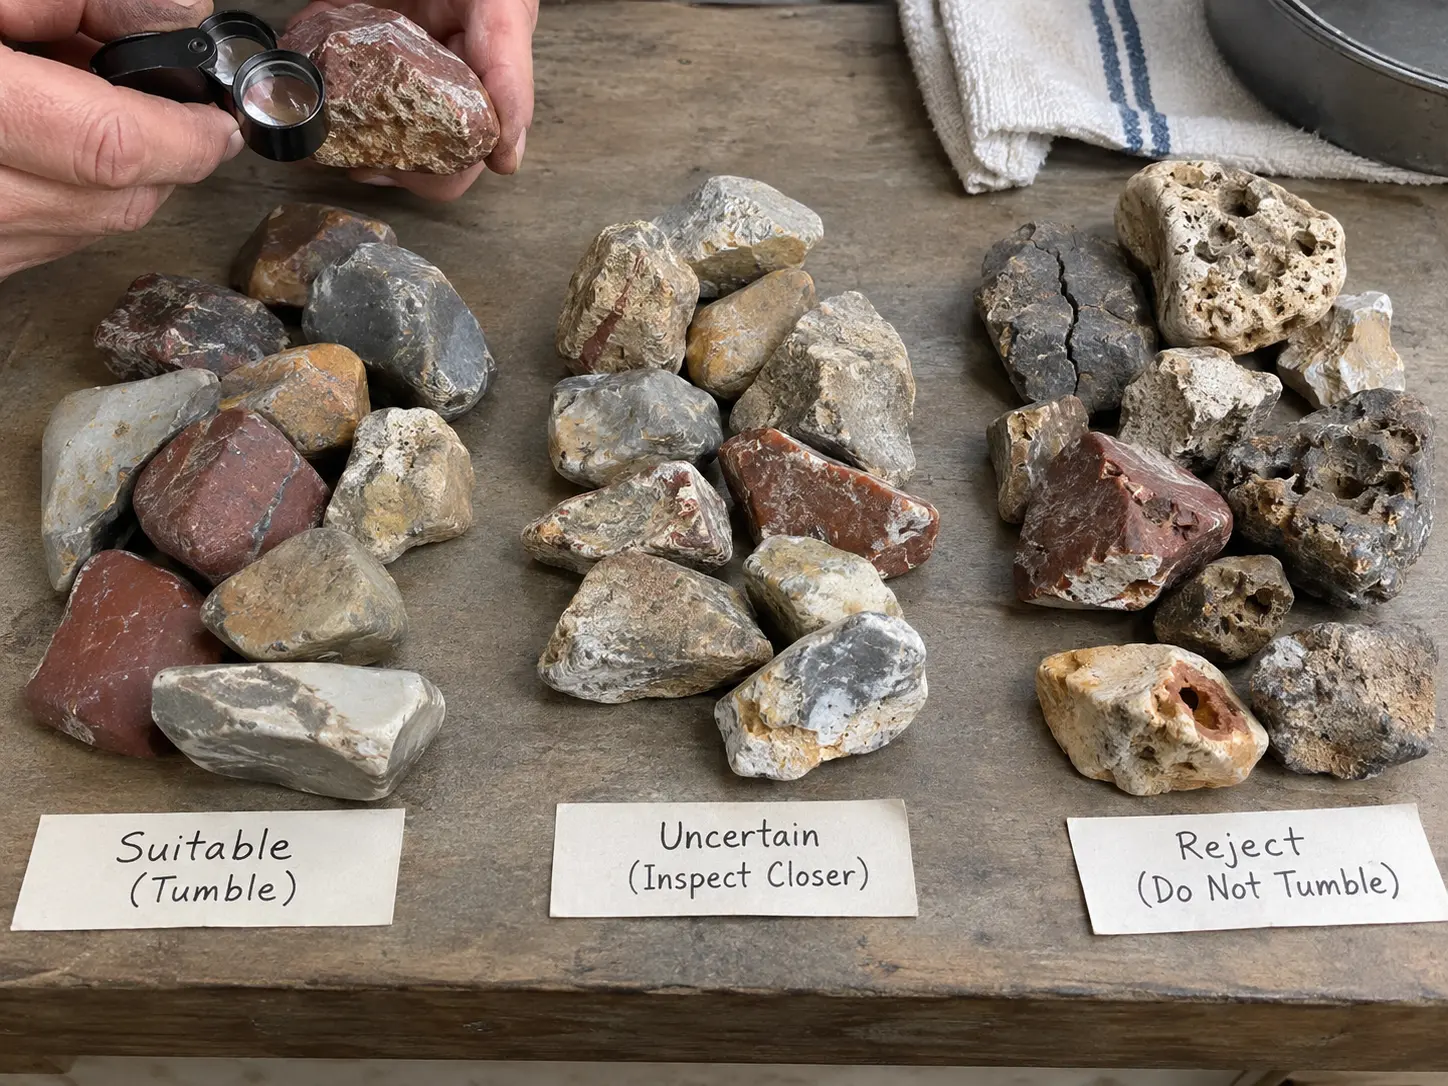
Decide what you are willing to lose before loading the barrel. Removing a deep pit means removing surrounding material too. Preserving a distinctive outline or band may matter more than producing a uniformly smooth pebble.
Keep particularly meaningful finds out of the first trial. An ordinary specimen with comparable texture is a better learning piece than the only stone you would regret reshaping.
Why similar hardness does not guarantee identical behavior
Chert and jasper are commonly placed around Mohs 7 in rock-tumbling hardness guidance. That supports considering suitable specimens together; it does not certify every stone bearing either label.
Hardness describes resistance to scratching. Toughness concerns resistance to breaking or chipping, a distinction explained in GIA’s guide to gemstone durability. Two similarly hard rocks can therefore respond differently when they contain fractures or contrasting components.
For a broader sorting framework, see our hardness and pairing guide for tumbling rocks. Treat hardness as one screening factor, alongside structure and condition.
How to prepare and compare the batches
Equipment, loading, abrasives and media
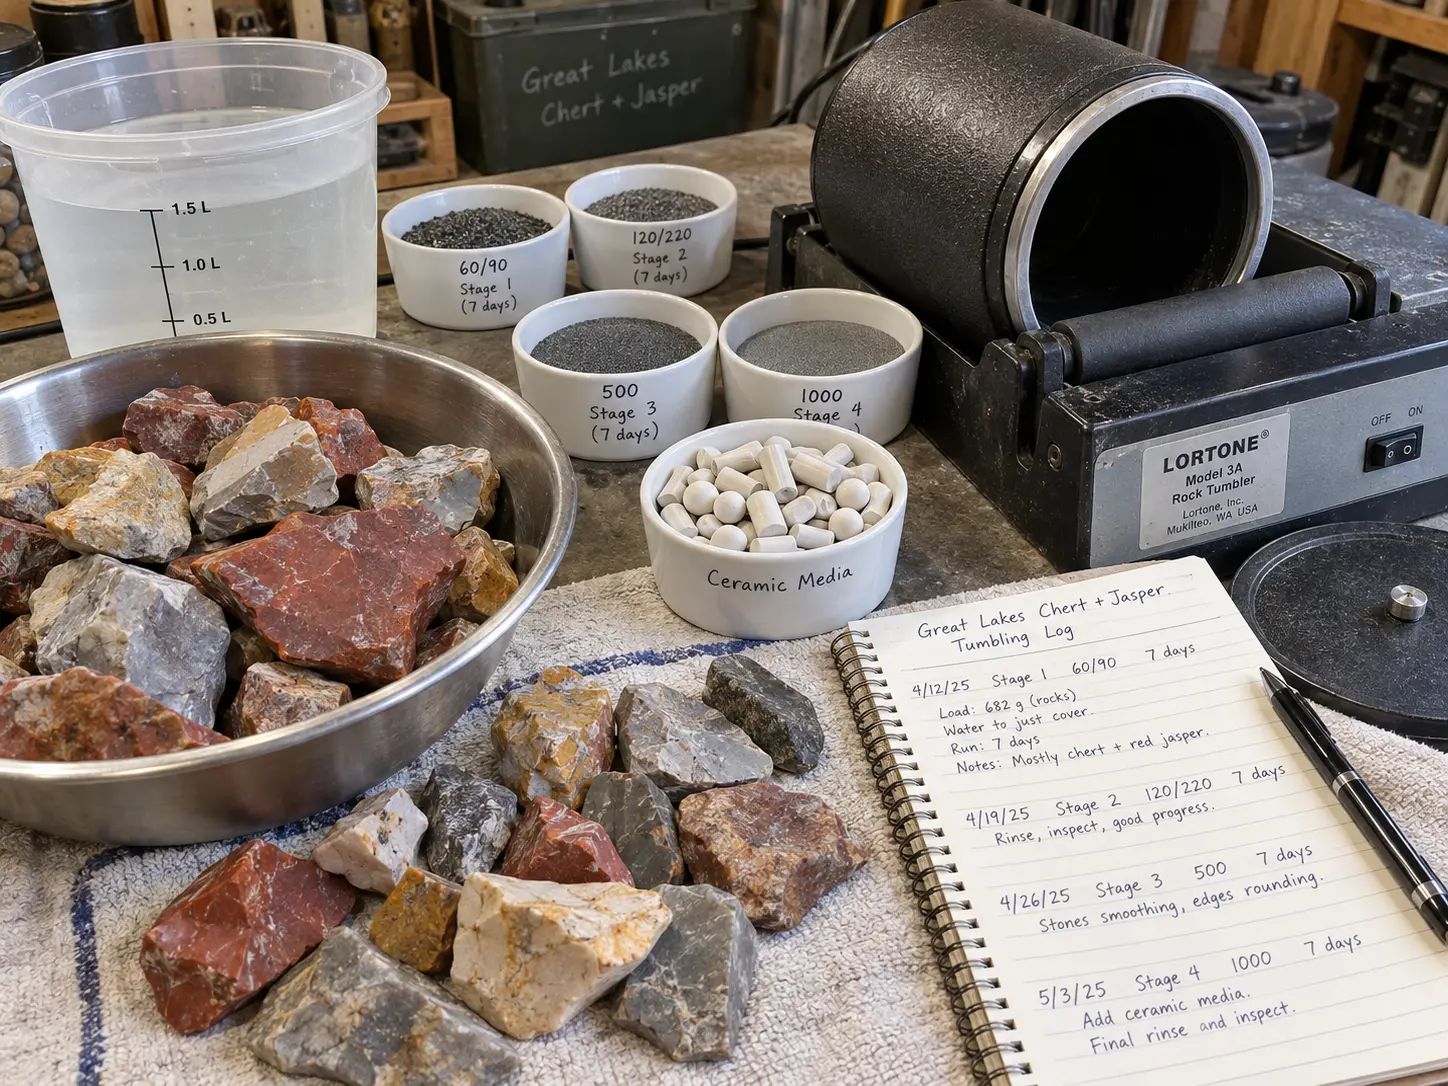
This article uses a small rotary tumbler as its reference setup. Do not transfer its schedule directly to a vibratory machine. The Rock Shed’s tumbler instructions give different loading and operating procedures for different machines; use the instructions appropriate to your model.
Record the tumbler model, barrel capacity, starting dry rock weight, approximate size range and operating load. Include water quantity, abrasive product and dose, media type and amount, and the date each stage began.
Be explicit about dosing. Does the chosen procedure calculate grit from rock weight, rocks plus media, or a specified barrel size? Copy that basis into your log. A spoon count without its denominator is not a reproducible instruction.
Ceramic media can help maintain the working fill and distribute contact among stones as the load changes. RockTumbler explains these roles in its guide to choosing tumbling media. Use a compatible size and follow the supplier’s preparation instructions. Our rock-tumbling media guide covers the practical options.
Conditions held consistent and differences that remain
If chert and jasper share one barrel, call the result a mixed-batch observation. Each stone experiences that batch, but it is not an independent comparison of two recipes.
Separate batches do not automatically make a controlled experiment either. Differences in rock size, surface condition, barrel fill or machine behavior can affect the comparison. Record those differences instead of attributing every outcome to the material’s name.
For a useful home trial, choose one question: does this group of sound specimens finish evenly under the selected process? Save media comparisons or changes in polishing compound for a later trial.
The stage-by-stage tumbling record
The following benchmark comes from RockTumbler’s jasper-and-agate rotary recipe, which also covers suitable chert and flint. It uses four weekly abrasive stages, with optional burnishing afterward and additional coarse cycles when needed. It is a reference for compatible equipment and material, not a promised completion time.
| Stage | Supplier-reference abrasive | Reference cycle | Inspection decision |
|---|---|---|---|
| Coarse shaping | 60/90 silicon carbide | 7 days; repeat as needed | Is the intended shape achieved, and are remaining defects acceptable? |
| Medium grinding | 150/220 silicon carbide | 7 days | Has the preceding scratch pattern been replaced? |
| Fine grinding | 500F silicon carbide | 7 days | Is the surface consistently refined, without obvious coarse scratches? |
| Polish | TXP aluminum oxide | 7 days | Does the clean, dry surface have the intended finish? |
Use the selected recipe’s quantities and the machine’s operating limits together. If they conflict, clarify the procedure with the manufacturer rather than averaging two instructions. Abrasive labels and schedules are not interchangeable across every supplier.
Coarse shaping and repeated stages
Inspect stones individually at the end of a cycle. Compare each one with its starting photograph: which edges rounded, which pits diminished, and which cracks became more visible?
Write a specific decision. “Repeat coarse to reduce the ridge on the back” is more useful than “needs longer.” Equally valid decisions include accepting a natural cavity, setting aside a damaged stone, or stopping because further grinding would erase a feature worth keeping.
Do not keep every stone in coarse solely because one unfinished piece remains. Hold ready stones aside until you can assemble an appropriate load for the next stage. Record withdrawals and replacements so later weight comparisons remain meaningful.
Medium and fine grinding inspection
Clean stones, barrel and lid thoroughly between stages. The Rock Shed instructions emphasize separating successive abrasives through careful cleaning. Collect slurry in a suitable container rather than sending grit and rock sediment down household drains.
Rinse a specimen, let it dry, and examine it under the same angled light each time. Look at several faces, not just the most attractive one. If you cannot distinguish scratches clearly, take a close-up or use a magnifier before deciding to advance.
Keep the observations concrete: “three lines remain across the red face” or “the pale seam is now lower than the surrounding surface.” These descriptions remain useful even if your explanation later changes.
Polishing and final dry assessment
Use a polish intended for the material and selected procedure. Polishing is the finishing stage, not a substitute for completing the earlier surface preparation. For readers new to the sequence, our beginner’s guide to rock tumbling explains how the stages fit together.
After final cleaning, assess fully dry stones without oil, wax or a glossy coating. Keep the light, camera angle and background consistent with the starting photographs. Record the calendar elapsed time separately from actual time in the tumbler.
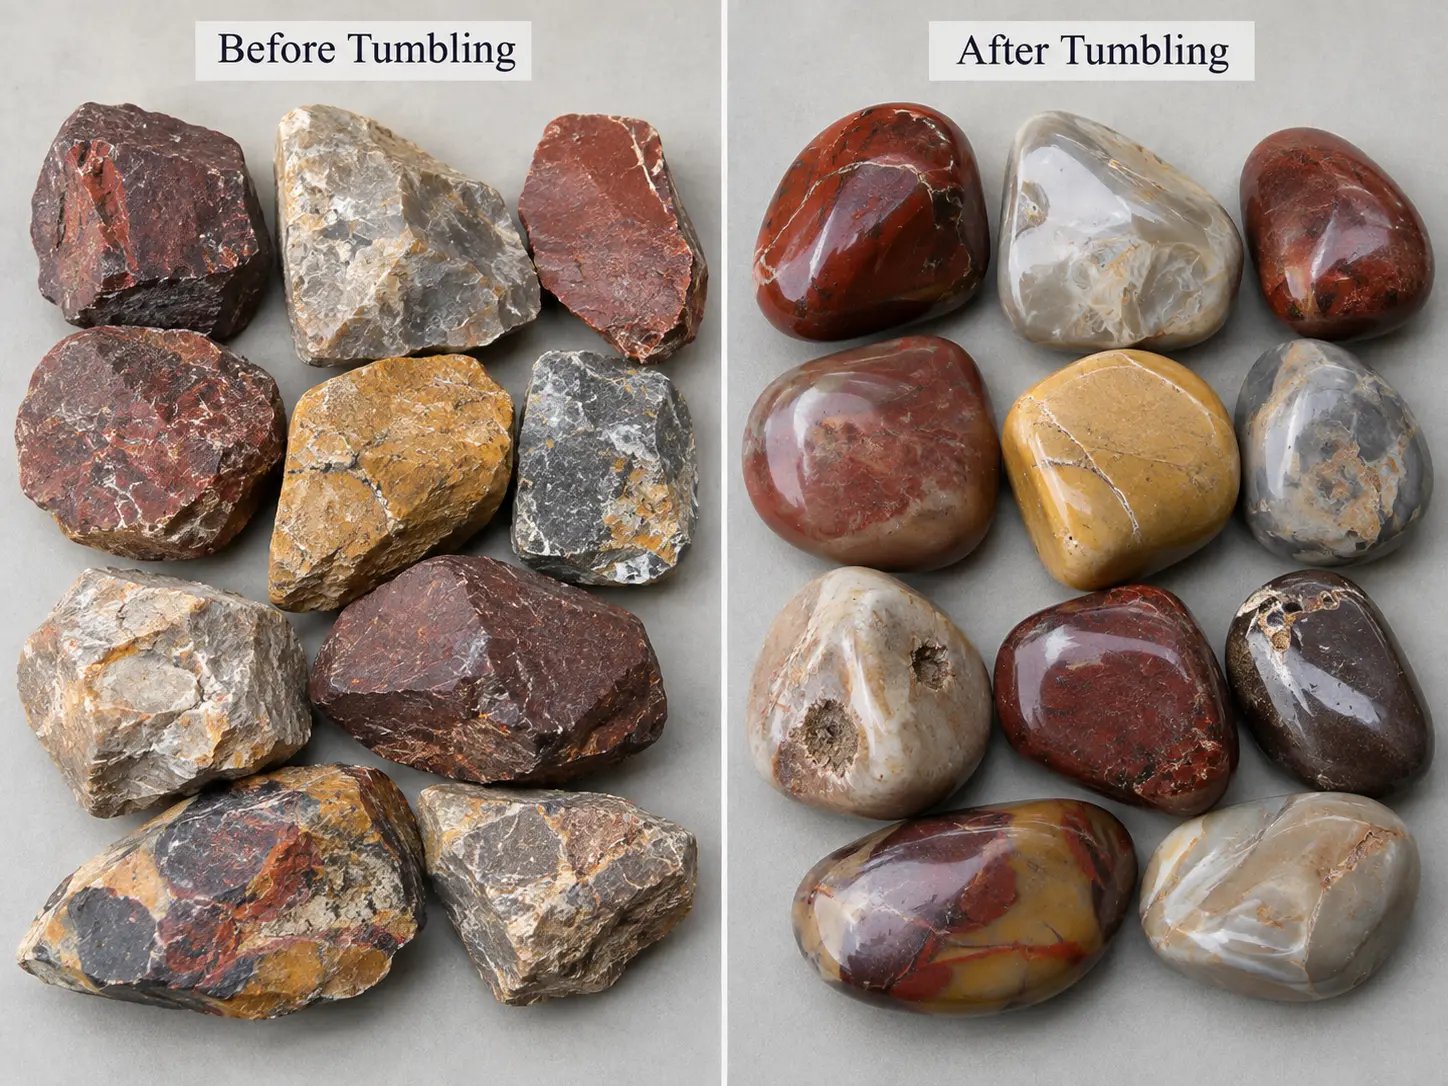
Results to record: finish, retained shape and material loss
What to record for chert
For each suspected or confirmed chert specimen, describe both broad surfaces and local defects. Is the reflection continuous across the face? Are the edges intact? Does a cavity remain rough while the surrounding stone looks glossy?
Avoid reporting only “good polish.” A stone can have an attractive finish and still lose more shape than you wanted. Record those as separate outcomes.
What to record for jasper
Use the same criteria for jasper. Color and pattern can make a specimen striking even when its surface is not evenly polished. Examine boundaries between contrasting areas and photograph any difference in relief or luster.
For a useful jasper tumbling before-and-after comparison, match the viewing face and lighting. Show both the representative finish and the least successful area. Do not compare a wet starting stone with a dry finished stone and present the difference as a measured polishing effect.
Stones that pitted, fractured or stayed dull
The following is a blank specimen log, not a results table from a completed batch. Replace every unrecorded field with an observation from your own stones.
| Sample ID | Working identification | Initial condition | Process and repeats | Final dry appearance | Unresolved defects |
|---|---|---|---|---|---|
| GL-01 | Not recorded | Not recorded | Not recorded | Not recorded | Not recorded |
| GL-02 | Not recorded | Not recorded | Not recorded | Not recorded | Not recorded |
| GL-03 | Not recorded | Not recorded | Not recorded | Not recorded | Not recorded |
If you measure material loss, weigh clean, dry stones before and after using the same scale. For an unchanged set, calculate:
Weight loss (%) = (starting dry weight – final dry weight) / starting dry weight × 100.
Keep media out of both measurements. Record missing pieces, broken fragments and stones removed from the run. Otherwise, batch weight loss cannot distinguish grinding from a change in which stones were weighed.
One dull stone does not diagnose the whole process. RockTumbler’s discussion of unsuccessful polishing describes several possibilities, including unsuitable material and damage during tumbling. A surface that sheds grains needs a different investigation from an otherwise sound stone retaining visible scratches.
What the observations suggest for your next batch
Separate the observation from its possible explanation. “The pale band is lower” describes a surface. “That band wore faster because of a compositional difference” is a hypothesis unless you have evidence to establish it.
Use the pattern of results to choose the next question:
- If one specimen performs poorly while others finish well, examine its starting condition and identification first.
- If the entire load has a similar problem, review the shared process, cleaning and loading records.
- If damage appears at a particular stage, compare photographs immediately before and after that stage.
These are ways to organize troubleshooting, not proof of a cause. Our guide to diagnosing dull tumbled rocks offers a broader troubleshooting checklist.
Change one documented variable in the next trial where practical. Keep successful and unsuccessful specimens in the record. A few stones can suggest what to investigate; they cannot establish that all Great Lakes chert polishes better or worse than all jasper.
Questions about tumbling chert and jasper
Can chert and jasper be tumbled together?
Yes, sound, compatible specimens can share a rotary batch. Confirm that both labels refer to suitable material, then consider size, texture, fractures and the selected recipe. Similar nominal hardness does not make an unstable or grain-shedding piece a good barrel companion.
Does chert need longer in coarse grit?
Not automatically. Let the starting condition and intended shape determine whether another cycle is useful. A weathered or deeply pitted specimen may need more preparation than a sound one, but that is not a universal chert-versus-jasper rule. Inspect both groups by the same criteria.
Why did one stone remain dull?
Look first at what “dull” means: visible scratches, uneven relief, tiny pits, new chips or a generally weak reflection. Compare that stone with its earlier photographs and with the rest of the load. Do not assume another polishing cycle will solve every one of those conditions.
Start with a small, documented selection. Give each specimen an identifier, decide which features you want to preserve, and assess the final stones dry. Those records will tell you more about your next batch than a material name or an unqualified promise of a perfect shine.


 Love Rock Tumbling?
Have a question? Use the form above to submit your question or comment.
I love hearing from you and seeing what you made!