


Does replacing small-rock filler with prepared ceramic media reduce new edge damage during polishing? A useful ceramic media rock tumbling test needs two properly loaded batches, comparable stones and a clear way to judge the finished surfaces. Comparing a full ceramic batch with a half-empty barrel would answer a different question.
This is a proposed test plan, not a completed experiment. No batch measurements, specimen photographs or results have been supplied. There is no reported winner, and “no clear difference” would also require observations before it could be a finding.
For general material choices, start with our rock-tumbling media guide. This article focuses on designing and documenting one comparison without confusing media choice with other changes.
The fair-test essentials
- Compare ceramic filler with suitable small-rock filler, not with an underfilled load.
- Begin with stones ready for the same polishing stage.
- Judge dry surfaces and record every run, including disappointing or inconclusive ones.
The question to test and the result to look for
Use one narrow question: During a fixed polishing cycle, does replacing a defined volume of compatible small-rock filler with a specified prepared ceramic product change the proportion of tracked stones showing new edge damage?
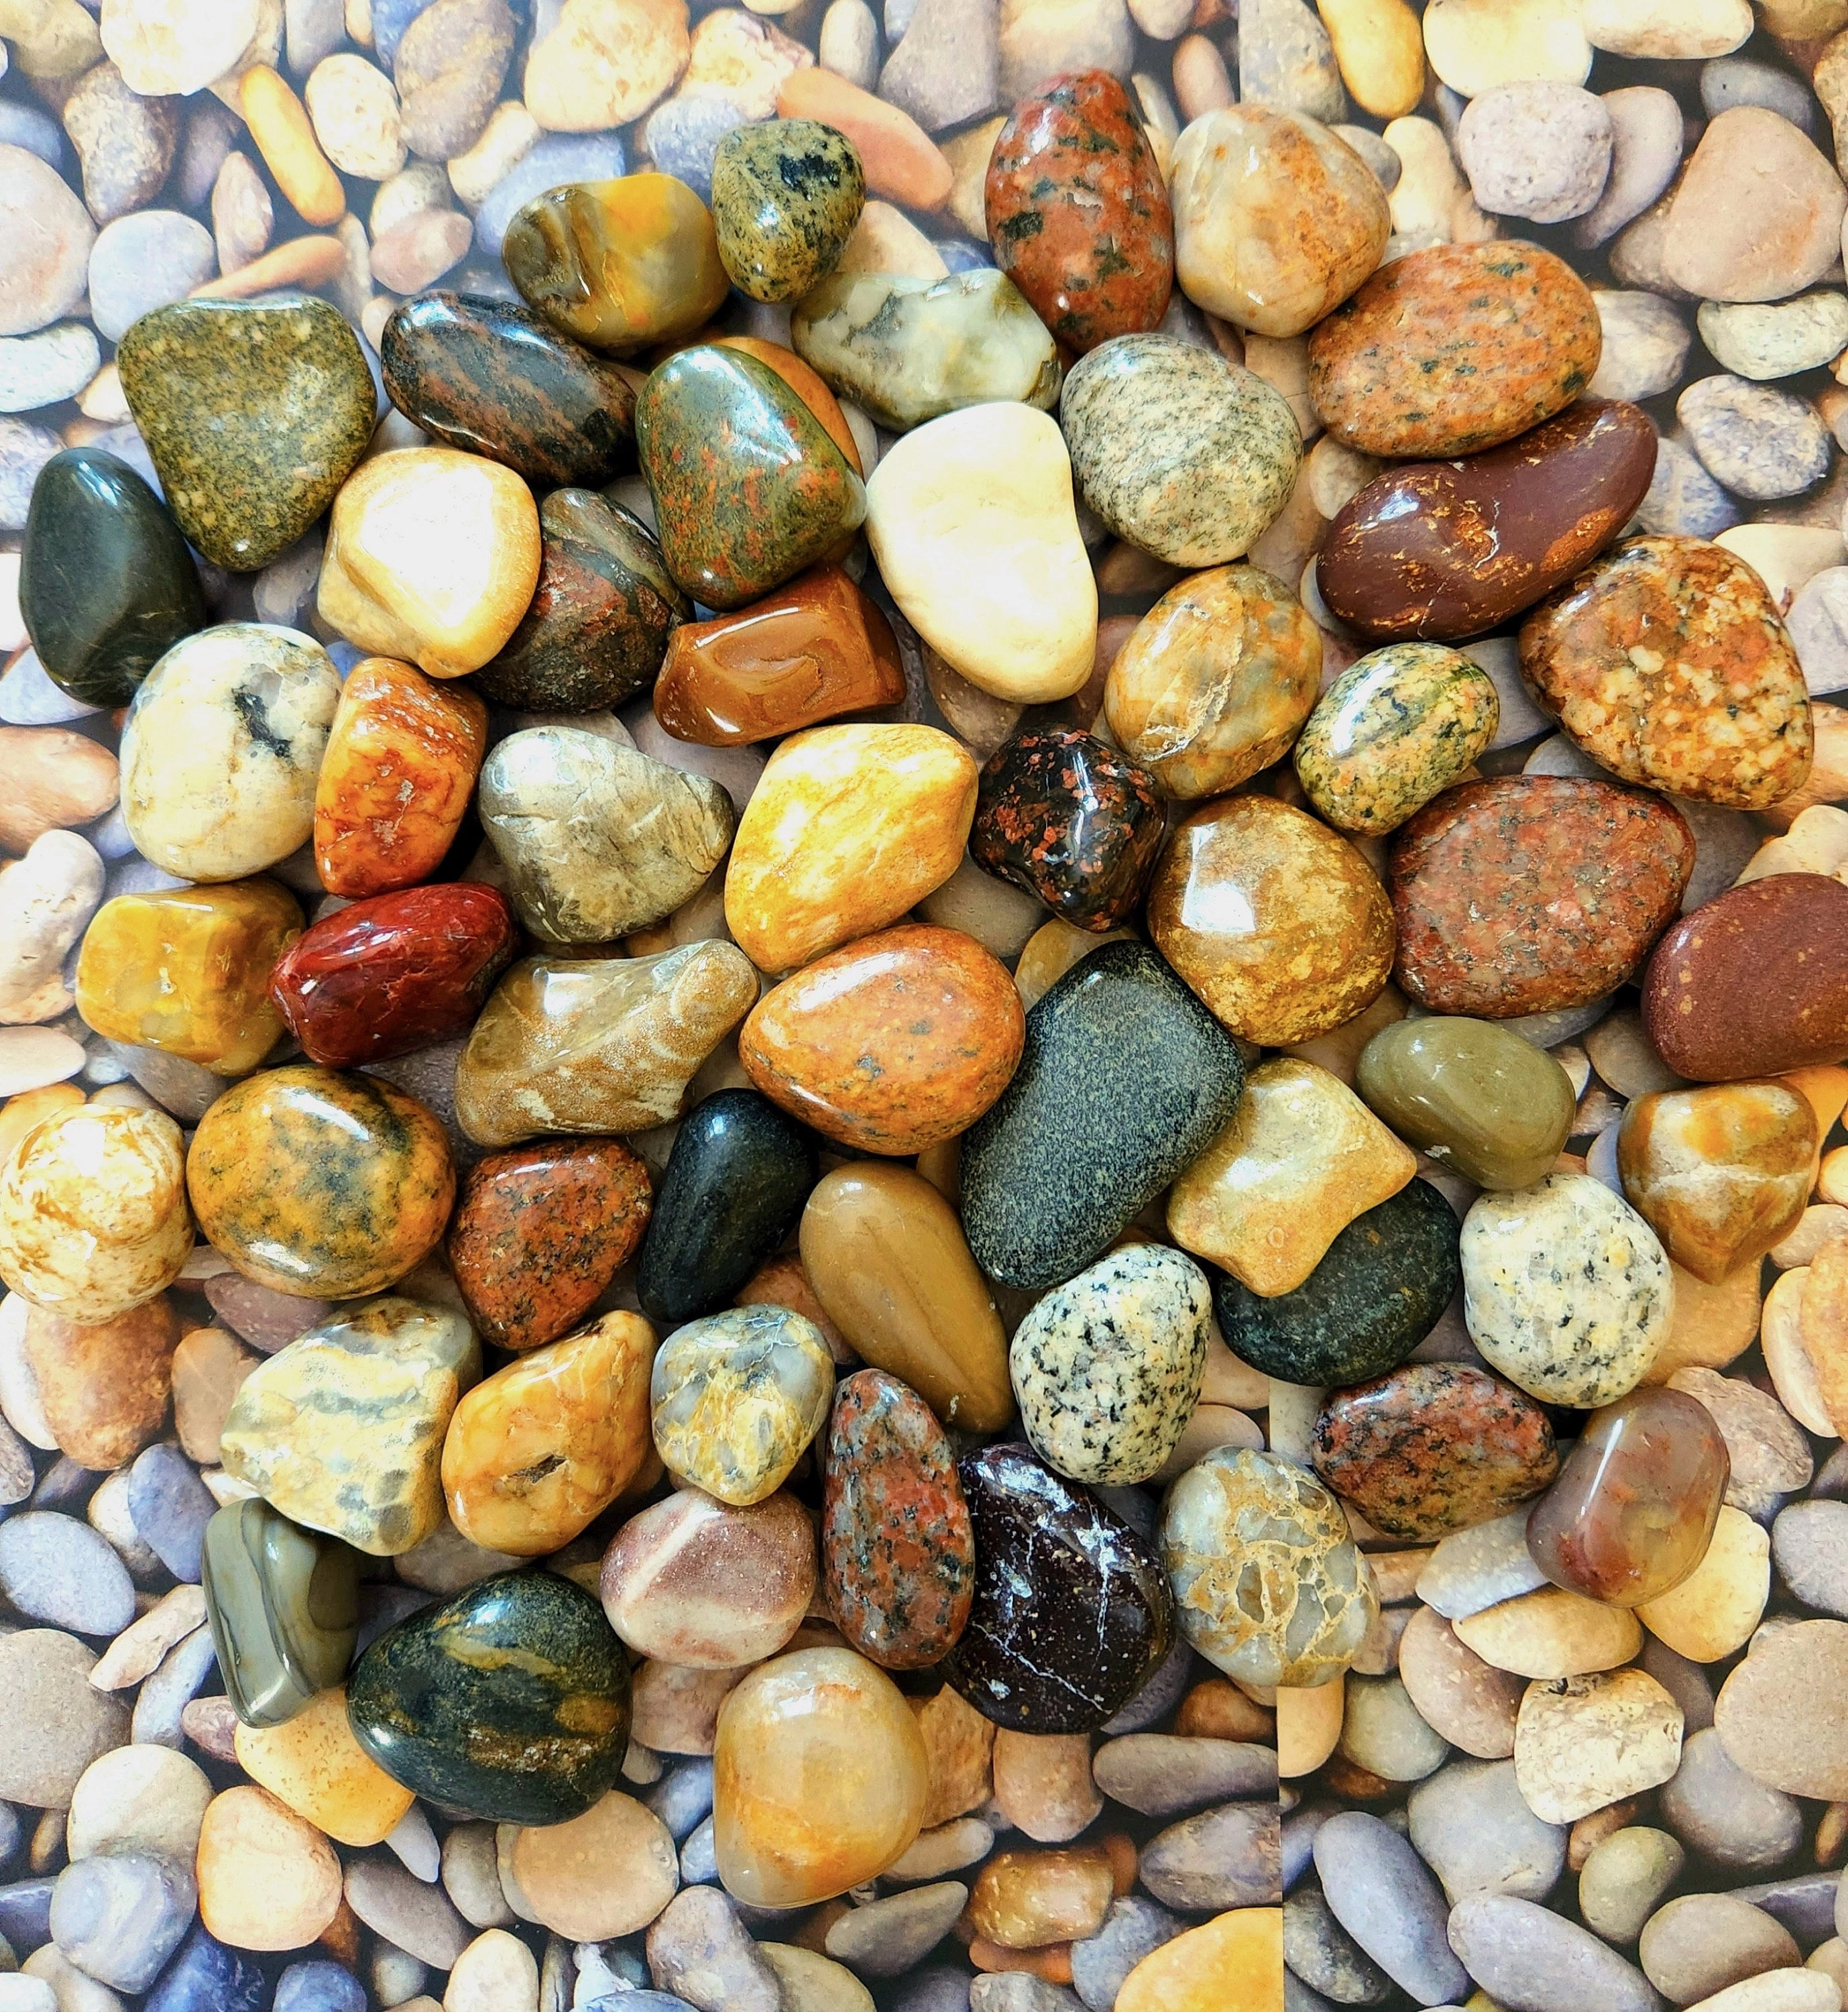
Here, “new edge damage” means chips or concentrated bruising visible after the cycle but absent from the matching baseline photographs. Count each affected stone once, even if several edges are damaged. Record scratches and dry finish separately as secondary observations.
The two treatments are:
- Small-rock filler: tracked stones plus clean, sound, appropriately prepared smaller stones.
- Ceramic filler: comparable tracked stones with the planned filler volume replaced by one prepared ceramic product.
Both loads must meet the machine’s operating requirements. In this design, “rock tumbling with and without ceramic media” does not mean removing the filler function from one batch. It means comparing two ways to provide it.
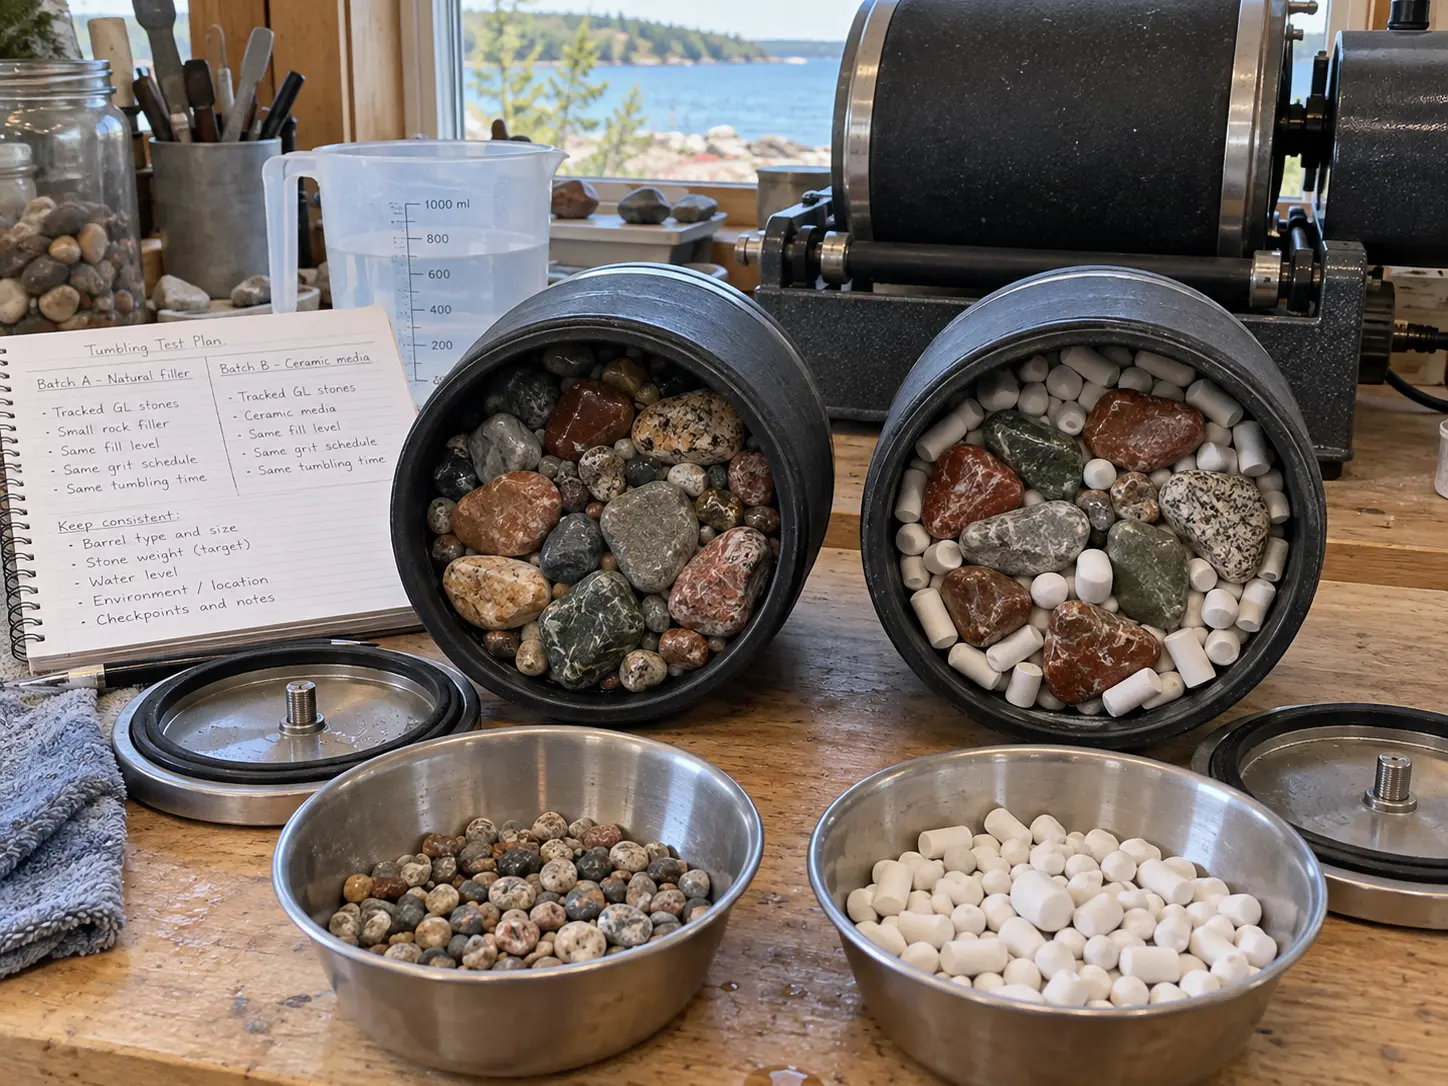
This polishing-stage test would not establish whether ceramics improve coarse shaping or shorten the entire tumbling process.
The stones, ceramic media and equipment
Provenance, condition and tracked sample stones
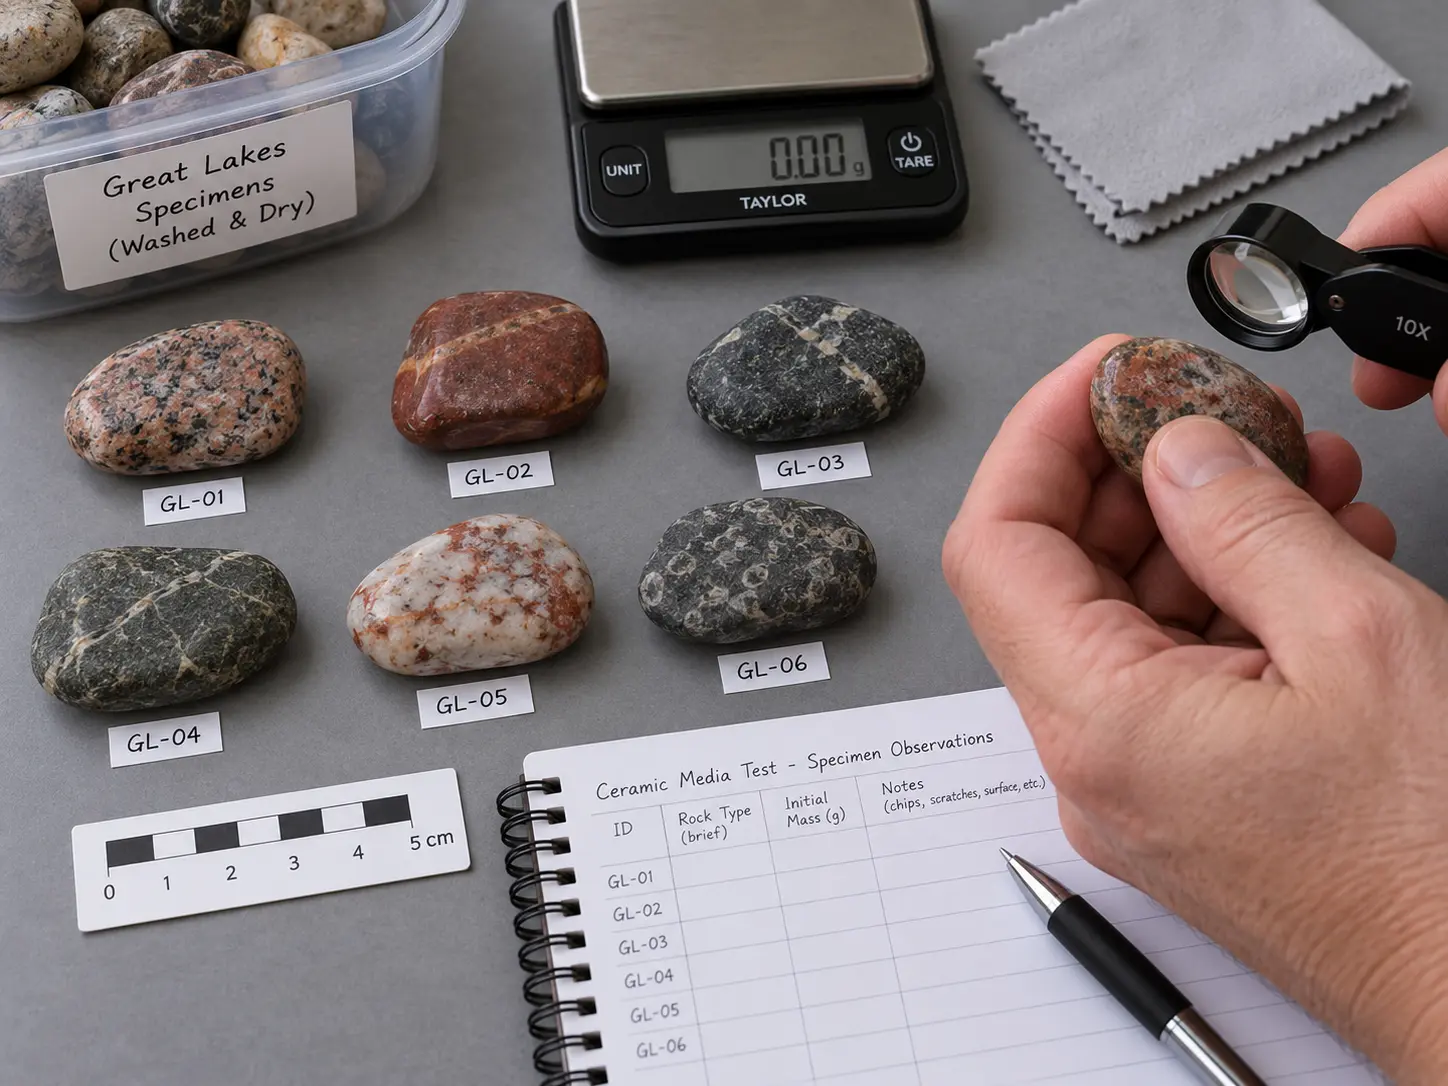
Choose one reasonably consistent material group rather than an assortment identified only as beach rocks. For example, work with sound, confidently identified agates from a documented Great Lakes collection. Keep collection records or supplier provenance separate from your identification notes.
Set aside stones with open fractures, loose grains or cavities you cannot clean reliably. RockTumbler’s rough-selection instructions describe how fractured or porous material can introduce problems during later stages. An unstable stone would make it harder to interpret a media comparison.
Complete earlier preparation before allocating the test stones. Give each specimen a photographic ID and record its size, dry mass, surface condition and recognizable features. Use a photo map rather than relying on ink surviving tumbling.
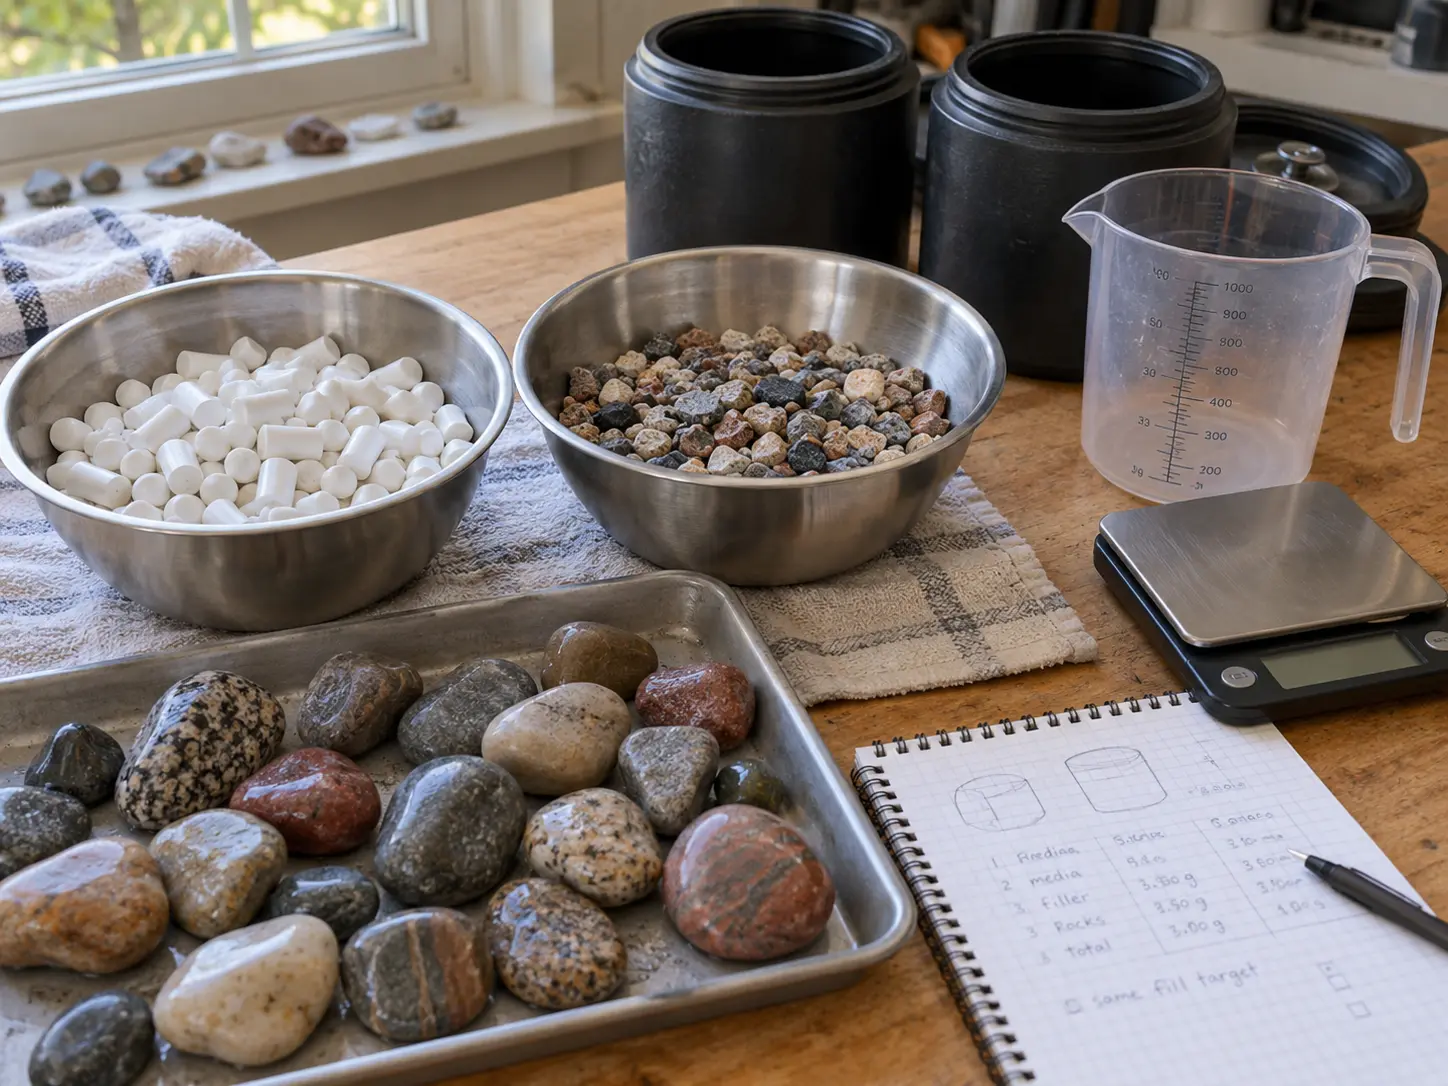
Our hardness and pairing guide provides the broader sorting context. Similar hardness alone does not make every pebble an appropriate companion.
Media product, size, shape and preparation
Record the manufacturer, product name, dimensions, shape and whether the ceramic is new or previously used. Specify media made for rock tumbling without embedded abrasive, not unidentified industrial finishing media.
Preparation is part of the treatment. RockTumbler’s ceramic-media guidance cautions that rough new pieces can scratch stones in fine grinding or polishing. The supplier recommends smoothing new media in earlier abrasive stages before later-stage use.
For this comparison, use cleaned, smoothly conditioned ceramic appropriate for polishing. Prepare the small-rock filler for the same stage. Document the previous grit and cleaning history of both; dirty filler on one side would introduce another explanation for scratches.
This is not a test of new versus conditioned ceramics. That would require a separate question and should not put valuable finished stones at unnecessary risk.
Tumbler type and operating limits
Record the model, barrel IDs, barrel condition and the permitted load. This plan assumes a rotary tumbler; do not transfer it directly to a vibratory machine.
The Rock Shed’s machine-specific instructions distinguish loading, water and operating procedures across models. Follow the relevant manual and material recipe rather than adopting one universal fill percentage. Check both the occupied volume and the applicable loaded-weight limit.
How to design the comparison
Comparable tracked stones and a defined treatment
Group stones into approximate pairs based on material, size, shape and starting surface. Randomly assign one from each pair to each treatment. Pairing cannot make natural stones identical, but it can prevent deliberately putting the smoothest specimens in the ceramic group.
Choose the replacement amount before running anything. Measure each component loose in the same graduated container, without tamping, using a consistent settling procedure. Record these component volumes separately from the final mixed barrel fill.
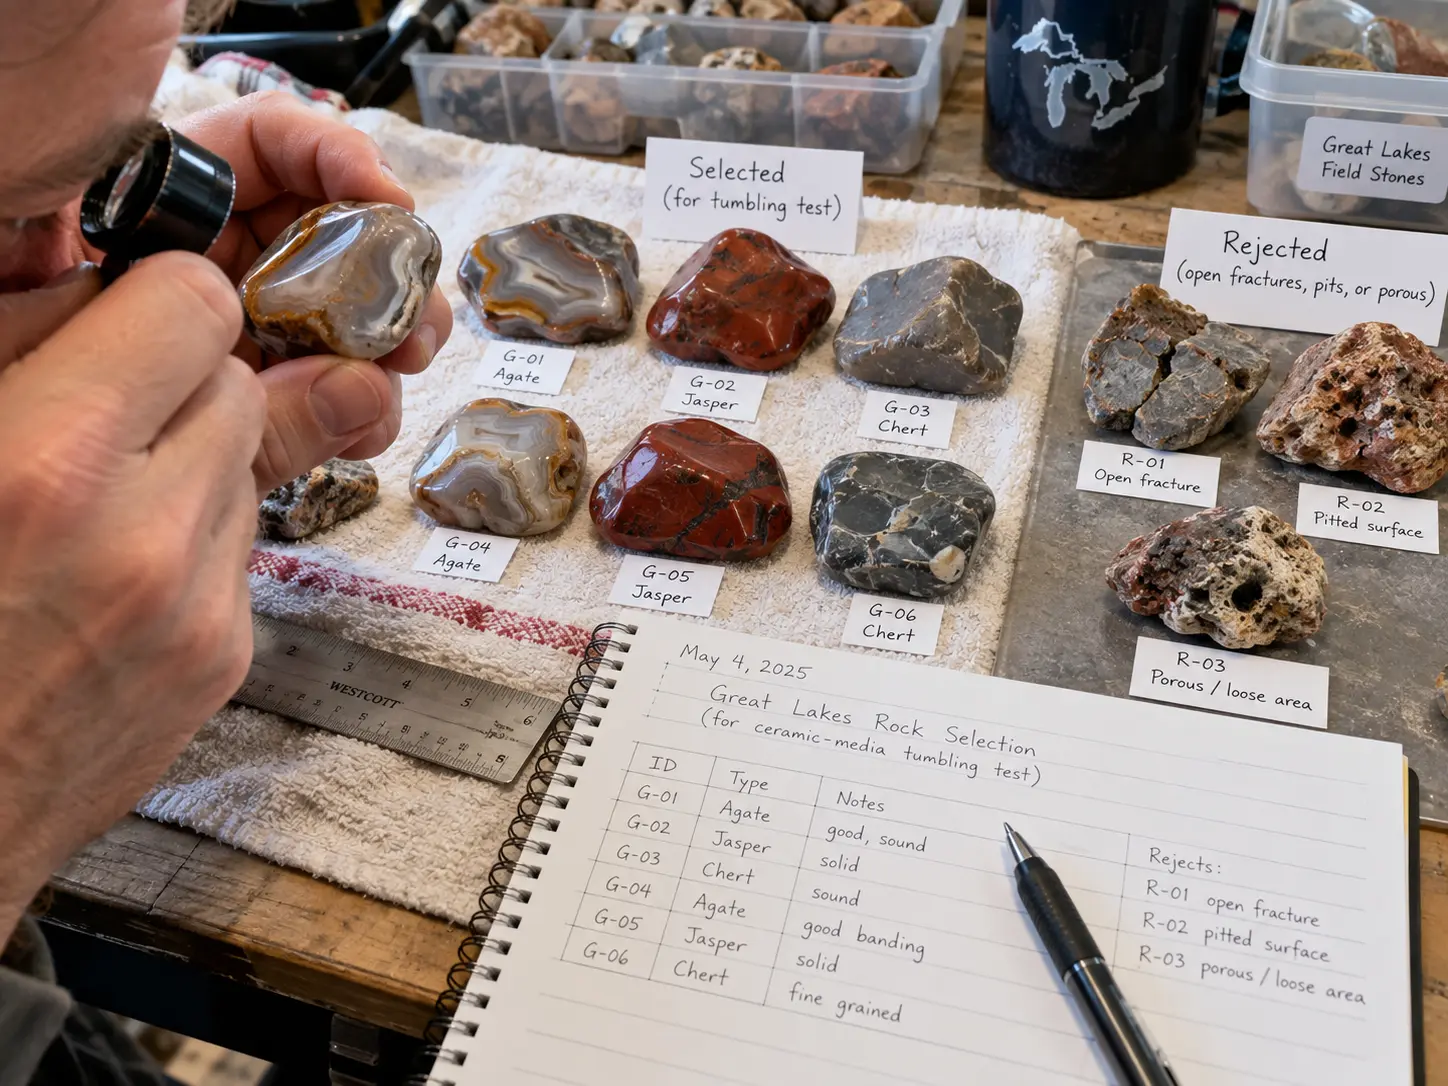
For this plan, define:
Ceramic share (%) = ceramic loose volume / (tracked-rock loose volume + small-rock filler loose volume + ceramic loose volume) × 100.
An arithmetic example, not a loading recommendation or test result: 800 mL of tracked stones plus 200 mL of ceramic gives a 20% ceramic share by this convention. The comparison load would use the corresponding 200 mL of prepared small-rock filler instead.
The denominator is the sum of separately measured loose volumes. It is not the occupied volume after mixing, the barrel capacity or a percentage by weight. Smaller pieces can fit between larger stones, so check the actual mixed fill independently.
Barrel fill, abrasive dose, water and run time
Before starting, choose a common fill target within the manual’s limits and state how closely both loads must match. Check it using the same barrel orientation and loading method. If the planned substitution produces unacceptable fill differences, revise the treatment and rebuild both loads before the trial. Do not leave one underfilled to preserve an attractive percentage.
Use this setup record for every paired run:
| Variable | What to keep consistent | What to record separately |
|---|---|---|
| Tracked stones | Material group and comparable starting condition | IDs, counts, sizes and dry masses |
| Filler | Intended function and approximate size range | Product or rock identity, preparation and volume |
| Operating load | Model-approved target and measurement method | Actual mixed fill and loaded weight |
| Polish | Product, lot where known, and dosing rule | Actual quantity and denominator used |
| Water | Source and stated loading rule | Measured amount added |
| Duration | Preselected run and inspection schedule | Actual operating hours and interruptions |
Equal fill does not necessarily mean equal mass. Different filler shapes can also change packing. Do not claim those properties were identical unless you measured them.
Follow the selected recipe’s dosing basis. If polish is dosed by total rocks-plus-media mass, replacing filler may change the quantity required. Record that difference. The comparison then evaluates the two filler setups under that dosing rule; it does not isolate ceramic composition independently of dose.
Use the same principle for water: record both the rule and actual quantity. For a first pilot, follow a compatible established recipe rather than inventing concentrations to force equality.
Repeated runs and unavoidable differences
A single paired run is a pilot, not a broad verdict. Each barrel run receives the treatment as a whole; ten stones inside one barrel are not ten independent tests of that treatment.
NIST’s guidance on randomized block designs explains why experiments should account for influential conditions other than the factor of interest. Applied here, record barrel identity, run date and machine position rather than assuming they are irrelevant.
Across repeat paired runs, use fresh comparable stone sets and balance which barrel receives each filler. With only one barrel, randomize treatment order and record the sequential-run limitation. Do not run the same stones first without ceramic and then with it and call that an equal starting comparison: the first treatment has already changed them.
Keep preparation and inspection rules consistent across repeats. If media wear, a replacement barrel or a changed polish lot alters the setup, record it rather than quietly pooling unlike runs.
Measurements and observations to record
Dry finish under consistent lighting
Photograph the same faces before polishing and after final cleaning, fully dry and without oil or coating. Keep the light, distance, background and camera settings consistent. Include a scale and specimen ID.
A simple proposed finish scale is:
- 0: No distinct reflection in the chosen view.
- 1: Broad, diffuse reflection.
- 2: Defined reflection, visibly interrupted by surface texture.
- 3: Crisp, mostly continuous reflection across the selected face.
This is a subjective visual scale, not a gloss-meter reading or an industry standard. Select the view and scoring rules before seeing the outcomes. Score baseline and final images, and conceal treatment labels from the reviewer where practical. Recheck a few images to see whether your judgments are consistent.
Chips, scratches and tracked-stone material loss
Compare edges with the baseline images. Record new damage as yes, no or uncertain, and describe its location. If the starting photograph does not show that edge, use uncertain rather than assuming the mark is new.
Record scratches separately from chips and bruising. A higher finish score can coexist with fresh edge damage, so avoid combining everything into one “better” rating.
Weigh clean, dry tracked stones before and after using the same scale and procedure:
Tracked-stone loss (%) = (starting dry mass – final dry mass) / starting dry mass × 100.
State the scale’s resolution and check repeat readings. If a change cannot be resolved reliably, report that limitation rather than “zero wear.” Record missing fragments and withdrawals; a broken piece lost during rinsing is not simply measured abrasive wear.
Cleaning effort and media wear
Time hands-on cleaning and sorting separately from unattended tumbling. Use the same cleanup endpoint for both treatments, such as no visible slurry after rinsing and inspection. Record any extra work needed around pits or seams.
If tracking ceramic wear, weigh the recovered media clean and dry and note missing pieces. Filler escaping through a sieve can look like wear in a weight-only record. Use a suitable recovery container and keep media measurements separate from tracked-stone mass.
How to report results by run and specimen
No results are available for this proposed experiment. The table below is a reporting template, not evidence that a run occurred. Copy it for every paired run, including stopped or unsuccessful attempts.
| Run and treatment | Tracked stones assessed | New edge damage | Dry-finish observations | Missing data or deviations |
|---|---|---|---|---|
| Pilot, small-rock filler | Not recorded | Not recorded | Not recorded | Not recorded |
| Pilot, ceramic filler | Not recorded | Not recorded | Not recorded | Not recorded |
Keep a linked specimen sheet with each ID, baseline condition, before-and-after photograph names, damage assessment, finish scores and dry masses. Show representative successes and failures from both groups, not only the best ceramic-treated stone.
Report damage counts with denominators and list uncertain assessments. If a specimen cannot be assessed, do not silently count it as undamaged. Present each run separately before summarizing the pattern across runs.
If the visible outcomes overlap, “no clear difference under these conditions” may be the honest conclusion. It would not establish that the treatments are equivalent under every condition. State exactly what was observed and how limited the comparison was.
What the experiment can and cannot tell you
When findings may apply to a similar load
A consistent pattern across repeated, comparable runs could help choose between the tested fillers for that material, stage and setup. It would not establish a universal optimum percentage, prove that every ceramic product behaves alike, or explain which physical property caused the difference.
The proposed test evaluates a practical substitution, including the selected filler shape and size distribution. Natural small-rock filler and ceramic cylinders are not identical objects differing only in chemical composition.
What needs another trial
Test another question separately: a different ceramic size, another replacement fraction, a coarse-grinding load or a different rock type. Do not change several conditions and attribute the outcome solely to one of them.
NIST’s experimental-design workflow recommends keeping raw records and using successive experiments to develop an answer. For this home trial, preserve all photographs and logs, including unchanged finishes, interrupted runs and mistakes.
Decisions about media preparation and reuse
Track the preparation history of reused ceramic, rinse it thoroughly between stages and inspect for rough edges, trapped material or broken pieces. If its condition is uncertain, keep it out of a valuable polish load until appropriately prepared.
If ceramic-associated scratches appear, inspect product suitability, preparation, cleaning and specimen stability before concluding that all ceramic media scratches rocks. Our dull-finish troubleshooting guide helps distinguish the competing explanations.
Questions about the ceramic-media test plan
How is media percentage calculated?
Here it is ceramic loose volume divided by the sum of the separately measured component volumes, multiplied by 100. Report that convention with the percentage. Also record the actual mixed fill; the two measurements serve different purposes.
Are both batches equally full?
That is a design requirement, not an observed result. Both must meet the same predeclared fill target and tolerance within the machine’s limits before the run starts. Disclose residual differences in packing, mass and filler distribution.
Would the findings apply to softer stones or another tumbler?
Not automatically. Softer, more fragile material and vibratory machines need their own suitable procedures and comparisons. Even another rotary barrel may introduce differences worth recording. Keep any eventual recommendation tied to the material and equipment actually tested.
Write the comparison rules before you load the barrels. A careful pilot can identify what deserves another trial. It cannot supply a result until the stones have been run, measured and inspected.



 Love Rock Tumbling?
Have a question? Use the form above to submit your question or comment.
I love hearing from you and seeing what you made!