

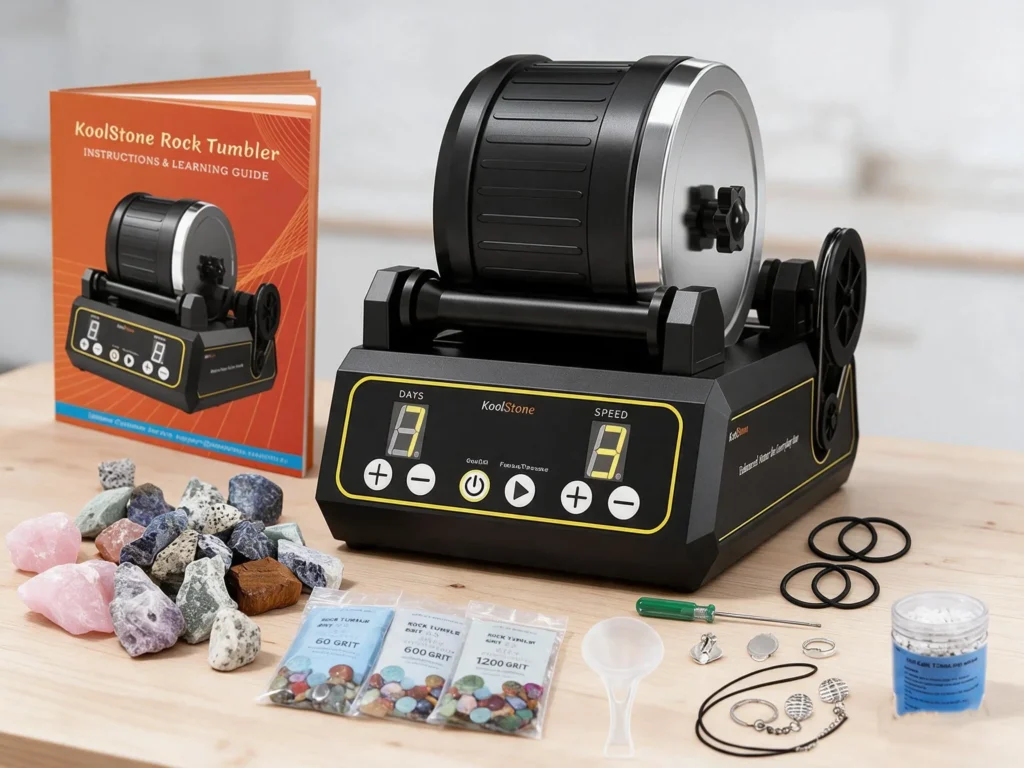
Turning rough material into smooth stones takes more than adding grit and pressing a switch. A steady routine helps the tumbler shape each batch through several controlled stages. This guide explains the process in clear steps, so beginners can work with realistic expectations.
Hobart M. King brings decades of experience to this hobby. His geology background and GIA graduate gemologist training offer useful context for choosing suitable material. Rough pieces with a Mohs hardness of 6 to 7 and a size from 3/8 inch to 1 1/2 inches usually suit this model.
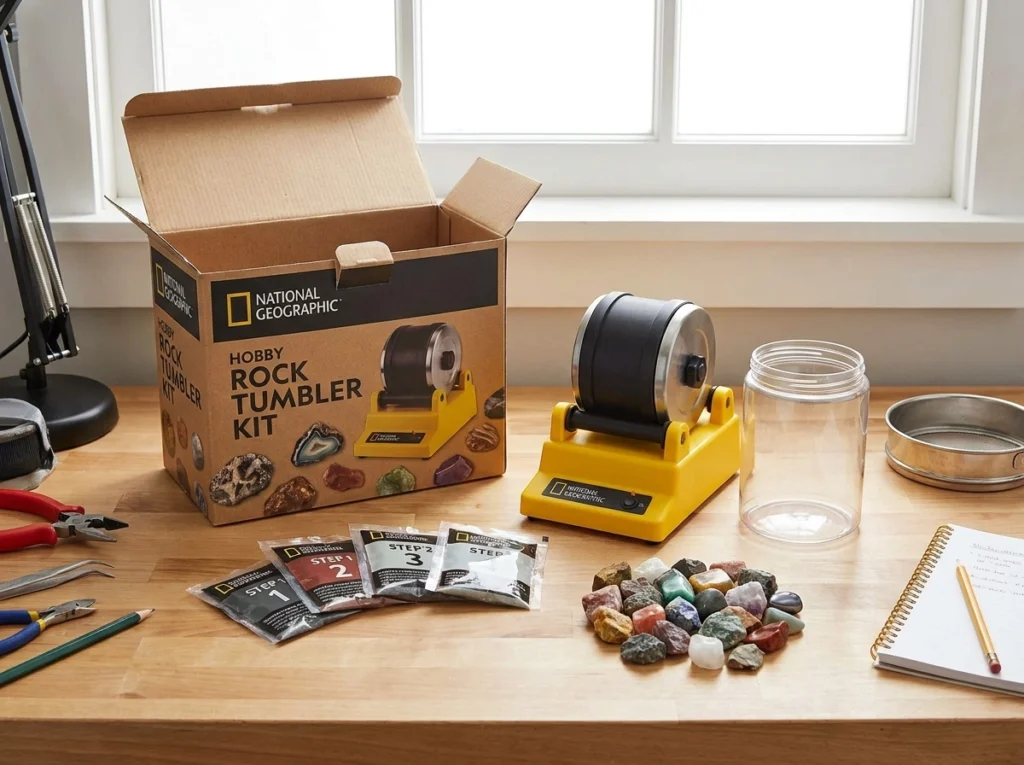
The Explorer Series kit includes about 1/2 pound of rough rocks, five jewelry settings, polishing supplies, a learning guide, and instructions. Its standard cycle moves from coarse grinding to fine grinding, pre-polishing, and final polishing. Each stage needs progressively finer grit, careful cleaning, and enough time.
Best results come from preparation and consistency, not guesswork. With the right type of rock, a balanced load, and patience, this simple hobby can produce attractive stones for display or jewelry.
national geographic rock tumbler instructions for a Successful Batch
Good preparation sets the pace for smooth, bright stones. Choose durable material first, then check the load, supplies, and work area. Best results start with sound pieces and a clean setup.
Choose Durable Rough Rocks of Similar Hardness
Select top rocks with a Mohs hardness of 6 to 7. Agate, jasper, quartz, granite, quartzite, chalcedony, amethyst, and petrified wood suit this process. For a 2- or 3-pound barrel, mix rocks from 1/4 inch to 1 1/2 inches. This range creates steady contact during tumbling.
Gather Supplies Before You Begin
- National Geographic grit and ceramic media
- Clean water, a colander, and a plastic bucket
- Safety glasses and a clean work area
Keep the barrel 1/2 to 2/3 full. Add ceramic media when the rocks leave empty space. This filler supports better movement and helps the grit reach every surface.
Inspect Each Piece for Damage
Look for pores, fractures, voids, weak edges, and grainy surfaces. Discard, trim, or test questionable pieces separately. Follow three rules: “Garbage in means garbage out,” “Avoid contamination,” and “Great results take time.”
Prepare and Load the National Geographic Tumbler Barrel
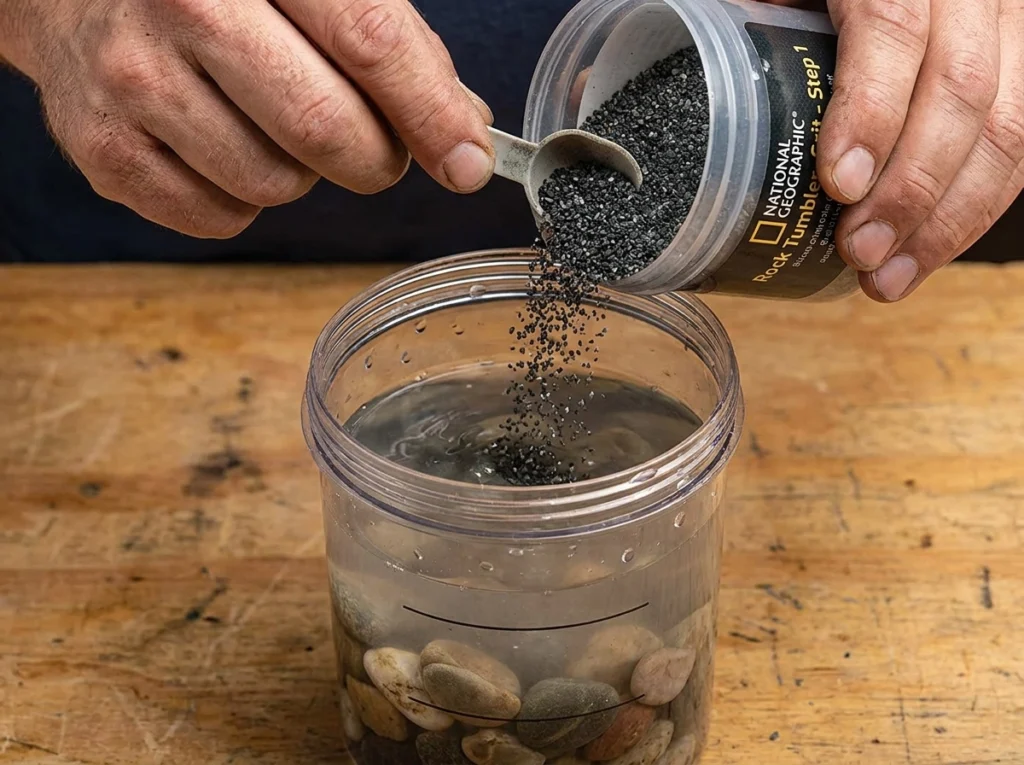
Clean the barrel, rim, and lid before every run. Remove old grit and mud so they cannot spoil a fresh batch. Set the barrel on a stable surface near a bucket for easy cleanup.
Fill the Barrel to the Proper Level with Mixed Rock Sizes
Combine large and small rocks until the load reaches about 1/2 to 2/3 full. This mix creates more contact points than large pieces alone. Add ceramic media if the rocks leave too much open space.
For a common three-pound model, measure about two level tablespoons of grit for each pound of rocks or media. Use a level measure for steady results and avoid packing the barrel too tightly.
Add Grit and Water Without Overfilling the Barrel
Pour in the selected grit, then add water to just below the top of the rocks. Do not cover the entire load. Excess water can make a thin slurry that reduces grinding action.
- Use 60/90 silicon carbide for the first run.
- Run it for about seven days, or test three days at speed 1.
- Rinse spent mud into a plastic bucket, never a drain.
National Geographic refill sets include 60, 150, 600, and 1,000 grades for later polishing stages. Keep coarse material away from household plumbing.




Run the Grinding and Polishing Process
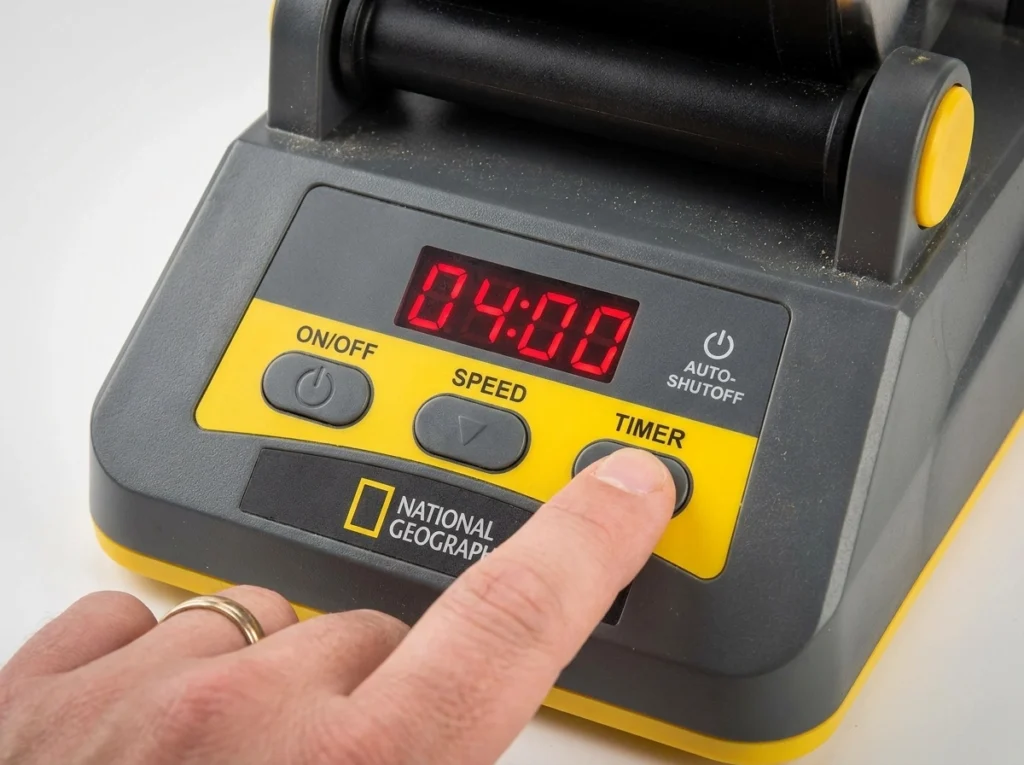
Once the load is balanced, move through the stages in order. Each step uses finer grit, so the rocks become smoother without carrying coarse particles into the final polish. A steady process gives the best results.
Use Progressively Finer Grit for Each Tumbling Stage
Keep the tumbler barrel about 2/3 full. Add enough water to form a soft slurry, but do not fill water to the top. Secure the lid before starting the barrel run.
- Step 1: Use 60/90 silicon carbide for about seven days. Check the slurry after three days at speed 1, and repeat the stage for another week if the stones still show rough edges.
- Step 2: Use 110/220 or 150/220 grit for about seven days. Clean the barrel, lid, and rocks fully before changing grit.
- Step 3: Run 500- or 600-grit silicon carbide for about seven days. Smooth, frosted surfaces show progress.
- Step 4: Use TXP aluminum oxide for about seven days, then rinse the stones to reveal the polish.
One national geographic recipe uses six days in Step 2, seven in Step 3, and eight in Step 4. Follow the standard seven-day schedule unless inspection supports a change.


Clean the Barrel and Rocks Between Grit Changes
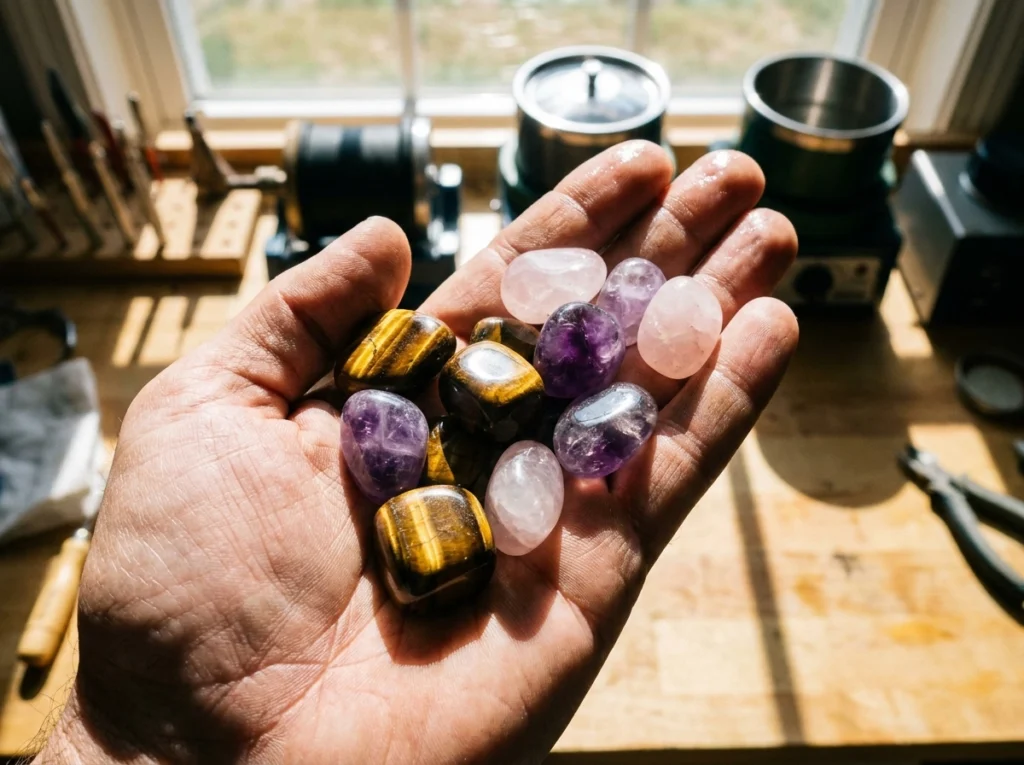
Careful cleanup protects each stage of the process and helps prevent dull results. Rinse the rocks, barrel, lid, and tools after every grit change. Continue until no visible slurry or abrasive remains.
Wash rock mud from the rocks right away. Dried residue can cling to surfaces and spoil the next polishing stage. Place a colander over a plastic bucket to collect used grit. Never send abrasive mud down the drain, where it may clog plumbing.
- Rinse after normal tumbling to remove loose grit and mud.
- Scrub the barrel before adding a finer abrasive.
- Clean the rocks barrel and tools more carefully before final polishing.
- Check the lid seal for trapped residue before restarting the tumbler.
Hazy stones may benefit from a short burnishing cycle. Use about 1/2 tablespoon of grated original Ivory soap per pound of rocks, then run the tumbler for about one hour. Another option uses a couple tablespoons of borax for several hours. Rinse well before the final polish.
Thorough cleaning takes little time but makes a major difference in finished stones.
Troubleshoot Common Tumbling Problems and Improve Results
Small changes can explain scratches, haze, or bruising after a cycle. Check the slurry, load level, and cleaning routine before changing the process. Most poor results come from contamination, weak material, or too much movement.
Fix Scratches, Haze, Bruising, and Dull Stones
Coarse grit left in the barrel, lid, tools, or rocks can scratch stones during a later stage. Fractured pieces may cause the same problem. Haze often improves after a short burnishing cycle, but deep marks need repeated medium grinding, fine grinding, and polishing.
- Separate questionable material and test it alone.
- Keep the barrel 1/2 to 2/3 full with ceramic media when needed.
- Use less speed if quartz shows bruised edges.
Know When to Repeat a Run or Adjust the Load
If sharp edges remain, repeat Step 1 for several days before moving on. As pieces wear down, add ceramic filler to prevent hard impacts. A National Geographic model uses a rubber drum and may sound like a washing machine. A National Geographic user also reports warranty help through help@natgeotoys.com during the two-year coverage period.
Keep used grit out of the drain, and give each batch time to develop better results.


Conclusion
Reliable national geographic results begin with durable rocks of similar hardness, mixed sizes, and a careful load. Inspect each piece, then fill the barrel to one-half or two-thirds full. This balance supports smooth movement and helps limit bruising.
A complete batch follows clear steps: coarse grit, medium grit, fine grit, and final polish. Clean the barrel and media between stages to stop contamination. Standard tumbling often takes several weeks, since each stage may run about seven days.
Track the material, dates, media, and notes for each run. That record makes best results easier to repeat. With patience, a rock tumbler can turn suitable rocks into durable polished stones for jewelry, displays, or gifts.



 Love Rock Tumbling?
Have a question? Use the form above to submit your question or comment.
I love hearing from you and seeing what you made!