
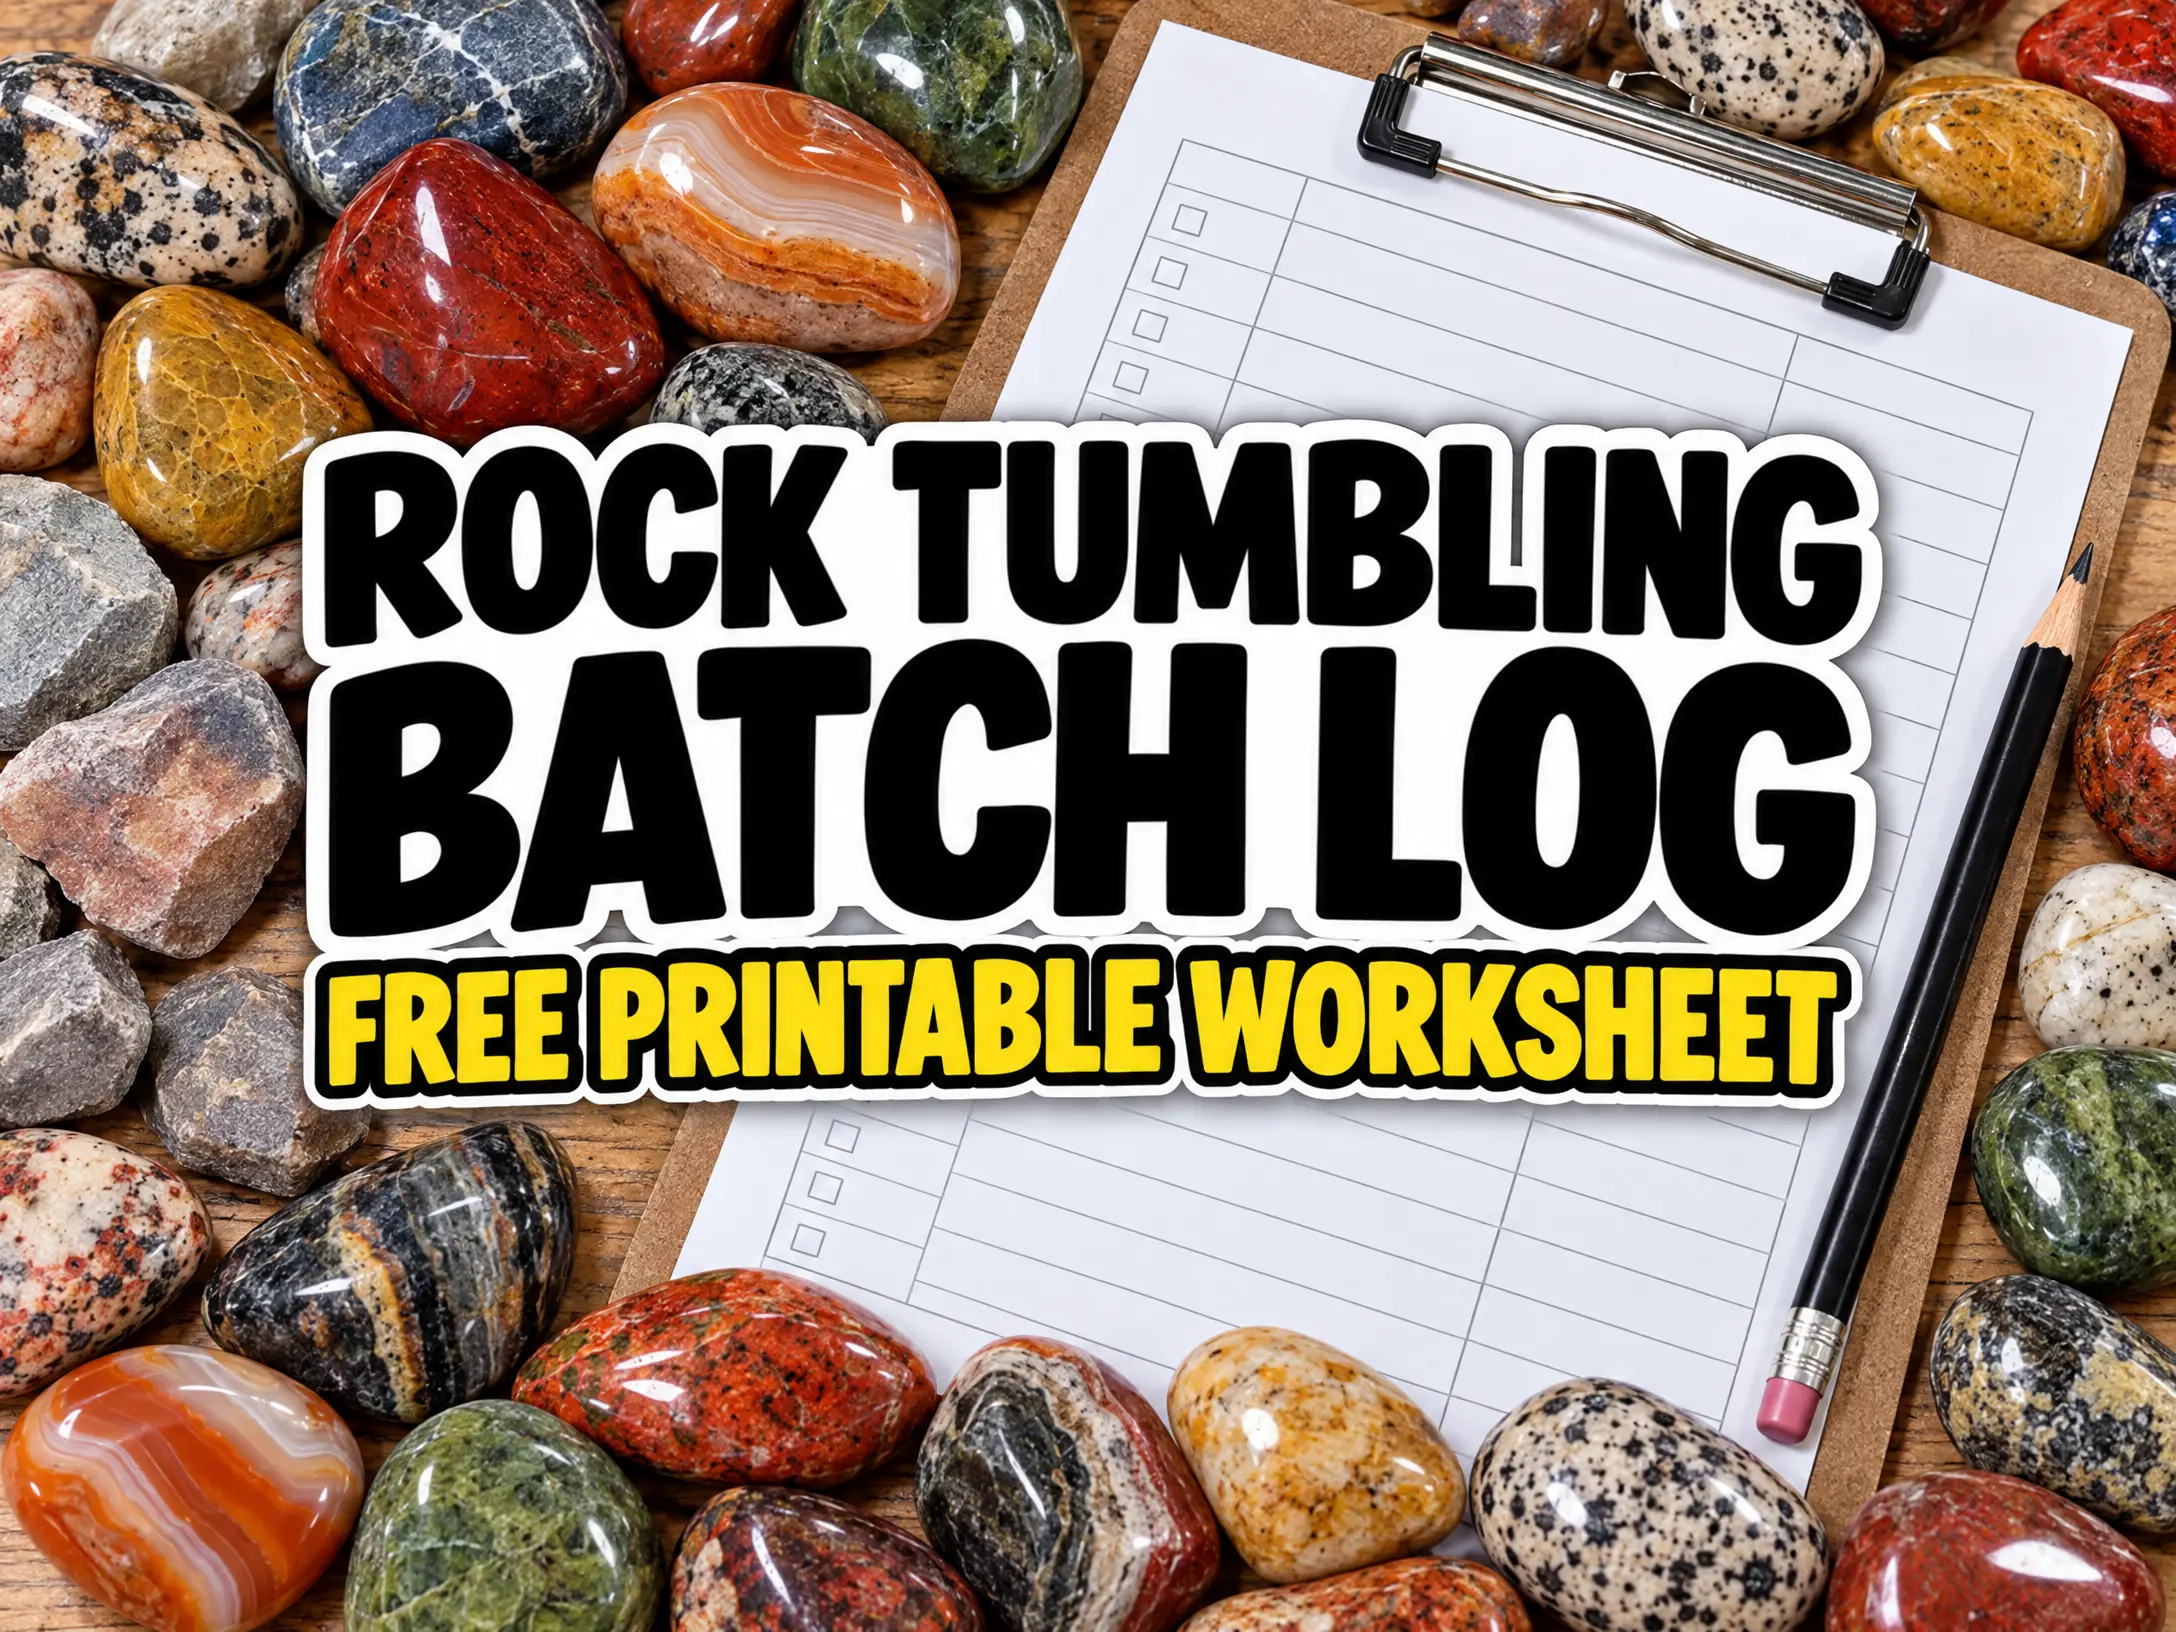
A rock tumbling batch log helps you remember exactly what went into a barrel, how long it ran and what changed after each inspection. Use the worksheet below to record the rock mix, abrasive or polish, water, media, barrel fill and dry results. Keep the same batch ID throughout the process so every stage can be traced back to its starting load.
Open your browser’s Print command to print this page or save it as a PDF. Use one Rock Tumbling Log for each barrel or batch. If you run two barrels at once, give each batch a different ID and label the corresponding barrel, lid and notes.
Quick use: record the recipe before starting, inspect clean and dry rocks after every run, then write the next action and any changes before restarting.
How to Use the Three Rock Tumbling Log Sheets
- Rock Tumbling Log: the detailed record for one barrel or batch, with stage observations and a final quality summary.
- Rock Tumbling Batch Details: the overview of your batches, their rock types, tumbler, dates, weights and final results. Use one row per batch when keeping a spreadsheet overview.
- Stage-by-Stage Rock Tumbling Log: the run history. Use one row per stage cycle and repeat the batch ID on every row, including reruns.
For a printed worksheet, write your entries and calculations by hand. In a Google Sheets version, use your own copy for digital records. Record the actual units used, such as grams or ounces for weights and level tablespoons or grams for abrasive amounts. Use consistent units when comparing runs. Measuring individual stones is optional; a stone ID helps you follow the same piece if you record its dimensions.
Rock Tumbling Batch Details
Complete the starting details before loading the barrel. Add the end date, final weight and quality notes when the batch is finished. Keep changes to the load in the stage record rather than replacing the original starting details.
| Field | Your notes |
|---|---|
| Batch ID and name | |
| Batch status: planned, active, paused or completed | |
| Start date and end date | |
| Tumbler type/model, barrel ID and capacity | |
| Rock or mineral types and source | |
| Approximate Mohs hardness range | |
| Largest and smallest pieces, with units | |
| Starting clean, dry rock weight, with units | |
| Initial barrel fill before water | |
| Initial media type and amount, with units | |
| Goal for this batch | |
| Final clean, dry rock weight and weight loss % | |
| Total actual tumbling time, with units | |
| Final dry polish quality and notes |
Stage-by-Stage Rock Tumbling Log
Follow your tumbler and abrasive product instructions for the stage sequence, loading and quantities. Write the actual product name and grade, rather than only “Grit 1” or “Grit 2.” Many four-step kits combine fine smoothing and pre-polish into one step. Use a separate pre-polish entry only if your process calls for it, and leave unused stages blank. The standard coarse-shaping sequence below is intended for rotary tumbling; a vibratory tumbler needs its own recommended sequence.
Start a new entry every time you recharge and rerun a stage: for example, “Coarse shaping, cycle 1” and “Coarse shaping, cycle 2.” Advance according to the inspection result and product guidance, rather than an assumed fixed number of days.
| Stage | Cycle | Start and end date/time | Dry inspection and next action |
|---|---|---|---|
| Coarse shaping | |||
| Medium smoothing | |||
| Fine smoothing / pre-polish | |||
| Separate pre-polish, if used | |||
| Polish | |||
| Optional burnish | |||
| Repeat stage, if needed |
Recipe and Observations for Each Run
Repeat this record for every stage cycle. Record water separately from barrel fill: the fill describes the rocks and media before adding water. For a short burnish or cleaning run, hours are more useful than a rounded whole-day duration.
| Run field | Your notes |
|---|---|
| Batch ID, stage name and cycle number | |
| Abrasive or polish product and grade | |
| Abrasive/polish amount and units | |
| Water amount or observed level | |
| Media type, amount and units | |
| Barrel fill before water | |
| Start and end date/time; actual running hours or days | |
| Clean, dry rock weight before and after, if measured | |
| Slurry observations | |
| Dry surface, edges, scratches, pits or chips | |
| Decision: advance, repeat, return to an earlier stage or remove pieces | |
| Change made before restarting |
Dry Inspection Checklist
Rinse the rocks and let their surfaces dry before deciding whether to advance. Water can temporarily hide haze and fine scratches.
- Inspect for newly cracked, shedding or deeply pitted pieces, and record any pieces set aside for further shaping or removed from the batch.
- Check flat areas and edges under the same bright light each time.
- Record scratches, chips, bruising, remaining pits and the dry surface finish.
- Note whether the slurry was watery, creamy, unusually thick or dried onto the rocks.
- Write the next action and any change to water, barrel fill, media, abrasive amount or run time.
- Clean the barrel, lid, rim, tools and reusable ceramic media before changing abrasive grades. Keep plastic pellets dedicated to their grit stage instead of carrying them into a finer stage.
For final polish quality, use a consistent description such as dull, satin, glossy or high gloss. Judge the clean, dry stones under similar lighting, and note whether the result applies to the whole batch or only some pieces. See the manufacturer’s tumbling and media instructions for the distinction between reusable ceramic media and stage-specific plastic pellets.
Troubleshooting Notes
Record the symptom, the factor you checked, the change you made and what happened after the next run. Treat a suspected cause as a working explanation until a comparable rerun supports it.
| Symptom | Factor checked | Change made | Result after rerun |
|---|---|---|---|
| Dull only after drying | |||
| Fresh scratches | |||
| Bruised or chipped edges | |||
| Deep pits remain | |||
| Barrel stalled or leaked |
How to Record Weight Loss and Run Time
Weigh clean, dry rocks using the same units each time. Exclude water, abrasive and tumbling media from the rock weights.
Weight loss % = ((starting rock weight – ending rock weight) / starting rock weight) x 100.
For example, a batch that starts at 32 oz and finishes at 24 oz has lost 25% of its starting weight. In a spreadsheet, use (starting weight – ending weight) / starting weight and format the result as a percentage. Leave the result blank until both weights are entered and the starting weight is greater than zero.
Record rocks added, removed, broken or set aside during the process. When the contents change, the start-to-finish difference includes those changes and cannot be treated as abrasion loss alone. Compare the same group of stones when you want to measure abrasion.
Distinguish elapsed batch days from actual tumbling time. Add the running duration of each cycle for the total run time, and note pauses separately. Record short runs in hours and longer runs in hours or decimal days, with the unit stated.
How to Compare Batches
Change one major variable at a time when possible. If the rock mix, grit amount, water level and media all change together, the log cannot show which change improved the result. Compare batches made from similar material, using consistent measurements and dry inspections under similar lighting.
The Mohs scale describes resistance to scratching, but hardness alone does not predict every failure. Toughness, fractures, pores and mixed mineral composition also affect how a piece behaves. The U.S. Geological Survey Mohs reference and GIA’s explanation of hardness, toughness and stability provide useful background.
Related Rock Tumbling Guides
- Follow the complete rock tumbling process.
- Choose compatible rocks by hardness and condition.
- Choose ceramic media, plastic pellets or small-rock filler.
- Diagnose dull or scratched tumbled rocks.
Keep completed sheets together by batch ID. Clear records help you repeat a successful recipe, recognize materials that work well together and avoid repeating adjustments that produced poor results.



 Love Rock Tumbling?
Have a question? Use the form above to submit your question or comment.
I love hearing from you and seeing what you made!