

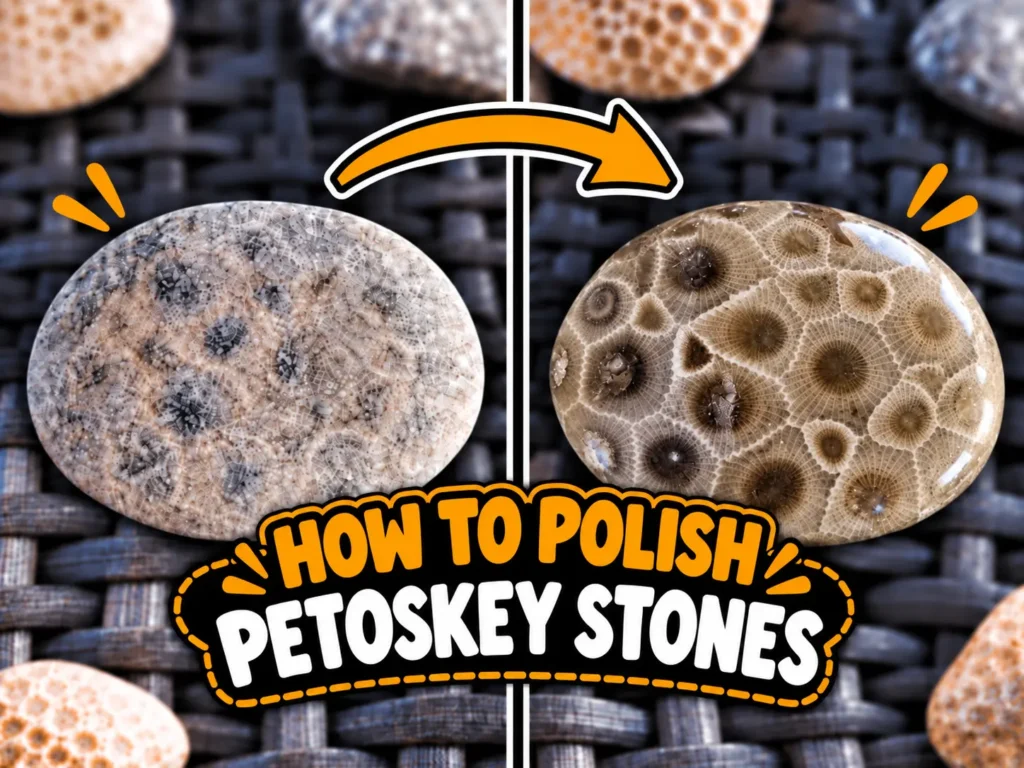
How to Polish Petoskey Stones: A Guide to Reducing Undercutting
The most controllable way to polish a Petoskey stone is to wet-sand it by hand, inspect it dry after each abrasive, and stop when a flaw is natural rather than a sanding defect. This guide uses 220, 400 and 600 grit followed by a lapidary polishing compound. The goal is an even surface and clear fossil pattern, not the removal of every pit.
Hand polishing suits Petoskey stone because the material is largely calcite. Michigan State University describes it as workable by hand and capable of taking a polish [2]. The United States Geological Survey places calcite at Mohs 3 [3], so heavy pressure can change the surface quickly.
Key takeaways
- Use wet/dry silicon-carbide paper and keep the stone, abrasive and hands clean.
- Inspect the stone dry under the same light after every grit. Water can temporarily hide scratches and make the fossil pattern look stronger.
- Reduce undercutting with light, even contact, frequent rotation and short inspection intervals.
- Do not grind away every natural pit. Stop when more sanding would sacrifice the shape or fossil detail.
- Keep Petoskey stones out of a conventional agate load.
Evidence note: This is a source-grounded tutorial, not a record of a specimen polished for this draft. No test time, before-and-after result or success rate is invented. A future update should add original dry photographs and a completed work log from one tracked stone.
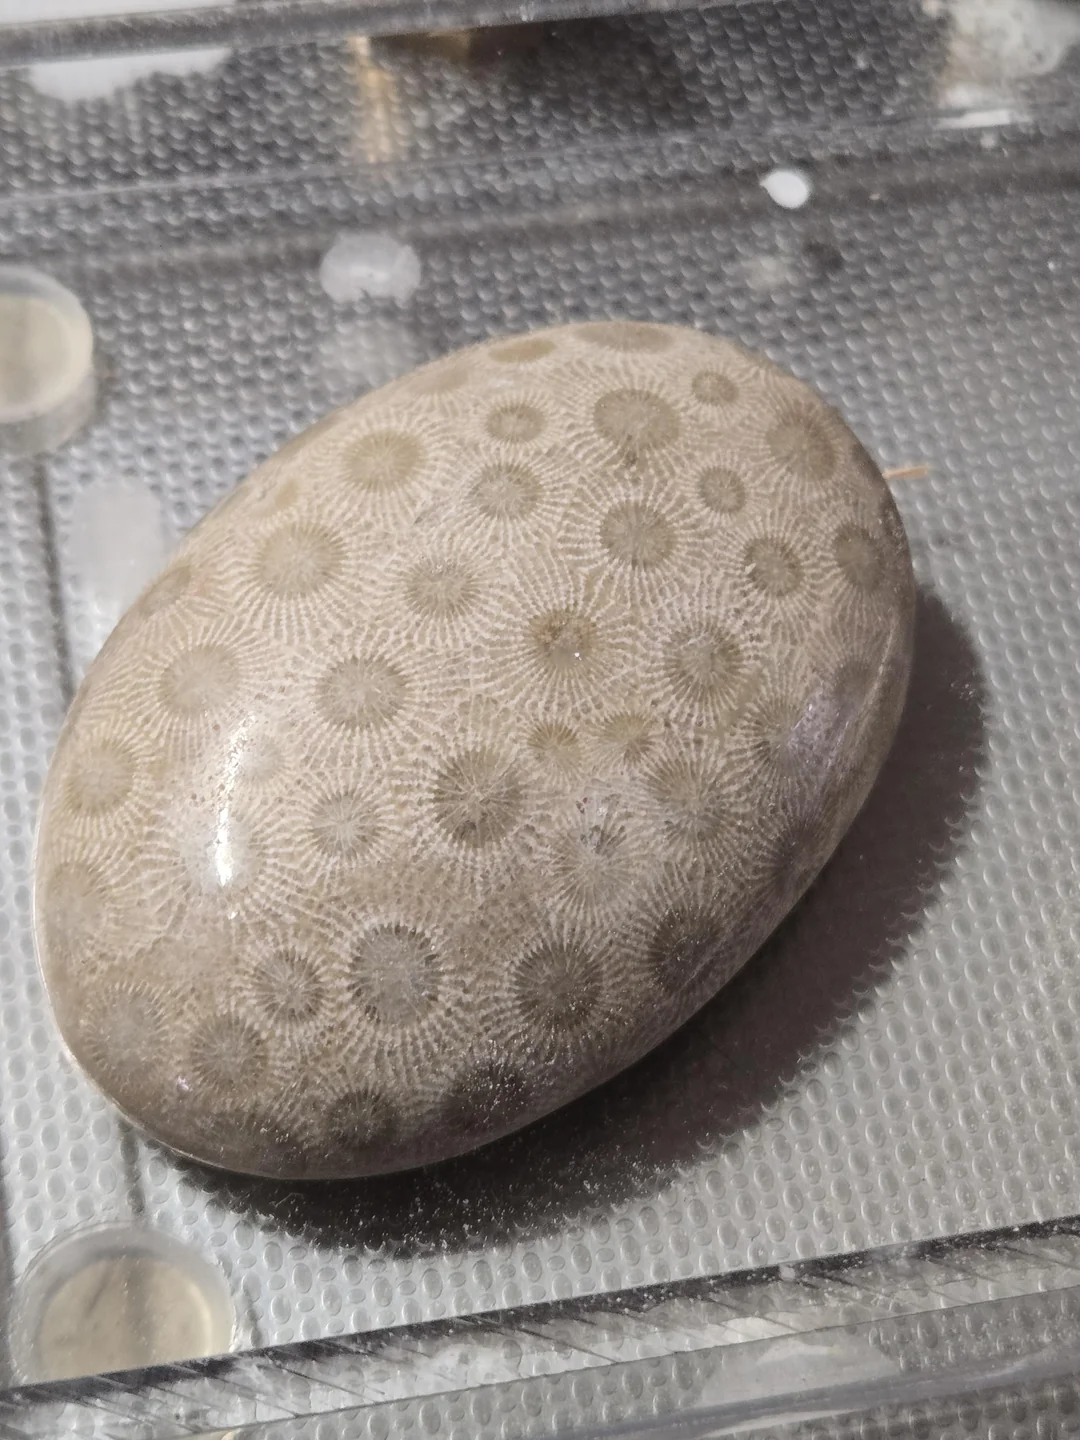
Choose a polishing method for your Petoskey stone
Choose hand polishing when you want direct control over material removal. You can turn, dry and check one stone after every short sanding interval, especially around weathered pockets, thin edges and changing fossil texture.
Hand polishing and direct control of the surface
The main sequence follows Michigan State University’s method: wet-sand with 220, 400 and 600 grit, then use polishing powder on damp corduroy or velvet [2]. The Central Michigan Lapidary and Mineral Society describes the same progression and emphasizes rinsing, drying and checking before advancing [4].
Hand sanding is not automatically gentle. A fingertip or folded abrasive can deepen one low spot. Keep the paper supported and use only enough pressure for controlled contact.
The site’s beginner’s guide to rock tumbling explains abrasives, contamination and stage progression. Its machine schedule is not a Petoskey recipe, but its inspection principles still apply.
When machine polishing or tumbling needs a separate method
A standard agate load is a poor choice for Petoskey stone. The Petoskey Regional Chamber of Commerce advises against using a rock tumbler because the stone is soft and can be damaged [5]. Hand polishing also lets you stop before a weak zone loses too much material.
Dedicated soft-stone processes need their own load design and testing. Do not mix a Petoskey stone into an agate barrel. The site’s hardness and pairing guide explains why large hardness differences make poor tumbling partners. For one valued specimen, hand polishing is the lower-risk choice.
Recognize undercutting before trying to fix it
Here, undercutting means that polishing removes material from one area faster than from the area beside it, leaving shallow relief, rippling or a low patch. Uneven contact, excess pressure or too much work on one area can cause or worsen it. A pre-existing weathered depression can look similar, but polishing did not create that original hollow.
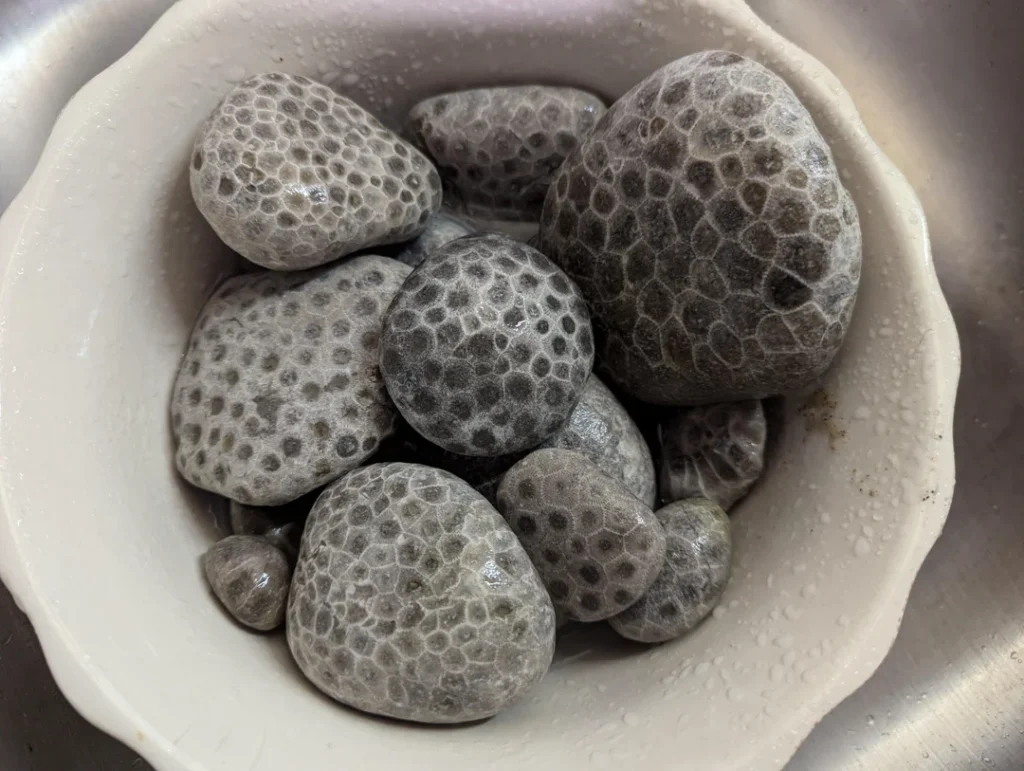
Do not assume every mark is undercutting. Scratches, pits and fractures need different decisions.
Uneven wear versus scratches, natural pits and damage
Use these visual clues after the stone is clean and dry:
| What you see | Most likely issue | Best next decision |
|---|---|---|
| Parallel or arcing lines | Scratches from the current or previous abrasive | Return to the grit that can remove them, then rebuild the later stages |
| A broad low area with a wavy reflection | Uneven wear or possible undercutting | Reduce pressure, improve support and work the surrounding high area evenly |
| Small isolated cavities with rounded or weathered edges | Natural pits or weathering | Decide whether to accept them before removing more of the whole surface |
| A sharp line, opening seam or fresh chip | Crack or structural damage | Stop and reassess; more sanding may enlarge the damage |
| A dull area with no distinct scratch direction | Incomplete sanding, contamination or variable material | Clean everything, inspect under raking light and repeat the appropriate stage briefly |
A scratch can often be removed predictably. A deep cavity may demand enough grinding to harm the shape or pattern. A crack may never become safe to polish.
Inspecting the stone dry under consistent light
Water makes Petoskey patterns easier to see. Michigan EGLE notes that splashing a dull stone can reveal a faint fossil pattern [1]. During finishing, however, a wet surface can look smoother and darker than it really is.
After each sanding interval:
- Rinse the stone and your hands.
- Dry the stone completely, including pits and seams.
- Hold it under one bright, fixed light.
- Tilt it slowly and watch how the reflection moves.
- Record any scratch or low area.
Keep the light, distance and stone orientation consistent. If possible, take a dry photograph before sanding and after every grit.
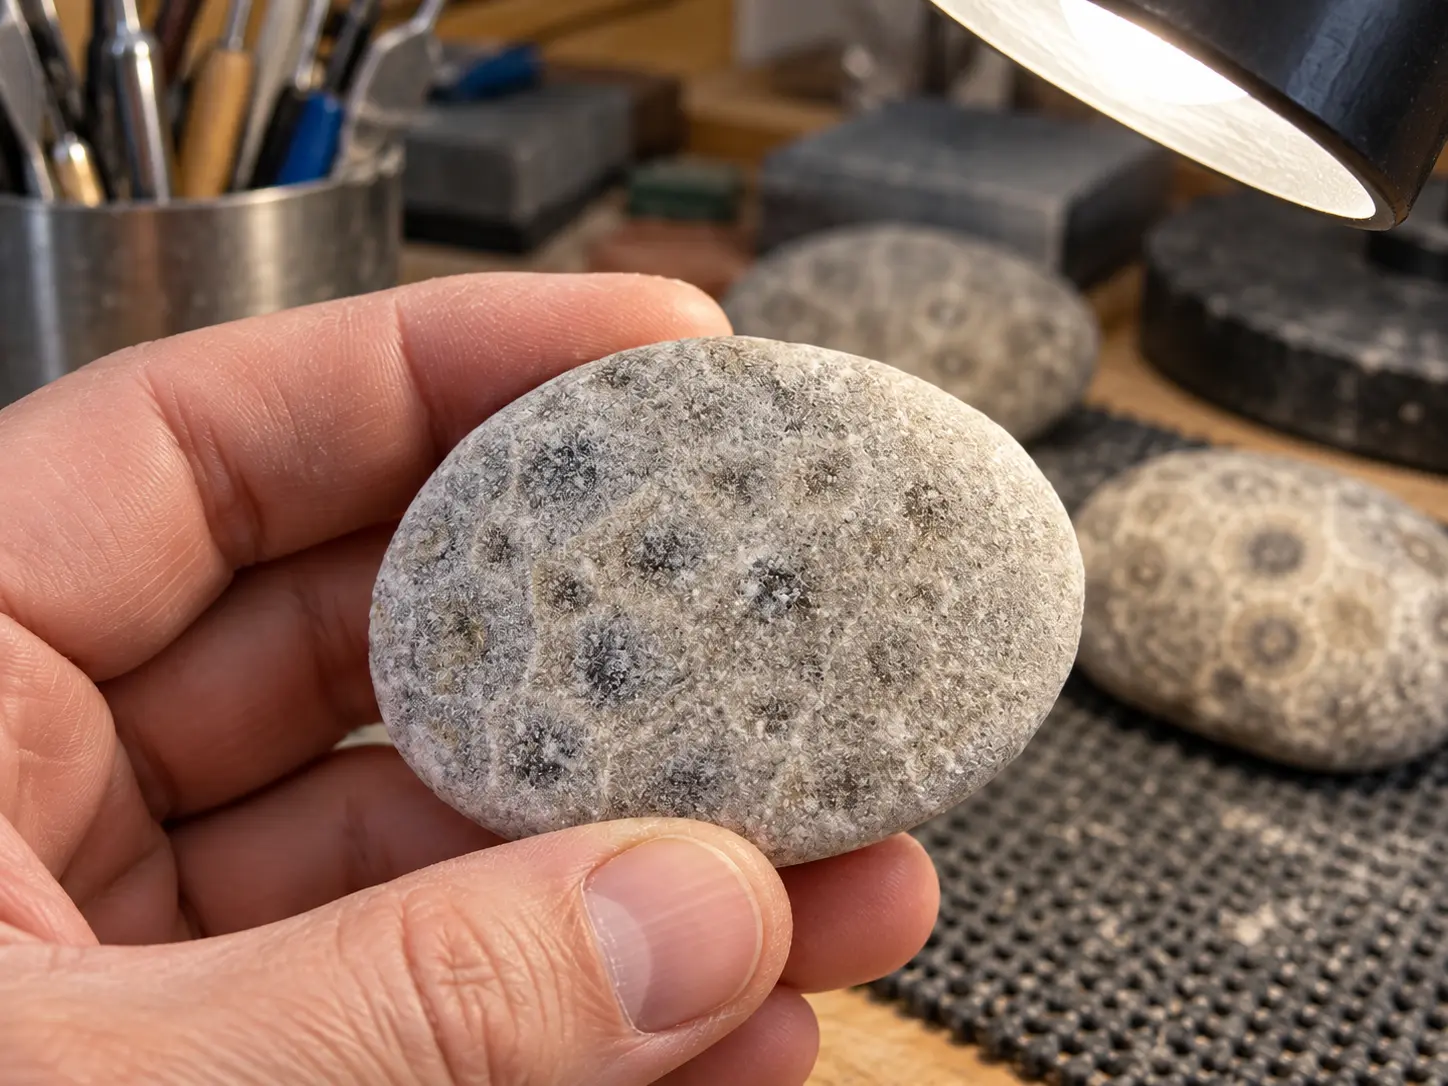
Inspect the stone and prepare the polishing supplies
Start with a sound specimen and a clean work area. A crumbly, deeply fractured stone will not become flawless without major material loss.
Selecting sound material and identifying fragile areas
Examine the stone dry and wet. Look for open cracks, chalky patches, cavities, thin projections and loose grains. Petoskey stones are fossil colonial corals in the genus Hexagonaria, according to Michigan EGLE [1]. Decide which contours and fossil details you want to preserve.
Leave a stone unpolished if it sheds material, opens along a crack or needs major reshaping to remove one defect. Practice on a less important stone before working on a sentimental specimen.
Abrasives, backing, water and polishing compound
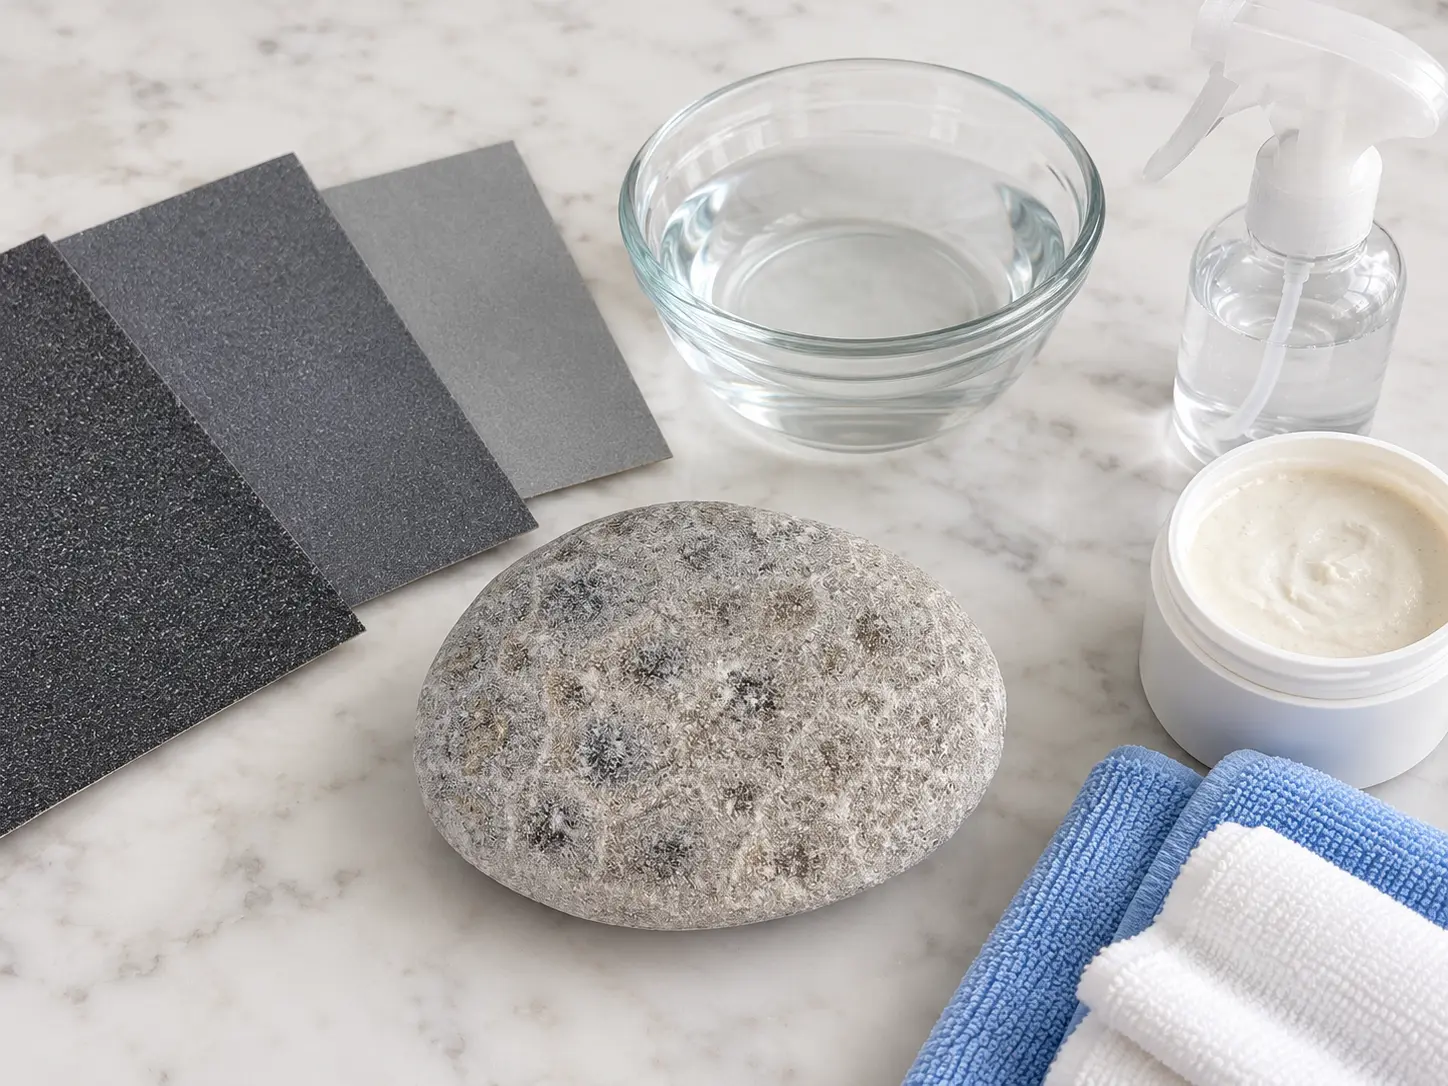
Prepare the following:
- 220, 400 and 600 grit wet/dry silicon-carbide paper
- A thick folded towel, newspaper pad or rubber pad to support the paper
- Clean water, refreshed for each stage
- Clean cotton, corduroy or velvet for polishing
- Tin oxide or cerium oxide, the compounds named by the cited hand-polishing guides
- A soft brush, eye protection and a stable, well-lit work surface
- Separate labeled pieces of paper and cloth for each stage
Keep the process wet. This tutorial uses hand tools, keeping electricity away from the wet work area. Do not reuse cloth, dirty water or an unclean support across stages. One coarse grain can scratch a later finish.
Polish the stone step by step
The surface, not a universal number of minutes, determines when to advance. Work in short intervals, rotate the stone, then rinse, dry and inspect.
Choose the starting abrasive for the stone’s condition
Start at 220 grit for rough texture, shallow saw marks or deliberate shape correction. If a beach-smoothed stone has an even shape and only fine haze, test 400 grit first. Move to 220 only if 400 cannot remove the defect efficiently.
Do not begin coarser than necessary. Place wet paper on the support, rotate the stone steadily, change its orientation often and rinse when slurry builds. Do not fold the paper into pits.
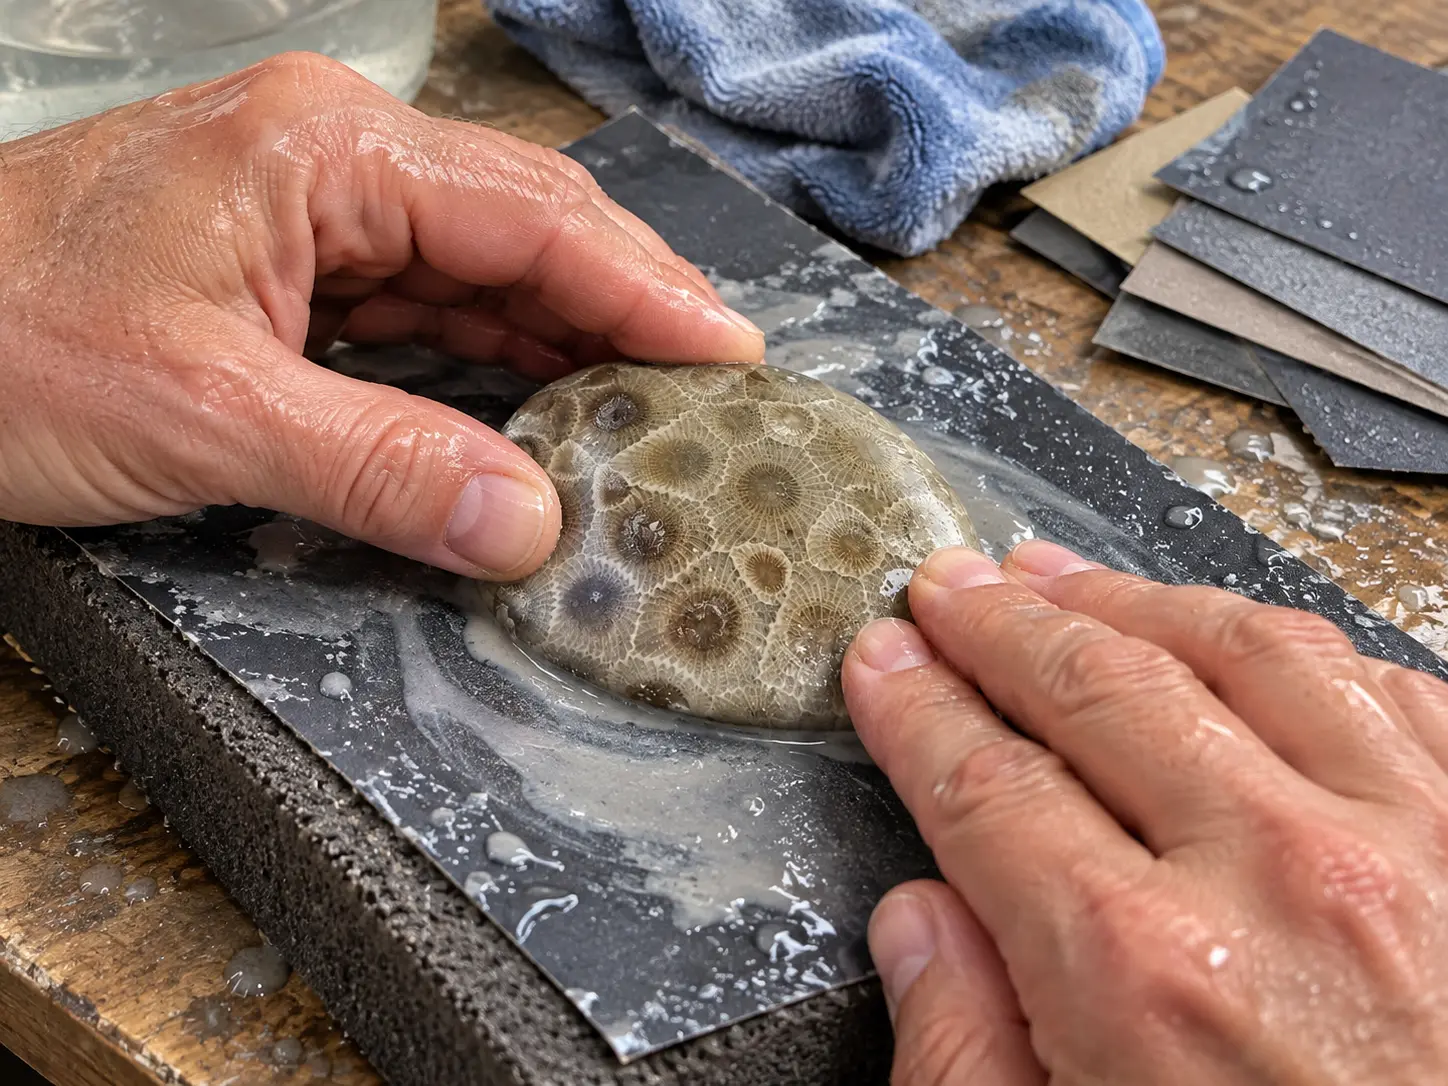
Remove the previous scratch pattern before advancing
At 220 grit, establish the chosen shape and remove only damage that is safe to remove. Stop when the shape is even. Do not chase one pit across the whole stone unless that material loss is acceptable.
At 400 grit, remove the 220 grit pattern with light, consistent pressure. Dry the stone and look for coarse lines crossing the finer texture. Continue at 400, or return briefly to 220 for a deep mark.
At 600 grit, refine the surface to an even satin. Stop when the fine texture is uniform and no isolated coarse scratch remains. Extra time at 600 will not efficiently remove a deep 220 grit scratch.
Clean, dry and inspect between stages
Before changing grits:
- Rinse the stone, hands and support.
- Replace dirty water.
- Put the finished abrasive away.
- Brush slurry from pits and seams.
- Dry the stone and inspect it under raking light.
- Record whether you advanced, repeated or stopped.
Use the table as a decision guide, not a fixed timetable.
| Stage | Abrasive or tool | Backing or contact | Expected dry observation | Advance or stop criterion |
|---|---|---|---|---|
| Initial correction | 220 grit wet/dry paper | Flat paper on a padded support | Uniform matte texture; chosen shape established | Advance when removable damage and prior roughness are gone; stop if cracks open or a weak area erodes |
| Refinement | 400 grit wet/dry paper | Fresh clean paper on clean support | Finer, even scratch pattern with no isolated coarse lines | Advance only when all visible 220 grit scratches are gone |
| Pre-polish | 600 grit wet/dry paper | Fresh paper, clean water and light pressure | Even fine satin with consistent reflection | Polish when the dry surface has no coarse scratches; repeat or step back if it does |
| Final polish | Damp cloth with lapidary polishing compound | Clean corduroy, velvet or cotton on a supportive pad | A more even sheen and clearer dry pattern | Stop when gloss is even; return to sanding if scratches emerge |
Apply the finishing compound and assess the surface
Use tin oxide or cerium oxide and follow its label. Apply a small amount to a clean, lightly damp cloth. Polish small sections with short, rotating motions and light pressure.
Rinse, brush residue from pits and dry the stone. If the gloss is even but natural cavities remain, polishing is complete. If scratches appear, return to the abrasive that matches their depth and work forward again.
For a hazy finish, use why tumbled rocks stay dull as a troubleshooting framework, not a substitute Petoskey recipe.
What to change when the surface becomes uneven
When undercutting appears, change the mechanics before adding more time. Repeating the same contact pattern can deepen the problem.
Review pressure, contact and time on one area
Lower the pressure. Check whether the abrasive is folding into a low spot or a fingertip is concentrating force. Flatten the paper, broaden contact and rotate the stone. Work brief passes across the intended surface, not inside the low area. If one zone keeps receding, treat that as a material limit.
Common corrections include:
- Wavy reflection: use broader support and lighter, more even strokes.
- Rounded edge that was meant to stay crisp: reduce pressure at the edge and stop rolling the stone through the stroke.
- One low fossil cell: avoid pressing into it; decide whether the relief is acceptable.
- Fresh scratches at a fine stage: replace contaminated water, paper and cloth before repeating.
- Growing chalky area: stop. It may be too weathered for the same finish.
When to return to an earlier stage or stop
Return one grit when a scratch is too deep for the current abrasive or the shape needs deliberate correction. Jumping to the coarsest paper can remove more than necessary.
Stop when:
- A crack opens or a thin edge starts to chip.
- A soft or porous area keeps sinking below the surrounding surface.
- Removing a pit would erase too much pattern or alter the shape.
- The stone has an even sheen and the remaining marks are natural features.
- You are no longer sure whether the flaw is damage or fossil texture.
An honest finish can retain small pits. Preserving the specimen may matter more than a perfectly smooth outline.
Finished results and limitations
A good hand polish shows an even dry reflection, a clear coral pattern and no coarse sanding lines. It need not look like glass in every cavity. Weathering, fractures and porous zones may remain.
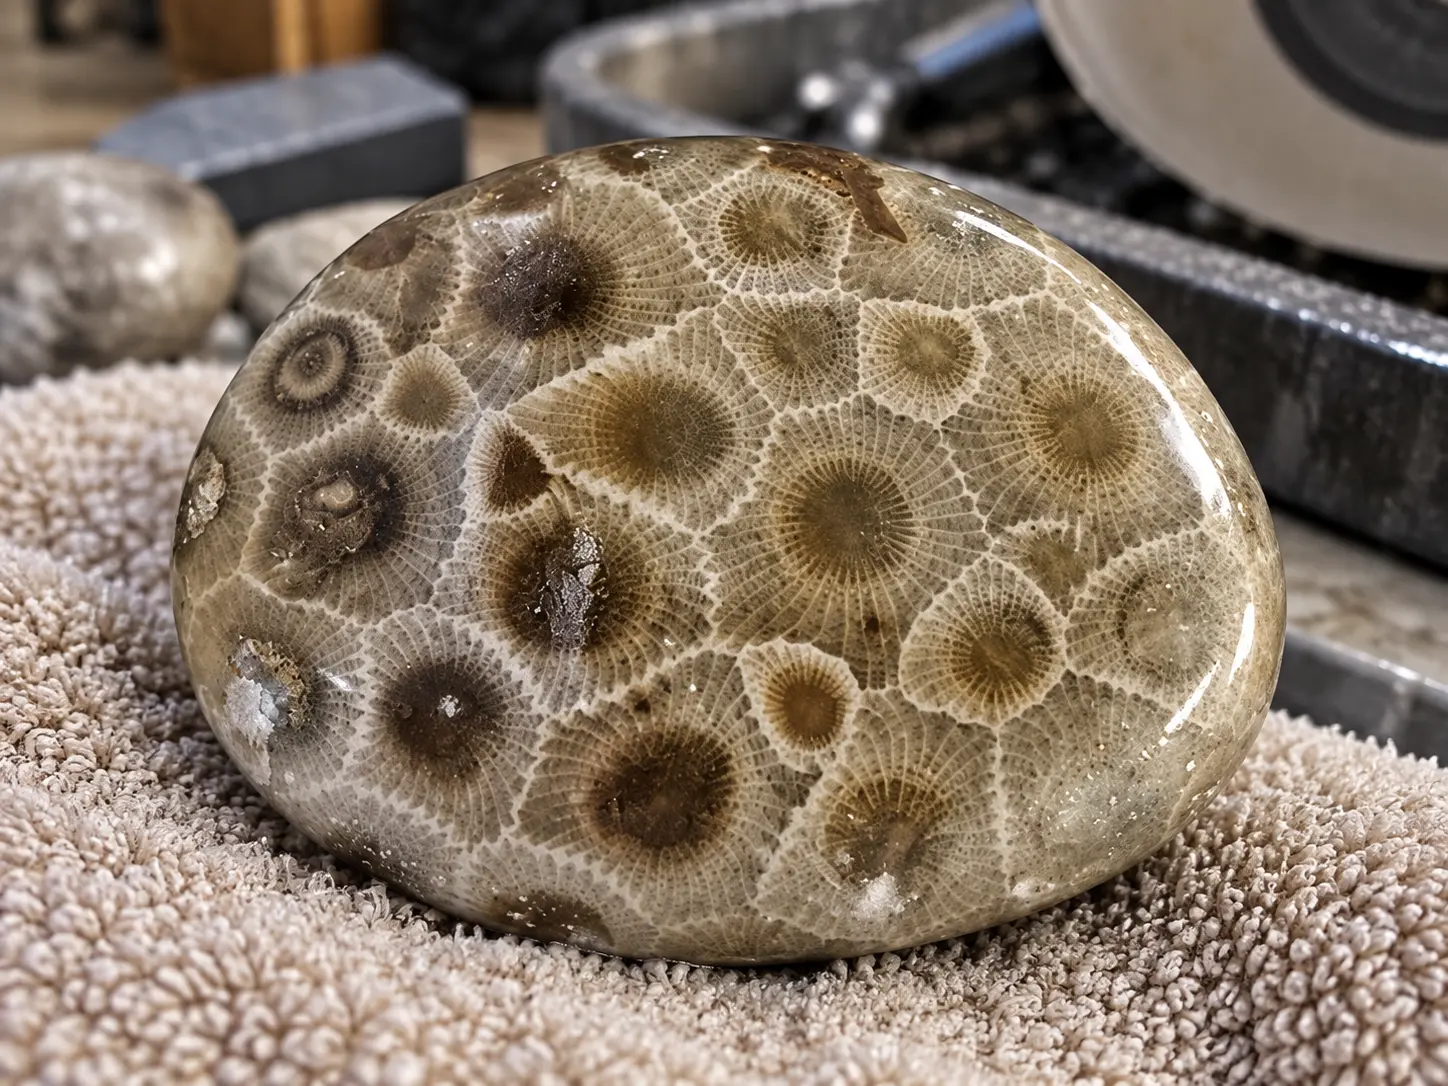
Work time varies with size, condition and reshaping. No specimen was timed for this draft, so no completion time is claimed. Record short work intervals instead.
For a publishable case record, photograph the same face:
- Dry before sanding
- Dry after 220 grit
- Dry after 400 grit
- Dry after 600 grit
- Dry after final polish
Keep the light, camera position and orientation constant. Add close-ups of a scratch, natural pit and uneven area. Use a polishing log to record each abrasive, interval, dry observation and decision.
Petoskey polishing questions
Can Petoskey stone go in the same barrel as agate?
No. Calcite is Mohs 3, while quartz is Mohs 7 [3]. Agate is a quartz-family material. In the same barrel, Petoskey stone can lose material much faster and collect damage. Keep it separate.
The Lake Superior agate tumbling guide shows why agate uses a longer, coarser machine process.
Why does the pattern look clearer when wet?
Water temporarily fills fine irregularities and reduces the chalky look of a dry surface. The pattern gains contrast, but scratches can also disappear from view. Make every advance decision after the stone dries.
Is applying a glossy coating the same as polishing?
No. Polishing refines the stone with finer abrasives and compound. A coating adds a separate film. The Gemological Institute of America treats surface coating as distinct from routine cutting and polishing, and notes that coatings can scratch [6].
Oil, wax or clear finish can strengthen the pattern without proving that the stone reached a clean polish. If you add one, disclose the product. Judge the result clean and dry first.
What grit should I use to hand polish Petoskey stones?
Use 220, 400 and 600 grit wet/dry silicon-carbide paper, then lapidary compound on a clean damp cloth. Start at 400 only when the shape is even and a test shows it can remove the existing marks. Advance by dry inspection, not time.
How can I reduce undercutting without flattening the fossil pattern?
Use light pressure, supported contact and frequent rotation. Keep abrasive from folding into pits and inspect dry. If one zone keeps wearing faster, accept a small depression instead of removing surrounding fossil detail.
Sources
- Michigan EGLE: Michigan fossils and how to find them
- Michigan State University: Petoskey stones and hand polishing
- United States Geological Survey: Mohs hardness of mineral gemstones
- Central Michigan Lapidary and Mineral Society: Petoskey polishing
- Petoskey Regional Chamber of Commerce: finding and polishing Petoskey stones
- Gemological Institute of America: introduction to gem treatments
 Love Rock Tumbling?
Have a question? Use the form above to submit your question or comment.
I love hearing from you and seeing what you made!