

If your Great Lakes rocks are not shiny after tumbling, first separate the stones that share a symptom. A dull fossil, a scratched agate and a pebble with loose grains may need different treatment, even when they came out of the same barrel. Their collection location does not establish why the batch failed.
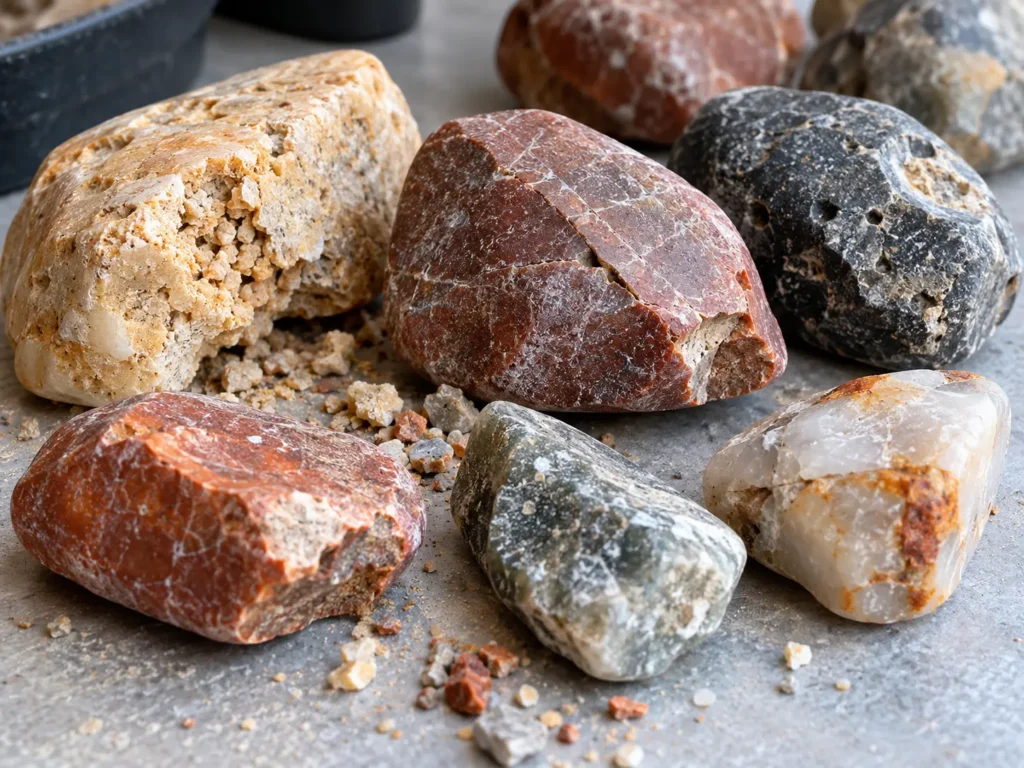
These are diagnostic examples, not results from a documented batch. Use the example that matches what you can actually see. If your records cannot distinguish between two explanations, keep both open rather than calling one the proven cause.
Before restarting: Photograph the clean, dry stones; separate surface film from visible damage; and record which pieces are affected. Do not put the entire collection through another cycle simply because some stones are dull.
Start with what “Great Lakes beach rocks” tells you
A beach collection is not a single material. Michigan’s geological-survey booklet, Michigan Beach Stones, describes agates, chert, jasper, granite and basalt, along with fossil coral and rocks made of distinct components. Its examples include jaspilite with jasper and hematite, and breccia containing fragments cemented by other minerals.
That variety matters when interpreting a mixed batch. “Found together” does not mean “polishes under the same conditions.” Keep the collection location separate from your identification. Use “unknown banded pebble” when that is all you can support; do not turn a red color into a confirmed jasper label.
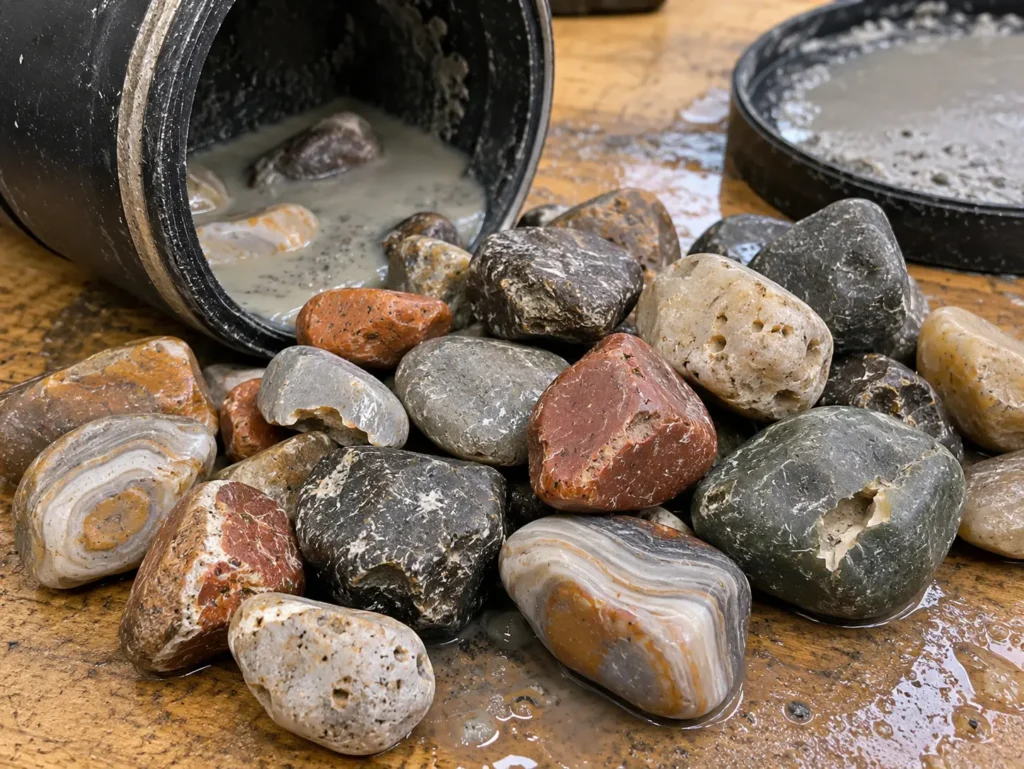
Before changing anything, count the affected stones and describe the pattern. Is every piece hazy? Are only fossil-bearing stones uneven? Are new scratches visible on otherwise glossy agates? Those distinctions give the investigation a useful starting point.
Example 1: agates shine, but a Petoskey stone looks worn or uneven
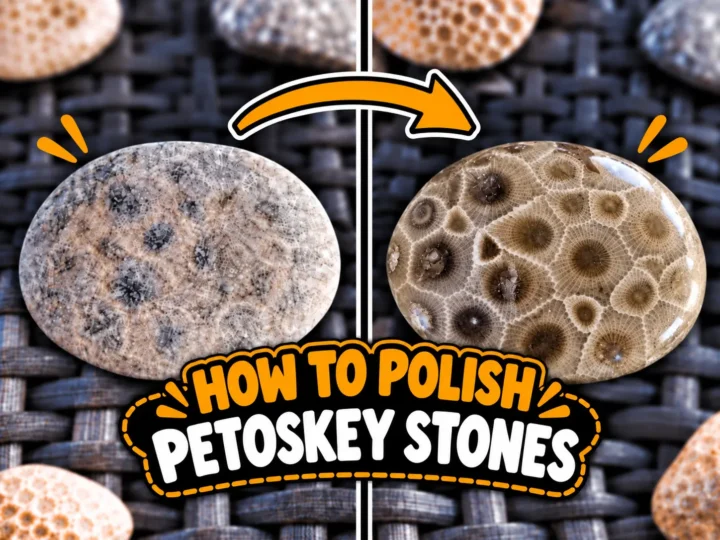
If this is your pattern, review compatibility before extending the polishing time. Michigan State University describes Petoskey stones as calcite and explains hand polishing. They should not be treated as equivalent to the hard, silica-rich rough normally used in an agate batch.
RockTumbler’s instructions for selecting and tumbling rough explain that softer material can wear away while harder companions are still being shaped. This makes mixing incompatible material a plausible concern, not proof of what happened in your barrel.
Set the suspected Petoskey stone aside and examine its dry surface. Record whether the fossil pattern remains intact, whether particular areas sit lower, and whether the surface has scratches or open pits. A pattern that looks attractive when wet is not evidence that the stone has reached a finished dry polish.
Do not assume every fossil-bearing pebble is calcite, either. Fossil appearance alone is insufficient to establish composition. Resolve an uncertain identification before selecting a recovery method.
For confirmed Petoskey material, use a separate method such as our Petoskey hand-polishing guide. If it improves, report that outcome for that specimen. Unless other conditions were held comparable, the improvement does not prove that hardness mismatch was the only cause.
Example 2: a rounded beach agate develops pits or small chips
A rounded outline does not certify a sound surface. RockTumbler’s work with stream- and beach-rounded rough describes weathering and impact fractures that can persist beneath a smooth-looking exterior. Its examples are evidence about those tested materials, not a measured failure rate for Great Lakes stones.
Compare the damaged face with photographs taken before tumbling and after coarse grinding, if you have them. A defect visible at the start supports a different account from damage first recorded after fine grinding. Without those earlier views, you may be unable to tell whether a fracture was already present, became exposed, or developed during tumbling.
Also separate a rounded pit from a fresh broken edge in your notes. Do not group both under “cloudy rocks.” Photograph the feature at the same angle, with the stone dry and a scale nearby.
For a sound stone with damage you are willing to grind away, returning to an appropriate earlier stage may be reasonable. A piece that continues breaking or has a feature you cannot afford to lose should leave the batch. Our Lake Superior agate tumbling guide provides the broader stage-selection context; use that regional name only when identification and provenance support it.
Example 3: only certain bands or patches stay rough
Map the uneven finish to the stone’s features before blaming the polish. On a banded or composite pebble, note whether low areas follow a seam, a cementing material or a particular group of grains. You are recording a relationship, not identifying minerals from appearance alone.
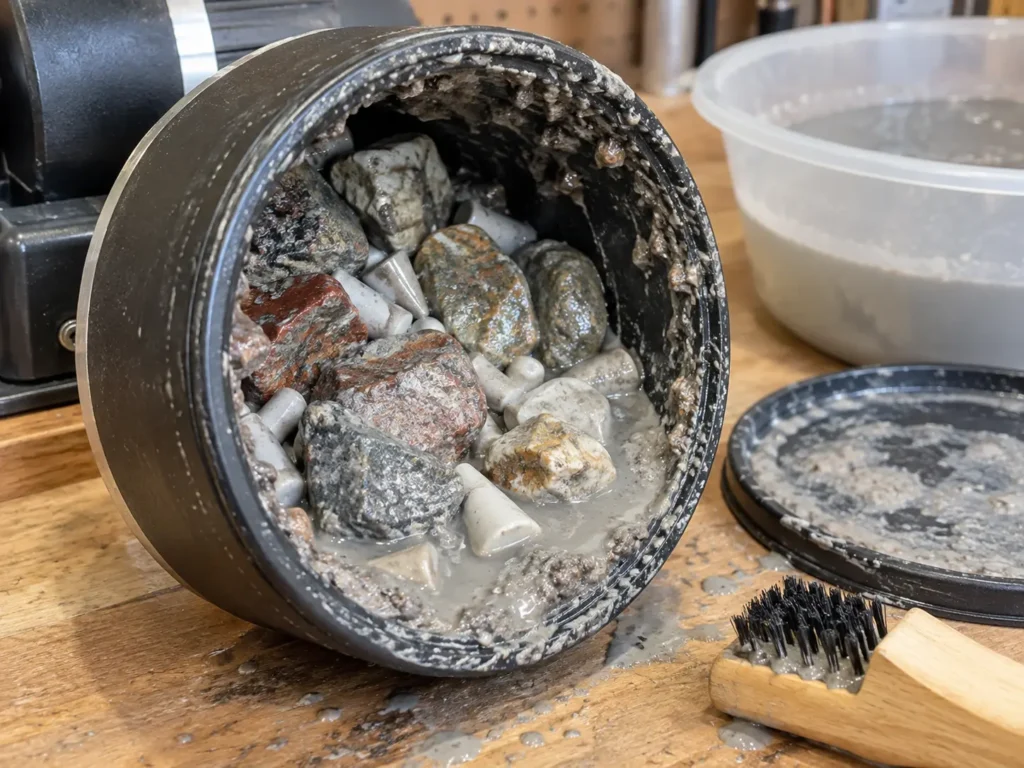
For example, if a pebble identified as jaspilite has contrasting bands, assess each band rather than expecting one uniform visual appearance. Different reflected brightness alone does not establish undercutting. Look for an actual difference in surface height, roughness or pits under consistent angled light.
RockTumbler’s discussion of poor polishing results describes two relevant mechanisms: softer components can wear into depressions, and material that releases grains can introduce scratching particles into the batch. Neither mechanism can be confirmed simply because a stone has several colors.
If a specimen is actively shedding grains or breaking apart, remove it from the finishing load. Keep it as an identified problem specimen if useful; removal from the barrel does not mean you must discard the find. More polish cannot restore material already lost from a weak seam.
If the whole mixed batch looks cloudy
An all-over haze calls for a shared-process check, but not an immediate diagnosis. First clean a representative stone using a method appropriate to its material, rinse it, and inspect it fully dry. Compare the same face in the same light.
If a surface film disappears, you have evidence that removable material contributed to the appearance. You have not shown that every remaining mark is residue or that every stone is fully polished. If the film stays, that alone does not establish scratches, contamination or unsuitable polish.
RockTumbler’s burnishing guidance describes improving some already-polished stones with a cleaning stage. It is not a repair for deep scratches or open fractures. Use a procedure suitable for your material, media and machine; do not apply an unverified cleaning chemical to an unidentified beach mix.
Record what each check can and cannot establish
Use this table as an investigation worksheet. Its result column tells you what to record; it does not contain outcomes from an actual batch. Skip rows that do not match your stones.
| Possible cause | Evidence to look for | Check | Result to record | Remaining uncertainty |
|---|---|---|---|---|
| Removable surface film | Haze on an otherwise even face | Clean, rinse and compare fully dry | Film gone, reduced or unchanged | What caused the film; whether defects remain |
| Incomplete earlier grinding | Scratches also visible before polish | Compare dated stage photographs | Which marks persisted | If photographs are missing, when the marks formed |
| Abrasive contamination | New scratches, retained grit or a shedding stone | Inspect stones, equipment and cleaning records | What was actually found | Which particle caused which mark |
| Incompatible materials | Different wear among identified rock types | Review identification and individual condition | Pieces separated and why | Whether loading or other factors also contributed |
| Weak or contrasting components | Pits or relief following a seam or band | Compare close-ups of the same area | Location and extent of unevenness | Exact composition and whether more grinding would help |
The original record should include the tumbler model, stone sizes, load, media, water, abrasive products, quantities, stage durations and cleaning steps. Mark absent information “not recorded.” Do not reconstruct a precise loading level from memory and present it as a measurement.
Make the next attempt answer a specific question
Choose a change that addresses observed evidence. A cleaning trial asks whether a film is removable. Repeating an earlier abrasive stage asks whether the remaining scratches or surface damage can be reduced. Separating unstable material protects the next load while narrowing the possibilities.
After removing stones, reassess the operating load. Do not run a few survivors in a barrel that no longer meets its loading instructions. The Rock Shed’s machine-specific tumbling instructions illustrate why rotary and vibratory procedures should not be mixed. Use the directions for your equipment and consult our tumbling-media guide when planning suitable filler.
Photograph the same stones before and after the retry, dry and uncoated. Record improvement and incomplete recovery separately: a brighter face with remaining pits is not a completely repaired stone.
If you change the polish, media, loading and stone selection together, describe the outcome as the result of a revised process. You cannot isolate the contribution of one change. A practical recovery can still be useful without proving a single cause.
Decide whether to repolish, regrind or stop
Is another polishing cycle worth trying? Only when inspection and the chosen material-specific procedure support it. A repeat should have a reason, such as correcting a documented finishing-stage error. A stone that still has visible scratches needs a preparation decision first.
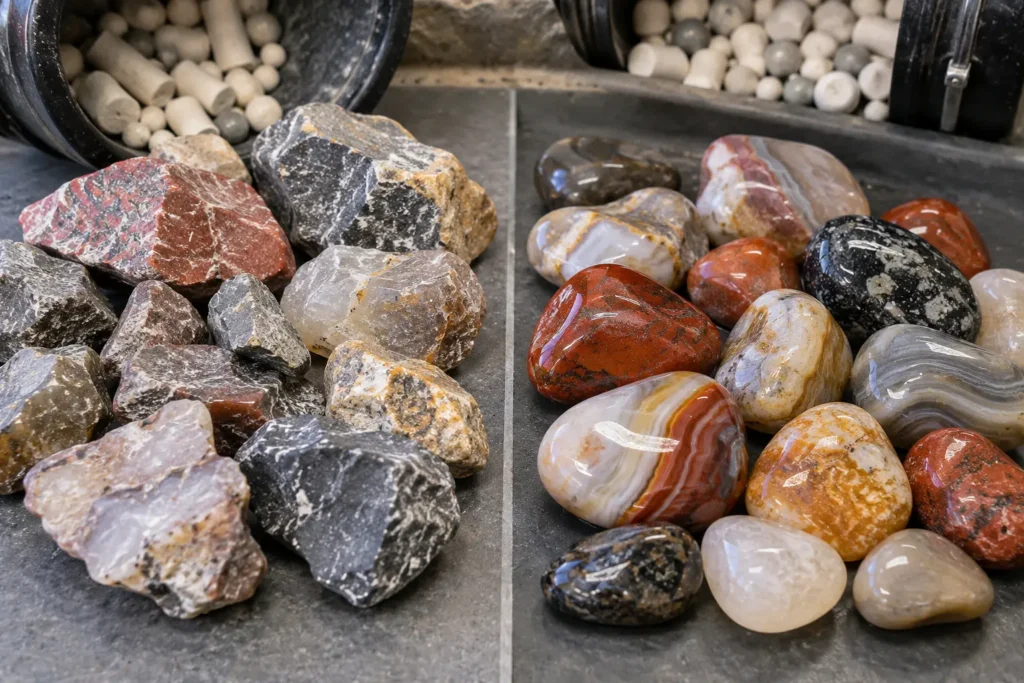
When should a stone return to an earlier stage? When the remaining defect requires material removal that the finishing stage is not intended to provide, and the stone is sound enough to continue. Choose the stage for the defect and material, not simply the last stage you remember running.
When should a stone leave the batch? When it sheds grains, breaks, cannot be cleaned reliably, is incompatible with its companions, or would lose a feature you want to preserve. A naturally textured specimen can be worth keeping without forcing it into a high-gloss finish.
For the next Great Lakes collection, sort before loading, retain uncertain labels, photograph dry surfaces at stage changes, and keep problem stones in the record. The useful conclusion is not “beach rocks do not polish.” It is a narrower account of which stones changed, what the evidence supports, and what you still need to test.
For the broader process, including cleaning, grit progression and finishing, see our guide to diagnosing dull tumbled rocks.


 Love Rock Tumbling?
Have a question? Use the form above to submit your question or comment.
I love hearing from you and seeing what you made!