


Starting a new lapidary hobby is an exciting journey that turns rough stones into beautiful, shiny treasures. If you are new to this craft, you might feel overwhelmed by the technical details. However, mastering beginner rock tumbling does not have to be a complicated chore.
This guide provides eleven practical strategies to help you achieve professional-looking results. We will walk through the entire process, from selecting the right raw materials to managing grit stages and achieving a brilliant final polish.
By following these simple steps, you can avoid common mistakes that often frustrate newcomers. Our goal is to ensure your stones come out smooth and vibrant every single time. Whether you are working with quartz or jasper, these proven techniques will simplify your workflow. Let’s dive into the essential methods that make rock tumbling a rewarding and stress-free experience for everyone.
Choose the Right Rocks and Rock Tumbling Supplies
The foundation of a beautiful polished stone begins long before you turn on your machine. Achieving a professional finish requires careful planning and an understanding of how different materials interact inside a rotating barrel. By selecting the right tumbling stones from the start, you prevent common issues like surface scratching and uneven wear.
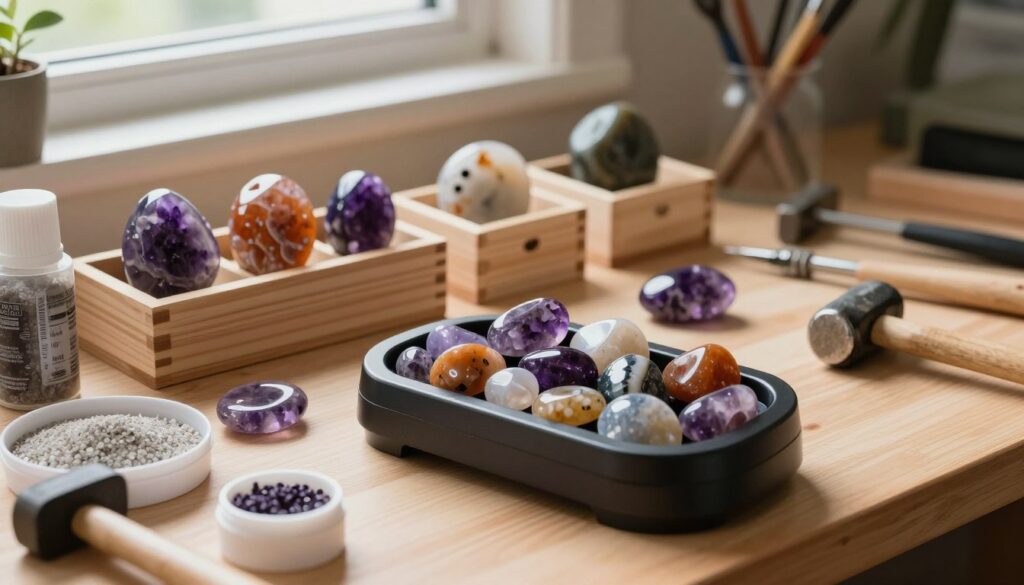
Select Rocks With Similar Hardness
The most important rule for beginners is to group stones with similar hardness levels on the Mohs scale. If you mix soft stones with hard ones, the harder rocks will act like grinding tools, effectively destroying the softer pieces. Consistent hardness ensures that all stones wear down at the same rate, leading to a smooth and uniform finish.
Avoid Cracked, Porous, or Unstable Stones
Inspect your raw material closely before adding it to the barrel. Stones with deep cracks or porous surfaces often trap grit particles, which can contaminate your later polishing stages. Furthermore, unstable or brittle rocks are likely to break apart during the process, potentially damaging other tumbling stones in the batch.
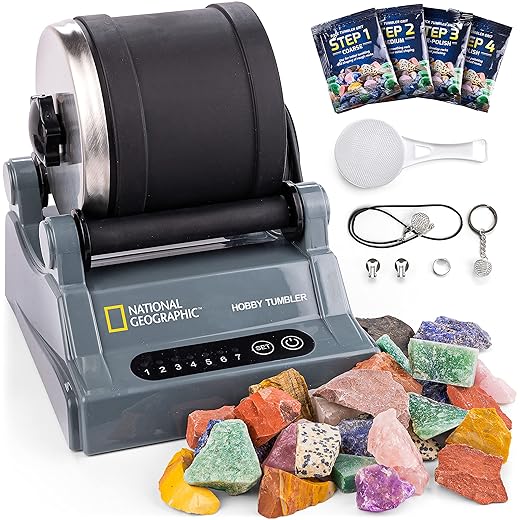
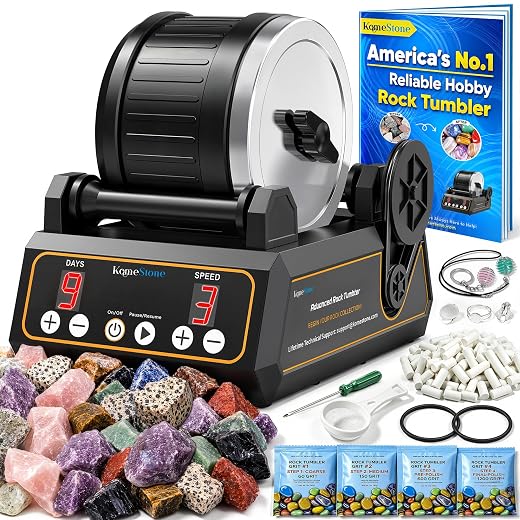
Gather the Essential Rock Tumbling Supplies
Having the right gear is just as vital as choosing the right rocks. A well-prepared hobbyist should always have a complete set of rock tumbling supplies ready to go. Investing in quality materials will save you time and frustration as you progress through the various stages of polishing.
To get started, ensure you have the following items on hand:
- A reliable rotary or vibratory tumbler base.
- A durable rubber barrel to minimize noise and wear.
- A full set of silicon carbide grit in coarse, medium, and fine grades.
- Plastic or ceramic filler media to cushion the load.
- High-quality polishing powder for the final shine.
By organizing your rock tumbling supplies early, you create a dependable workflow. This preparation allows you to focus on the creative side of the hobby while ensuring your equipment remains in top condition for years to come.


To put these tips into a complete workflow, read the step-by-step guide from rough stone to polished gem before loading your next batch.
Prepare Your Stones and Barrel for a Smooth Start
Proper preparation serves as the foundation for every great batch of polished stones you create. Following a reliable rock tumbling guide ensures that your equipment runs efficiently from the very first day. Taking these small steps now will save you significant time and frustration later.
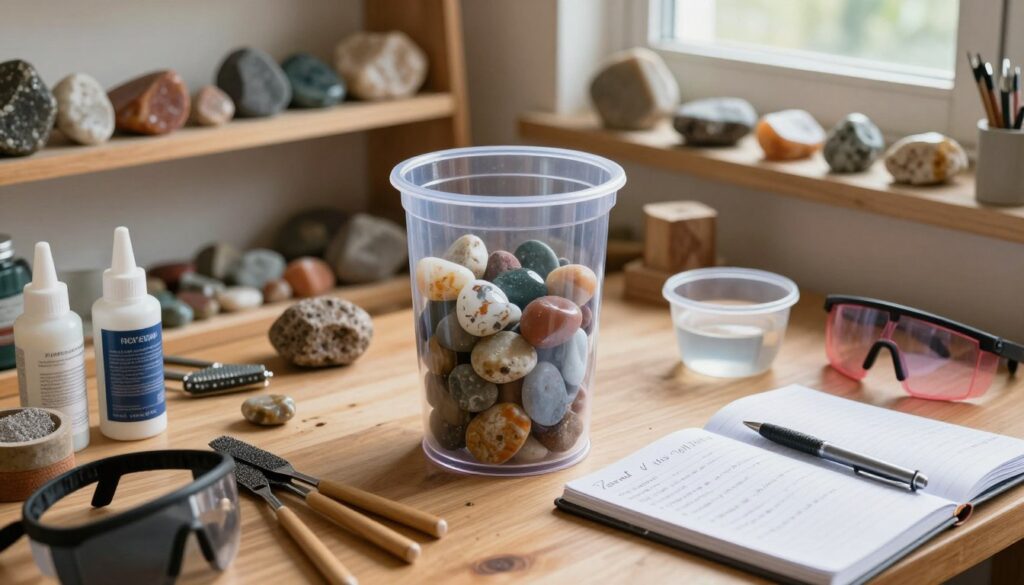
Clean and Inspect Every Stone Before Tumbling
Before you place any stones into the barrel, wash them thoroughly to remove dirt, clay, or loose debris. Even tiny particles can scratch your stones during the delicate polishing phases. Inspect each piece carefully to ensure there are no deep pits or hidden fractures that might break apart during the process.
Use the Correct Barrel Load and Rock Mix
The volume of your barrel load plays a critical role in how well your stones tumble. You should fill the barrel about two-thirds to three-quarters full for the best results. Mixing different sizes of rocks helps the grit move more effectively across all surfaces, which is a key tip in any professional rock tumbling guide.
Add the Right Amount of Water and Grit
Water acts as the carrier for your grit, allowing it to reach every crevice of the stones. Add just enough water to reach the bottom of the top layer of rocks without covering them completely. Maintaining the right slurry consistency is essential for a smooth, controlled grinding process that yields beautiful results.
Improve Each Stage of the Rock Tumbling Process
Mastering the nuances of the tumbling cycle is the secret to high-quality stones. Each phase of the process serves a specific purpose in your overall rock polishing journey. By paying close attention to these details, you ensure that your final results look professional and smooth.
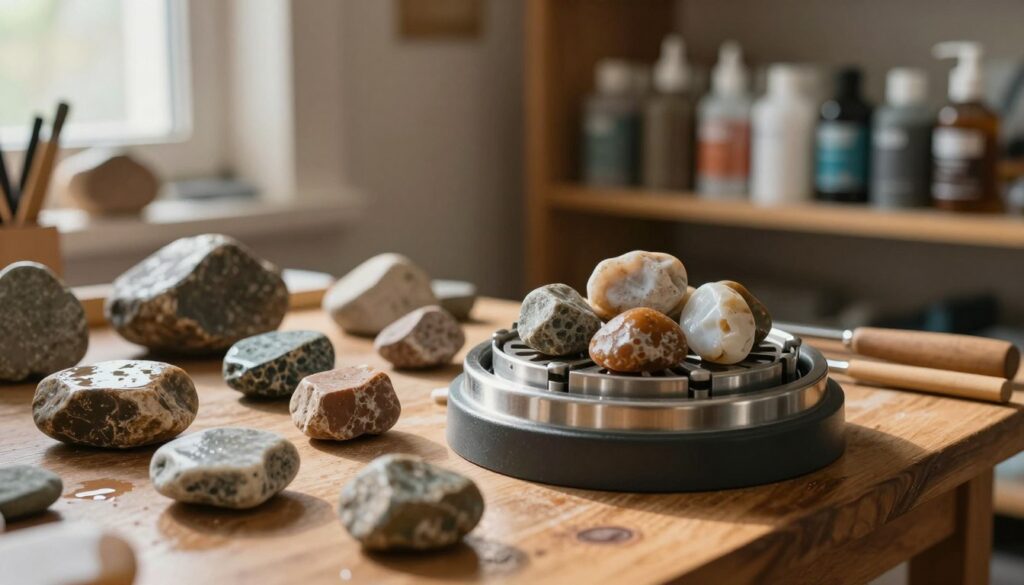
Tip: Run the Coarse Grinding Stage Long Enough
The coarse grinding stage is the most critical part of the entire cycle. If you rush this phase, your stones will retain deep scratches or unwanted sharp edges that later stages cannot fix. Patience is essential here to ensure the stones reach the desired shape before moving forward.
Tip: Clean Thoroughly Between Grit Stages
Cross-contamination is a common mistake that ruins the finish of your stones. You must wash the barrel and the rocks completely when switching from one grit size to the next. Even a tiny speck of coarse grit can cause deep scratches during the fine polishing phase.
Tip: Use Fresh Grit and Proper Media for Smoother Results
Always use fresh, high-quality grit for every new stage of the process. Adding ceramic or plastic media helps cushion the stones and improves the efficiency of the rock polishing action. This media also helps distribute the grit evenly across all surfaces of the stones.
Tip: Adjust the Process for Different Types of Stones
Not all stones react the same way to the tumbling process. You should adjust your timing and grit usage based on the hardness and shape of the material you are working with. Soft stones may require shorter cycles, while harder materials often need more time to achieve a perfect, glass-like finish.
Monitor the Tumbler and Prevent Common Rock Polishing Mistakes
Mastering the art of observation is a vital skill for anyone starting a lapidary hobby. While modern tumblers are designed to run for days at a time, they still require your attention to ensure everything functions correctly. By staying proactive, you can prevent minor issues from turning into ruined batches of stones.
Tip: Check the Barrel Regularly Without Interrupting the Process
You do not need to open your barrel every day to see if your stones are progressing. In fact, opening the barrel too often can disrupt the delicate slurry formation that helps polish your rocks. Instead, perform a quick external check once or twice a day to ensure the motor is running smoothly and the belt is secure.


Listen for any changes in the rhythm of the machine. A healthy tumbler should produce a consistent, rhythmic sound as the rocks tumble against each other. If you notice a sudden change in pitch or a grinding noise, it is time to investigate further before the equipment sustains damage.
Tip: Control Noise, Slurry Buildup, and Barrel Wear
Managing your equipment effectively is a core part of maintaining a successful lapidary hobby. If you ignore the warning signs, you risk wasting expensive grit and damaging your stones. Keep an eye out for these common indicators that your tumbler needs maintenance:
- Excessive noise: This often indicates that the barrel is under-filled or that the rocks are hitting the sides too hard.
- Thick, pasty slurry: If the mixture becomes too thick, it can stop the tumbling action and prevent the grit from working properly.
- Barrel wear: Check the exterior and the lid seal for signs of thinning or cracks to prevent leaks.
- Leaking seals: A small drip can lead to a messy workspace and a loss of necessary pressure inside the barrel.
By addressing these issues early, you protect your investment and ensure your stones receive a high-quality finish. Consistent monitoring saves you time and prevents the frustration of having to restart a stage due to avoidable equipment problems.
Finish Your Tumbling Stones With a Richer Polish
Achieving a mirror-like shine requires a clean barrel and high-quality polishing media. Use a dedicated barrel for the final stage to prevent grit contamination from ruining your hard work. This simple habit ensures your rock tumbling results remain consistent and professional.
Patience remains the most important tool in your kit. Rushing the final burnishing stage often leads to dull surfaces rather than the brilliant luster you desire. Keep a close watch on your stones during these last few days to ensure they reach their full potential.
Successful rock tumbling relies on your attention to detail and your commitment to the process. Consistent cleaning between stages and careful monitoring of your equipment will yield beautiful gems every time. Apply these habits to your next batch to see the difference in your collection.
Share your favorite polished stones with our community of enthusiasts. We love seeing the unique treasures you create in your home workshop. Keep exploring the hobby and enjoy the rewarding journey of transforming rough stones into polished art.




 Love Rock Tumbling?
Have a question? Use the form above to submit your question or comment.
I love hearing from you and seeing what you made!