


Have you ever wondered how a jagged piece of earth becomes a smooth, shiny treasure? The process of rock tumbling is a rewarding hobby that turns raw minerals into beautiful display pieces. By using specialized equipment and a series of abrasive grits, you can reveal the hidden beauty inside common stones found in your own backyard.
This guide walks you through twelve simple steps to ensure your success. We cover everything from selecting durable materials to setting up a safe workspace in your home. You will learn how to manage grit stages, timing, and the final burnishing phase to achieve a professional finish.
Mastering beginner rock tumbling requires patience and the right rock tumbling supplies. Whether you are a curious hobbyist or a budding geologist, our clear instructions will help you produce stunning results. Let’s start your journey toward creating your very own collection of polished gems.
Key Takeaways
- Understand the complete transformation process from rough stone to polished gem.
- Learn how to select the best materials for consistent, high-quality results.
- Discover the essential tools and supplies needed to set up your workspace.
- Follow a structured twelve-step plan to manage grit stages and timing effectively.
- Gain confidence in using beginner techniques to achieve a professional, shiny finish.
Rock Tumbling Supplies, Stone Selection, and Safe Setup
Starting your journey into lapidary requires a solid understanding of the tools and materials you will use. Proper preparation ensures that your stones move through the polishing process efficiently and safely.
Choose Durable Rough Stones for Beginner Rock Tumbling
Match Stone Hardness, Size, and Shape
For the best results, always group stones with similar hardness levels together. Mixing soft stones with hard ones often leads to uneven wear and poor polishing outcomes.
Aim for a variety of sizes within your barrel to ensure proper tumbling action. A mix of small, medium, and large pieces helps the stones rotate effectively against each other.
Remove Cracked, Porous, and Soft Material
Inspect your rough stones carefully before starting. Discard any rocks with deep cracks or porous surfaces, as these can trap grit and ruin your final polish.
Soft stones can disintegrate during the long tumbling process. Stick to harder materials like agate, jasper, or quartz to ensure your stones survive the cycle intact.
Gather the Essential Rock Tumbling Supplies
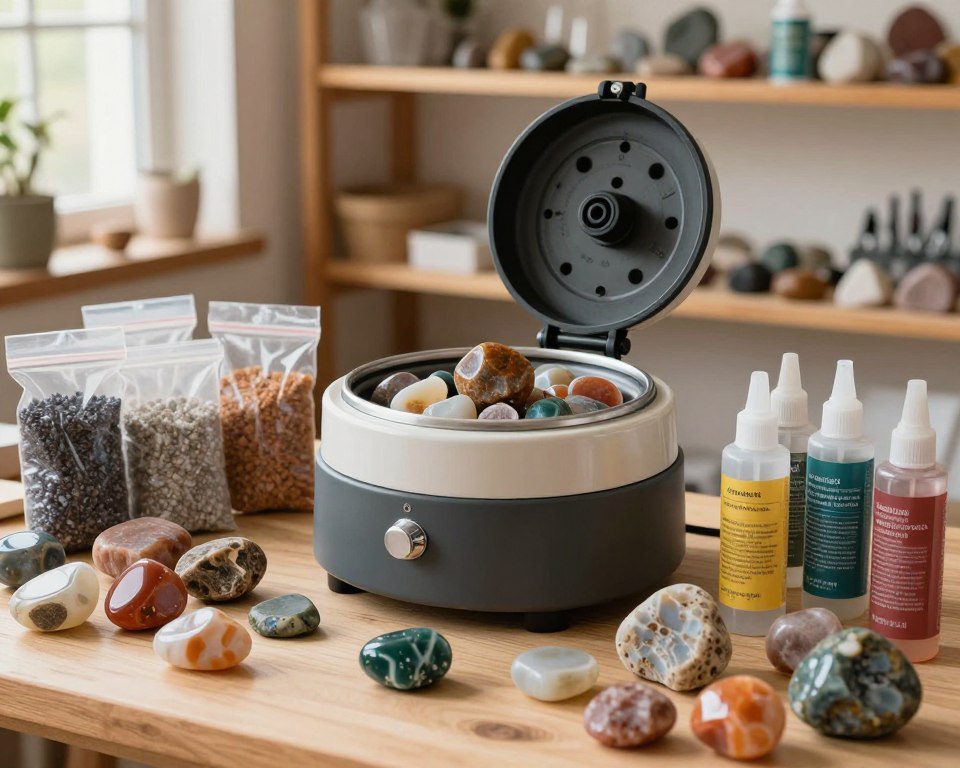
Select a Rotary or Vibratory Rock Tumbler
Choosing between rock tumblers depends on your specific goals. Rotary machines are perfect for shaping rough stones, while vibratory models excel at polishing.
Many beginners start by researching the best rock tumbling kits to get everything they need in one package. These kits often include the machine, grit, and initial stone samples to help you get started quickly.
Stock Silicon Carbide Grit, Ceramic Filler, and Burnishing Media
You will need a steady supply of silicon carbide grit in various stages, from coarse to fine. This abrasive material is the backbone of your rock tumbling supplies.
Don’t forget to add ceramic filler to your barrel to cushion the stones and improve the tumbling action. Finally, keep burnishing media on hand to give your finished gems that professional, high-gloss shine.
Prepare a Safe, Stable Tumbling Workspace
Protect Against Rock Dust, Water, and Machine Noise
Set up your equipment in a well-ventilated area to avoid inhaling rock dust. Place your machine on a sturdy, level surface to minimize vibration and noise during operation.
Use a plastic tray under your machine to catch any water spills or slurry leaks. This simple step keeps your workspace clean and protects your flooring from potential stains.
Inspect the Barrel, Drive Belt, Lid, and Seals
Before every run, check the barrel for any signs of wear or cracks. A secure, leak-proof seal is vital to prevent messy slurry from escaping during the tumbling process.
Regularly inspect the drive belt for tension and ensure the motor is running smoothly. Keeping your equipment well-maintained will extend the life of your machine and ensure consistent results.
How to Prepare and Load the Tumbler
Success in this hobby starts with how you organize and load your tumbling barrel. By following these foundational rock tumbling techniques, you ensure that your stones move smoothly and polish evenly throughout the process.




Step 1: Clean and Sort the Rough Stones
Wash Away Dirt and Separate Stones by Size
Before you begin, scrub your rough stones thoroughly with water to remove any loose dirt or debris. Sorting your stones by size is equally important for consistent results. Grouping similar sizes helps the stones tumble against each other more effectively.
Keep Similar-Hardness Materials in the Same Batch
Never mix stones with different hardness levels in the same barrel. Softer stones will be crushed by harder ones, leading to poor results. Always check the Mohs hardness scale to ensure your batch is compatible for beginner rock tumbling.
Step 2: Fill the Barrel to the Correct Level
Build a Balanced Load with Stones and Ceramic Media
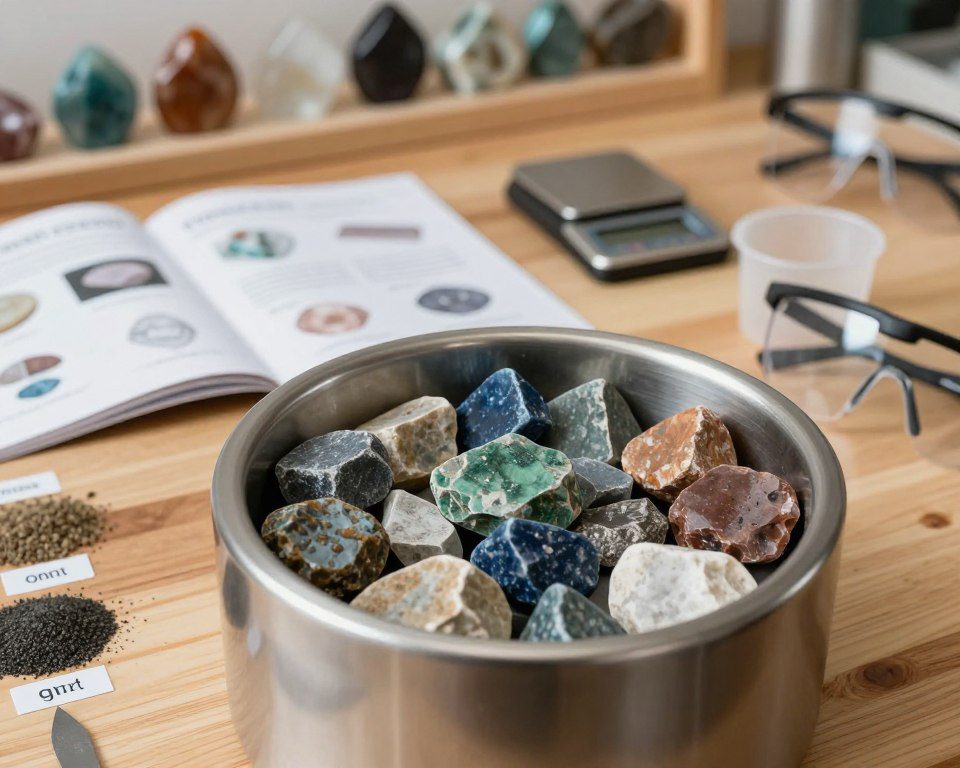
Fill your barrel about two-thirds to three-quarters full with your stones. If you do not have enough rocks to reach this level, add ceramic tumbling media to fill the gap. This media acts as a cushion and helps carry the grit across the stone surfaces.
Leave Enough Room for Proper Rock Movement
Avoid overfilling the barrel, as the rocks need space to tumble and rotate. If the barrel is packed too tightly, the stones will not move, and the polishing process will stall. Proper movement is essential for achieving a smooth finish.
Step 3: Add Water and Coarse Silicon Carbide Grit
Use the Right Grit Amount for the Barrel Size
Add water until it just reaches the bottom of the top layer of stones. Next, add the recommended amount of coarse silicon carbide grit based on your barrel’s capacity. Using the correct grit ratio is a fundamental skill for all rock tumblers.
Prevent Slurry from Becoming Too Thick or Too Thin
The water and grit create a slurry that grinds down the rough edges of your stones. If the mixture is too thick, add a small amount of water to keep it moving. A well-balanced slurry ensures that the grit stays in contact with the stones at all times.
Step 4: Seal the Barrel and Start the First Run
Check for Leaks Before Placing the Barrel on the Tumbler
Wipe the rim of the barrel and the lid clean to ensure a tight seal. Secure the lid firmly and test it for leaks by turning it upside down over a sink. A leak-proof seal prevents messy spills and keeps your equipment in top shape.
Position the Tumbler Away from Heat and Direct Sunlight
Place your machine on a stable, level surface in a cool area. Avoid spots with direct sunlight or high heat, as these can damage the motor or the barrel material. Proper placement helps your rock tumblers run safely and efficiently for the duration of the cycle.
Rock Tumbling Steps for Shaping and Smoothing Stones
Shaping stones is a multi-step process that relies on consistent rock tumbling techniques. By moving through various grit sizes, you gradually refine the surface of your rocks until they are ready for the final shine.
Step 5: Complete the Coarse-Grit Stage
Run Rough Stones Until Sharp Edges and Deep Scratches Fade
The coarse-grit stage is the most important phase for changing the shape of your stones. You should run the tumbler until all sharp edges are rounded and deep surface scratches have disappeared. Patience is essential during this initial phase to ensure a perfect foundation for later rock polishing.
Inspect the Batch Weekly Without Cross-Contaminating Grit
Check your stones every seven days to monitor their progress. When inspecting, be careful not to introduce coarse grit into your clean workspace. Keeping your work area tidy prevents stray particles from ruining the smooth finish you are trying to achieve.
Step 6: Wash the Stones and Barrel Thoroughly
Dispose of Slurry Without Pouring It Down a Drain
The thick, muddy mixture created during tumbling is known as slurry. Never pour this substance down your household drain, as it can harden and cause severe plumbing clogs. Instead, dispose of the slurry in your trash or a designated outdoor area.
Use Separate Cleaning Tools for Each Grit Stage
To maintain high quality, use dedicated brushes and containers for each stage of the process. Using the same tools for coarse and fine grit can lead to contamination. Cleanliness is the key to avoiding deep scratches that are difficult to remove later.
Step 7: Move Through Medium and Fine Grit
Use Fresh Grit for Each Progressive Stage
As you transition to medium and fine grits, always start with a clean barrel and fresh media. Each stage serves a specific purpose in the rock polishing process. Using fresh grit ensures that the abrasive particles are sharp and effective at smoothing the stone surface.
Extend a Stage When Stones Still Show Scratches
If you notice lingering scratches after a cycle, do not rush to the next stage. Simply run the current grit for a few more days until the surface looks uniform. Taking extra time here will save you from having to restart the entire process.
Step 8: Adjust the Load for Consistent Rock Tumbling
Add Ceramic Media When the Barrel Is Underfilled
A properly filled barrel is vital for the correct movement of stones. If your batch is too small, add ceramic tumbling media to fill the space. This cushions the stones and ensures they tumble against each other with the right amount of force.
Remove Broken Pieces and Materials That Wear Unevenly
During your weekly checks, remove any stones that have cracked or broken into small, sharp fragments. Some stones may wear down faster than others, which can disrupt the balance of the load. Removing these pieces keeps the tumbling action consistent for the remaining stones.
Step 9: Monitor Timing, Slurry, and Stone Progress
Understand Why Most Stages Take Several Days
Rock tumbling is a slow process because the grit must work gradually to abrade the hard surface of the stone. Most stages require several days of constant motion to achieve the desired smoothness. Consistency in timing is what separates a dull rock from a beautiful gem.
Recognize Signs of Overloading, Underloading, or Poor Slurry
If the barrel is too full, the stones will not move enough to polish properly. Conversely, an underfilled barrel can cause the stones to impact each other too hard, leading to chips. Always check that your slurry has a thick, creamy consistency to ensure the best results for your rock polishing project.


Polishing Techniques for Bright, Finished Tumbled Stones
Mastering the art of rock polishing turns rough, dull stones into beautiful treasures. After completing the initial shaping stages, your goal shifts toward achieving a high-gloss finish that highlights the natural beauty of your collection.
Step 10: Prepare Stones for the Pre-Polish Stage
Confirm That Every Surface Is Smooth Before Polishing
Before you begin the final stages, inspect each stone carefully under bright light. Every surface must be completely smooth and free of deep scratches or pits. If you notice any remaining rough spots, return those specific stones to the fine-grit stage to avoid ruining your final polish.
Clean Residual Fine Grit from the Barrel and Media
Contamination is the primary enemy of a successful finish. You must thoroughly scrub the barrel and any plastic or ceramic media used in previous steps. Even a tiny grain of coarse grit can cause deep scratches during the delicate polishing phase.
Step 11: Apply Rock Polishing Compound Correctly
Choose a Lapidary-Grade Aluminum Oxide or Cerium Oxide Polish
Selecting the right compound is essential for professional results. Lapidary-grade aluminum oxide is a versatile choice for most quartz-based materials, while cerium oxide often provides a superior, mirror-like shine on softer or specific glass-like stones.
Use Ceramic Media to Cushion Stones During Polishing
To prevent damage, use ceramic media to fill the gaps between your stones. This media acts as a cushion, ensuring that the polishing compound is distributed evenly across all surfaces. It also helps maintain the correct barrel volume for optimal tumbling action.
Step 12: Burnish the Stones for a Clean Final Finish
Run a Short Burnishing Cycle with Mild Soap
Once the polishing cycle is complete, a burnishing step removes residual compound and oils. Place your stones back in the barrel with water and a small amount of mild, non-detergent soap. Running this for one to two hours will significantly enhance the luster of your tumbled stones.
Rinse, Dry, and Inspect Each Tumbled Stone
After burnishing, rinse the stones thoroughly with clean water. Dry them with a soft cloth to reveal the final shine. If the stones look hazy, they may require a longer burnishing cycle or a fresh batch of polishing compound.
Troubleshoot Dull, Cloudy, Scratched, or Uneven Results
Correct Contamination Between Grit Stages
If your results appear cloudy or scratched, contamination is likely the culprit. Always perform a deep clean of your equipment when transitioning between different grit sizes. Using a dedicated barrel for the final polish can also prevent stray grit from ruining your work.
Improve Polish on Soft, Porous, or Mixed-Material Stones
Soft or porous stones require extra care during the final stages. You may need to reduce the tumbling speed or increase the amount of cushioning media to prevent bruising. If you are tumbling mixed materials, try to group stones of similar hardness to ensure consistent wear.
Maintain the Tumbler for Future Batches
Clean the Barrel, Bearings, Belt, and Exterior
Regular maintenance extends the life of your equipment. Wipe down the exterior of the tumbler and check the belt for signs of wear. Keeping the bearings lubricated and the barrel seals clean ensures your machine runs smoothly for years.
Store Grit and Finished Stones Without Moisture Damage
Proper storage is vital for your supplies. Keep all grit containers tightly sealed in a dry area to prevent clumping from humidity. Store your finished tumbled stones in a cool, dry place to maintain their brilliance and prevent any surface oxidation.


Conclusion
Transforming rough rocks into brilliant treasures requires patience and a commitment to the full twelve-step process. Success in rock tumbling relies on selecting quality material, maintaining balanced barrel loads, and adhering to strict cleaning routines between grit stages.
You will find that high-quality tumbled stones emerge only when you respect the time needed for each phase. Rushing the cycle often leads to dull surfaces or deep scratches that ruin your hard work. Consistent maintenance of your equipment ensures that every batch produces professional results.
Many hobbyists start their journey by investing in the best rock tumbling kits from reputable brands like National Geographic or Lortone. These sets provide the necessary foundation for beginners to learn the mechanics of abrasion and polishing. Reliable gear simplifies the learning curve while protecting your investment.
Your hobby grows as you experiment with different minerals and grit sizes. Share your progress with local gem clubs or online communities to gain new insights. Keep your tumbler running smoothly and enjoy the rewarding experience of uncovering hidden beauty within every stone.


 Love Rock Tumbling?
Have a question? Use the form above to submit your question or comment.
I love hearing from you and seeing what you made!